Intellij IDEA中的Hibernate配置
文章链接:https://www.cnblogs.com/HelloXHD/p/12892402.html
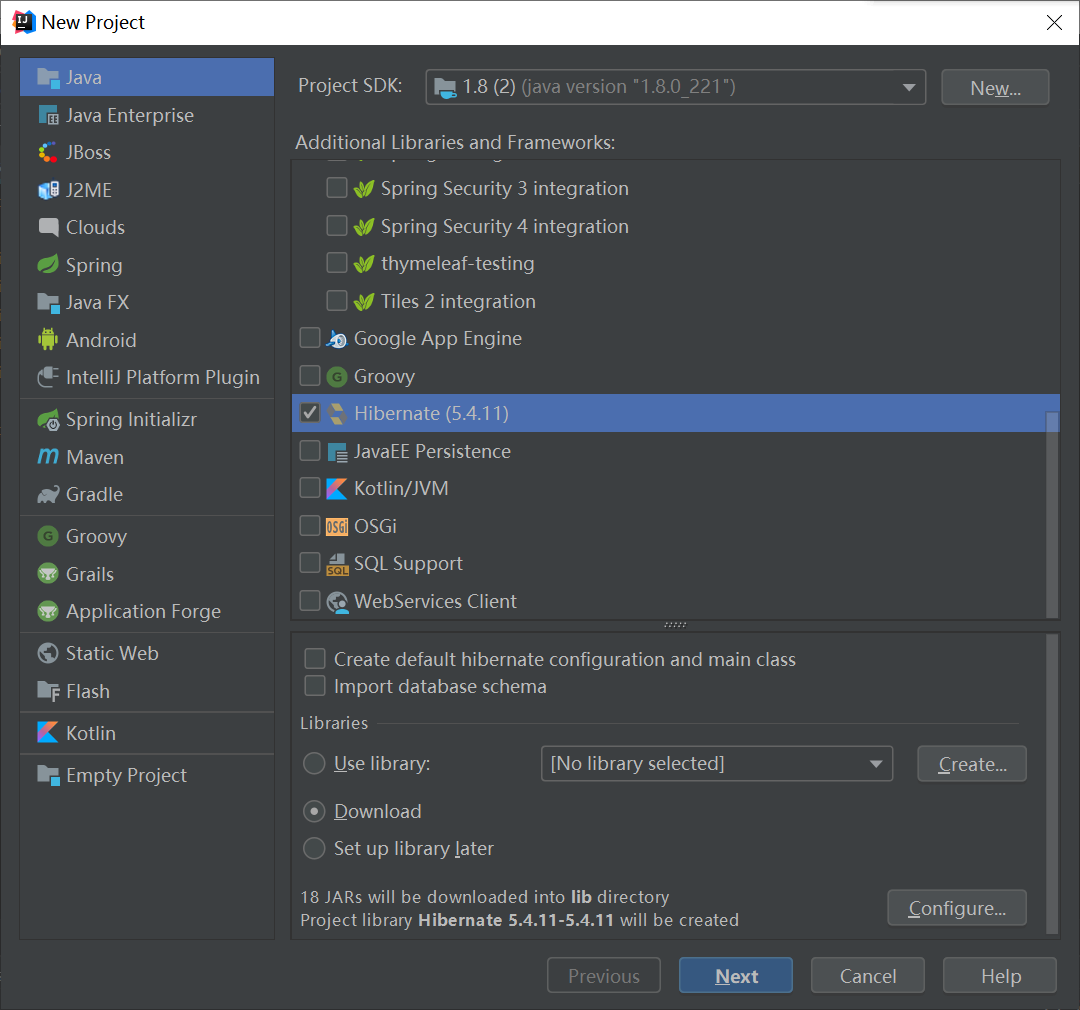
一.新建项目
新建项目时勾选Hibernate,IDEA会自动下载Hibernate并导入项目。
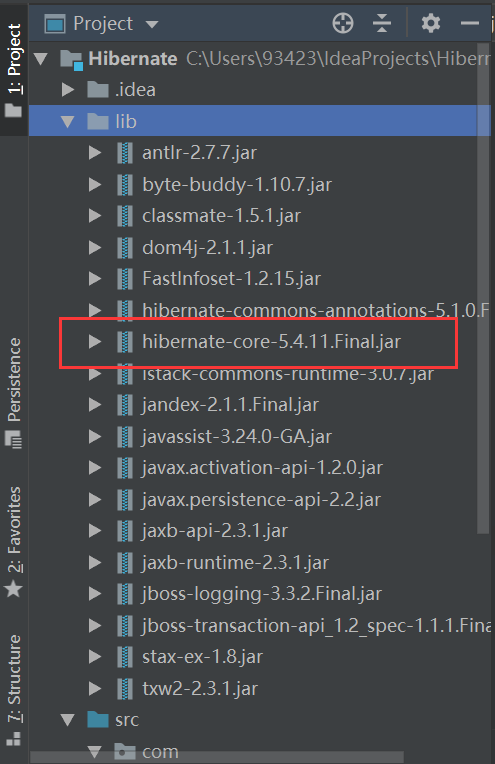
项目结构:lib中存放Hibernate所用到的jar包
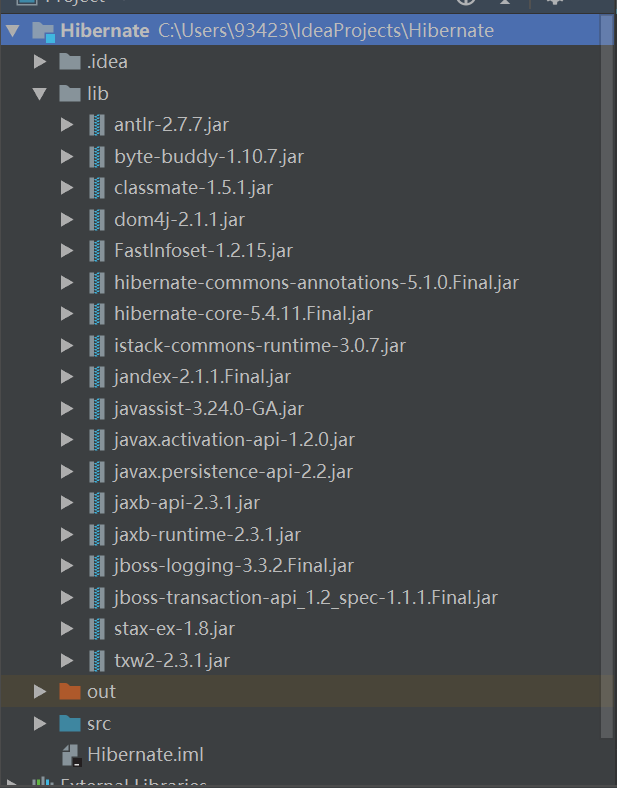
也可以选择自己下载Hibernate,然后自己在项目下新建lib文件夹,将Hibernate中lib/required下所有jar包导入项目下新建的lib文件夹中。

二.新建数据库表
create table `cst_customer`(
`cust_id` bigint(32) not null auto_increment comment '客户编号(主键)',
`cust_name` varchar(32) not null comment '客户名称(公司名称)',
`cust_source` varchar(32) default null comment '客户信息来源',
`cust_industry` varchar(32) default null comment '客户所属行业',
`cust_level` varchar(32) default null comment '客户级别',
`cust_phone` varchar(64) default null comment '固定电话',
`cust_mobile` varchar(16) default null comment '移动电话',
primary key(`cust_id`)
) engine=innoDB auto_increment=1 default charset=utf8;

三.导入MySQL8.0驱动
提前下载MySQL驱动,mysql-connector-java-8.0.12.jar
然后导入:
File-->Project Structure-->Modlues-->Dependencies

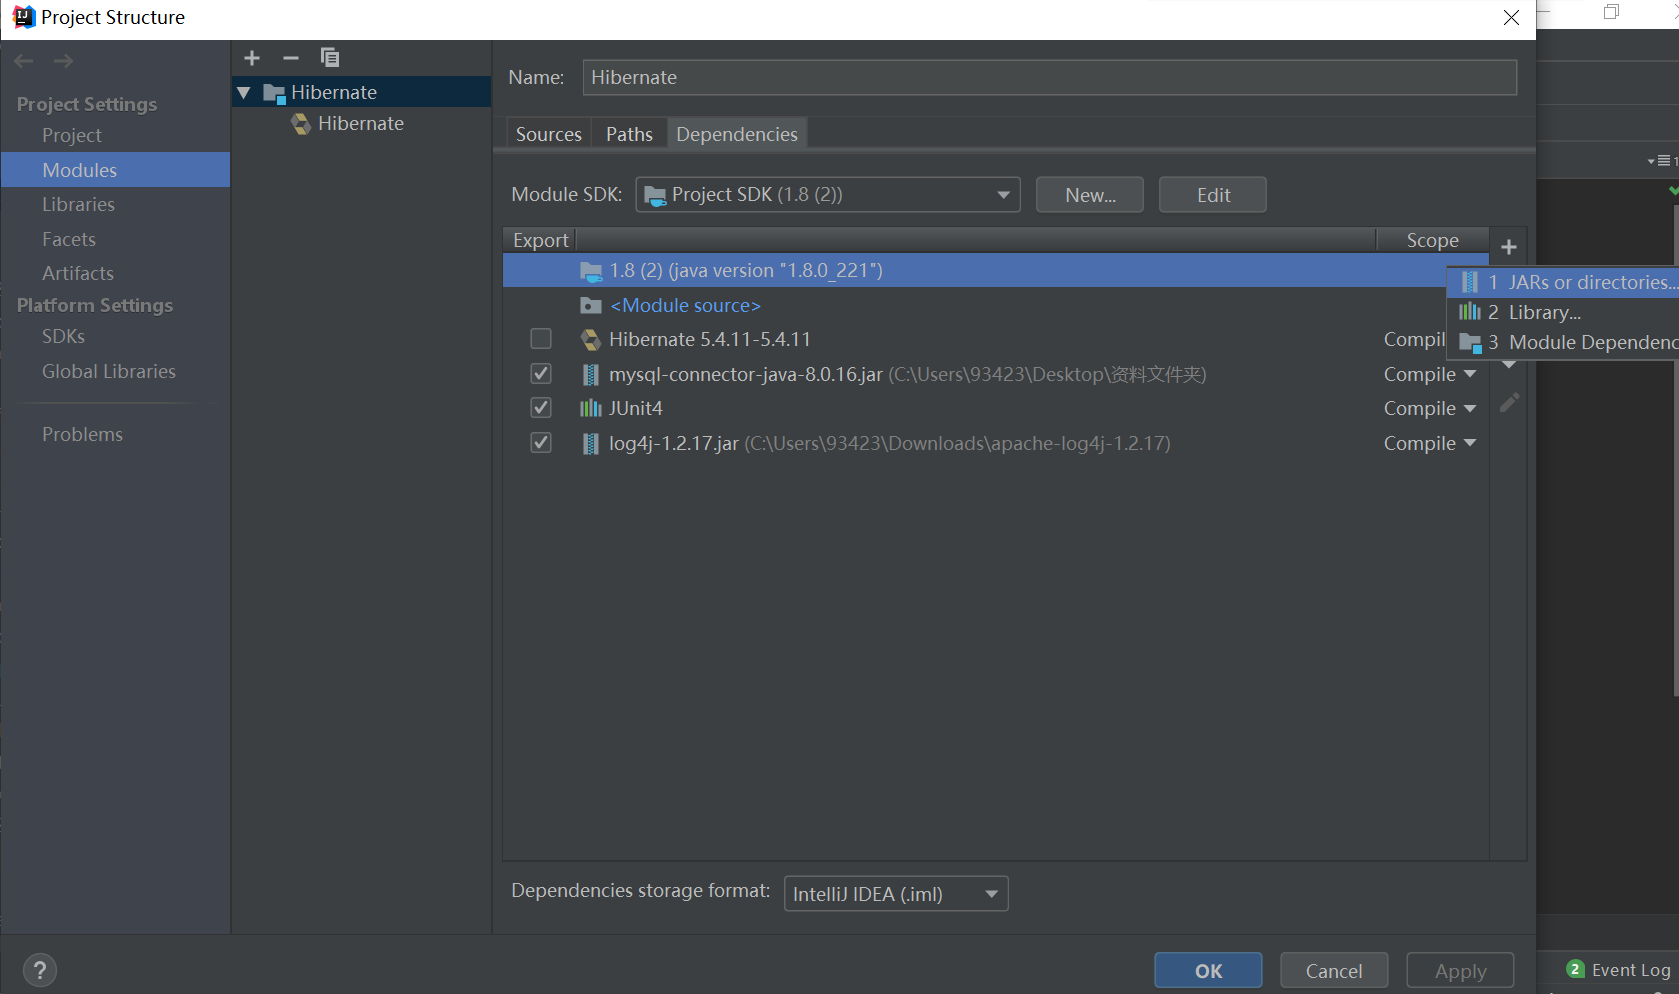
找到自己下载的驱动所在位置
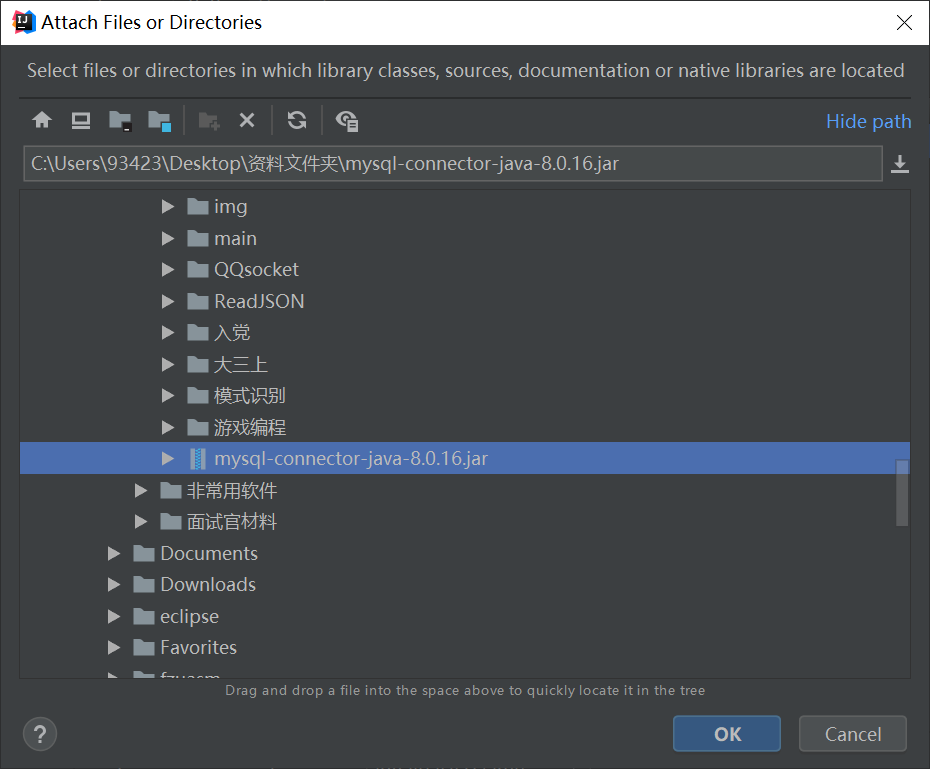
勾选后,点ok即可。
四.新建与数据库表对应的实体类
package com.huang.hibernate.demo1;

public class Customer {
    private Long cust_id;
    private String cust_name;
    private String cust_source;
    private String cust_industry;
    private String cust_level;
    private String cust_phone;
    private String cust_mobile;

    public Long getCust_id() {
        return cust_id;
    }

    public void setCust_id(Long cust_id) {
        this.cust_id = cust_id;
    }

    public String getCust_name() {
        return cust_name;
    }

    public void setCust_name(String cust_name) {
        this.cust_name = cust_name;
    }

    public String getCust_source() {
        return cust_source;
    }

    public void setCust_source(String cust_source) {
        this.cust_source = cust_source;
    }

    public String getCust_industry() {
        return cust_industry;
    }

    public void setCust_industry(String cust_industry) {
        this.cust_industry = cust_industry;
    }

    public String getCust_level() {
        return cust_level;
    }

    public void setCust_level(String cust_level) {
        this.cust_level = cust_level;
    }

    public String getCust_phone() {
        return cust_phone;
    }

    public void setCust_phone(String cust_phone) {
        this.cust_phone = cust_phone;
    }

    public String getCust_mobile() {
        return cust_mobile;
    }

    public void setCust_mobile(String cust_mobile) {
        this.cust_mobile = cust_mobile;
    }
}
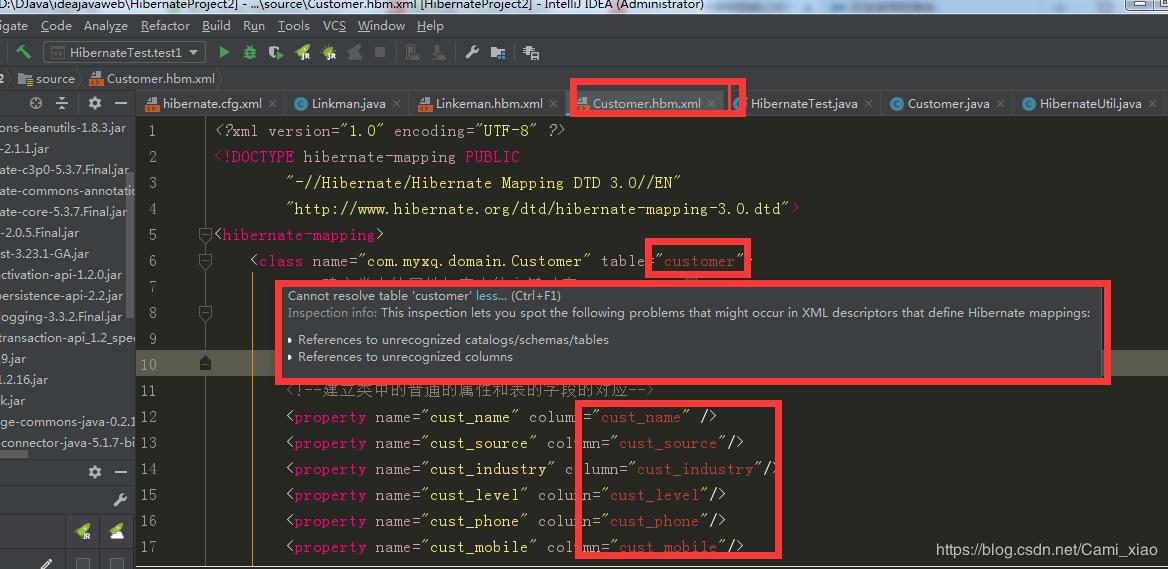
五.映射配置
命名规则:实体类类名.hbm.xml
<?xml version="1.0" encoding="UTF-8" ?>
<!DOCTYPE hibernate-mapping PUBLIC
        "-//Hibernate/Hibernate Mapping DTD 3.0//EN"
        "http://www.hibernate.org/dtd/hibernate-mapping-3.0.dtd">
<hibernate-mapping>
    <!-- 建立类与数据库表的映射 -->
    <class name="com.huang.hibernate.demo1.Customer" table="cst_customer">
        <!-- 建立类中的属性与表中的主键对应 -->
        <id name="cust_id" column="cust_id">
            <generator class="native"/>
        </id>
        <!--建立类中其他普通属性与表中字段的对应-->
        <property name="cust_name" column="cust_name"/>
        <property name="cust_source" column="cust_source"/>
        <property name="cust_industry" column="cust_industry"/>
        <property name="cust_level" column="cust_level"/>
        <property name="cust_phone" column="cust_phone"/>
        <property name="cust_mobile" column="cust_mobile"/>
    </class>
</hibernate-mapping>
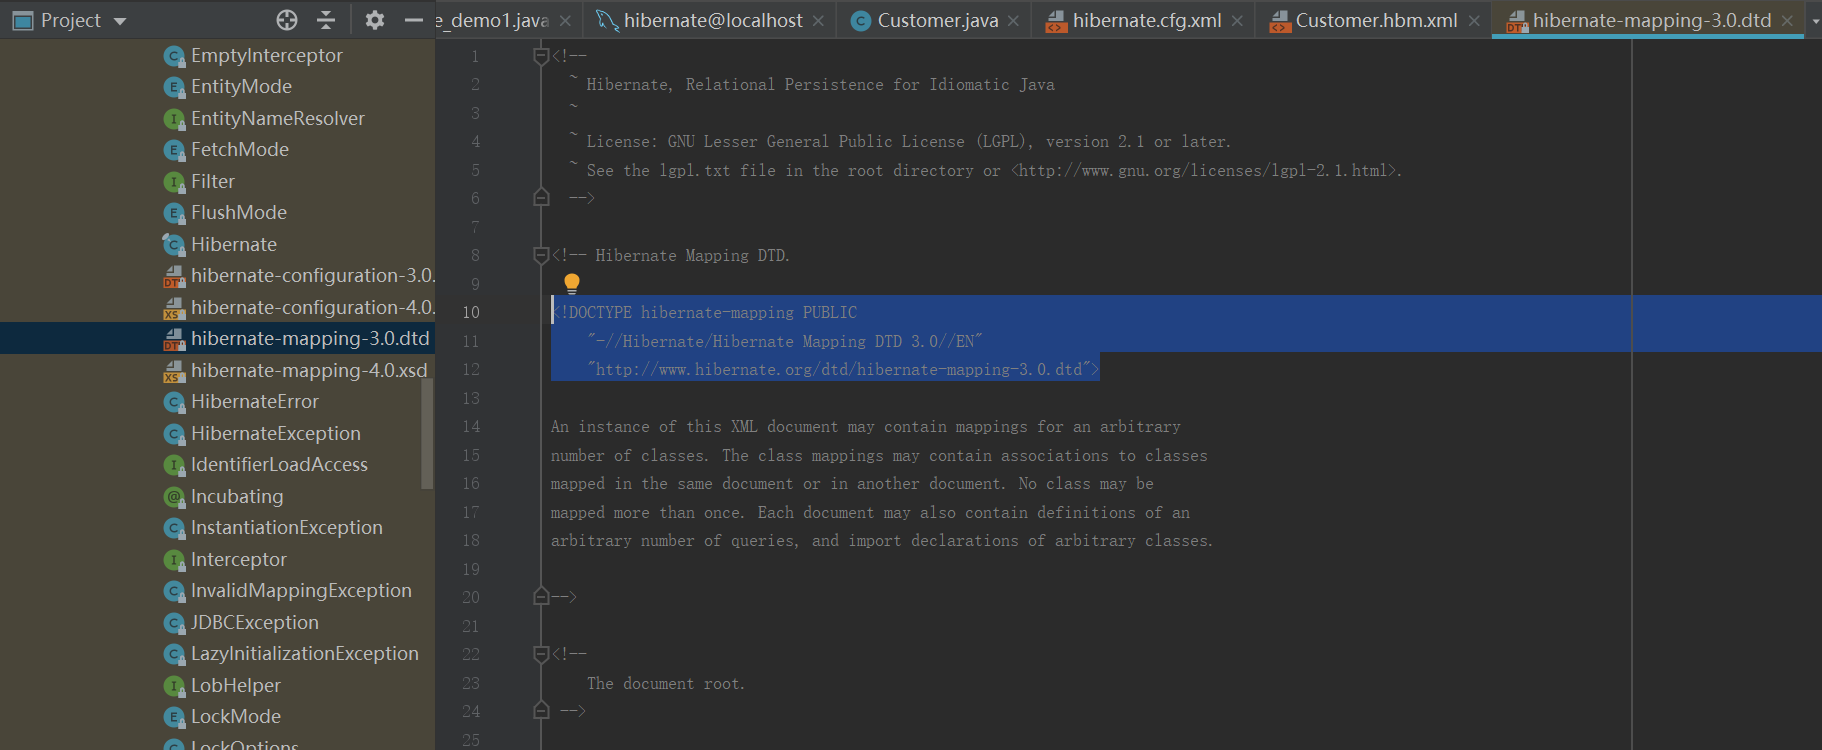
其中约束部分
<!DOCTYPE hibernate-mapping PUBLIC
        "-//Hibernate/Hibernate Mapping DTD 3.0//EN"
        "http://www.hibernate.org/dtd/hibernate-mapping-3.0.dtd">
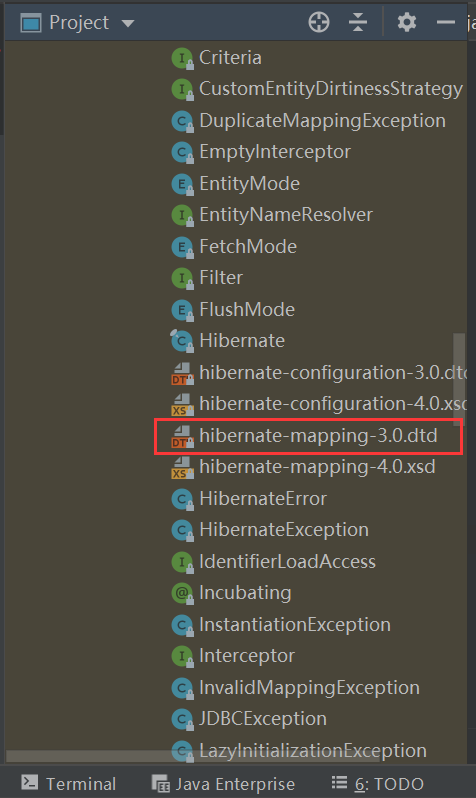
来自于hibernate-mapping-3.0.dtd:
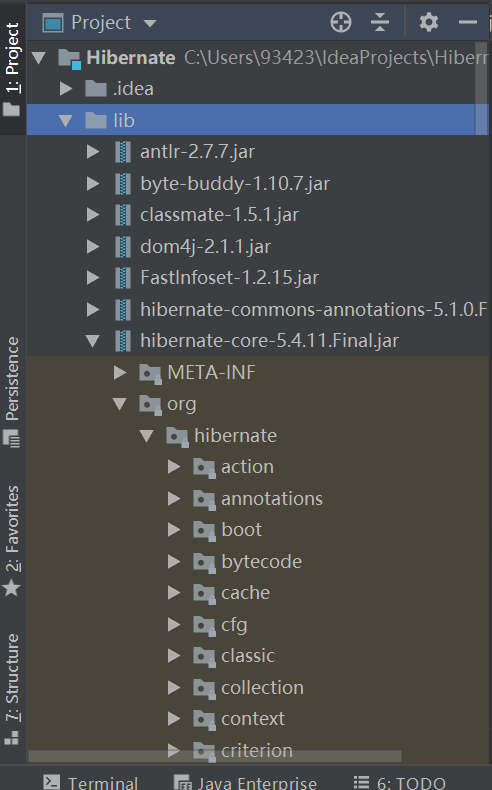
lib-->hibernate-core-5.4.11.Final.jar-->org
-->hibernate-->hibernate-mapping-3.0.dtd
- class标签配置
- 用于建立类与表的映射关系
- 属性
- name 实体类的全路径
- table 数据库表名(类名和表名一致时可省略)
- catalog 数据库名
- id标签配置
- 用于建立实体类中主属性与数据库表中主键的对应关系
- 属性
- name 实体类中主属性名
- column 数据库表中主键名(类中属性名和表中字段名一致时可省略)
- length 属性长度
- type 属性类型
- property
- 用于建立实体类中其他的普通属性与数据库表中字段的对应关系
- 属性
- name 实体类中属性名
- column 数据库表中字段名
- length 同上
- type 同上
- not-null 设置非空
- unique 设置唯一
六.核心配置
命名规则:hibernate.cfg.xml(最好不要改变)
PS:如果由IDEA自动导入Hibernate会自动在src下生成hibernate.cfg.xml
<?xml version='1.0' encoding='utf-8'?>
<!DOCTYPE hibernate-configuration PUBLIC
        "-//Hibernate/Hibernate Configuration DTD//EN"
        "http://www.hibernate.org/dtd/hibernate-configuration-3.0.dtd">
<hibernate-configuration>
<session-factory>
<!--连接数据库的基本参数-->
<property name="hibernate.connection.driver_class">com.mysql.cj.jdbc.Driver</property>
<property name="hibernate.connection.url">jdbc:mysql:///hibernate?useSSL=false&serverTimezone=Asia/Shanghai</property>
<property name="hibernate.connection.username">root</property>
<property name="hibernate.connection.password">123456</property>
<!--配置Hibernate的方言-->
<property name="hibernate.dialect">org.hibernate.dialect.MySQL8Dialect</property>
<!--=====可选配置====-->
<!--打印SQL语句-->
<property name="hibernate.show_sql">true</property>
<!--格式化SQL-->
<property name="hibernate.format_sql">true</property>
<!-- DB schema will be updated if needed -->
<property name="hibernate.hbm2ddl.auto">update</property>
<!--引入映射文件-->
<mapping resource="com/huang/hibernate/demo1/Customer.hbm.xml"/>
</session-factory>
</hibernate-configuration>
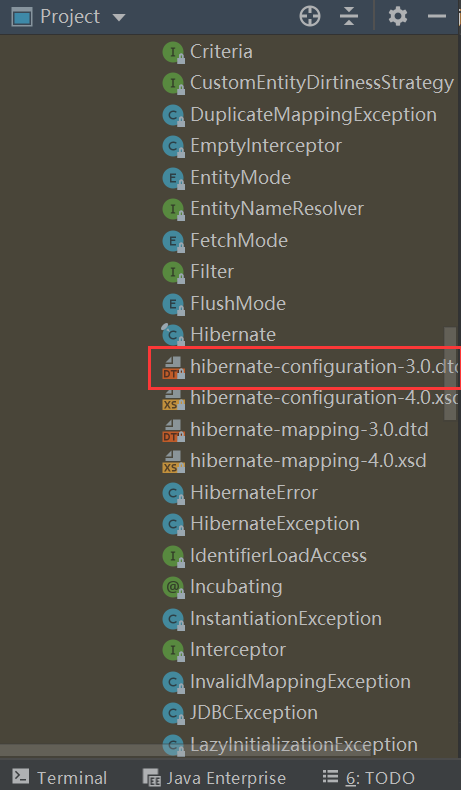
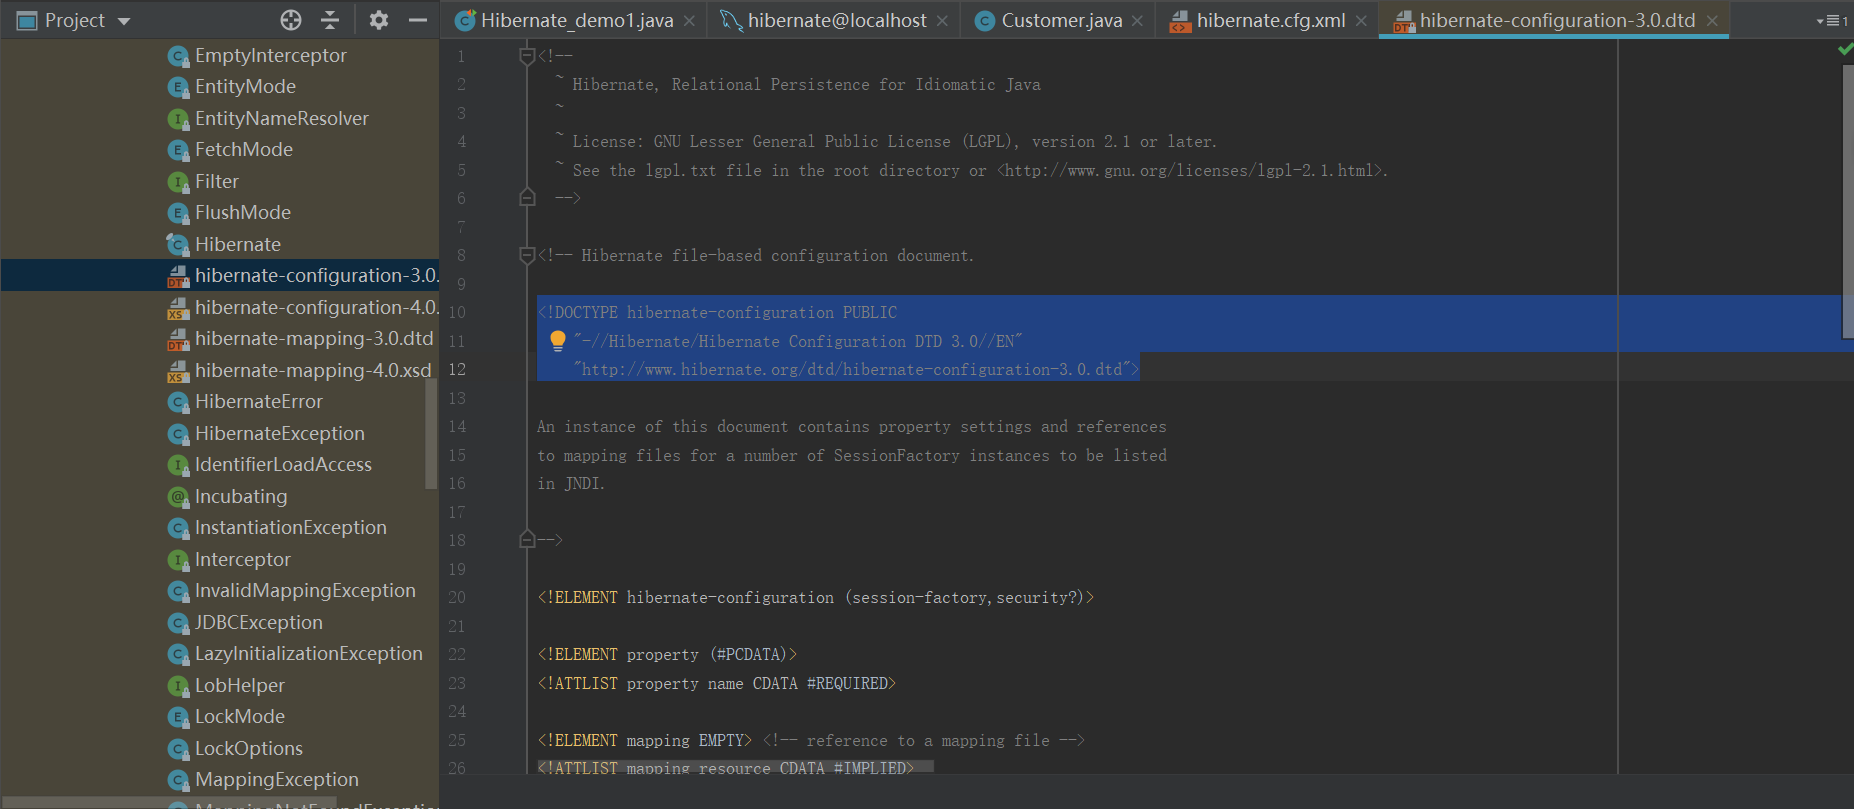
其中约束部分
<!DOCTYPE hibernate-configuration PUBLIC
"-//Hibernate/Hibernate Configuration DTD//EN"
"http://www.hibernate.org/dtd/hibernate-configuration-3.0.dtd">
来自于hibernate-configuration-3.0.dtd:
lib-->hibernate-core-5.4.11.Final.jar-->org
-->hibernate-->hibernate-configuration-3.0.dtd
必须的基本参数配置
必须配置是连接数据库的配置和数据库方言配置;
可以在下载的Hibernate文件下找到下面的文件
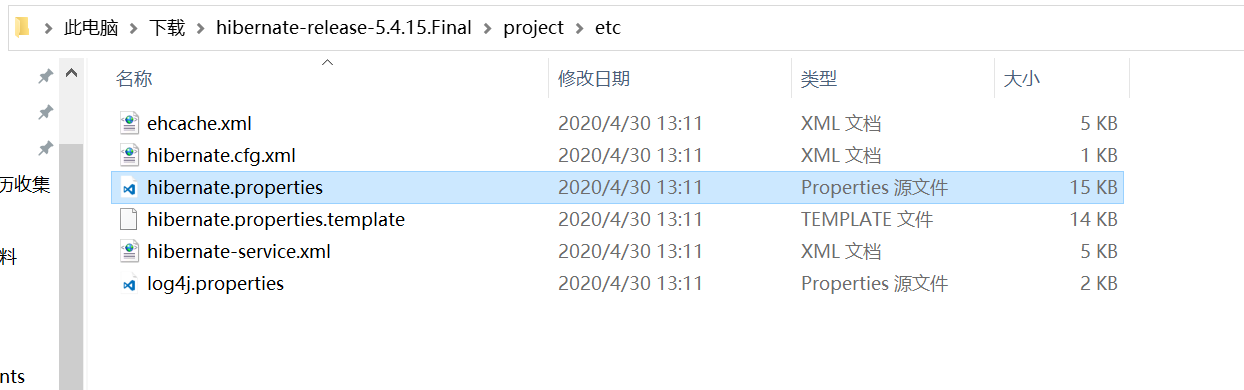
打开可见各种数据库连接的示例
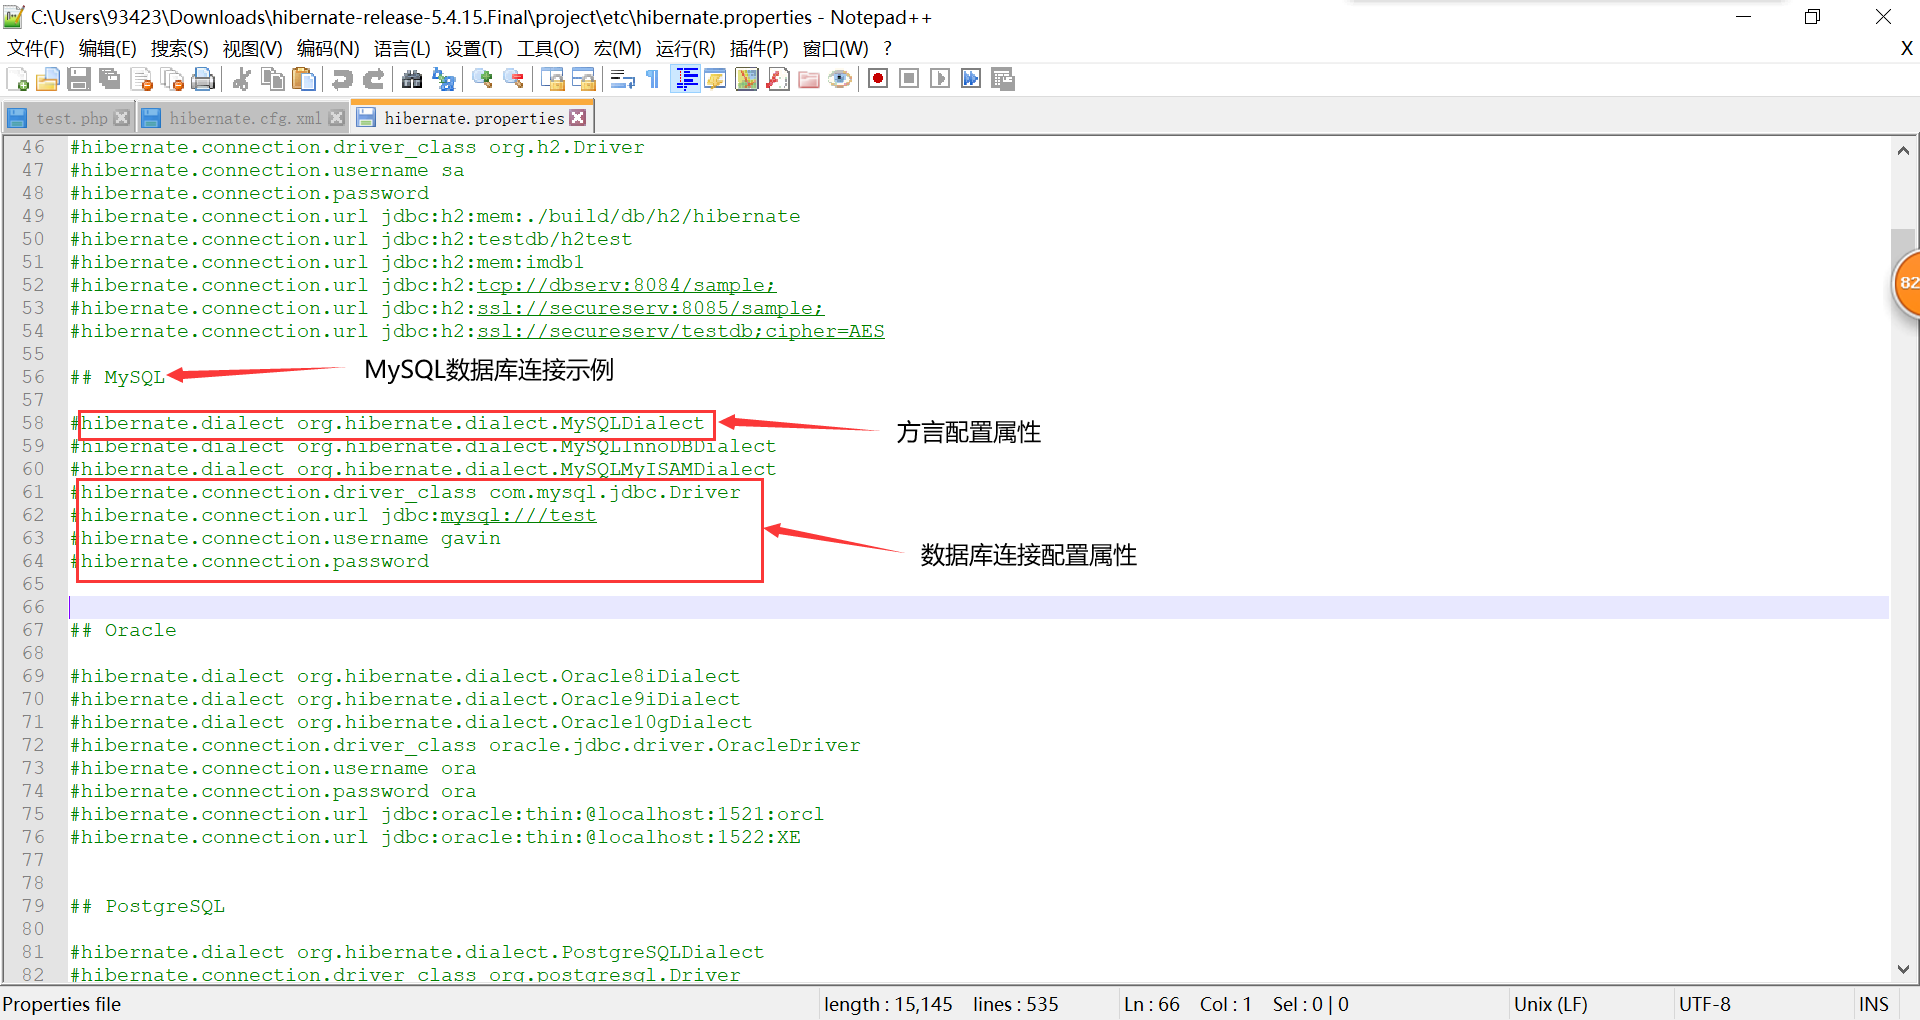
特别注意的是:
- 1.如果是MySQL5.x版本的话,hibernate.connection.driver_class填"com.mysql.jdbc.Driver",而MySQL8.0版本,hibernate.connection.driver_class填"com.mysql.cj.jdbc.Driver";
- 2.MySQL8.0版本,hibernate.connection.url除了填写"jdbc:mysql:///表名",还要后接"?useSSL=false&serverTimezone=Asia/Shanghai"
- 3.方言的配置要使用MySQL8Dialect,如果是MySQLDialect测试时不能自动创建表
非必须可选配置
是否打印sql语句,是否格式化sql,是否自动建表。
映射文件的引入
将配置好的映射文件引入
<mapping resource="com/huang/hibernate/demo1/Customer.hbm.xml"/>
- 必须的配置
- 连接数据库的基本参数
- 驱动类
- url路径
- 数据库用户名
- 密码
- 方言 :生成指定数据库的SQL语句使用
- 连接数据库的基本参数
- 可选配置
- 显示SQL :hibernate.show_sql
- 格式化SQL :hibernate.format_sql
- 自动建表 :hibernate.hbm2ddl.auto
- none :不使用hibernate的自动建表
- create :如果数据库中已经有表则删除原表重建,否则直接建表
- create-drop :执行操作后立即删除表(多用于测试)
- update :如果已存在表,则会更新原有表(更新表结构)
- validate :只使用数据库原有表(自带校验表结构功能)
- 映射文件引入
- 引入映射文件的位置
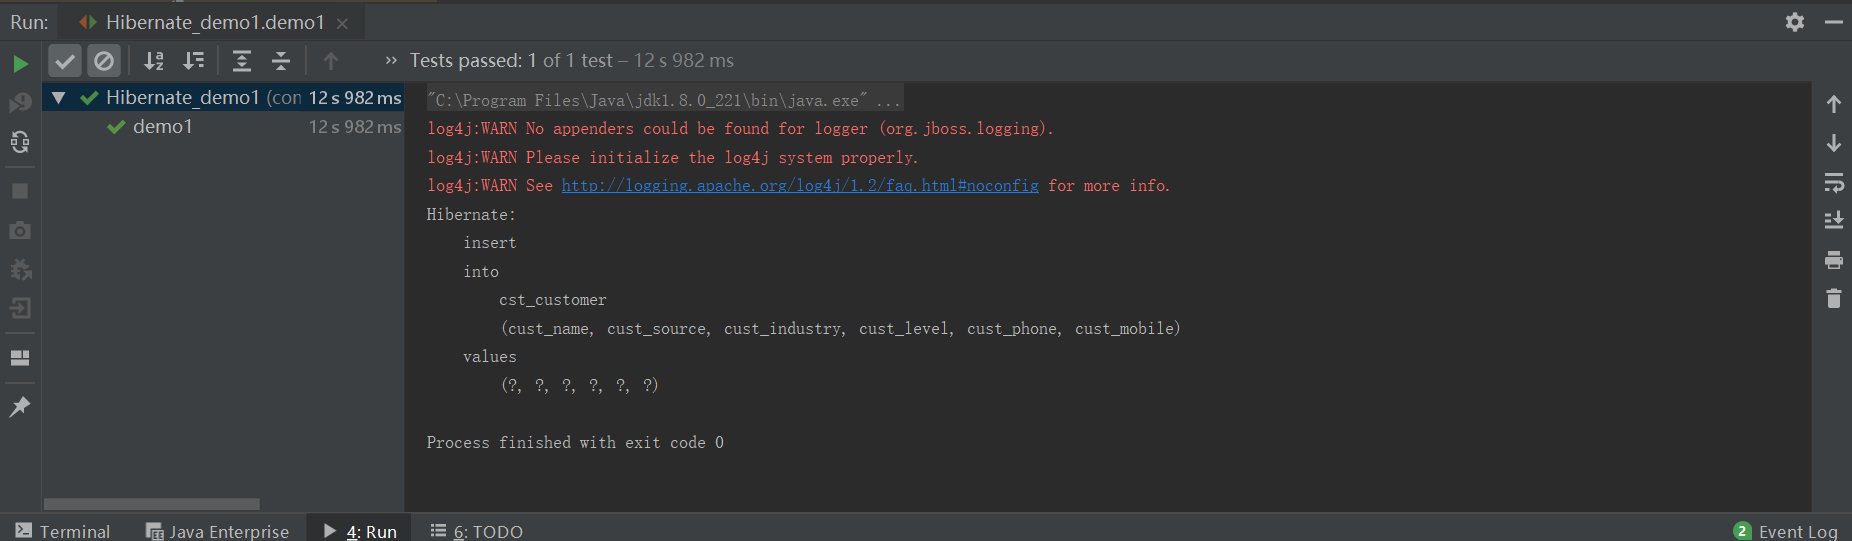
七.编写测试类
package com.huang.hibernate.demo1;

import org.hibernate.Session;
import org.hibernate.SessionFactory;
import org.hibernate.Transaction;
import org.hibernate.cfg.Configuration;
import org.junit.Test;

public class Hibernate_demo1 {
    @Test
    public void demo1(){
        //1.加载核心配置文件
        Configuration configuration = new Configuration().configure();
        //2.创建一个SessionFactory对象:类似于JDBC连接池
        SessionFactory sessionFactory = configuration.buildSessionFactory();
        //3.通过SessionFactory获取到Session对象:类似于JDBC中的Connection
        Session session = sessionFactory.openSession();
        //4.手动开启事务
        Transaction transaction = session.beginTransaction();
        //5.代码编写
        Customer customer = new Customer();
        customer.setCust_name("小煌弟");

        session.save(customer);

        //6.事务提交
        transaction.commit();
        //7.释放资源
        session.close();
    }
}

抽取Hibernate工具类
在测试类中可以看到
        //1.加载核心配置文件
        Configuration configuration = new Configuration().configure();
        //2.创建一个SessionFactory对象:类似于JDBC连接池
        SessionFactory sessionFactory = configuration.buildSessionFactory();
        //3.通过SessionFactory获取到Session对象:类似于JDBC中的Connection
        Session session = sessionFactory.openSession();
在每次初始化的时候需要重复调用,创建工厂,效率低下。
我们需要抽取出工具类,在工具类中读取Hibernate配置文件,生成SessionFactory,使得一个项目只创建一次工厂。
package com.huang.hiberbate.utils;

import org.hibernate.Session;
import org.hibernate.SessionFactory;
import org.hibernate.cfg.Configuration;

/**
 * 工具类
 */
public class Utils {
    public static final Configuration cfg;
    public static final SessionFactory sf;

    static{
        cfg = new Configuration().configure();
        sf = cfg.buildSessionFactory();
    }
    //对外提供获得session的方法
    public static Session getSession(){
        return sf.openSession();
    }
}
那么上面的测试类可改为:
    @Test
    public void demo1(){
        Session session = Utils.getSession();
        Transaction transaction = session.beginTransaction();
        Customer customer = new Customer();
        customer.setCust_name("小煌弟");

        session.save(customer);

        transaction.commit();
        session.close();
    }
遇到的问题
映射配置文件写好后,发现项目中的xml文件关于数据库字段部分报红【解决方法】