参考文章:
a. https://blog.csdn.net/manageer/article/details/72812149
b.https://blog.csdn.net/lizhengjava/article/details/60138890
c.https://www.cnblogs.com/Seeasunnyday/p/9368302.html(主要是参考这篇文章, 但是包error # <iostream> not found, 后来有参考的其他文章解决这个问题)
1.为什么要编译JDK
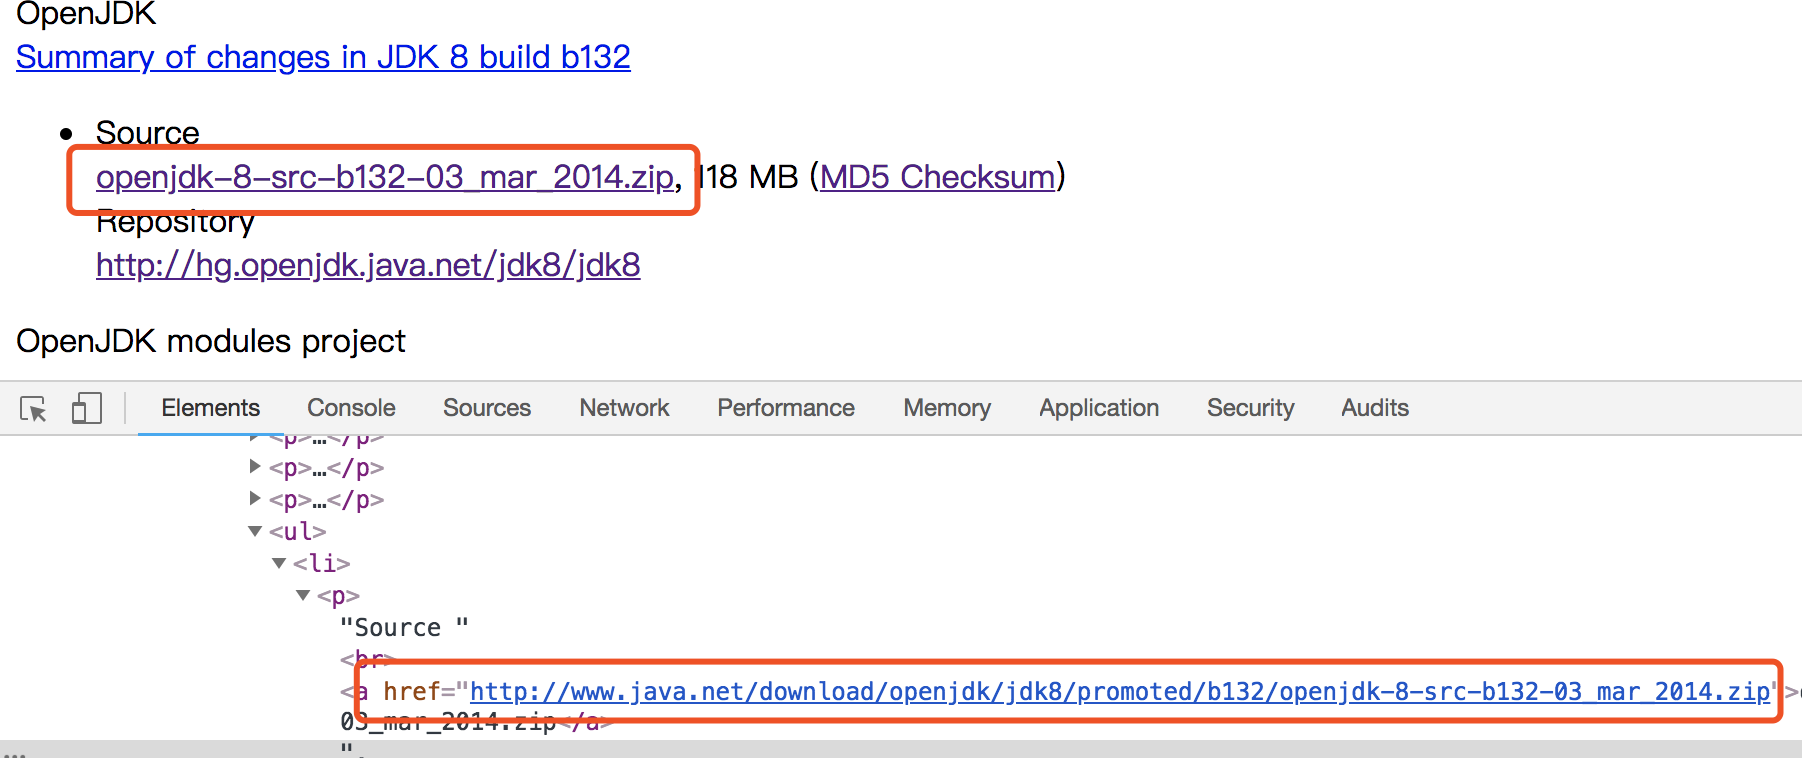
2.选择JDK
3.环境准备

(1). 修改generated-configure.sh(路径:common/autoconf/generated-configure.sh)
注释20061行
// as_fn_error $? "GCC compiler is required. Try setting --with-tools-dir." "$LINENO" 5
注释21640行
// as_fn_error $? "GCC compiler is required. Try setting --with-tools-dir." "$LINENO" 5
(2). 修改relocInfo.hpp(路径:hotspot/src/share/vm/code/relocInfo.hpp)
修改367行
inline friend relocInfo prefix_relocInfo(int datalen);
修改472行
inline relocInfo prefix_relocInfo(int datalen = 0) {
assert(relocInfo::fits_into_immediate(datalen), "datalen in limits");
return relocInfo(relocInfo::data_prefix_tag, relocInfo::RAW_BITS, relocInfo::datalen_tag | datalen);
}
(3). 修改openjdk/hotspot/src/share/vm/opto/loopPredicate.cpp
修改775行为
assert(rng->Opcode() == Op_LoadRange || _igvn.type(rng)->is_int()->_lo >= 0, "must be");
(4).修改openjdk/hotspot/src/share/vm/runtime/virtualspace.cpp
修改331行为
if (base() != 0) {
4.设置环境变量
# 设定语言选项,必须设置
export LANG=C
# Mac平台,C编译器不再是GCC,是clang
export CC=clang
# 跳过clang的一些严格的语法检查,不然会将N多的警告作为Error
export COMPILER_WARNINGS_FATAL=false
# 链接时使用的参数
export LFLAGS='-Xlinker -lstdc++'
# 是否使用clang
export USE_CLANG=true
# 使用64位数据模型
export LP64=1
# 告诉编译平台是64位,不然会按32位来编译
export ARCH_DATA_MODEL=64
# 允许自动下载依赖
export ALLOW_DOWNLOADS=true
# 并行编译的线程数,编译时间长,为了不影响其他工作,我选择为2
export HOTSPOT_BUILD_JOBS=2
export ALT_PARALLEL_COMPILE_JOBS=2
# 是否跳过与先前版本的比较
export SKIP_COMPARE_IMAGES=true
# 是否使用预编译头文件,加快编译速度
export USE_PRECOMPILED_HEADER=true
# 是否使用增量编译
export INCREMENTAL_BUILD=true
# 编译内容
export BUILD_LANGTOOLS=true
export BUILD_JAXP=true
export BUILD_JAXWS=true
export BUILD_CORBA=true
export BUILD_HOTSPOT=true
export BUILD_JDK=true
# 编译版本
export SKIP_DEBUG_BUILD=true
export SKIP_FASTDEBUG_BUILD=false
export DEBUG_NAME=debug
# 避开javaws和浏览器Java插件之类的部分的build
export BUILD_DEPLOY=false
export BUILD_INSTALL=false
最后干掉这两个变量,不然会有诡异的事发生
unset JAVA_HOME
unset CLASSPATH
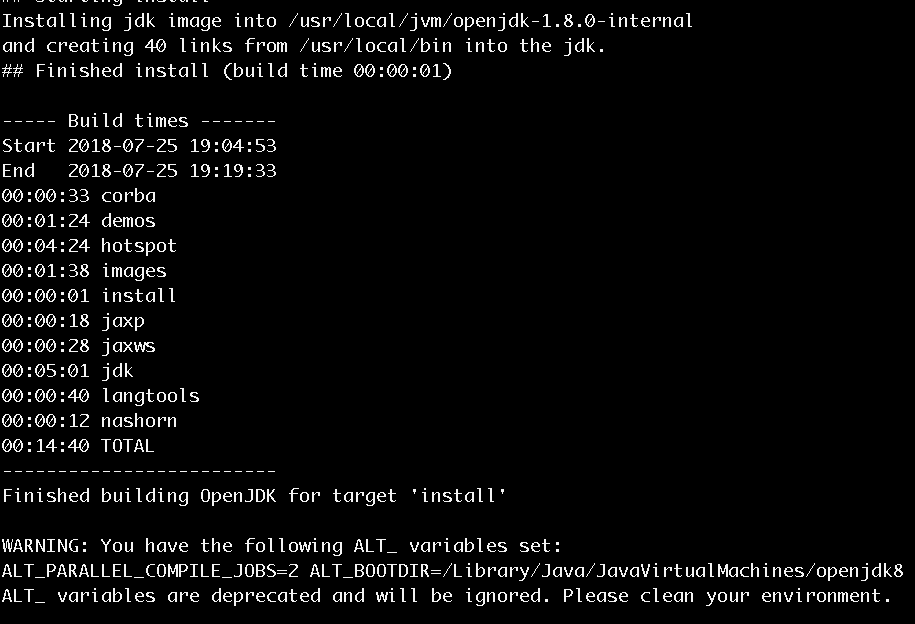
5.编译, ( 遇到问题可以先看看下面的问题描述)
sh configure --with-debug-level=slowdebug --with-boot-jdk=`/usr/libexec/java_home -v 1.8` --with-freetype-include=/usr/local/include/freetype2 --with-freetype-lib=/usr/local/lib/ --with-target-bits=64 --with-jvm-variants=server --with-jdk-variant=normal --with-milestone=internal --with-update-version=b25 --with-build-number=b25 --with-zlib=system --with-num-cores=2 --with-jobs=4 CC=clang CXX=clang++
sh configure --with-debug-level=slowdebug --with-target-bits=64 --with-jvm-variants=server --with-jdk-variant=normal --with-milestone=internal --with-update-version=b25 --with-build-number=b25 --with-num-cores=2 --with-jobs=2 CC=clang CXX=clang++ --with-freetype-include=/usr/local/include/freetype2 --with-freetype-lib=/usr/local/lib/ --with-boot-jdk=/Library/Java/JavaVirtualMachines/jdk1.8.0_181.jdk/Contents/Home --enable-ccache
1
————————————————
版权声明:本文为CSDN博主「ykd2020」的原创文章,遵循 CC 4.0 BY-SA 版权协议,转载请附上原文出处链接及本声明。
原文链接:https://blog.csdn.net/yuankundong/article/details/78876523
使用这种方式编译, 在build文件夹生成两个文件. 如果使用第一种, 只会生成一个
参考文章: https://blog.csdn.net/lizhengjava/article/details/60138890

6.我执行./configure和编译遇到的问题:
问题1和问题2是原作者遇到的,我并没有遇到. 后面的问题是我遇到的

Could not determine audit condition [Process completed]
[进程已完成]
处理办法参考: https://www.jianshu.com/p/d764d2840071. 很多说是因为./bash_profile文件配置错误导致的, 但我这个不是. 将/usr/bin 下的login文件改名login1, 再打开终端, 然后执行sudo chown root:wheel /usr/bin/login
sudo chmod u+s /usr/bin/login
在将login1的名字改回login. 已经恢复了.
#include <iostream>
^~~~~~~~~~
