1.效果预览
1.1.实际界面预览

1.2. 这是MainActivity中的代码

这里执行了跳转到自己的用户界面的功能。
1.3.点击头像或者用户名跳转到别人的页面

UserActivity的结构由两部分组成,首先是一个头像,然后是一个列表。
只要点击了用户名或者头像都会跳转到UserActivity页面。除了UserActivity中的头像。
2.布局分析
2.1.布局名称为activity_user,源代码如下:


<?xml version="1.0" encoding="utf-8"?>
<!--
  ~ Copyright 2017 GcsSloop
  ~
  ~ Licensed under the Apache License, Version 2.0 (the "License");
  ~ you may not use this file except in compliance with the License.
  ~ You may obtain a copy of the License at
  ~
  ~    http://www.apache.org/licenses/LICENSE-2.0
  ~
  ~ Unless required by applicable law or agreed to in writing, software
  ~ distributed under the License is distributed on an "AS IS" BASIS,
  ~ WITHOUT WARRANTIES OR CONDITIONS OF ANY KIND, either express or implied.
  ~ See the License for the specific language governing permissions and
  ~ limitations under the License.
  ~
  ~ Last modified 2017-03-08 01:01:18
  ~
  ~ GitHub:  https://github.com/GcsSloop
  ~ Website: http://www.gcssloop.com
  ~ Weibo:   http://weibo.com/GcsSloop
  -->

<LinearLayout
    xmlns:android="http://schemas.android.com/apk/res/android"
    xmlns:app="http://schemas.android.com/apk/res-auto"
    xmlns:gcs="http://schemas.android.com/apk/res-auto"
    xmlns:tools="http://schemas.android.com/tools"
    android:layout_width="match_parent"
    android:layout_height="match_parent"
    android:orientation="vertical"
    >

    <android.support.v7.widget.Toolbar
        android:id="@+id/toolbar"
        android:layout_width="match_parent"
        android:layout_height="wrap_content"/>

    <FrameLayout
        android:layout_width="match_parent"
        android:layout_height="match_parent">

        <android.support.v4.widget.NestedScrollView
            android:id="@+id/scroll_view"
            android:layout_width="match_parent"
            android:layout_height="match_parent"
            android:background="@color/diy_white_bg">

            <LinearLayout
                android:layout_width="match_parent"
                android:layout_height="match_parent"
                android:orientation="vertical">

                <View
                    android:layout_width="0dp"
                    android:layout_height="160dp"/>

                <android.support.v7.widget.RecyclerView
                    android:id="@+id/recycler_view"
                    android:layout_width="match_parent"
                    android:layout_height="wrap_content"
                    android:background="@color/diy_white_bg">
                </android.support.v7.widget.RecyclerView>
            </LinearLayout>

        </android.support.v4.widget.NestedScrollView>

        <FrameLayout
            android:layout_width="match_parent"
            android:layout_height="wrap_content">

            <ImageView
                android:id="@+id/background"
                android:layout_width="match_parent"
                android:layout_height="160dp"
                android:background="@color/diy_black"
                android:src="@color/diy_white"
                />

            <LinearLayout
                android:layout_width="match_parent"
                android:layout_height="match_parent"
                android:orientation="vertical">

                <com.gcssloop.diycode.widget.CircleImageView
                    android:id="@+id/avatar"
                    android:layout_width="68dp"
                    android:layout_height="68dp"
                    android:layout_gravity="center_horizontal"
                    android:layout_marginTop="24dp"
                    android:src="@mipmap/ic_launcher"
                    gcs:border_width="0dp"/>

                <TextView
                    android:id="@+id/username"
                    android:layout_width="wrap_content"
                    android:layout_height="wrap_content"
                    android:layout_gravity="center_horizontal"
                    android:layout_marginTop="16dp"
                    android:text="diytest(测试账号)"
                    android:textSize="18sp"/>
            </LinearLayout>

        </FrameLayout>
    </FrameLayout>
</LinearLayout>
2.2.布局代码与实体对应关系
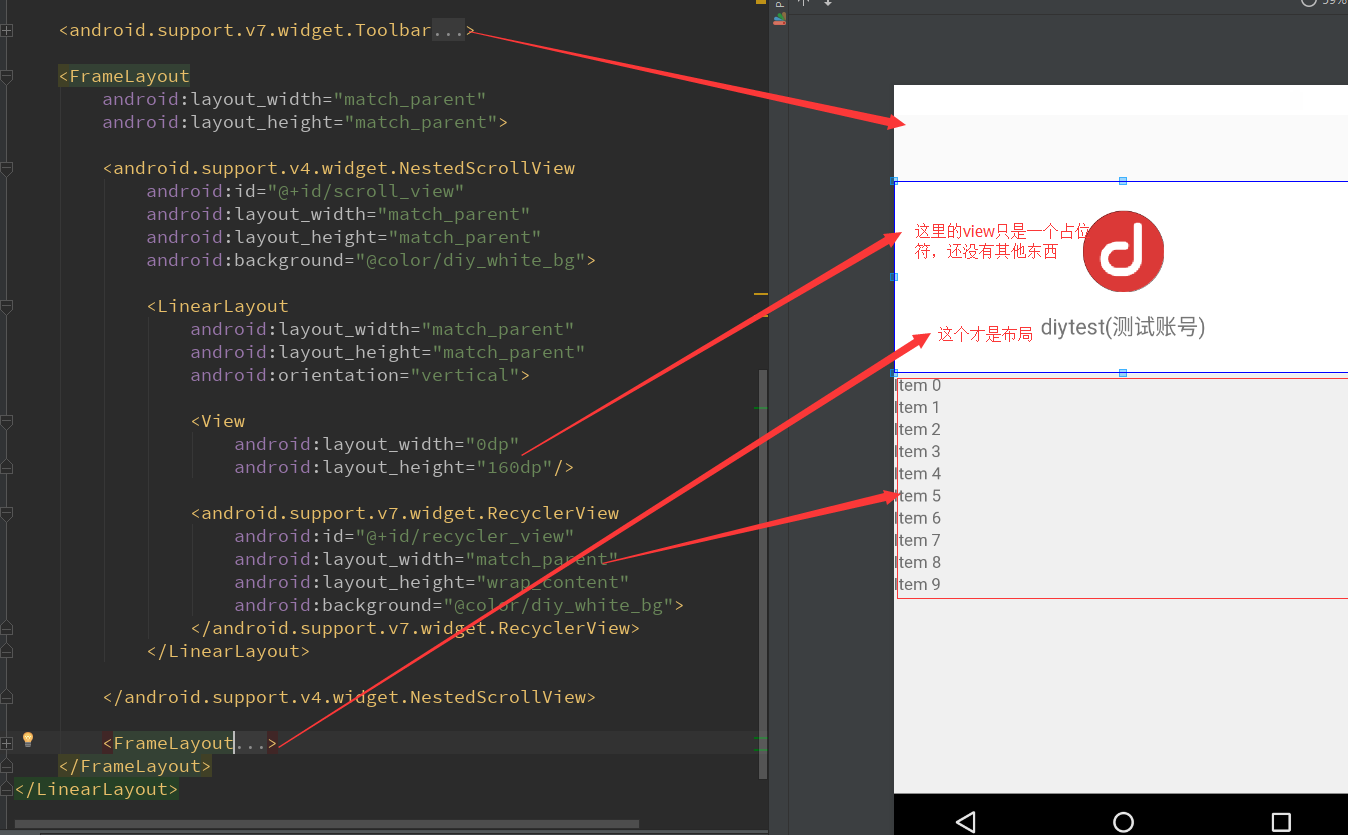
最外层的布局为:LinearLayout
然后下面的子布局: Toolbar + FrameLayout + FrameLayout(最后的FrameLayout是上方的图标)
然后FrameLayout的子布局:NestedScrollView
然后NestedScrollView的布局:LinearLayout
然后LinearLayout下面的布局: View + RecyclerView
3.活动代码分析
3.1.分析所有的成员变量
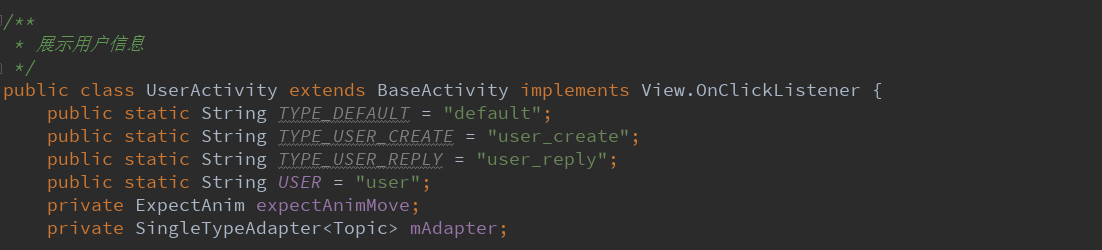
这里用到了一个第三方开源动画库,非常炫酷,觉得非常棒!一些酷炫的特效!下面再讲!
然后是SingleTypeAdapter<Topic>这个估计是用来显示用户发表的帖子列表的适配器。
3.2.第三方动画开源库==>ExpectAnim类
可以做到类似这样的效果。
本例用到了第二种方法,在github可以知道如何使用得。
3.3.新建一个实例

外部传进来一个user
然后跳转到一个UserActivity
3.4.获取布局资源id+初始化视图
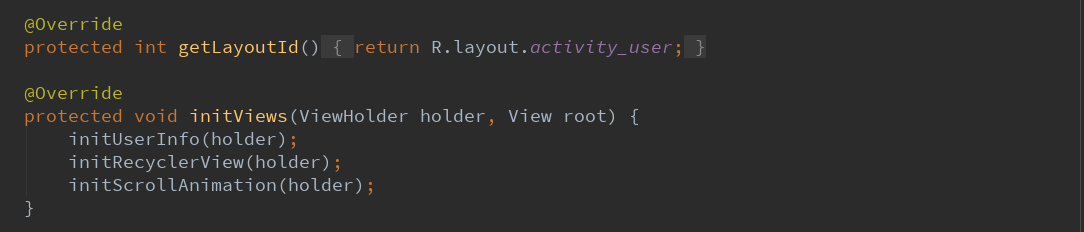
获取布局的id为:R.layout.activity_user
initViews调用3个主要的函数。这里规定了执行顺序和3个入口函数。
3.5.第一个入口函数initUserInfo
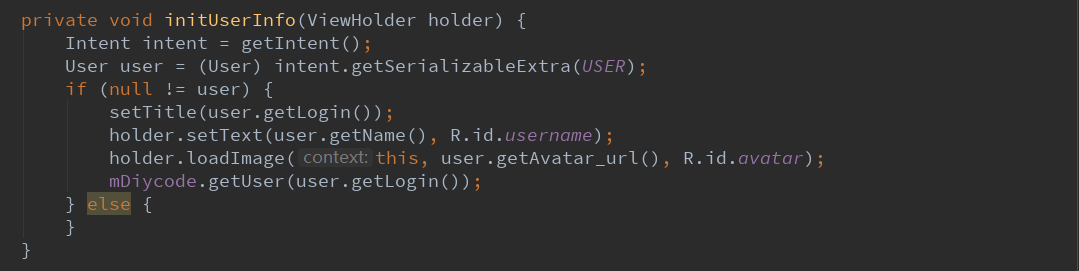
先从intent中获取用户信息。
然后设置视图数据,这里的标题栏应该是昵称或登录名,然后显示在头像下的应该是真实名字。
不明白为什么最后要调用一个API
3.6.第二个入口函数initRecycleView

这里的SingleTypeAdapter之前见过,就是一个列表适配器。
首先这个适配器要加载的布局为:item_topic.xml
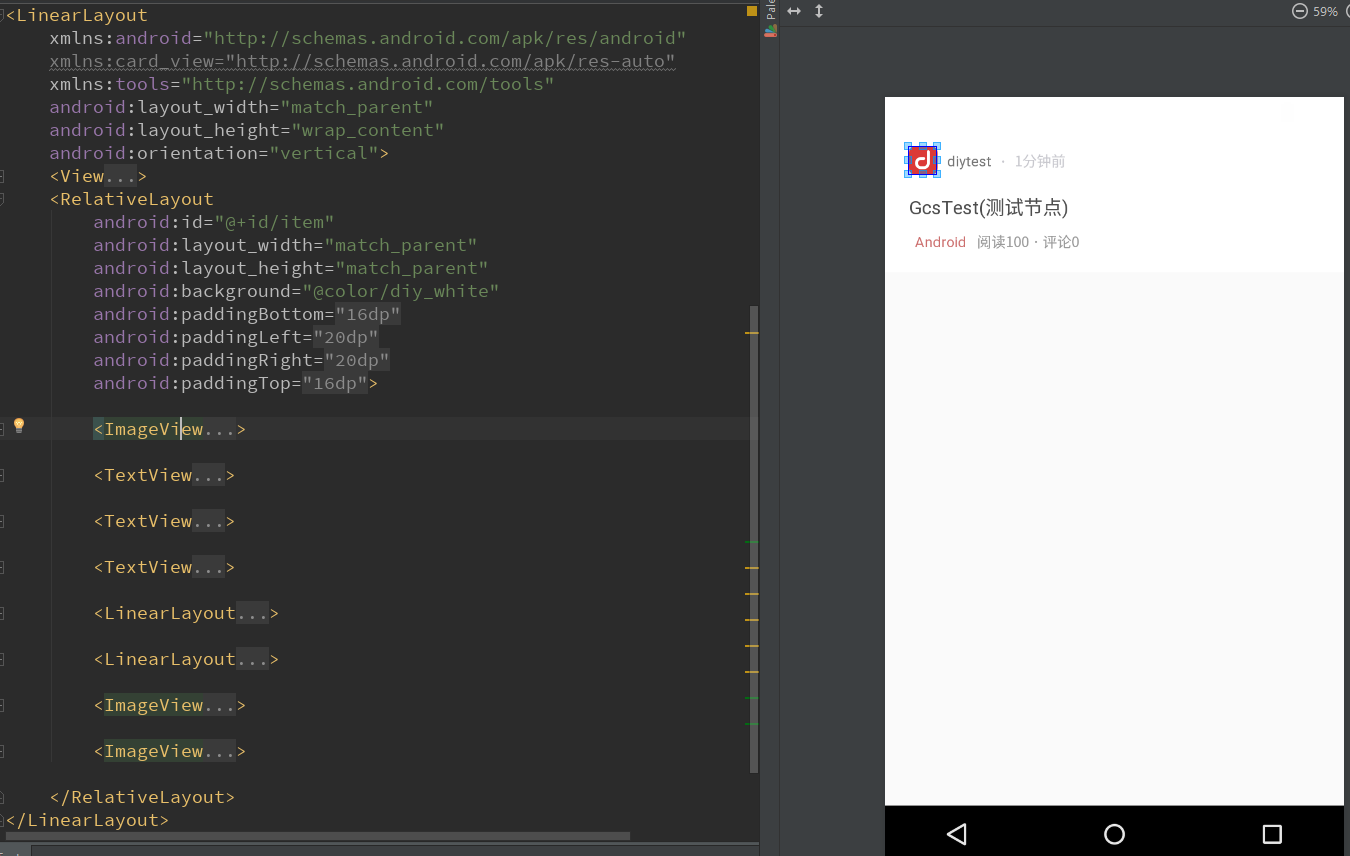
然后是一个处理数据的一个函数convert
这里面详细处理每个控件数据
明白了下方的Android其实是一个节点,点击了将会跳转到这个Android类的所有话题。
所以点击事件的两个跳转就看懂了。
3.7.第三个入口函数==>initScrollAnimation
动画设置
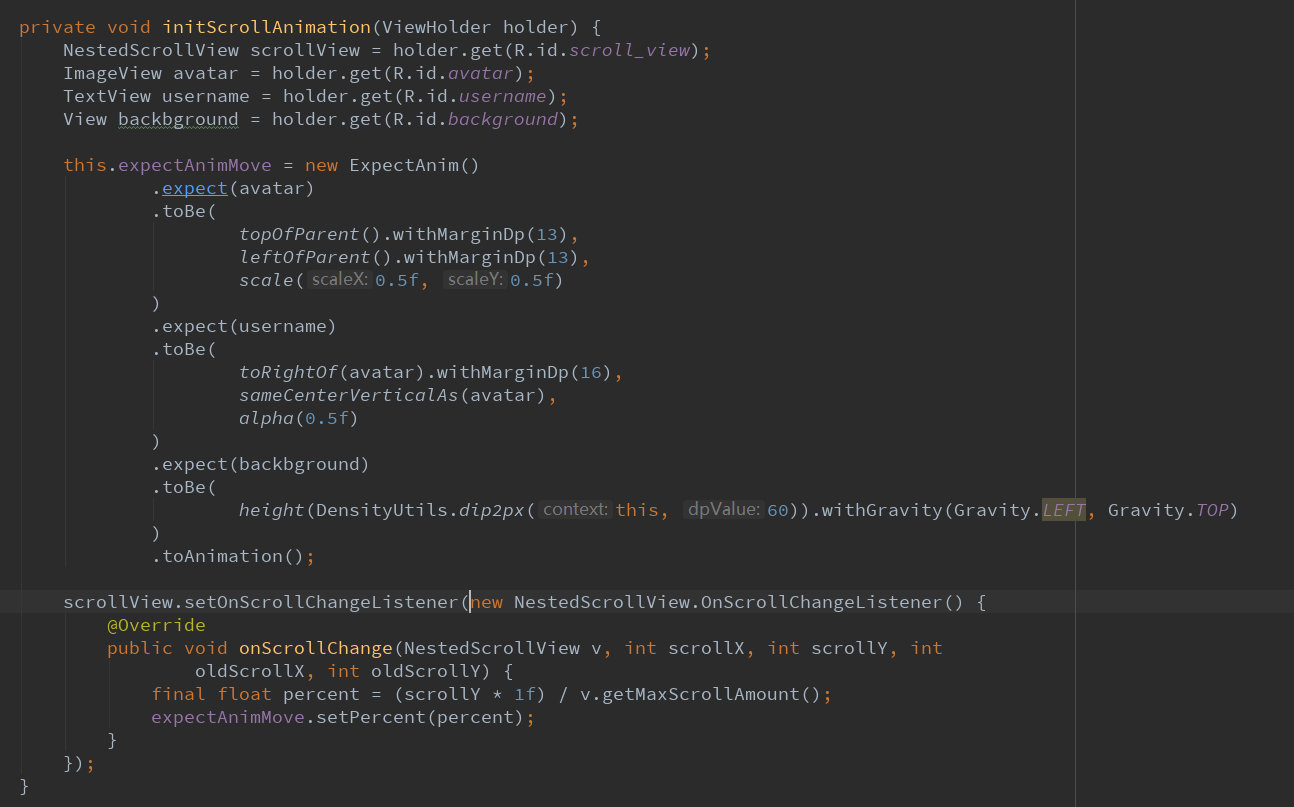
为了达到炫酷的动画效果
首先要获得4个变量:scrollView+头像+用户名+背景
将所有的控件都通过.expect(视图名).toBe()...toAnimation()即可
最后设置一下scrollView的滑动监听,将这个第三方类的实例设置进去即可。
3.8.回调2个EventBus的请求结果
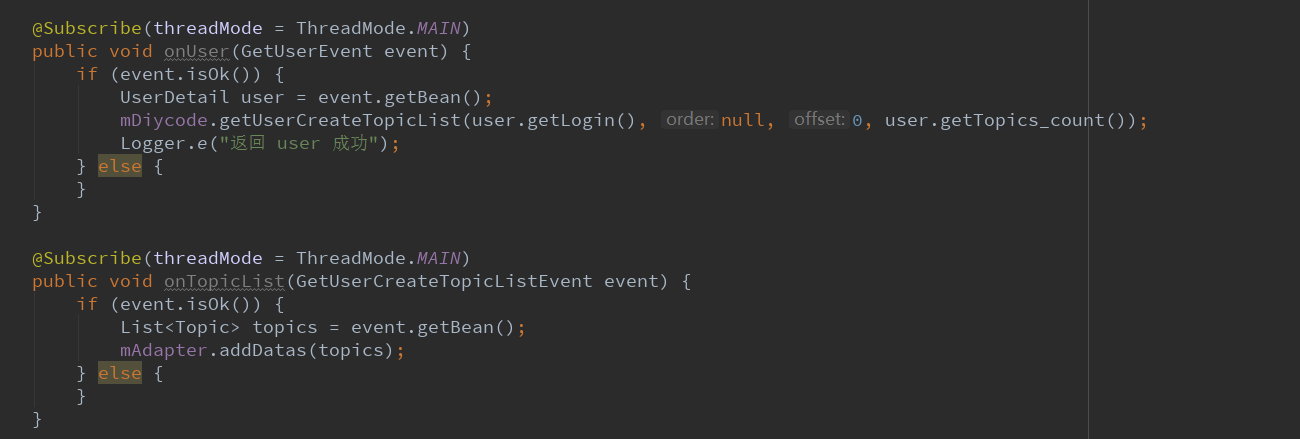
第一个是获得用户信息
第二个是获得话题列表,要将话题列表加入适配器的data中。
3.9.其他必要函数
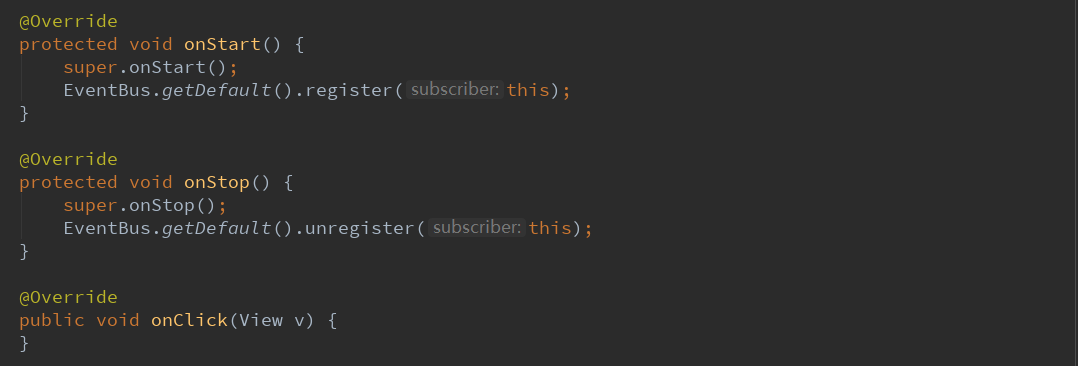
这里是EventBus的注册与反注册。
4.总结一下
4.1.这里学到了一个第三方库动画开源库,感觉还是挺不错的,效果比较好而且简单实用,其作用就是上方显示固定的
数据,然后下方一个ListView,如果滑动ListView的话,上方固定的布局也会发生动画效果。
4.2.这里对API调用的顺序有了新的理解。因为这里第一次调用API是initViews的第一个入口函数initUserInfo,这里是
调用获取用户的信息,mDiycode.getUser()==>回调onUser()==>回调中执行mDiycode.获取话题列表==>
然后回调onTopicList(),然后适配器.addDatas(列表)。
4.3.intent可以传递很多数据,包括一个类。这里传递一个自定义的User类,采用的方法是:
intent.getSerializableExtra("关键字")
4.4.所以每个API调用之后,基本都会需要一个回调,回调函数上方有一个注解,记住就好。
4.5.这里有一个新的知识之前忽略了,就是点击节点也会进入TopicActivity。其实就是将主页面(话题页面)将部分
话题筛选出来,结构也很简单,上方一个Toolbar,然后是一个话题列表。
4.6.这个动画库用法十分简单。先获取几个视图,分别用.expect(视图名).toBe(这里面稍微复杂一点),里面的代码在
github上都有,所以直接替换数据即可。最后给一个ScrollView添加一个滑动函数,表明滑动就会有个动画。