knime官方对linux无桌面版本的配置方法如下:
https://docs.knime.com/2020-07/server_admin_guide/index.html#installing-additional-extensions
Installing additional extensions
The easiest way to install additional extensions into the Executor (e.g. Community Extensions or commercial 3rd party extensions) is to start the Executor in GUI mode and install the extensions as usual. In case you don’t have graphical access to the server you can also install additional extensions without a GUI. The standard knime executable can be started with a different application that allows changing the installation itself:
./knime -application org.eclipse.equinox.p2.director -nosplash
  -consolelog -r _<list-of-update-sites>_ -i _<list-of-features>_ -d _<knime-installation-folder>_
Adjust the following parameters to your needs:
-
<list-of-update-sites>: a comma-separated list of remote or local update sites to use. ZIP files require a special syntax (note the single quotes around the argument). Example:-r 'http://update.knime.org/analytics-platform/4.2,jar:file:/tmp/org.knime.update.analytics-platform_4.2.0.zip!/'
Some extensions, particularly from community update sites, have dependencies to other update sites. In those cases, it it necessary to list all relevant update sites in the installation command. -
Adding the following four update sites should cover the vast majority of cases:
-
-
<list-of-features>: a comma-separated list (spaces after commas are not supported) of features/extensions that should be installed. You can get the necessary identifiers by looking at Help → About KNIME → Installation Details → Installed Software in a KNIME instance that has the desired features installed. Take the identifiers from the "Id" column and make sure you don’t omit the.feature.groupat the end (see also screenshot on the next page). Example:-i org.knime.product.desktop,org.knime.features.r.feature.group
You can get a list of all installed features with:
./knime -application org.eclipse.equinox.p2.director -nosplash
  -consolelog -lir -d _<knime-installation-folder_
-
<knime-installation-folder>: the folder into which KNIME Analytics Platform should be installed (or where it is already installed). Example: -
-d /opt/knime/knime_4.2
以上方法理解起来比较繁琐,下面方法是我们几个同事一起用的笨方法实现的,可做参考。
以knime4.2.0为例
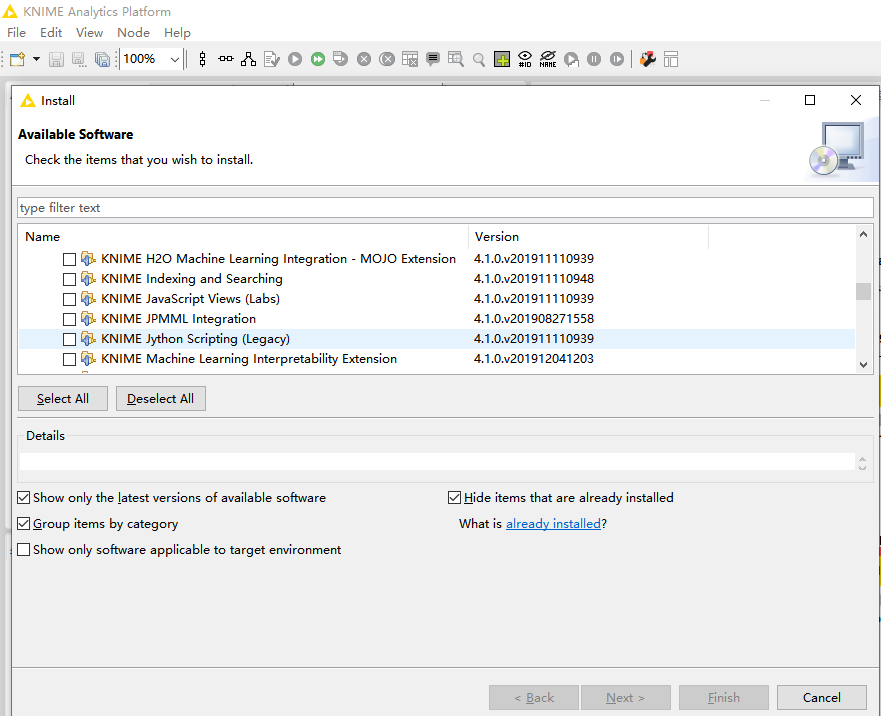
1. 安装windows版本的knime, 并且安装扩展包,比如python扩展包

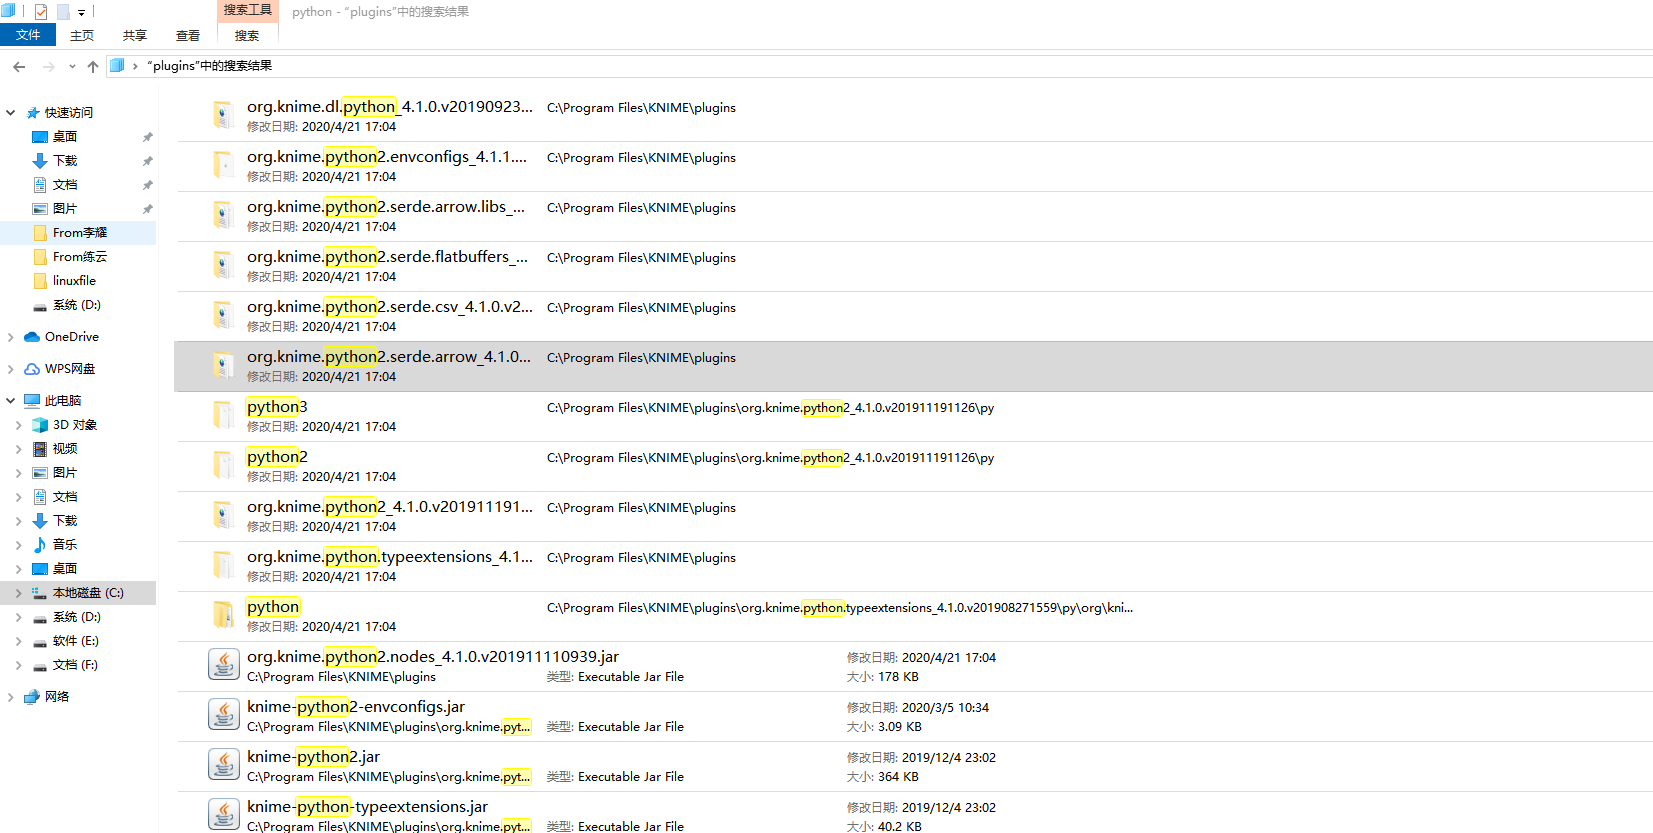
我们发现装好以后会在本地的knime安装路径中发现多了一些knime的文件(C:Program FilesKNIMEfeatures,C:Program FilesKNIMEplugins),而且这些文件的修改时间正是我们安装扩展的时间。因为java是跨平台的,故我们复制这些扩展包到linux同目录下。

2. 安装linux同版本knime。
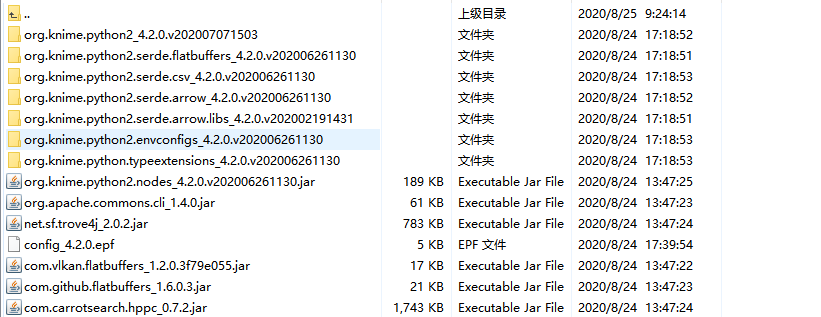
上次linux文件
/opt/modules/knime_4.2.1/plugins

/opt/modules/knime_4.2.1/features

一个重要的一个配置文件
/opt/modules/knime_4.2.0/artifacts.xml,这个文件非常重要

配置epf文件
在windows导出配置文件knime-> file -> export knime perferences. 并且修改python linux的目录

安装配置
./knime -application org.eclipse.equinox.p2.director -nosplash -consolelog -lir -r 'http://update.knime.com/analytics-platform/4.2,' -i org.knime.features.python2.feature.group
查看当前环境安装了哪里扩展应用
./knime -application org.eclipse.equinox.p2.director -nosplash -consolelog -lir -d /opt/modules/knime_4.2.0/