1、首先安装Multilingual App Toolkit
2、新建项目,在VS中点击"工具" -> "Multilingual App Toolkit" -> "启用选定内容"


如果出现上述Issue, 打开项目AssemblyInfo.cs文件,加入如下代码片段,然后重复Step 2.
[assembly: NeutralResourcesLanguage("en-US")]
3、新建资源文件,添加资源,然后修改访问修改符为Public.
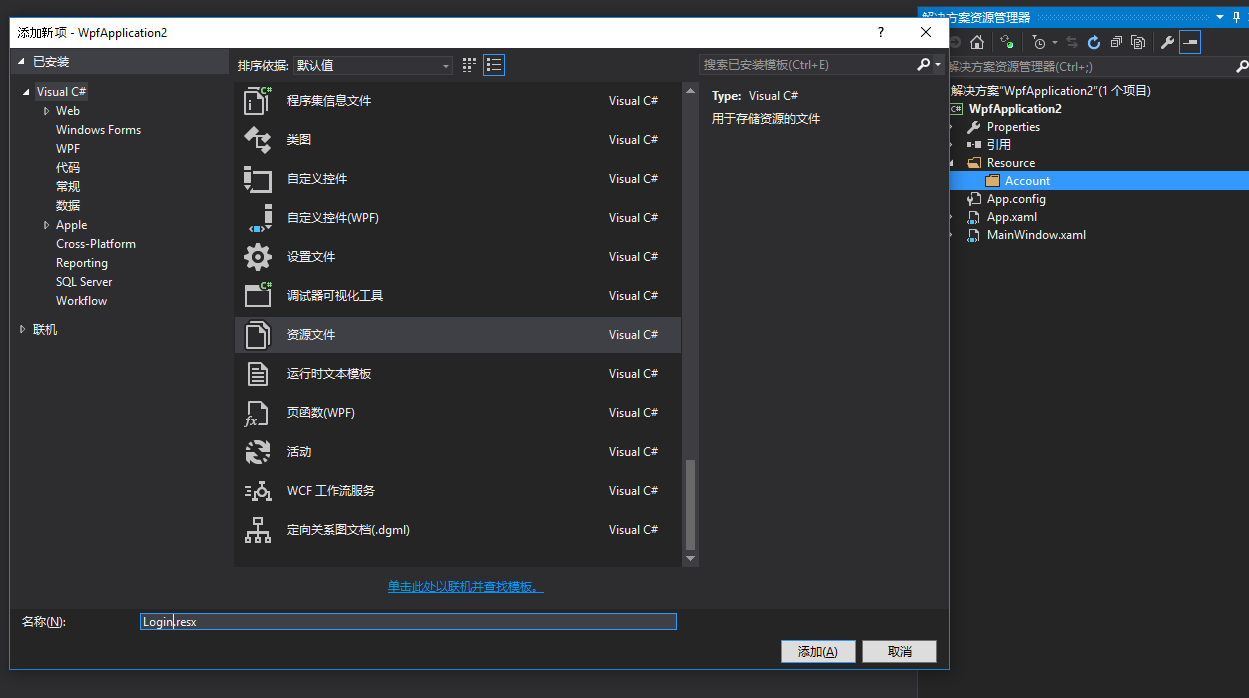

.png)
4、添加翻译语言
右键项目,选择如下所示的菜单项添加”翻译语言“

然后选择应用需支持的语言即可
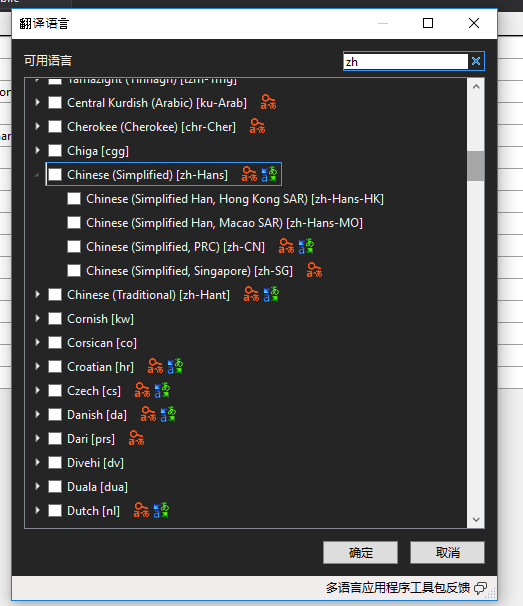
.png)
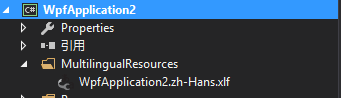
如下所示,已经成功添加中文支持。
.png)
5、如果在资源文件 .resx中添加了新项或是做了其他修改,需编译项目,然后在项目中选择所有的xls文件,右键”生成机器翻译“。

.png)
如下所示,正在翻译。

6、翻译完成之后,就可以在原本的Login.resx下方找到对应的语言的资源文件。
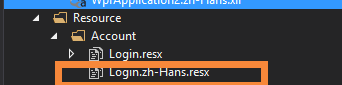
打开对应的资源 文件,如果没有成功翻译,重新编译项目即可。
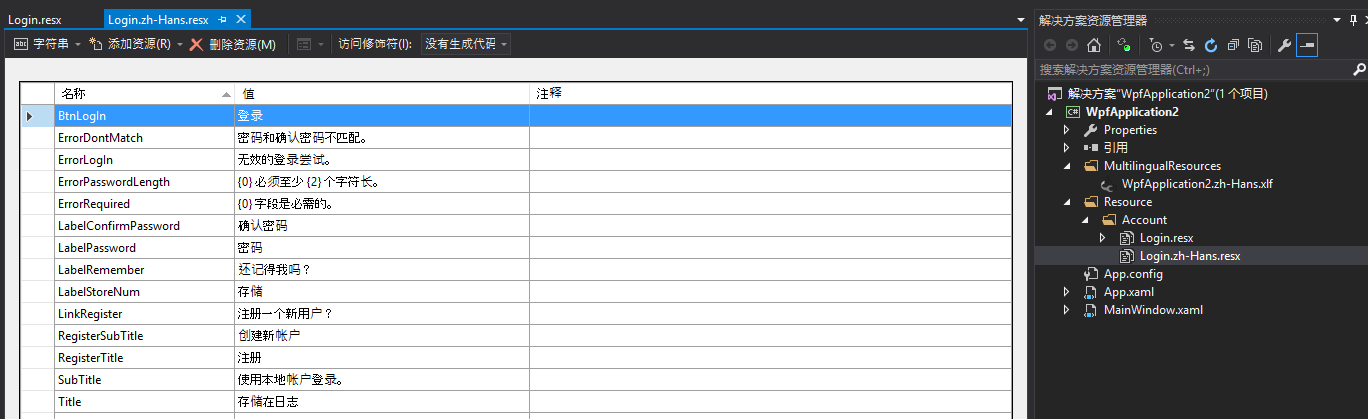
这样资源文件就翻译好了。
7、但机器翻译并不十分完全,如需手动修改,只需修改相应的xlf文件(不是生成的.resx文件,切记),重新编译即可。如我想把上图所示的"登录"修改为”登陆“,就没怎样操作呢?
在项目中双击”zh-Hans.xlf“文件,打开文件进行编辑
.png)
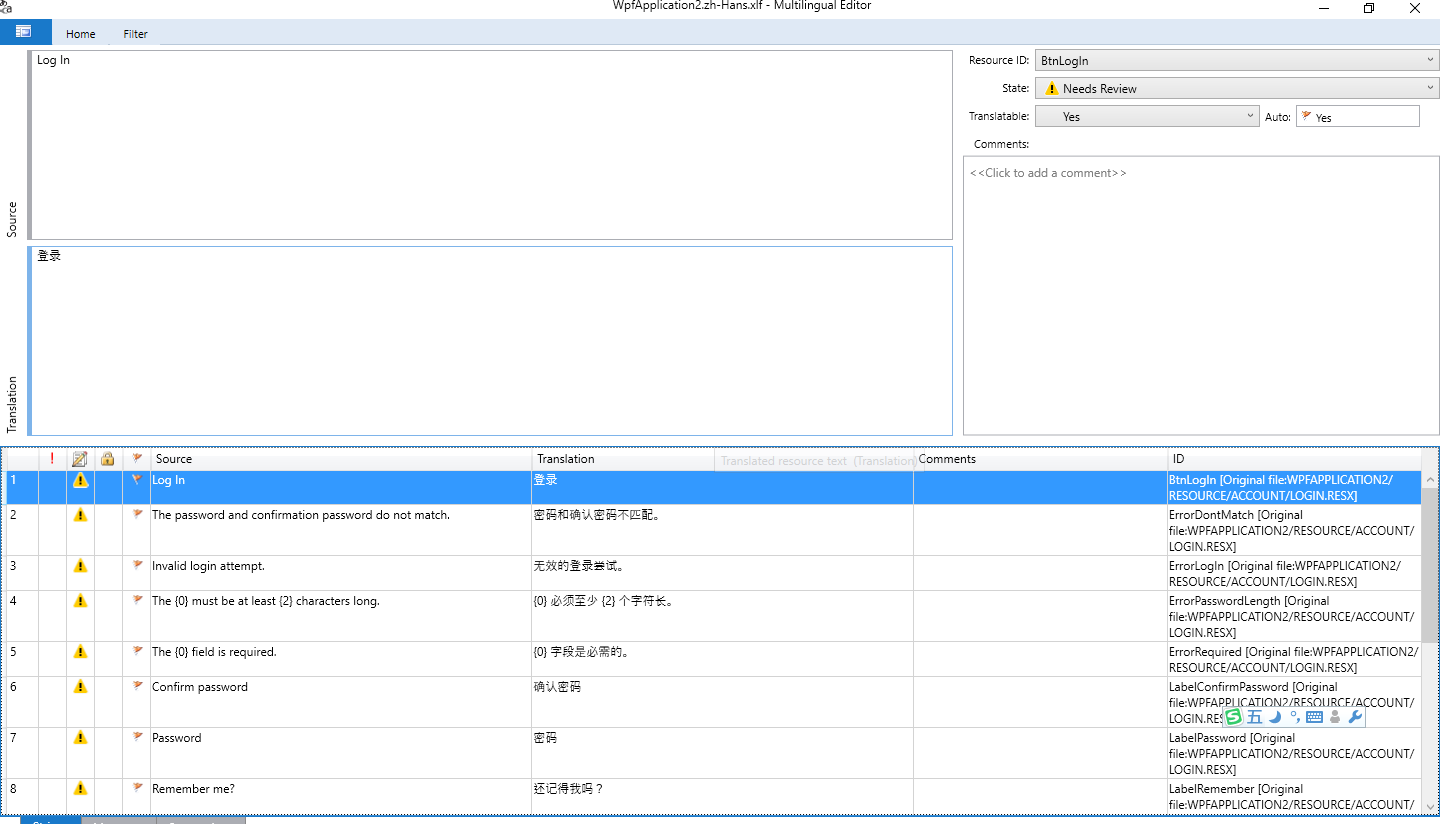
然后直接修改要修改的部分即可,修改完成之后单击保存按钮。

.png)
重新编译项目,发现资源文件已经修改

8、在项目中引用资源
<Window x:Class="WpfApplication2.MainWindow"
xmlns="http://schemas.microsoft.com/winfx/2006/xaml/presentation"
xmlns:x="http://schemas.microsoft.com/winfx/2006/xaml"
xmlns:d="http://schemas.microsoft.com/expression/blend/2008"
xmlns:mc="http://schemas.openxmlformats.org/markup-compatibility/2006"
xmlns:accountResource="clr-namespace:WpfApplication2.Resource.Account"
mc:Ignorable="d"
Title="MainWindow" Height="350" Width="525">
<Grid>
<Button Content="{x:Static accountResource:Login.BtnLogIn}"></Button>
</Grid>
</Window>
9、设定应用UI语言
public partial class App : Application
{
private CultureInfo cultureOverride = new CultureInfo("zh-Hans");
public App()
{
Thread.CurrentThread.CurrentUICulture = cultureOverride;
Thread.CurrentThread.CurrentCulture = cultureOverride;
}
}
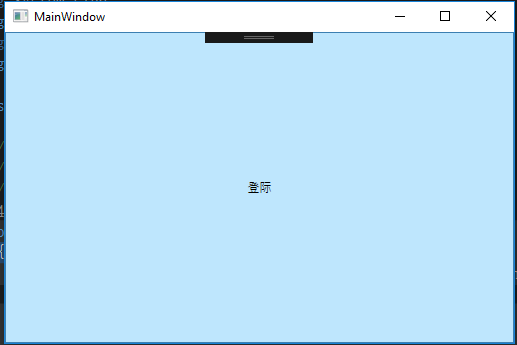
然后运行程序,效果如图所示
.png)