部署环境
1、C盘新建记事本dockerfile,输入内容
FROM nginx
MAINTAINER 姓名
RUN echo "Hi, This Is A Docker Continer Website" > /usr/share/nginx/html/index.html EXPOSE 80
2、构建:docker build -t nginx_web -f Dockerfile
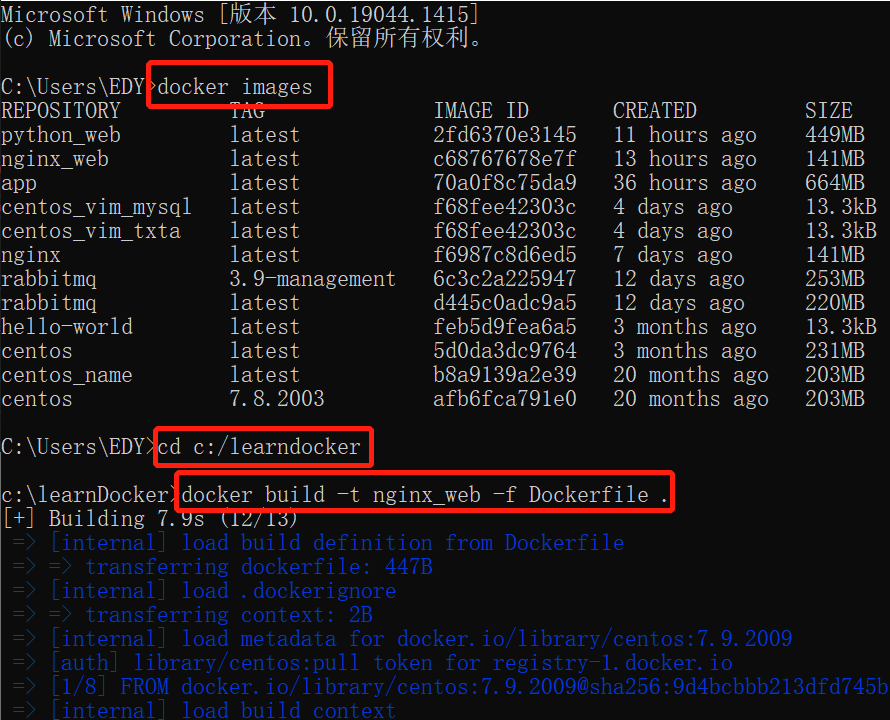
3、运行镜像:docker --rm -p80:80 nginx_web
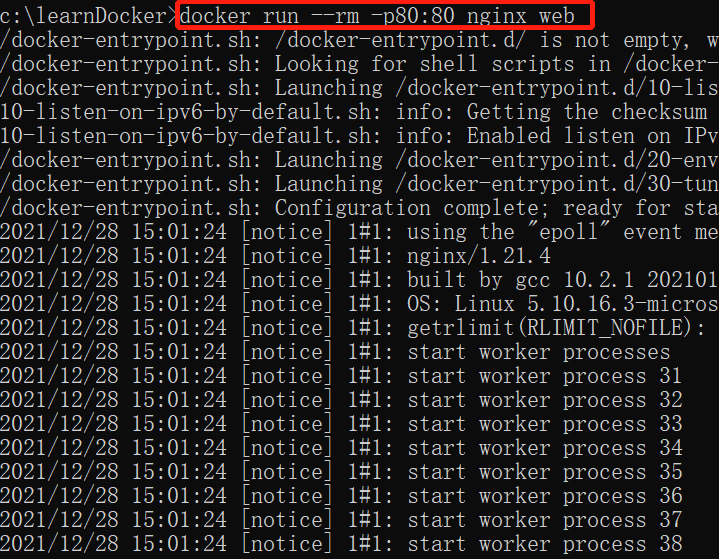
查看nginx服务的日志信息:docker logs -f 容器ID
80:web默认端口
443:安全协议
25:邮件服务
22:ssh服务端口
部署python环境
1、C盘新建dockerfile,输入:
FROM centos:7.8.2003
MAINTAINER 姓名
#下载yum
RUN curl -o /etc/yum.repos.d/CentOS-Base.repo https://mirrors.aliyun.com/repo/Centos-7.repo;
RUN curl -o /etc/yum.repos.d/epel.repo http://mirrors.aliyun.com/repo/epel-7.repo;
#安装Python环境
RUN yum install python3-devel python3-pip -y
#安装flask库
RUN pip3 install -i https://pypi.douban.com/simple flask
RUN pip3 install flask_restful
RUN pip3 install flask_httpauth
RUN pip3 install flask_jwt
#复制文件到容器目录
COPY app.py /opt
#切换目录
WORKDIR /opt
#启动服务
EXPOSE 5000
CMD ["python3","app.py"]
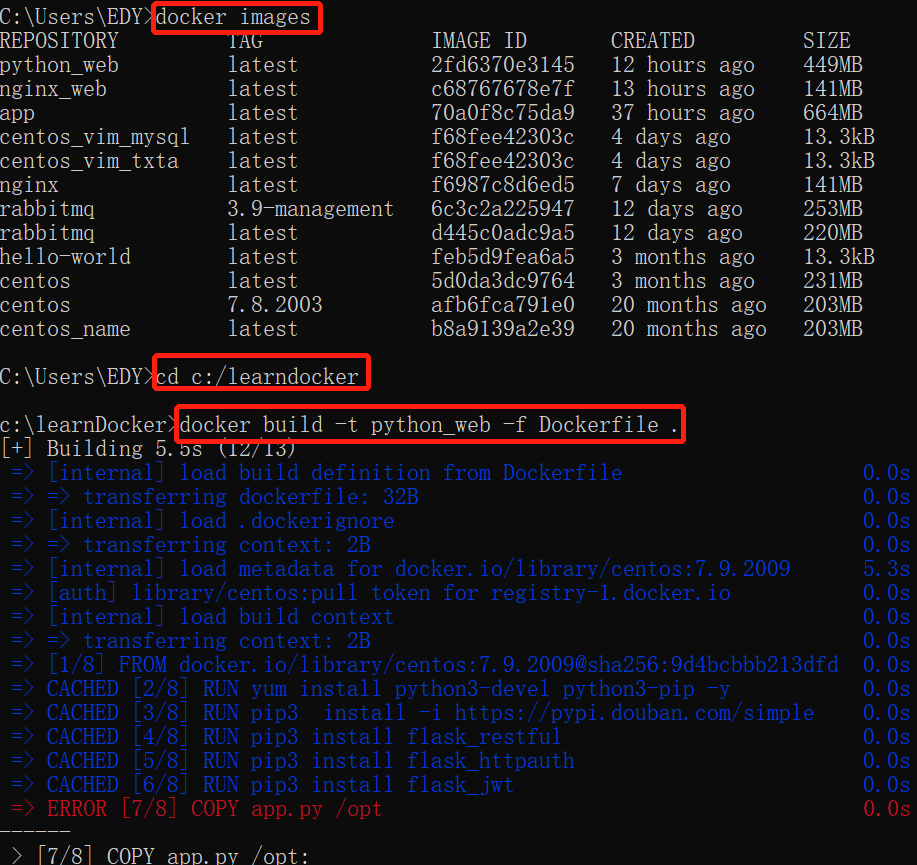
2、构建:docker build -t python_web -f Dockerfile .
3、运行镜像:docker run --rm -p5000:5000 python_web #运行镜像信息
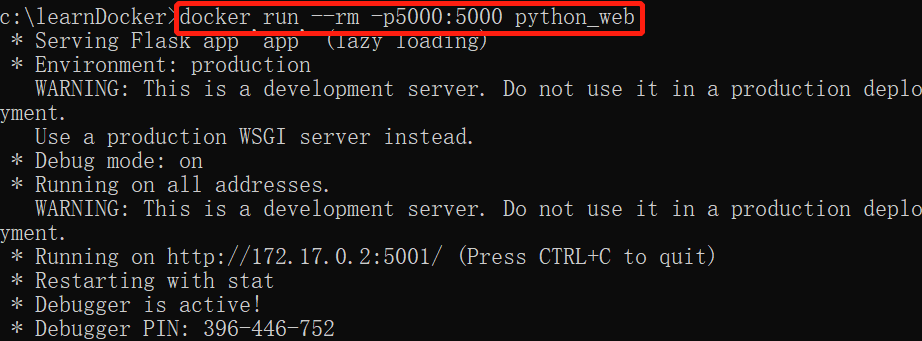
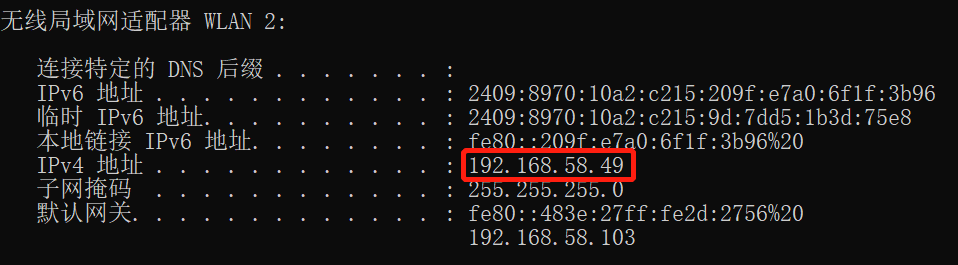
4、依据IP地址打开浏览器输入信息
查询ip地址(ipv4):ipconfig
netstat -ano | findstr "被查询的端口" #根据端口查询到应用程序的pid信息
tasklist | findstr "pid" #根据pid信息查询到具体的应用程序
使用Docker来安装RabbitMQ
MQ:生产者消费者模式
MQ:kafka,rabbitmq,activitymq
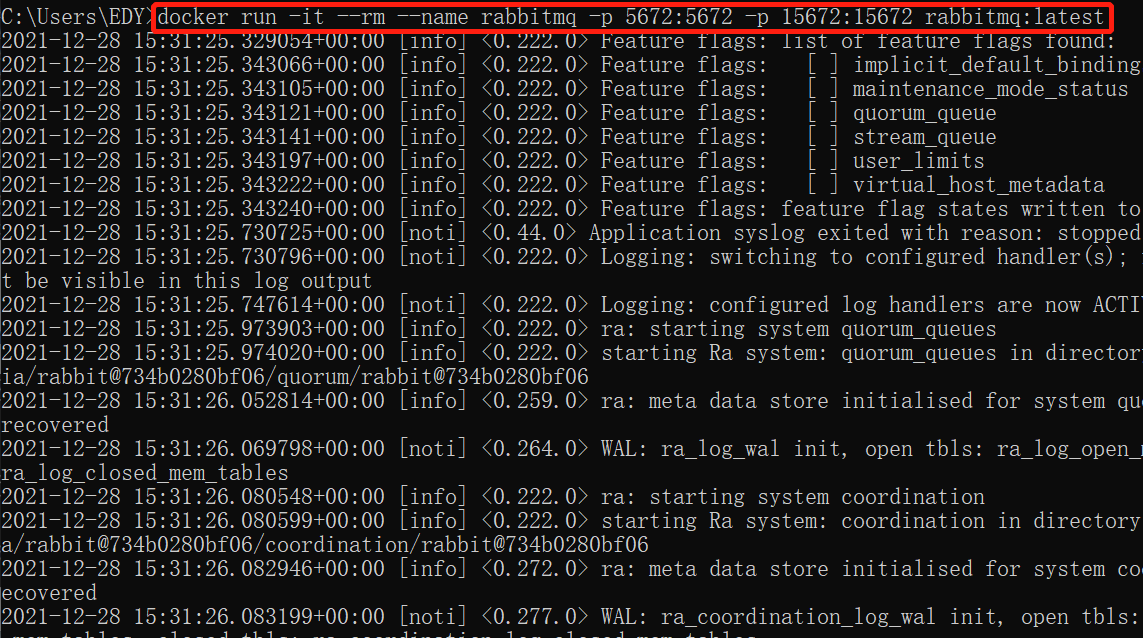
使用Docker来安装RabbitMQ
1、输入:docker run -it --rm --name rabbitmq -p 5672:5672 -p 15672:15672 rabbitmq:latest
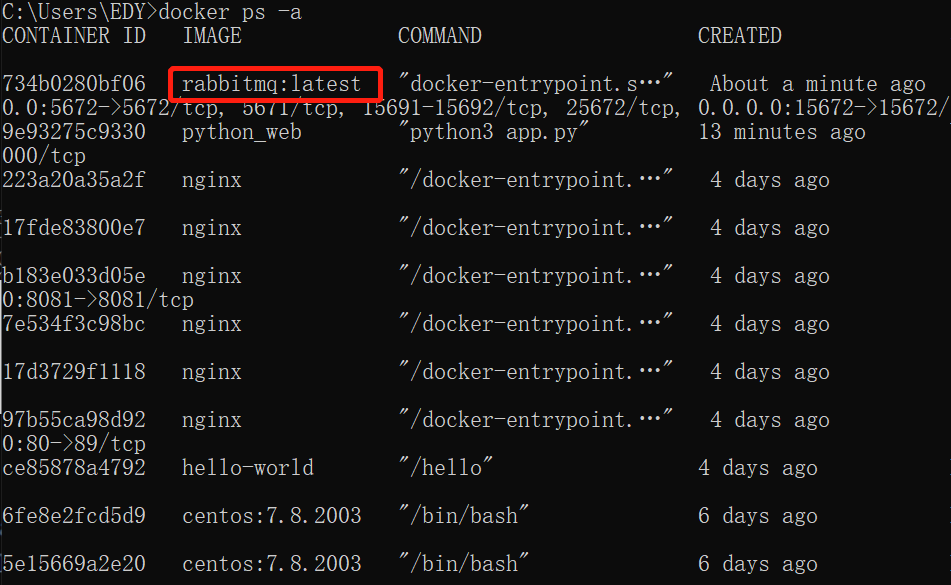
2、新建后台运行,输入docker ps -a
3、docker port ID(rabbitmq的ID)
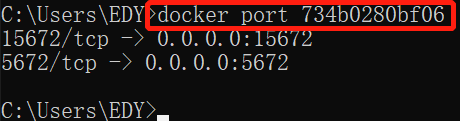
4、浏览器中输入http://localhost:15672/,账号密码统一输入guest,点击回车