表單介紹
1.表單標籤
聲明表單的範圍,位於表單標籤中的元素將被提交
語法: <form> </form>
屬性: Method(提交方式get,post) , Enctype(編碼) , action(提交方向)
2.表單域
<input ...> 屬性:type,name,value
文本框 <type="text">
密碼框 <type="password">
文本區域<type="textarea">
單選框 <type=radio>
復選框 <type=checkbox>
3.表單按扭
提交按鈕
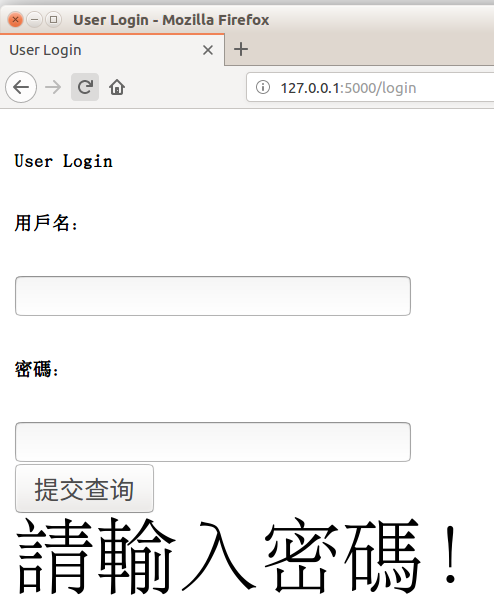
復位按鈕
一般按鈕
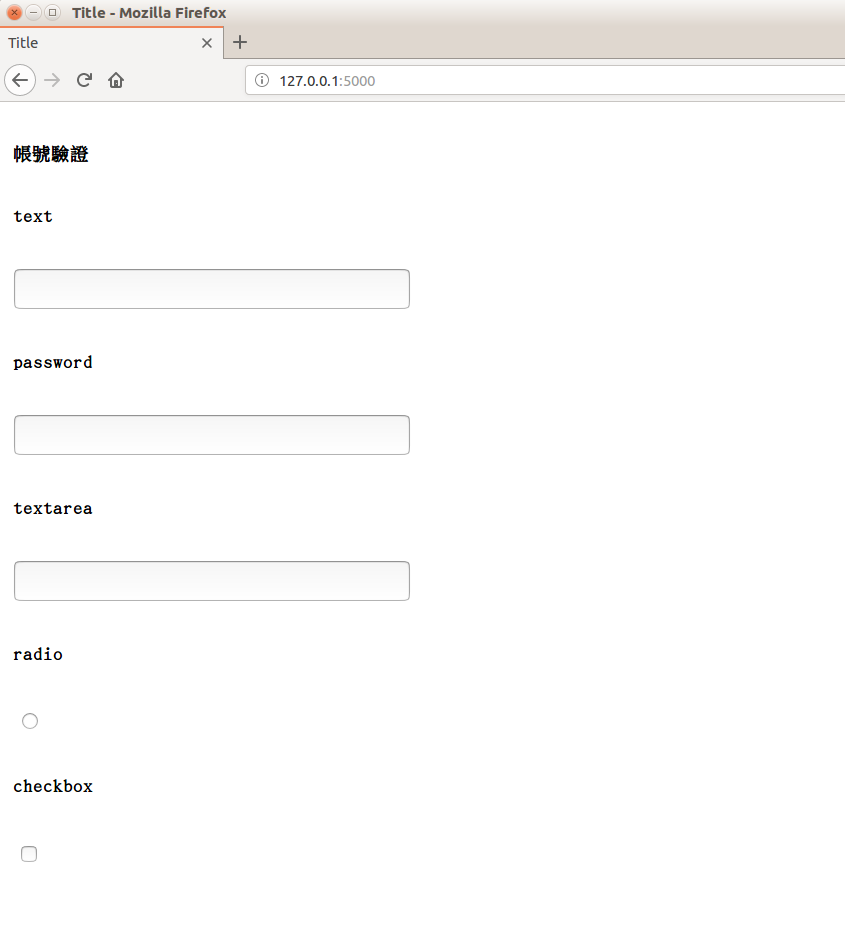
代碼如下:
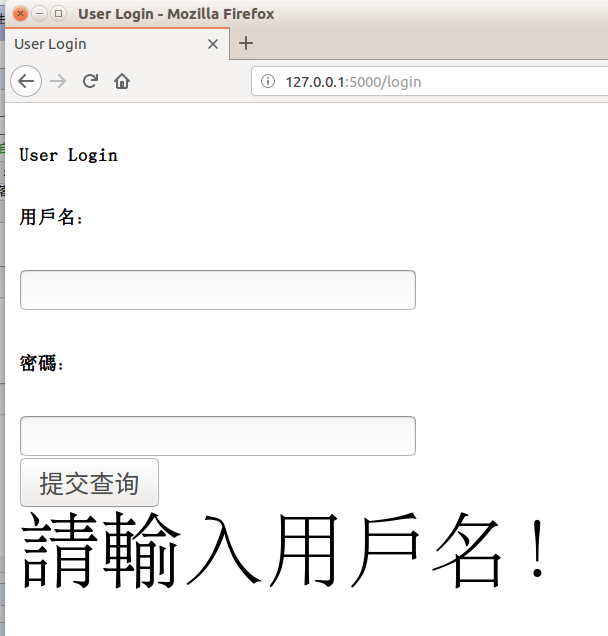
// index.html
 1 <!DOCTYPE html>
 2 <html lang="en">
 3 <head>
 4     <meta charset="UTF-8">
 5     <title>Title</title>
 6 </head>
 7 <body>
 8 <div>
 9     <h6>帳號驗證</h6>
10 </div>
11
12 <form action="/login" method="POST">
13     <h6>text</h6>
14     <input type="text" name="username"><br>
15     <h6>password</h6>
16     <input type="password" name="password"><br>
17     <h6>textarea</h6>
18     <input type="textarea" name="textarea"><br>
19     <h6>radio</h6>
20     <input type="radio" name="radio"><br>
21     <h6>checkbox</h6>
22     <input type="checkbox" name="checkbox"><br>
23 </form>
24 <h6>{{get_flashed_messages()[0]}}</h6>
25 </body>
26 </html>
// main.py
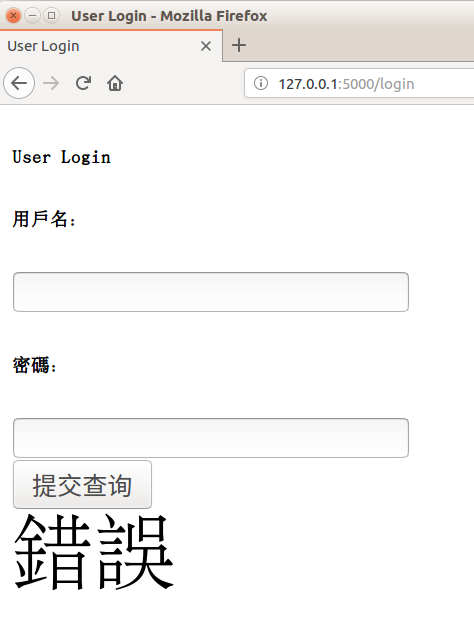
 1 from flask import Flask,render_template
 2
 3 app = Flask(__name__)
 4
 5 @app.route('/')
 6 def index():
 7     return render_template('index.html')
 8
 9 if __name__=='__main__':
10     app.run()
運行結果:
表單的提交方式
POST
GET
實戰:用 Flask 开发用户管理
用戶登錄界面,默認用戶名爲 flask , 密碼爲 123123
登錄成功則顯示登錄成功。
------index.html-------
 1 <!DOCTYPE html>
 2 <html lang="en">
 3 <head>
 4     <meta charset="UTF-8">
 5     <title>User Login</title>
 6 </head>
 7 <body>
 8 <div>
 9     <h6>User Login</h6>
10 </div>
11
12 <form action="/login" method="POST">
13     <h6>用戶名:</h6>
14     <input type="text" name="username"><br>
15     <h6>密碼:</h6>
16     <input type="password" name="password"><br>
17     <input type="submit" name="submit"><br>
18 </form>
19 <font size="20">{{get_flashed_messages()[0]}}</font>
20 </body>
21 </html>
------main.py-------
 1 from flask import Flask,render_template,request,flash
 2
 3 app = Flask(__name__)
 4 app.secret_key = '123'
 5 @app.route('/')
 6 def index():
 7     return render_template('index.html')
 8
 9 @app.route('/login',methods=['POST'])
10 def login():
11     form = request.form
12     username = form.get('username')
13     password = form.get('password')
14     if not password:
15         flash("請輸入密碼!")
16         return render_template('index.html')
17     if not username:
18         flash("請輸入用戶名!")
19         return render_template('index.html')
20     if username == 'flask' and password == '123':
21         return '<font size="50">登錄成功</font>'
22     else:
23         flash("錯誤")
24         return render_template('index.html')
25
26 if __name__=='__main__':
27     app.run()
運行結果: