安装介绍:
https://www.oschina.net/p/nginx-unit
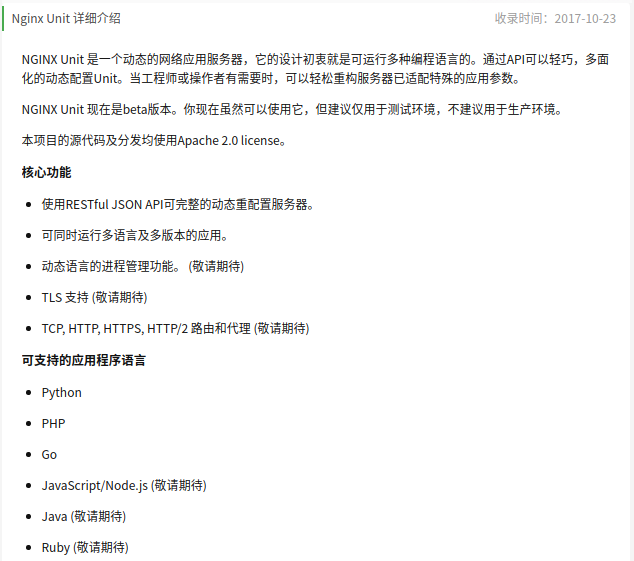
可以看到,unit还是很强大的,居然特么都支持go 还有python
在/etc/yum.repos.d/unit.repo加入如下语句:
# cat /etc/yum.repos.d/unit.repo
[unit]
name=unit repo
baseurl=https://packages.nginx.org/unit/centos/$releasever/$basearch/
gpgcheck=0
enabled=1
#
makecache yum源
# yum makecache
执行安装 由于要测试unit-php,故安装unit-php ,如果要测试python,可以安装unit-python,如果要测试go,则安装unit-go
# yum install unit unit-php
这里有坑,安装unit-php的时候,默认就安装了5.3的

所以,如果你自己安装了php7的,调用phpinfo的时候,会显示php 5.3 ,原因在此,这个得需要源码安装,有点坑,过几天再去踩踩
编辑配置文件
编辑配置文件,内容如下:
# cat /etc/unit/start.json
{
    "listeners": {
        "*:8300": {
            "application": "blogs"
        }
    },

    "applications": {
        "blogs": {
            "type": "php",
            "processes": 20,
            "root": "/usr/local/nginx/php",
            "index": "index.php"
        }
    }
}
#
启动unit并且加载json文件
# /etc/init.d/unit start

# /usr/local/bin/curl -X PUT -d @/etc/unit/start.json --unix-socket /var/run/control.unit.sock http://localhost
{
"success": "Reconfiguration done."
}

当出现success": "Reconfiguration done.则怎么加载成功,可以用netstat查看端口是否已经开起来
注意,这里有坑,如果要用curl的unix-socket参数,若curl包低于7.4需要进行升级
例如,如下安装方法:
# wget https://curl.haxx.se/download/curl-7.55.0.tar.gz
...解压,进入目录...
# ./configure
# make
# make install
# /usr/local/bin/curl --version
curl 7.55.0 (x86_64-pc-linux-gnu) libcurl/7.55.0 OpenSSL/1.0.1e zlib/1.2.3
Release-Date: 2017-08-09
Protocols: dict file ftp ftps gopher http https imap imaps pop3 pop3s rtsp smb smbs smtp smtps telnet tftp
Features: IPv6 Largefile NTLM NTLM_WB SSL libz UnixSockets HTTPS-proxy
#
查看加载的配置
# /usr/local/bin/curl --unix-socket /var/run/control.unit.sock http://localhost
{
    "listeners": {
        "*:8300": {
            "application": "blogs"
        }
    },

    "applications": {
        "blogs": {
            "type": "php",
            "processes": 20,
            "root": "/usr/local/nginx/php",
            "index": "index.php"
        }
    }
}
#
这时候,通过netstat可以看到8300端口已经打开了,
# cat /usr/local/nginx/php/index.php
<?php
    phpinfo();
?>
#
通过8300访问,就可以看看到phpinfo的界面了,但是前提是,root下,必须有index.php哟
重新加载配置文件
重新编写配置文件
# cat /etc/unit/start.json
{
    "listeners": {
        "*:8300": {
            "application": "blogs"
        }
    },

    "applications": {
        "blogs": {
            "type": "php",
            "processes": 20,
            "root": "/usr/local/nginx/php",
            "index": "index.php",

        "user": "php",
        "group": "php",

        "options": {
            "file": "/usr/local/php7/lib/php.ini"
        }
        }
    }
}
#
重新加载配置文件
# /usr/local/bin/curl -X PUT -d @/etc/unit/start.json --unix-socket /var/run/control.unit.sock http://localhost
{
"success": "Reconfiguration done."
}
再次查看配置文件
# /usr/local/bin/curl --unix-socket /var/run/control.unit.sock http://localhost
{
    "listeners": {
        "*:8300": {
            "application": "blogs"
        }
    },

    "applications": {
        "blogs": {
            "type": "php",
            "processes": 20,
            "root": "/usr/local/nginx/php",
            "index": "index.php",
            "user": "php",
            "group": "php",
            "options": {
                "file": "/usr/local/php7/lib/php.ini"
            }
        }
    }
}
#
这时候,可以通过页面,访问如下信息:
Nginx proxy_pass设置
只需要在location中添加如下几项即可
proxy_pass http://127.0.0.1:8300;
proxy_set_header Host $host;
proxy_set_header X-Forwarded-For $proxy_add_x_forwarded_for;
检查语法,重启nginx
# /usr/local/nginx/sbin/nginx -t
nginx: the configuration file /usr/local/nginx/conf/nginx.conf syntax is ok
nginx: configuration file /usr/local/nginx/conf/nginx.conf test is successful
# /usr/local/nginx/sbin/nginx -s reload
#
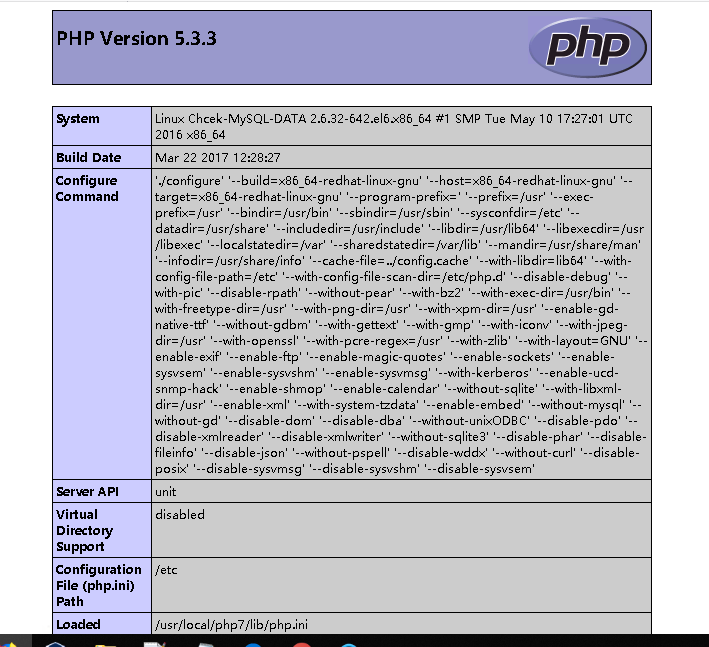
通过Nginx访问界面如下:

可以看到,Server API 是unit
总结:
0.参考网址:http://unit.nginx.org/
1.unit 目前用的还很少,主流依然是php-fpm
2.如果能够采用源码编译unit的话,当然是最好的
3.curl版本问题
4.编写的json文件格式一定要正确,可以用在线工具检测json是否正确(http://www.bejson.com/)
兴趣才是最好的老师,加油吧。。。这玩意快搞了我加起来两天时间了,