本文地址:http://www.cnblogs.com/QingHuan/p/7354074.html

转载请注明本文地址,方便读者查看本文更新,谢谢!
今天要在Mac上安装OpenCV,过程非常曲折,充分体会到了每个人的安装过程都是不同的
具体参考了以下几篇博客:
[1] http://www.jianshu.com/p/6e345b3aa988
[2] http://www.jianshu.com/p/b5424e9cb7ad
[3] http://blog.csdn.net/willduan1/article/details/53898440
[4] http://nooverfit.com/wp/手把手教你,在ubuntu上安装opencv-3-0-和-python-2-7/
在参考 [1] 的过程中,还下载了Anaconda,其实最后都没有用上
另外推荐一本学习Python的书:
https://www.gitbook.com/book/lenkimo/byte-of-python-chinese-edition/details
下面是正式安装过程,目的是使用PyCharm进行Python开发
// 更新:可以不安装虚拟环境,直接跳到第二节,选择系统默认的python2.7即可
// 再更新,其实可以在Pycharm里配置安装虚拟环境(实在太赞了),如下图

第一节 安装虚拟环境
参考 [2] 和 [4] ,感谢原作者!
安装virtualenv和virtualenvwrapper. 用来分割python虚拟环境. 这不是必须的, 但是强烈推荐:
$ sudo pip install virtualenv virtualenvwrapper
$ sudo rm -rf ~/.cache/pip
如果报以下的错误:
Operation not permitted: '/tmp/pip-bxaFhj-uninstall/System/Library/Frameworks/Python.framework/Versions/2.7/Extras/lib/python/six-1.4.1-py2.7.egg-info'
参考[7] https://github.com/pypa/pip/issues/3165
输入
sudo pip install virtualenv virtualenvwrapper --upgrade --ignore-installed six
即可
原因是:
This is because OS X El Capitan ships with six 1.4.1 installed already and when it attempts to uninstall it (because awscli depends on botocore, botocore depends on python-dateutil, and python-dateutil depends on six >= 1.5) it doesn't have permission to do so because System Integrity Protection doesn't allow even root to modify those directories.
Ideally, pip should just skip uninstalling those items since they aren't installed to site-packages they are installed to a special Apple directory. However, even if pip skips uninstalling those items and installs six into site-packages we'll hit another bug where Apple puts their pre-installed stuff earlier in the
sys.paththan site-packages. I've talked to Apple about this and I'm not sure if they're going to do anything about it or not.
也就是six的版本问题
现在我们有了virtualenv和virtualenvwrapper, 我们要更新我们的~/.bashrc 文件:(Mac中为.bash_profile)(修改原因参考 [5] )
在Mac中:
vi ~/.bash_profile

如果提示Read-only file,不允许写入的话,执行:
chmod a+w ~/.bash_profile

如果在Linux系统中:
vi ~/.bashrc
然后将下面的几行复制到最末尾
# virtualenv and virtualenvwrapper
export WORKON_HOME=$HOME/.virtualenvs
source /usr/local/bin/virtualenvwrapper.sh
为了使~/.bashrc 文件生效 , 你可以用以下这些方法的其中之一(1) 注销后重新登录, (2)关闭终端开一个新终端, (3)直接使得~/.bashrc文件在当前生效,执行:
$ source ~/.bashrc
最后我们生成虚拟开发环境:
$ mkvirtualenv python2.7forOpencvExp
1.1 安装Python
安装python包管理器pip:
$ wget https://bootstrap.pypa.io/get-pip.py
$ sudo python get-pip.py
安装Python-2.7.13:
brew install python
安装好后的python路径为 /usr/local/Cellar/python/2.7.13_1
可执行文件的位置在 /usr/local/Cellar/python/2.7.13_1/Frameworks/Python.framework/Versions/2.7/bin/python2.7
可以参考 [6] 来修改虚拟环境使用的python版本,
你可以选择使用一个Python解释器(比如``python2.7``):
$ virtualenv -p /usr/bin/python2.7 my_project
如果想查看全局的python位置,输入
whereis python
第二节 在PYCHARM中进行配置:
1. 点击左上角的Pycharm Edu ==> Preferences ==> Project Interpreter,如图
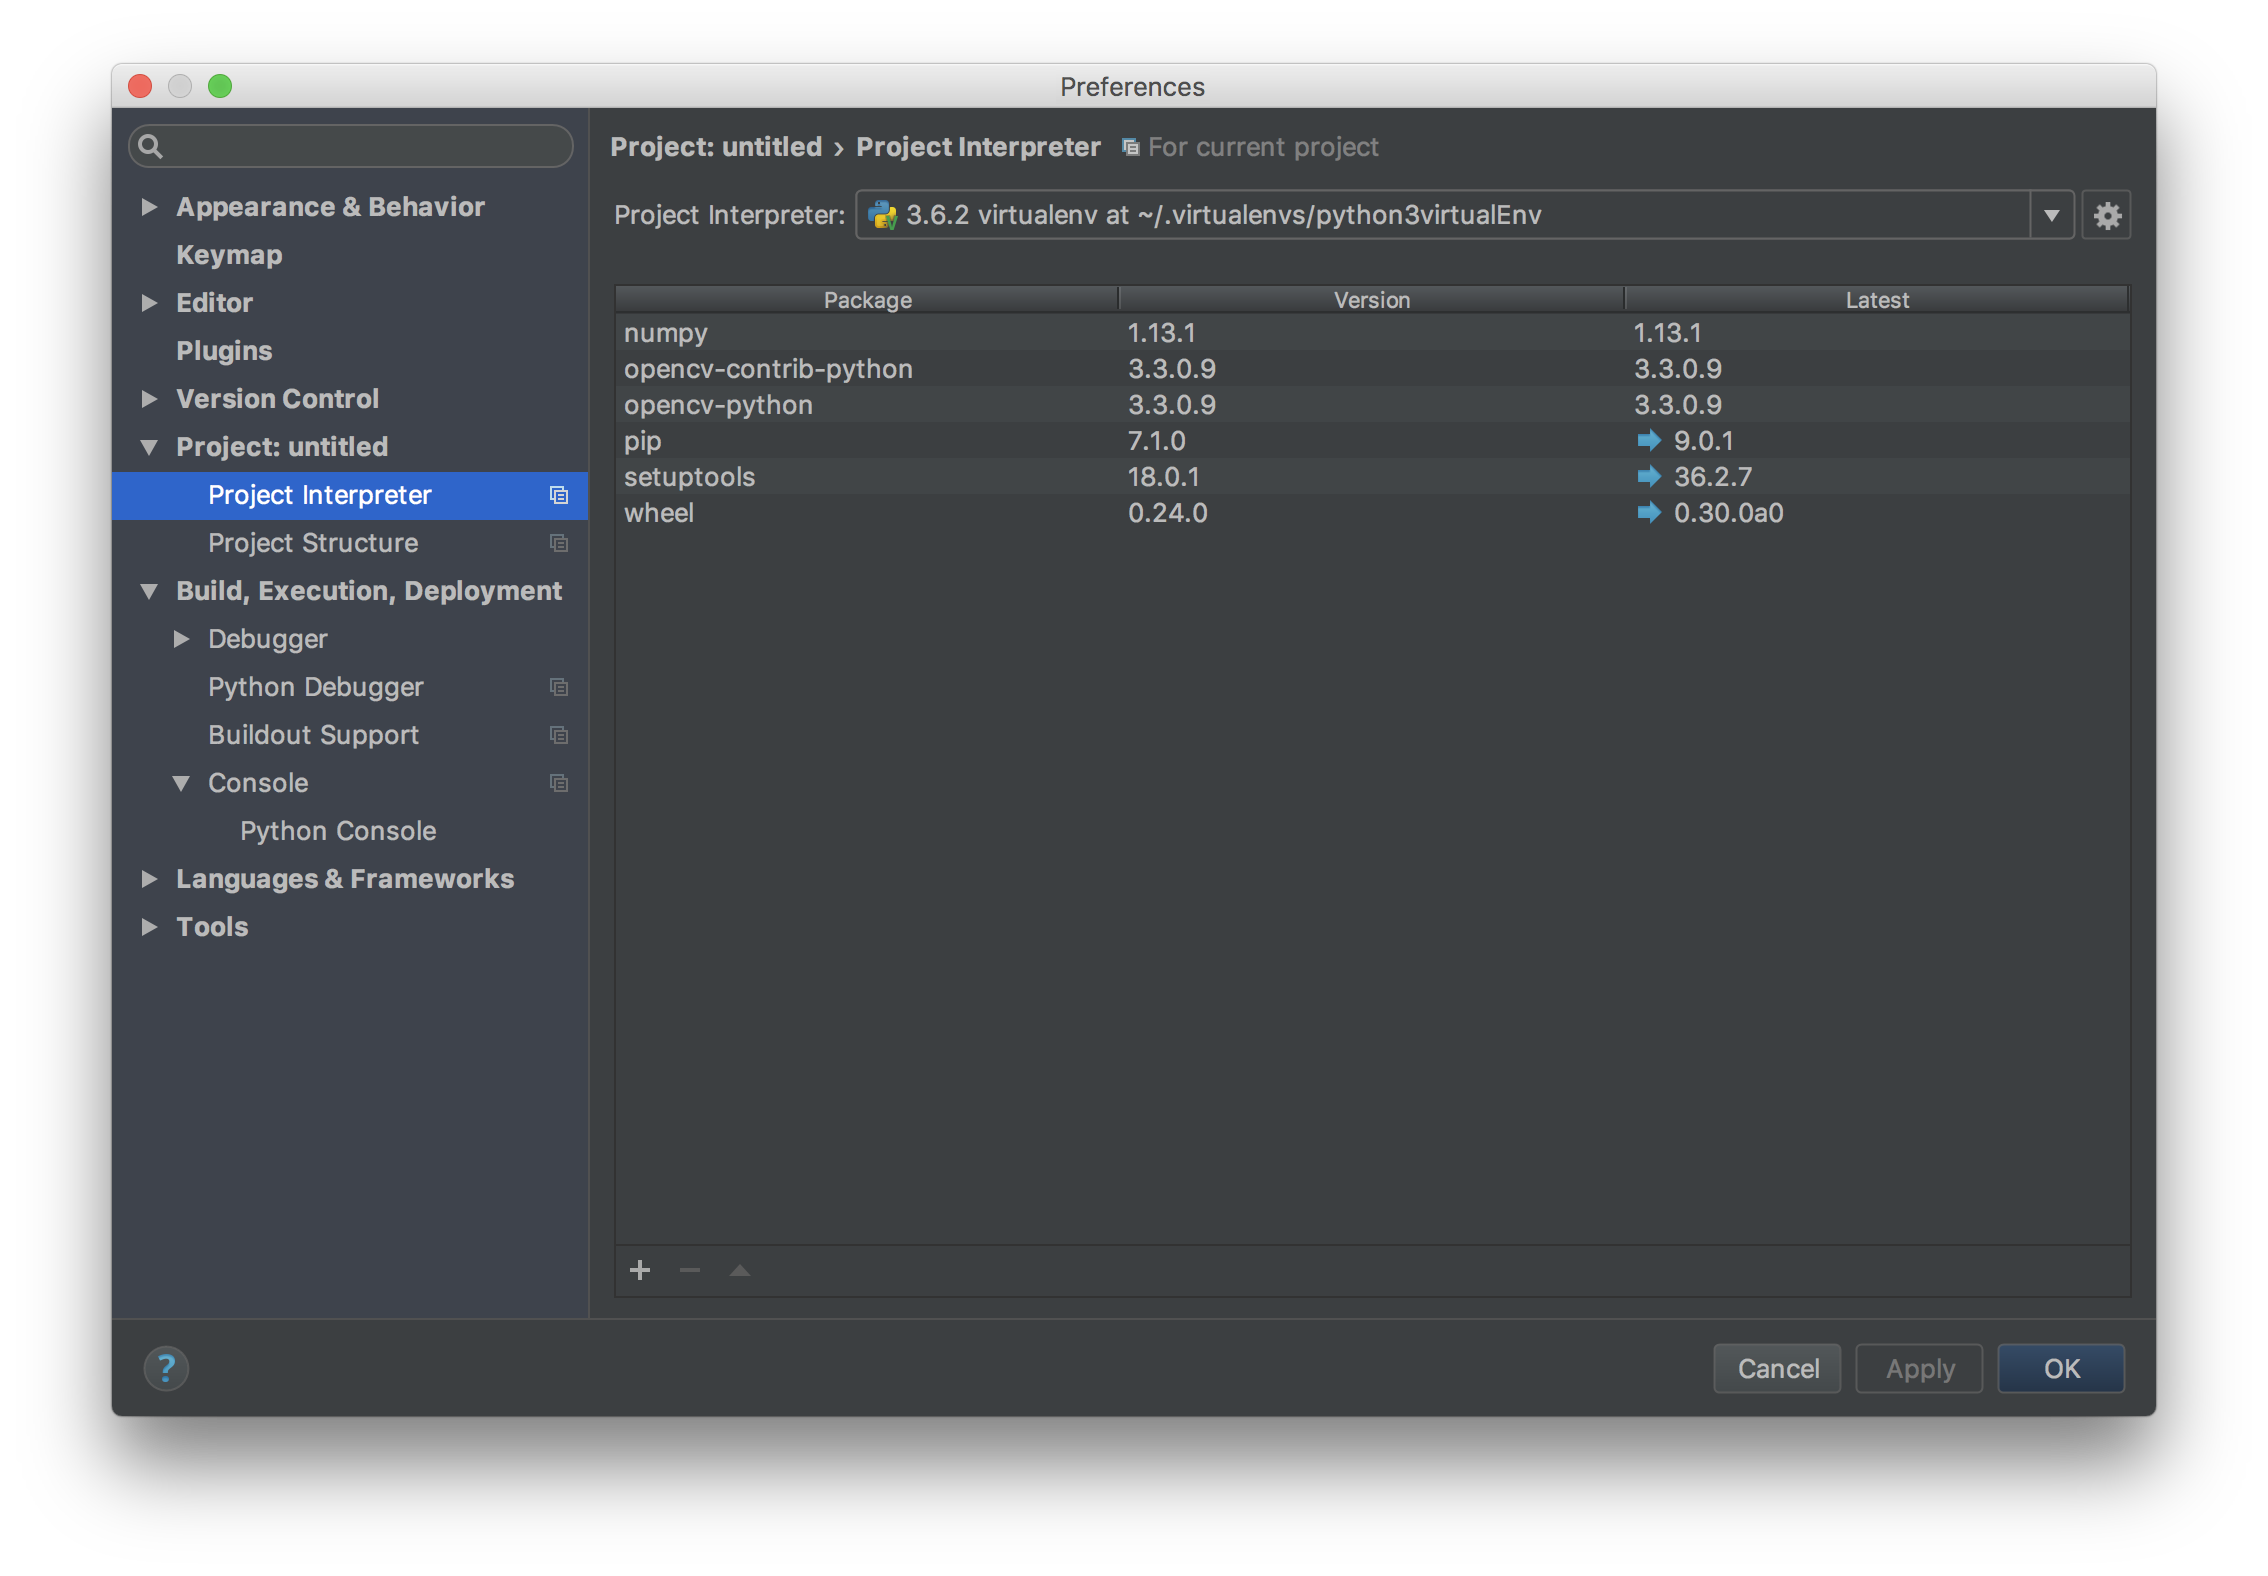
选择解释器为虚拟环境中安装的那个(图中没选对,下面也是,当时安装的是python3.6但是发现不好用)。
2. 点击左下角的“+”加号,进入PYTHON的包管理界面
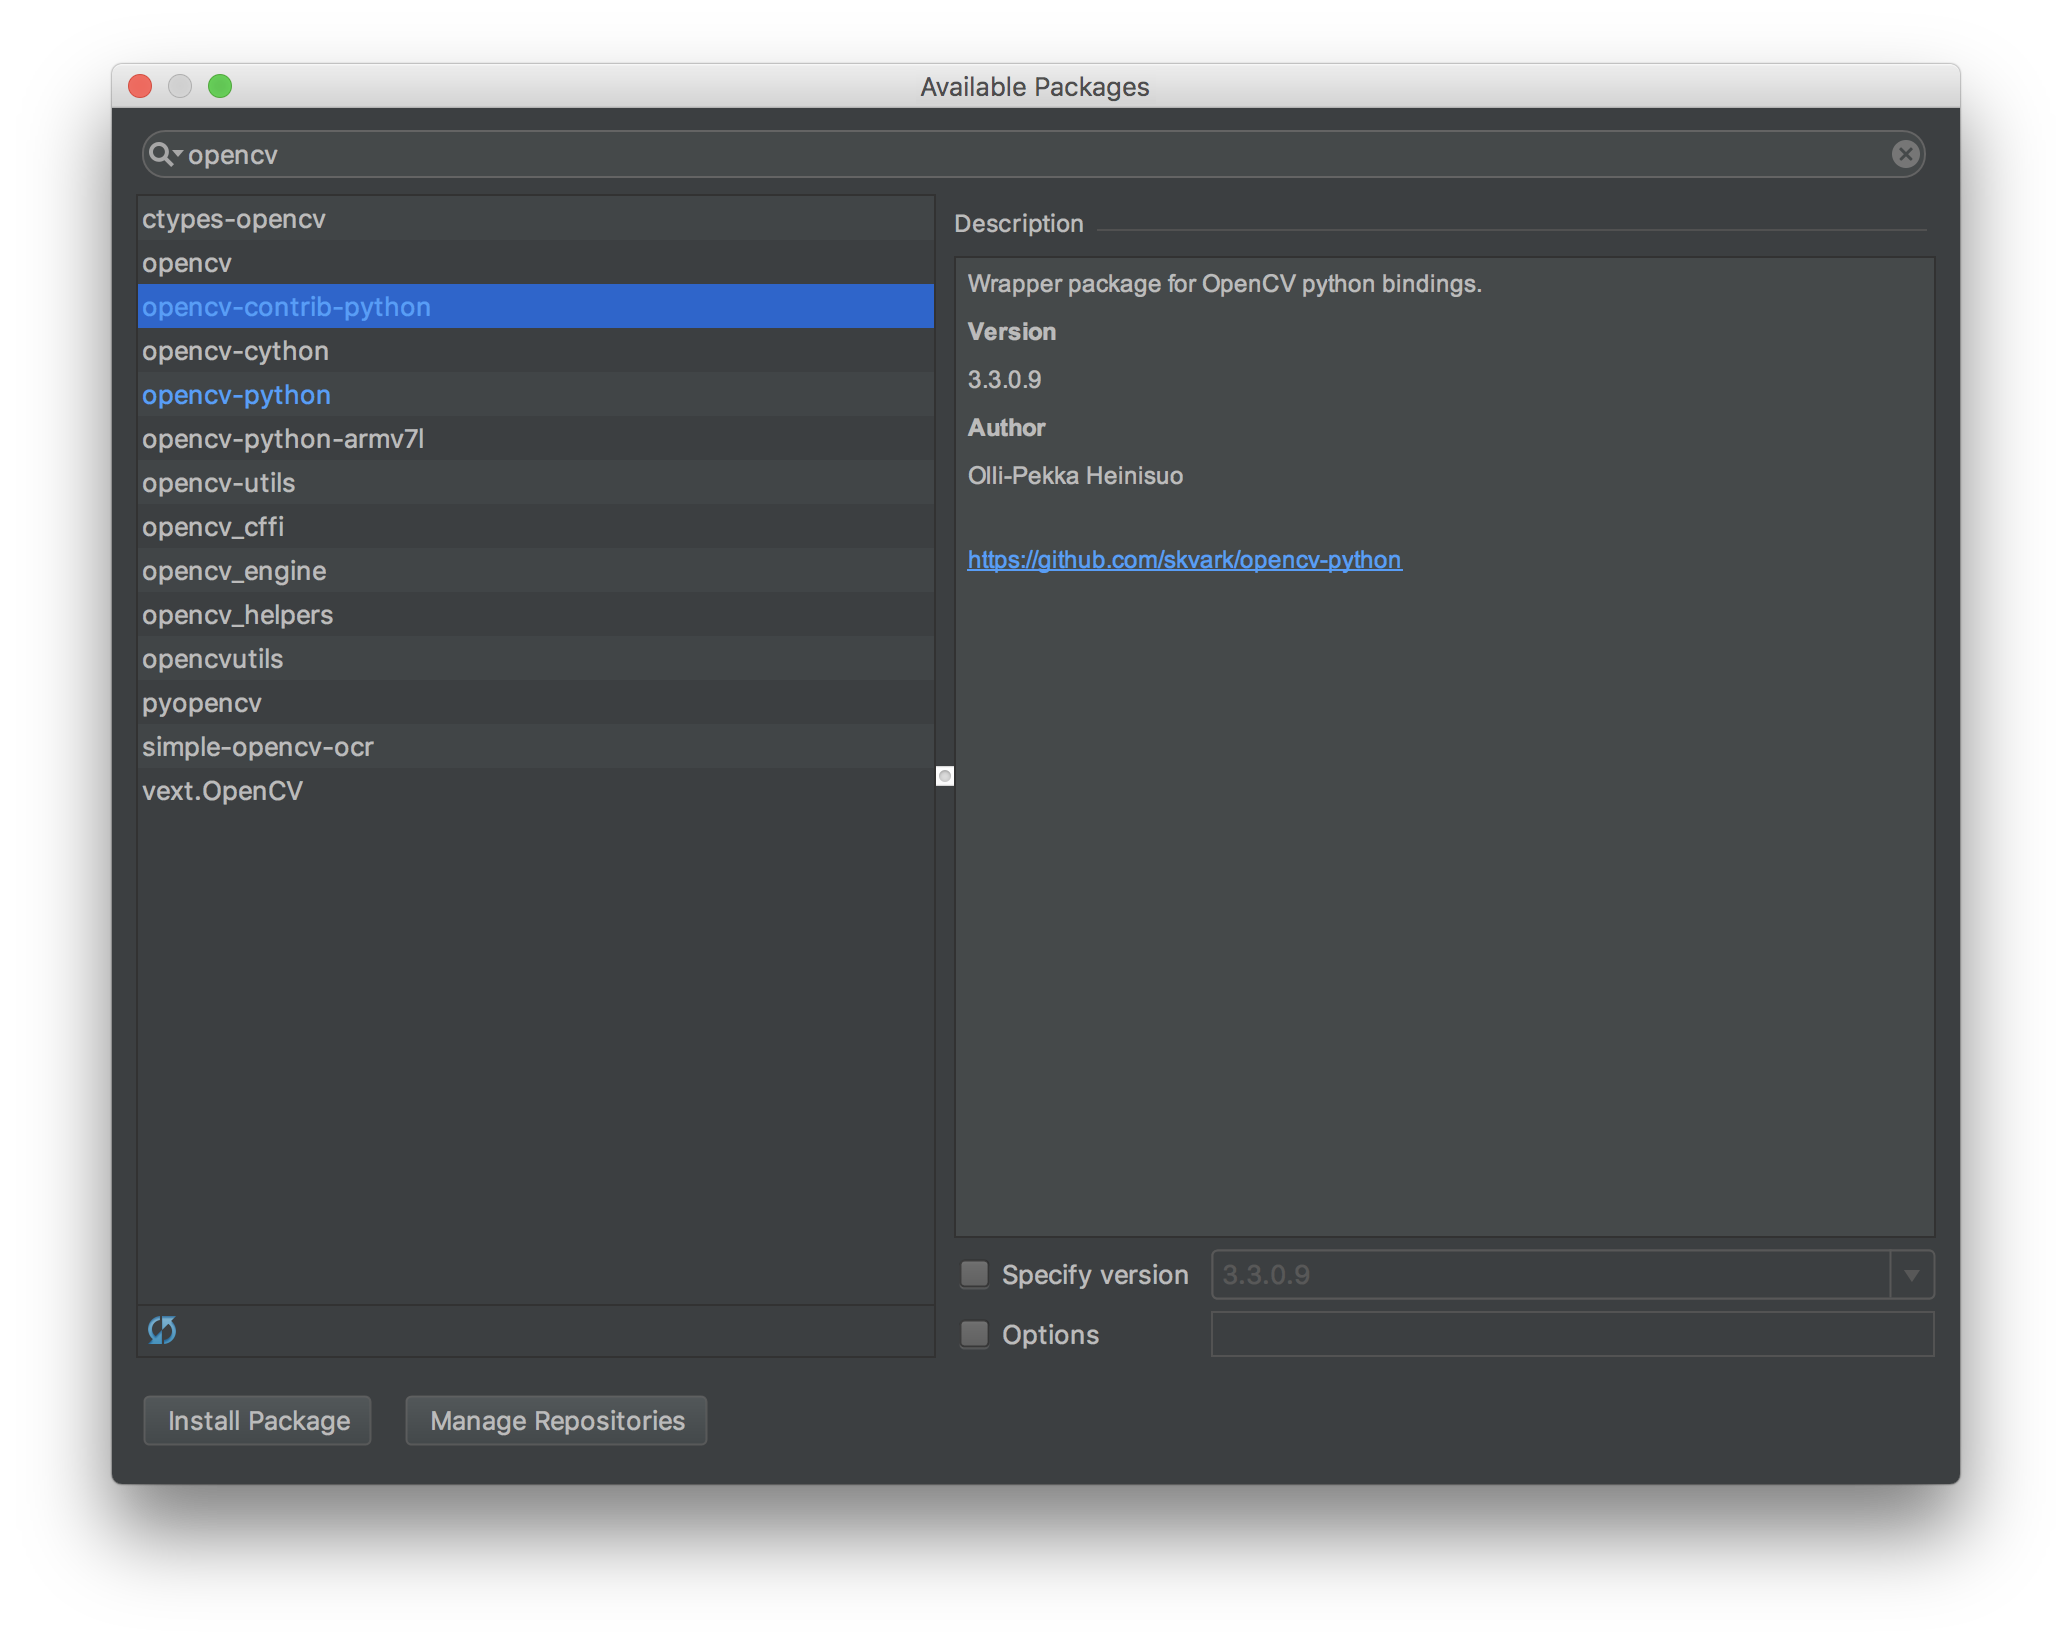
搜索Opencv,选中opencv-python,点击Install Package;同理再安装opencv-contrib
3. 完成最后的配置,还是在Preferences内,选择Build, Execution, Deployment ==> Console ==> Python Console,
选择Python Interpreter为虚拟环境中安装的那款,如图
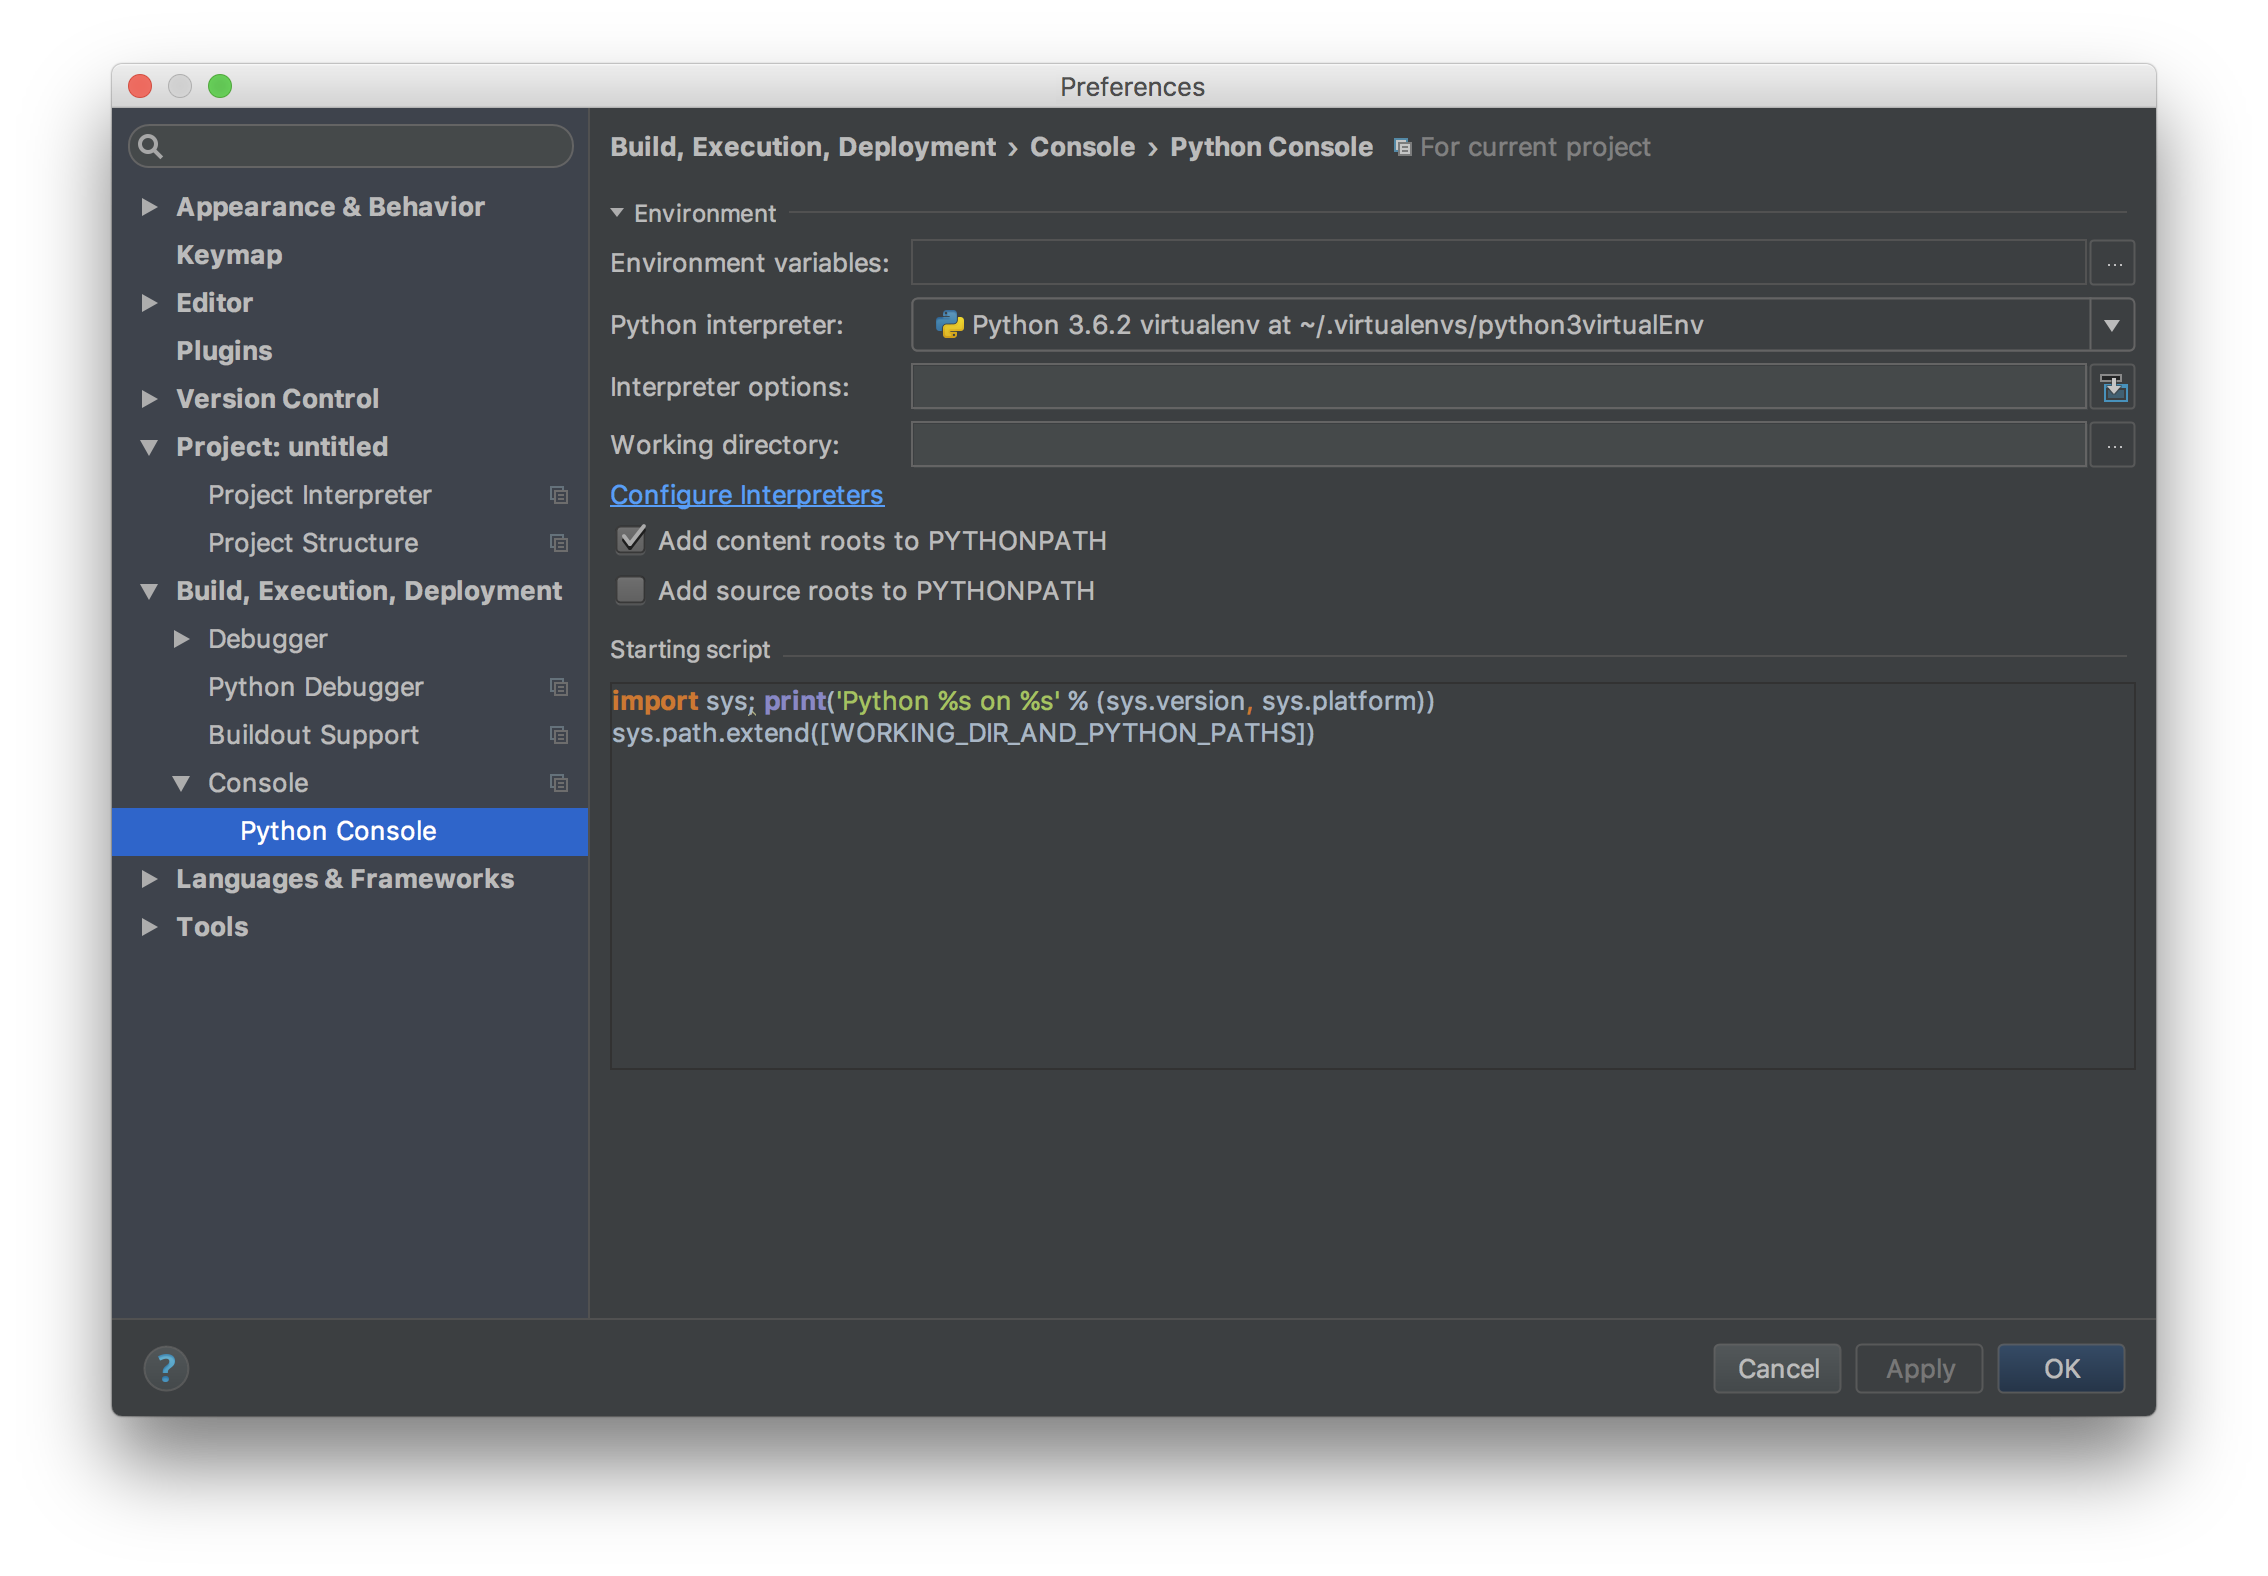
然后点击OK进行确定
4. 测试:在文本框内输入如下命令:
import cv2
print(cv2.__version__)
运行后得到当前Opencv版本为3.3.0,如图
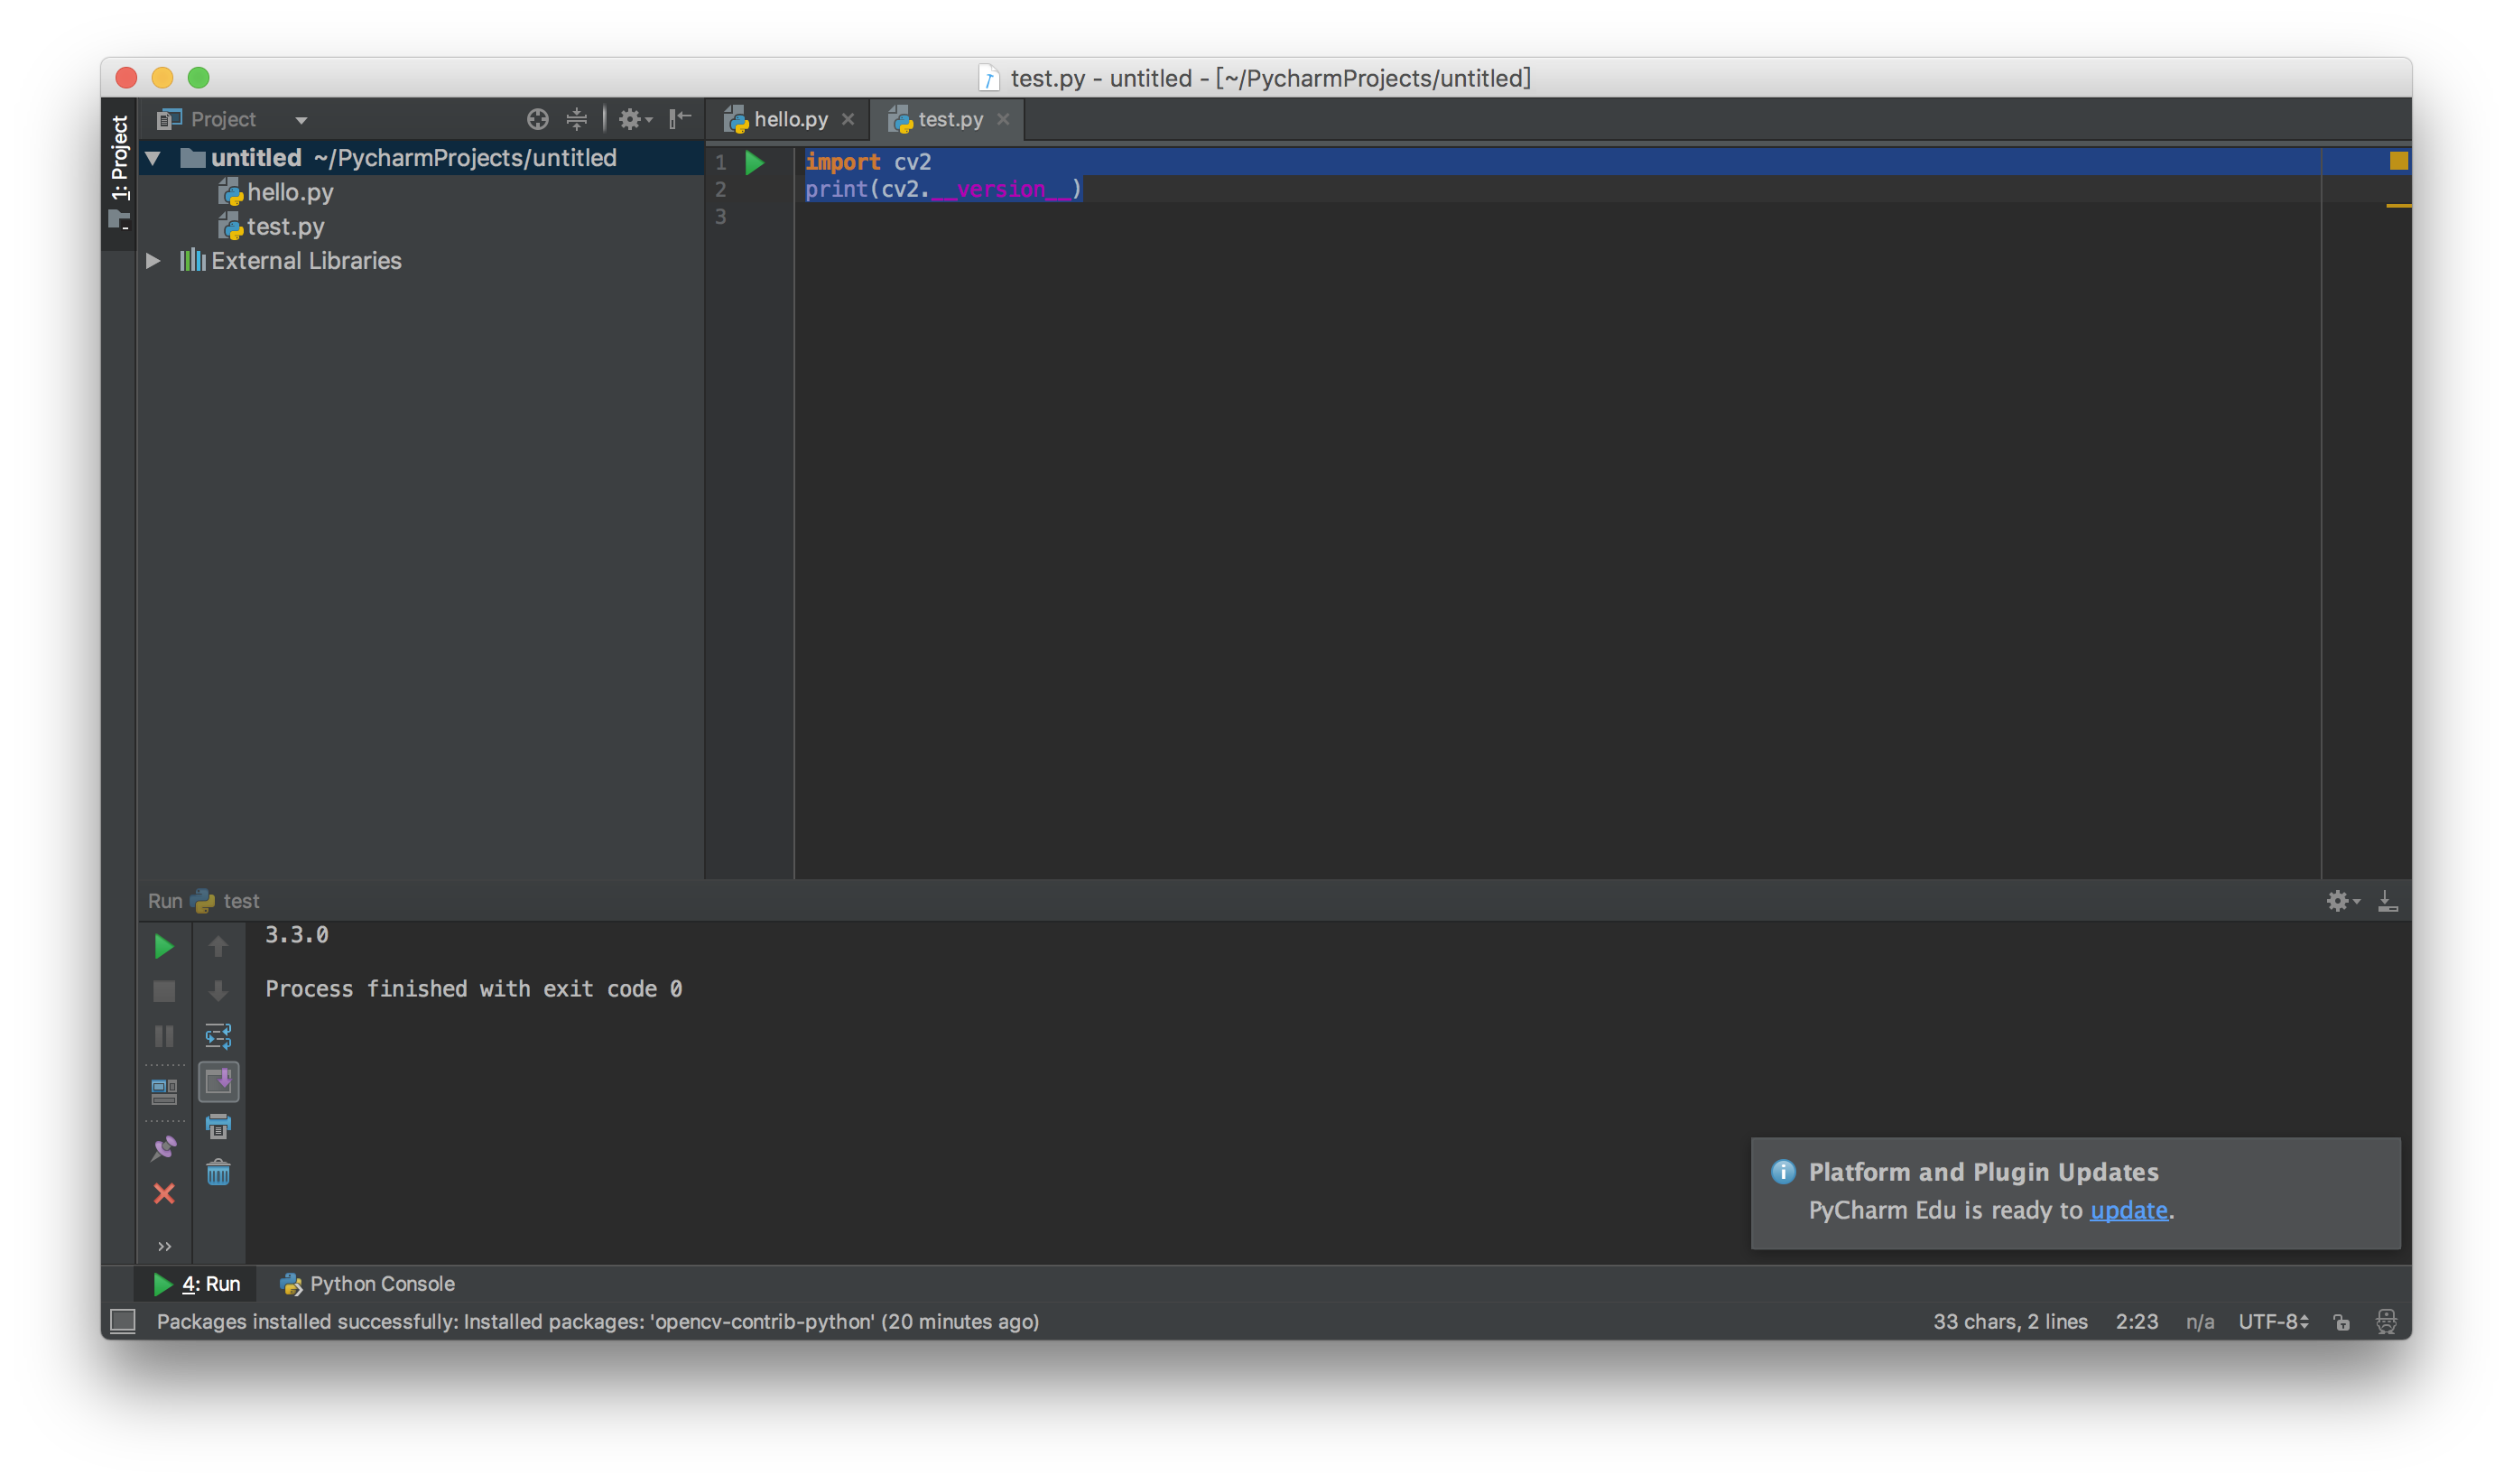
至此就安装好了!
--- THE END ---
参考文献:
[1] http://www.jianshu.com/p/6e345b3aa988
[2] http://www.jianshu.com/p/b5424e9cb7ad
[3] http://blog.csdn.net/willduan1/article/details/53898440
[4] http://nooverfit.com/wp/手把手教你,在ubuntu上安装opencv-3-0-和-python-2-7/
[5] http://elf8848.iteye.com/blog/1582137
[6] http://pythonguidecn.readthedocs.io/zh/latest/dev/virtualenvs.html