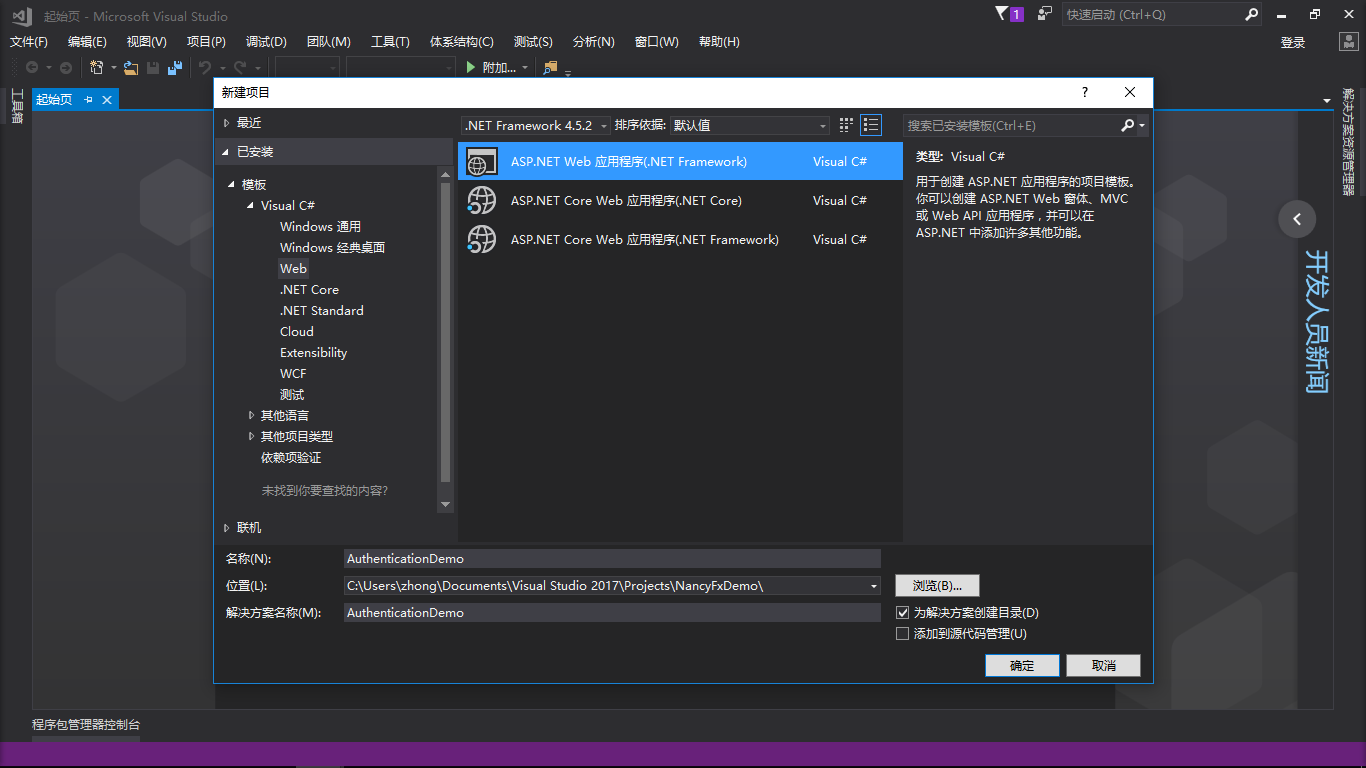
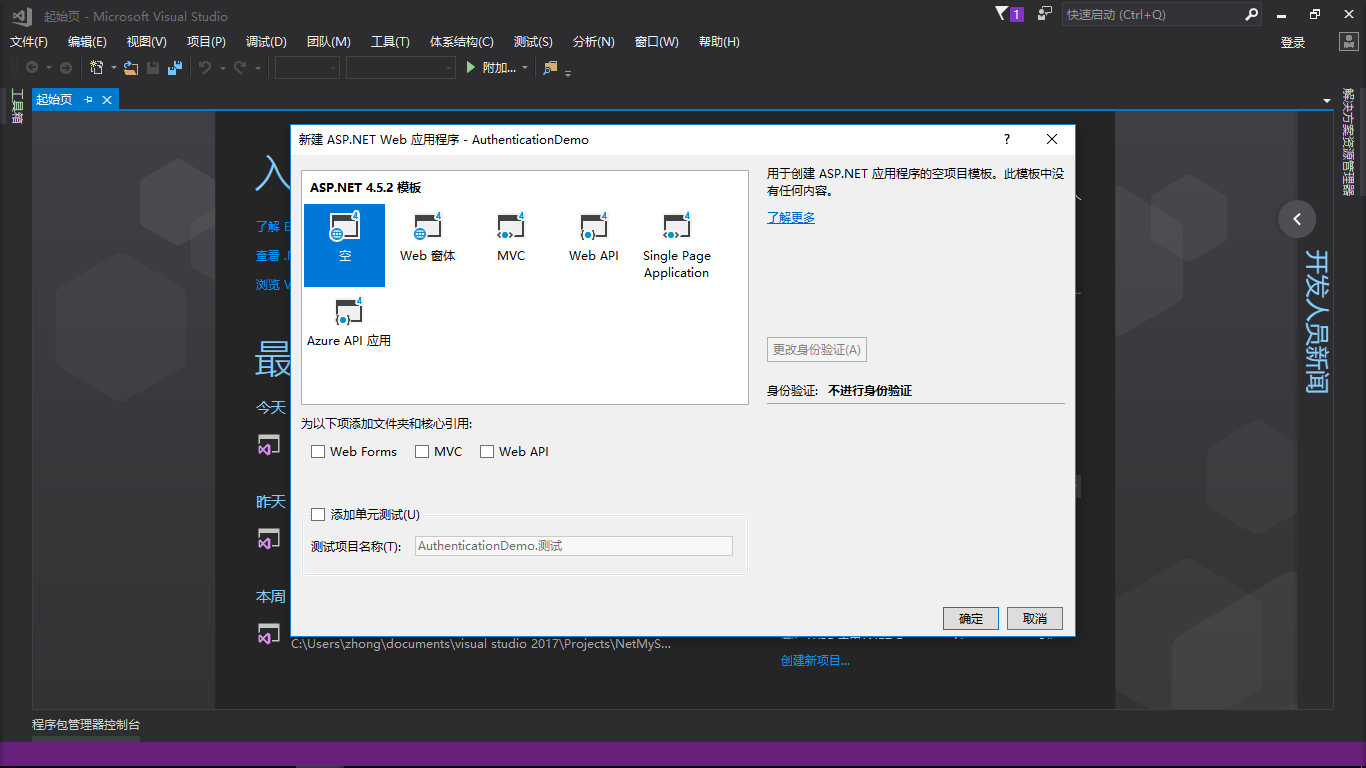
新建一个空的项目
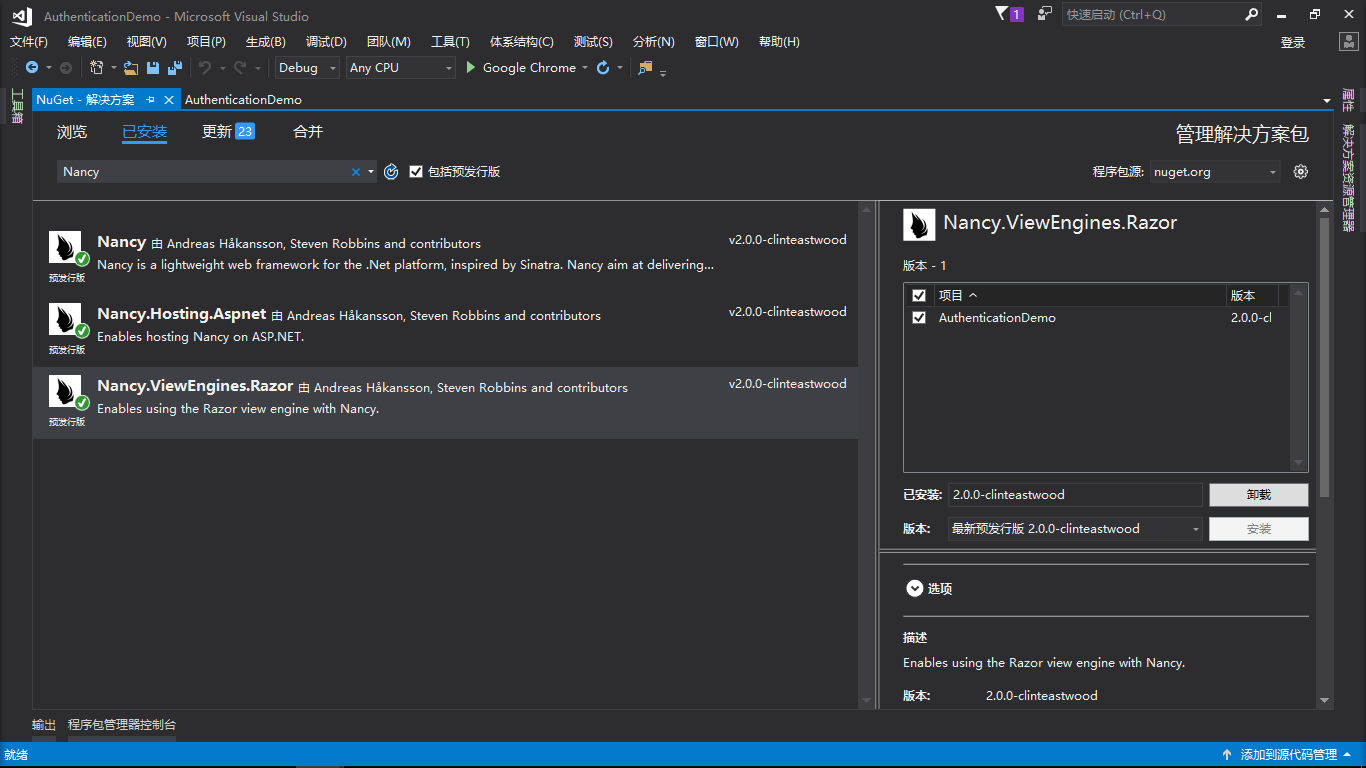
新建好了空的项目以后,接着通过NuGet安装一下三个包
- Nancy
- Nancy.Hosting.Aspnet
- Nancy.ViewEnglines.Razor
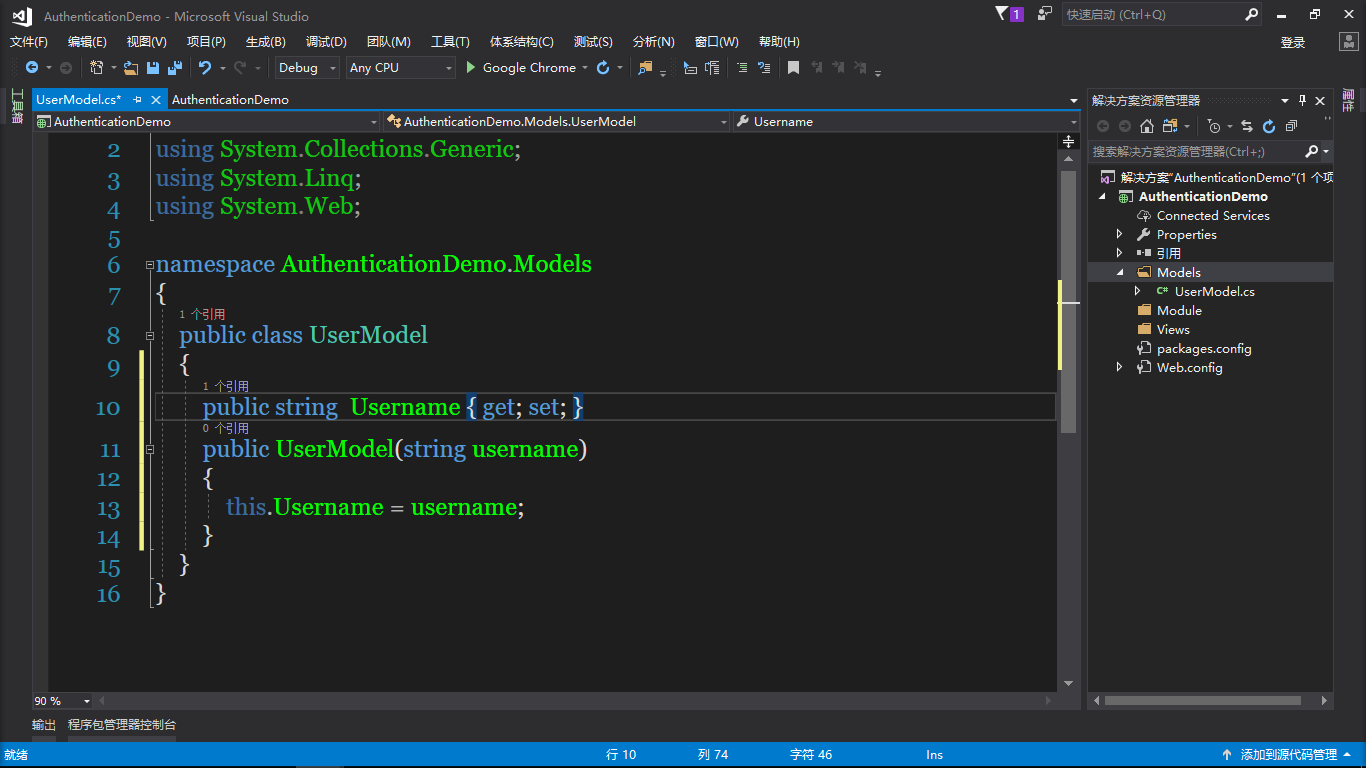
然后在项目中添加Models,Module,Views三个文件夹,并在Models中添加UserModel类
        public string  Username { get; set; }
        public UserModel(string username)
        {
            this.Username = username;
        }
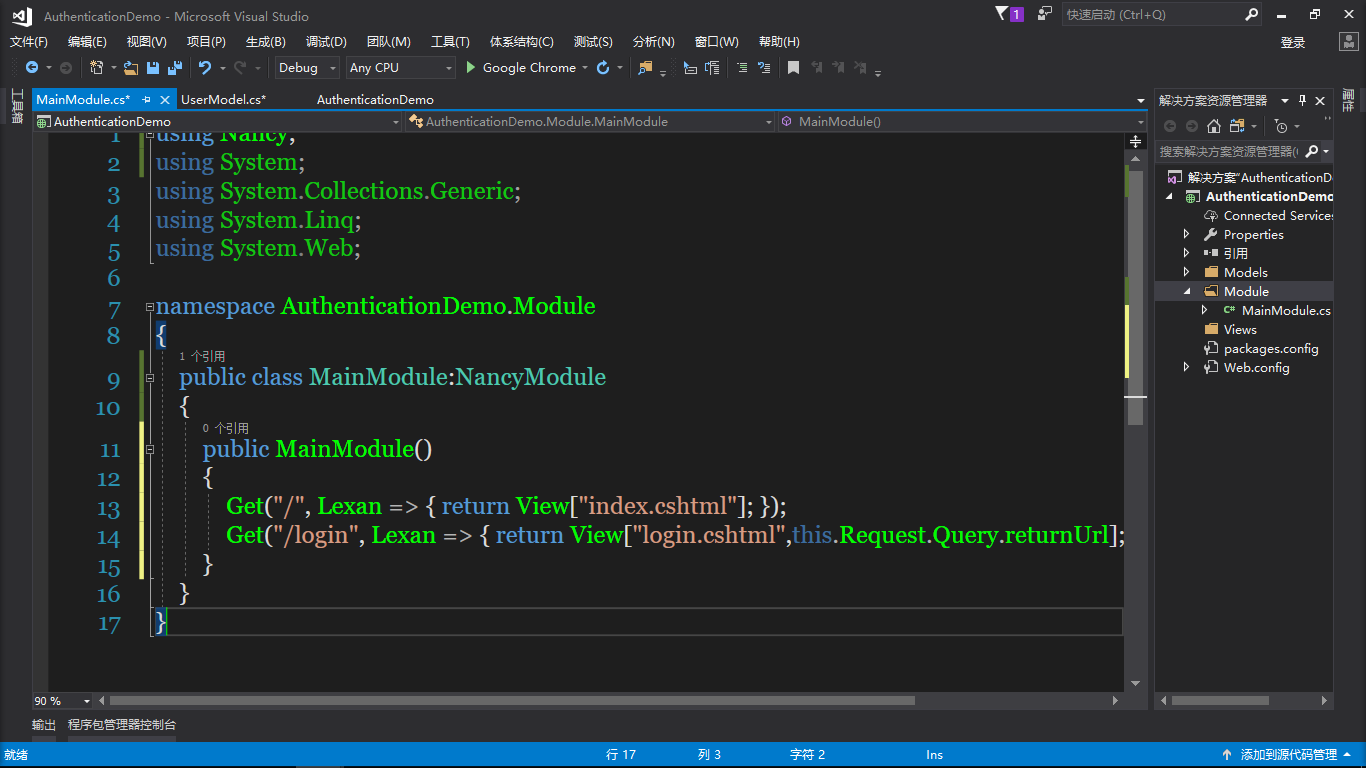
然后往Module文件夹里面添加MainModule类
 Get("/", Lexan => { return View["index.cshtml"]; });
            Get("/login", Lexan => { return View["login.cshtml",this.Request.Query.returnUrl]; });
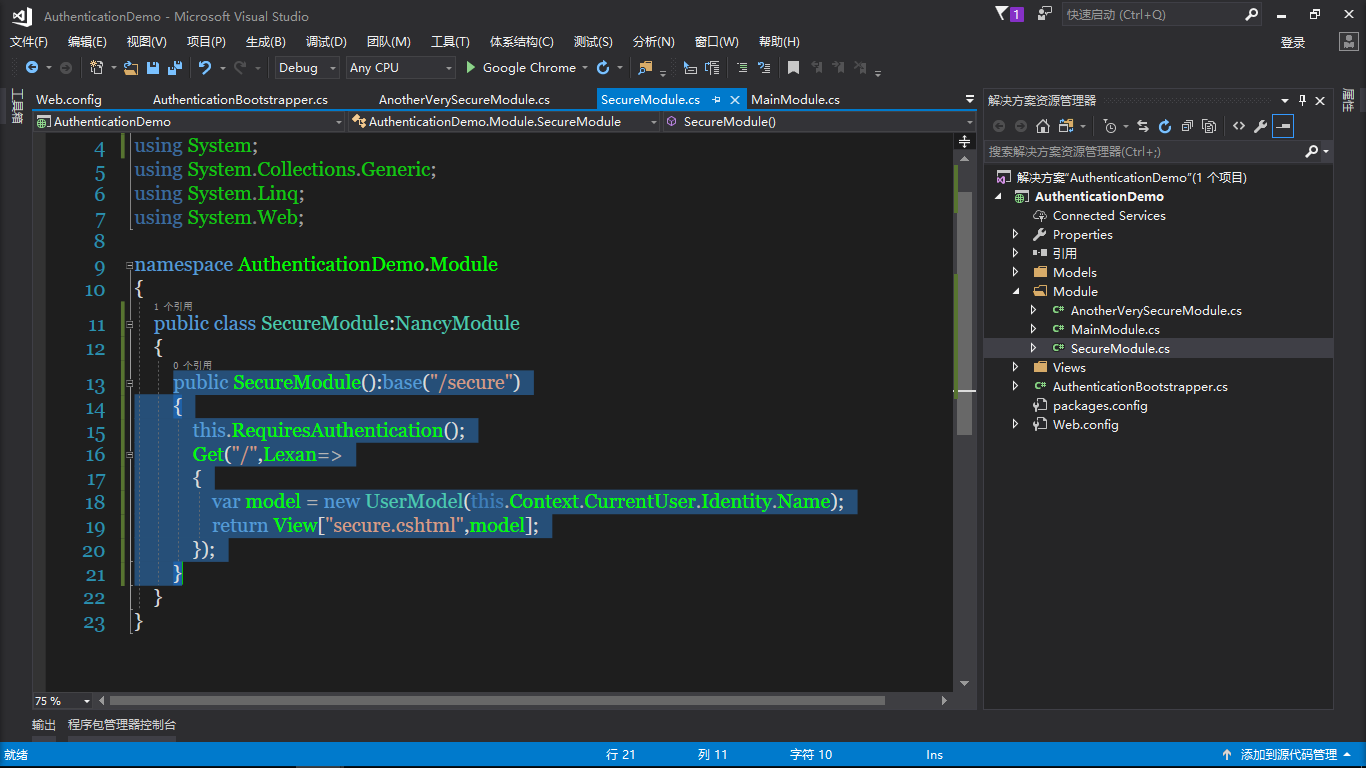
再继续添加SecureModule类,AnotherVerySecureModule类
        public SecureModule():base("/secure")
        {
            this.RequiresAuthentication();
            Get("/",Lexan=>
            {
                var model = new UserModel(this.Context.CurrentUser.Identity.Name);
                return View["secure.cshtml",model];
            });
        }
 public AnotherVerySecureModule():base("/superSecure")
        {
            this.RequiresClaims(Lexan=>Lexan.Type==ClaimTypes.Role&&Lexan.Value=="SuperSecure");
            Get("/",Lexan=>
            {
                var model = new UserModel(this.Context.CurrentUser.Identity.Name);
                return View["superSecure.cshtml",model];
            });
        }

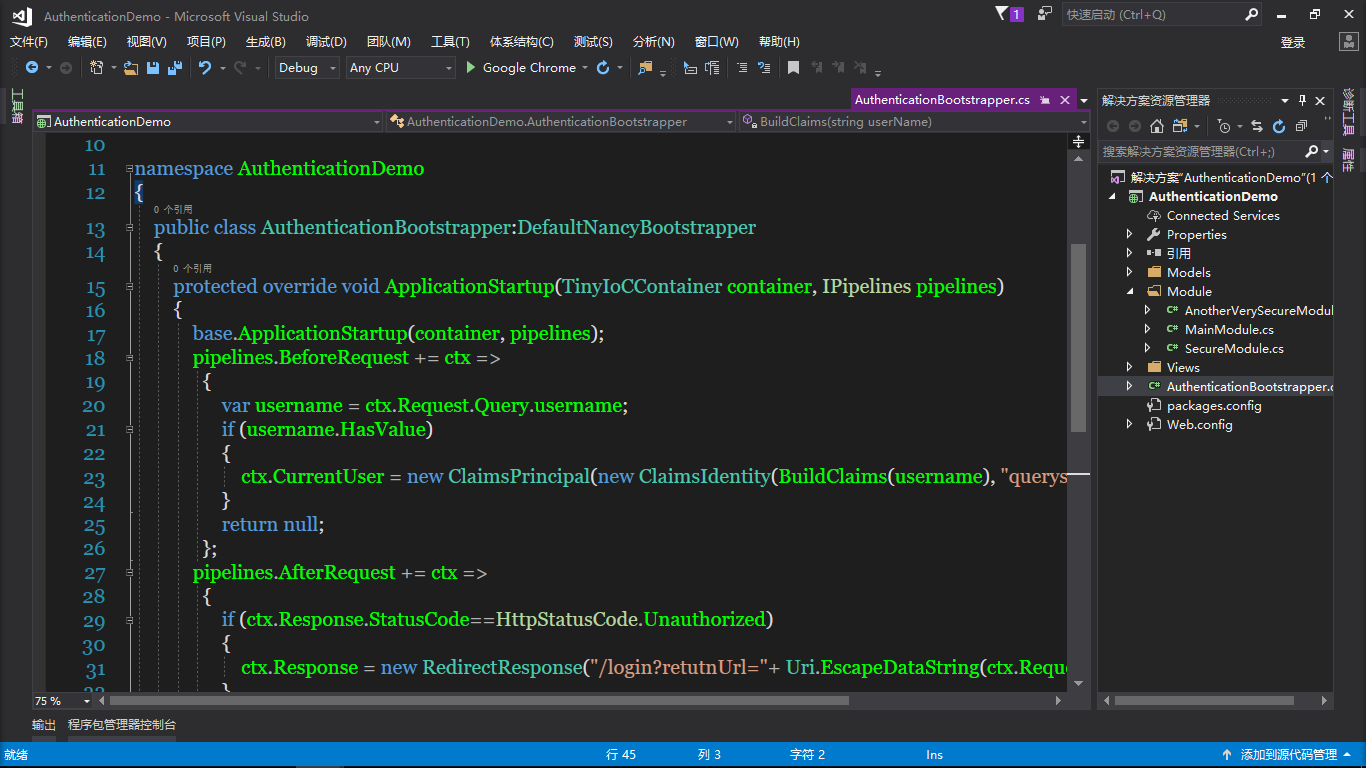
根目录添加AuthenticationBootstrapper类
        protected override void ApplicationStartup(TinyIoCContainer container, IPipelines pipelines)
        {
            base.ApplicationStartup(container, pipelines);
            pipelines.BeforeRequest += ctx =>
              {
                  var username = ctx.Request.Query.username;
                  if (username.HasValue)
                  {
                      ctx.CurrentUser = new ClaimsPrincipal(new ClaimsIdentity(BuildClaims(username), "querystring"));
                  }
                  return null;
              };
            pipelines.AfterRequest += ctx =>
              {
                  if (ctx.Response.StatusCode==HttpStatusCode.Unauthorized)
                  {
                      ctx.Response = new RedirectResponse("/login?retutnUrl="+ Uri.EscapeDataString(ctx.Request.Path));
                  }
              };
        }
        private static IEnumerable<Claim> BuildClaims(string userName)
        {
            var claims = new List<Claim>();
            if (String.Equals(userName,"Lexan",StringComparison.OrdinalIgnoreCase))
            {
                claims.Add(new Claim(ClaimTypes.Role,"SuperSecure"));
            }
            return claims;
        }
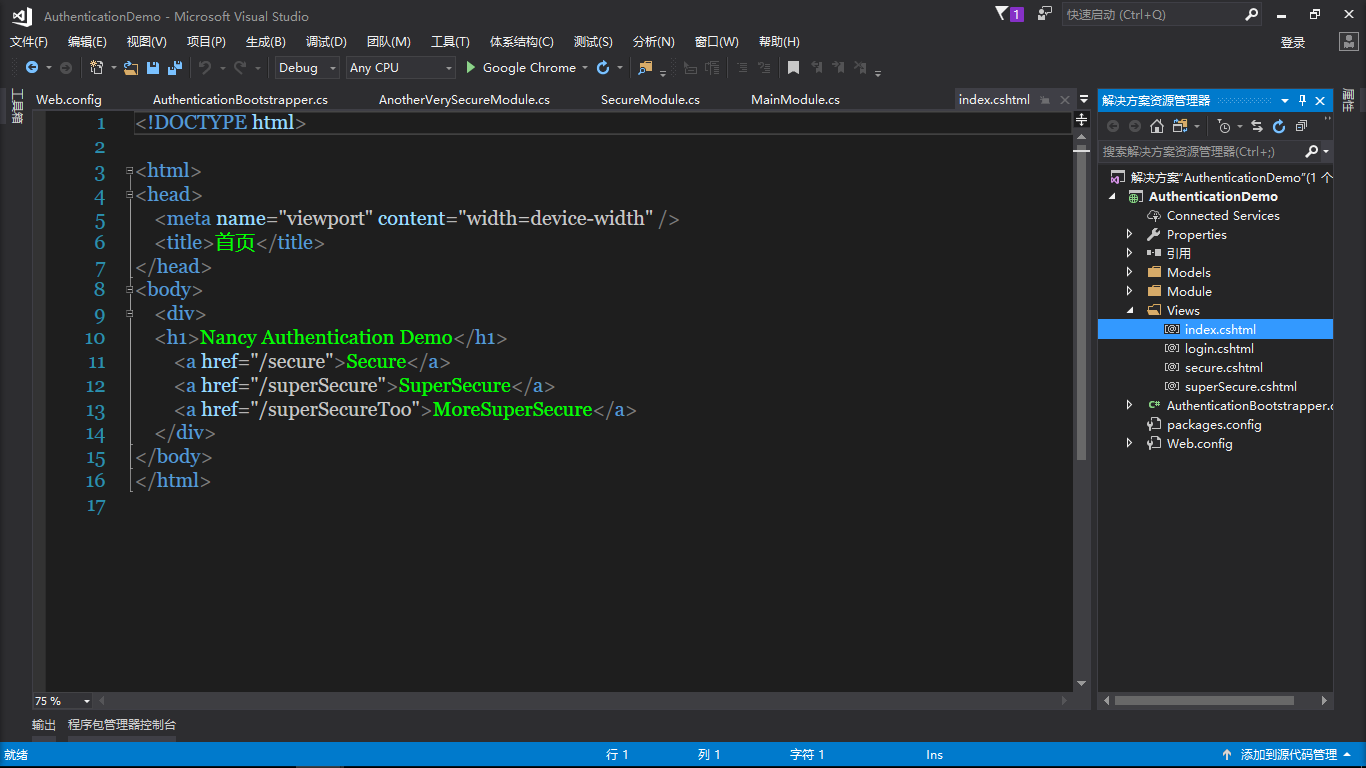
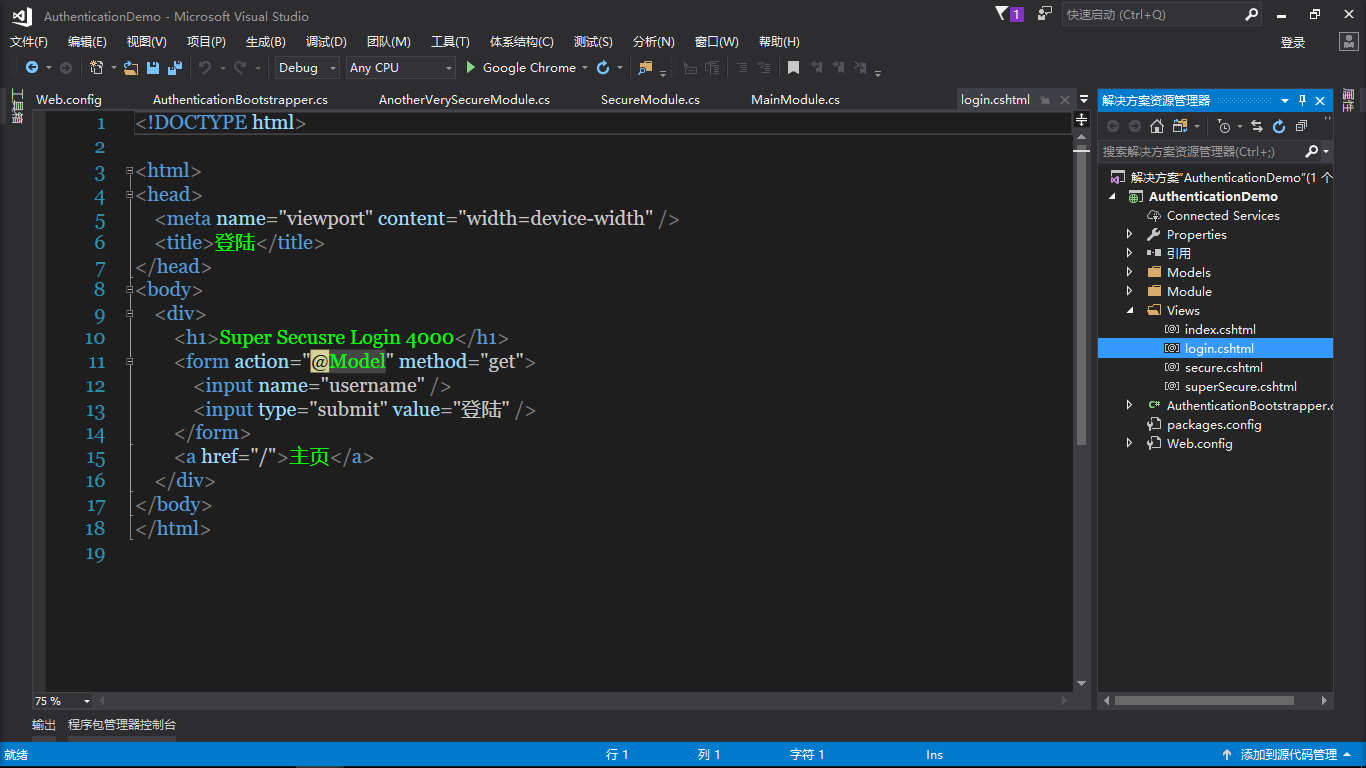
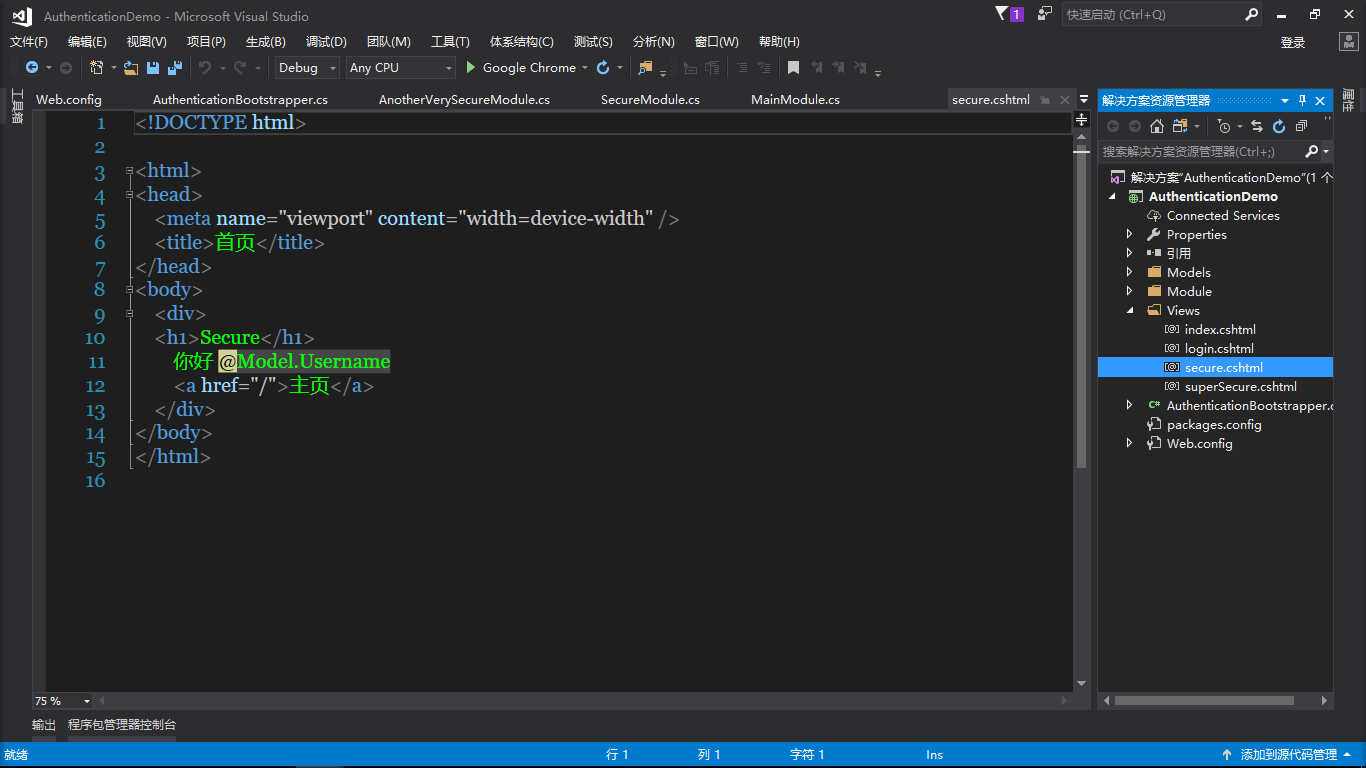
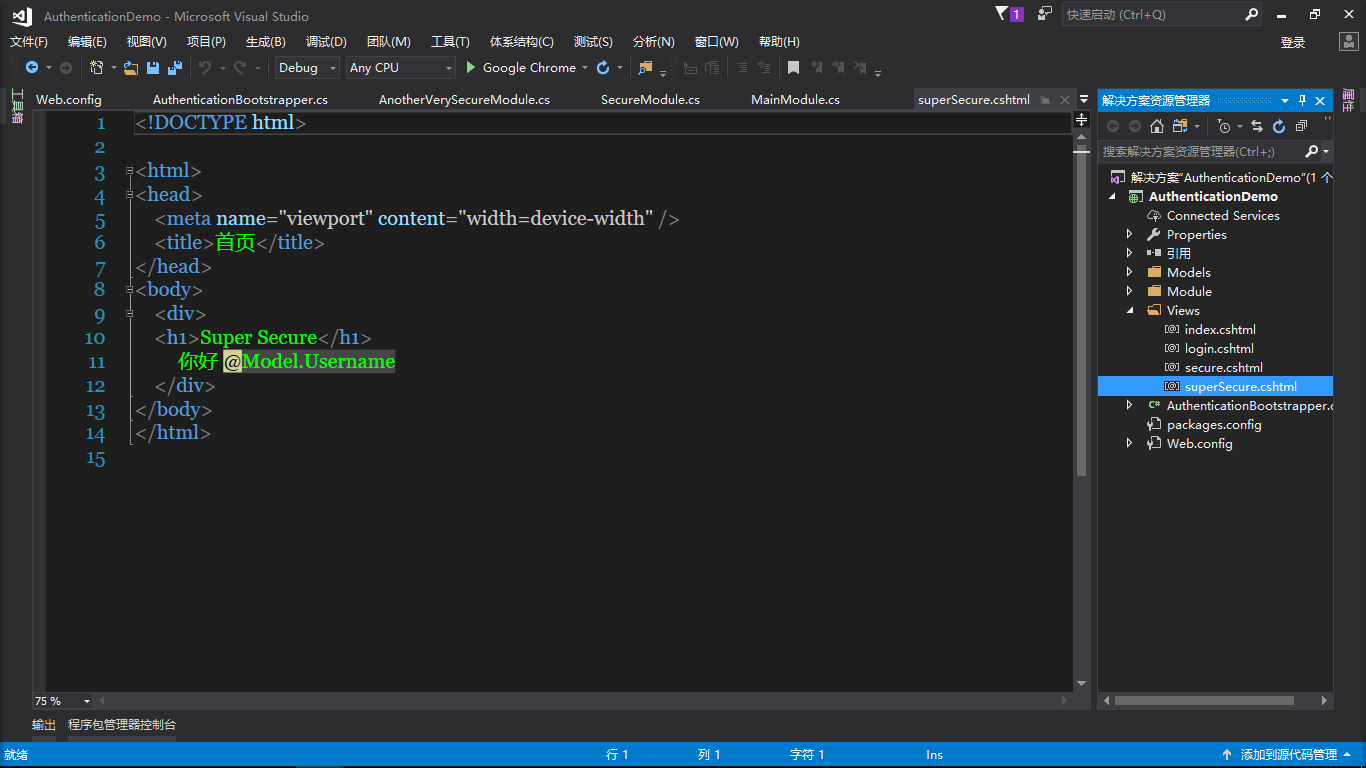
继续在Views里添加视图index,login,secure,superSecure
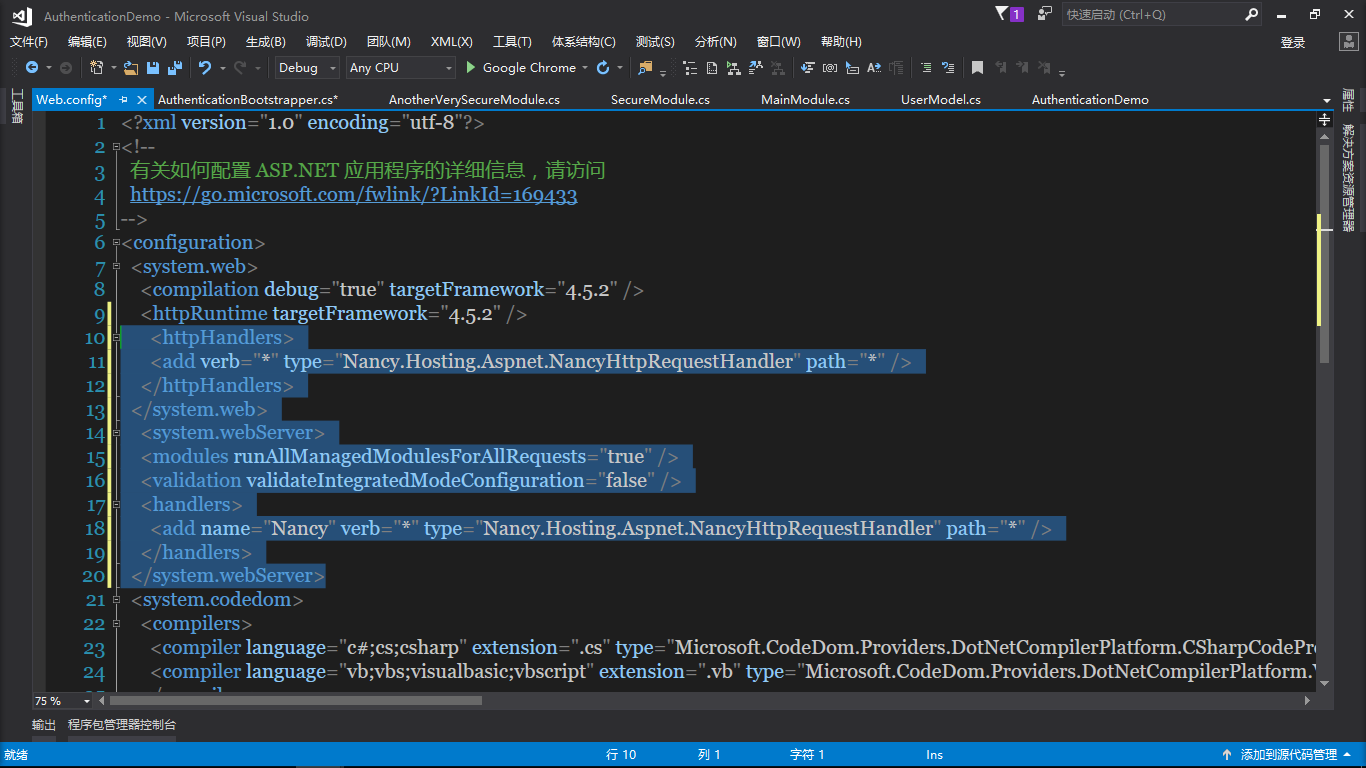
再然后修改一下Web.config如下图
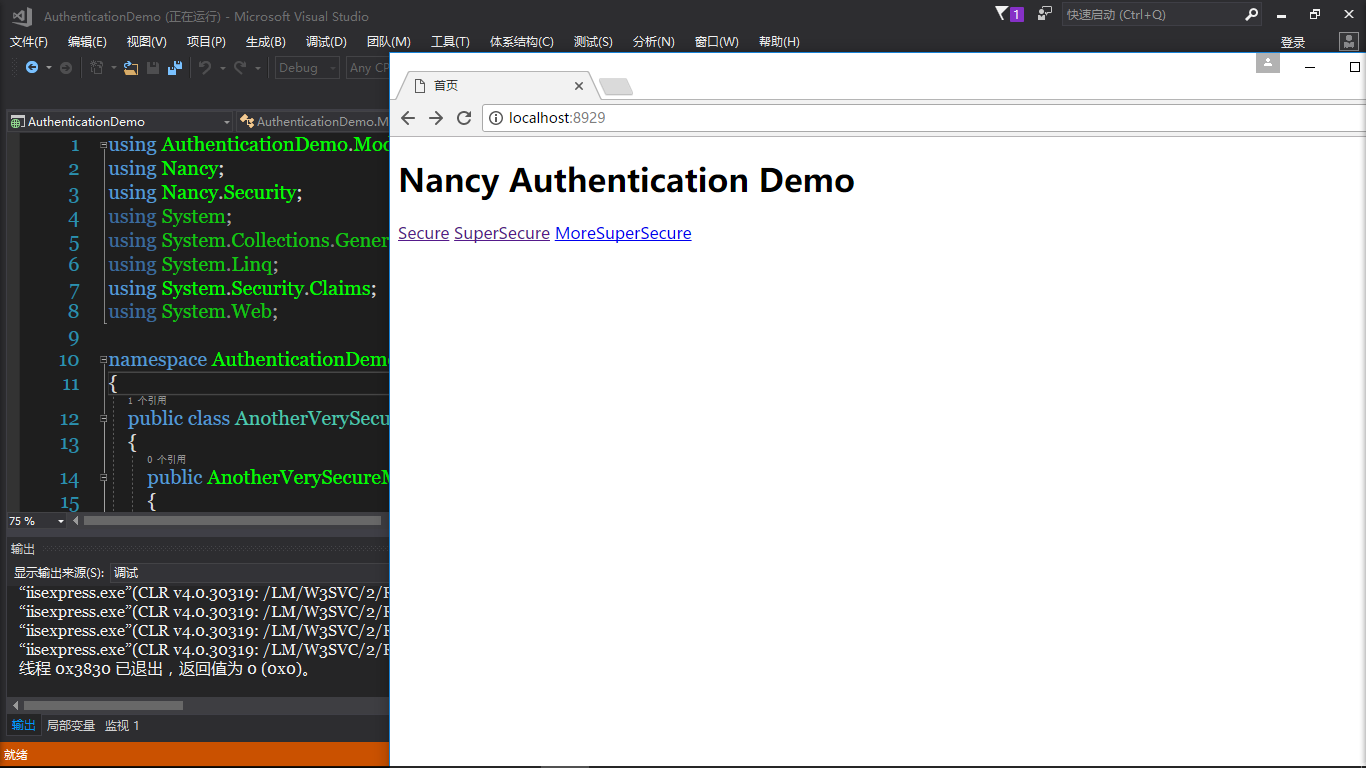
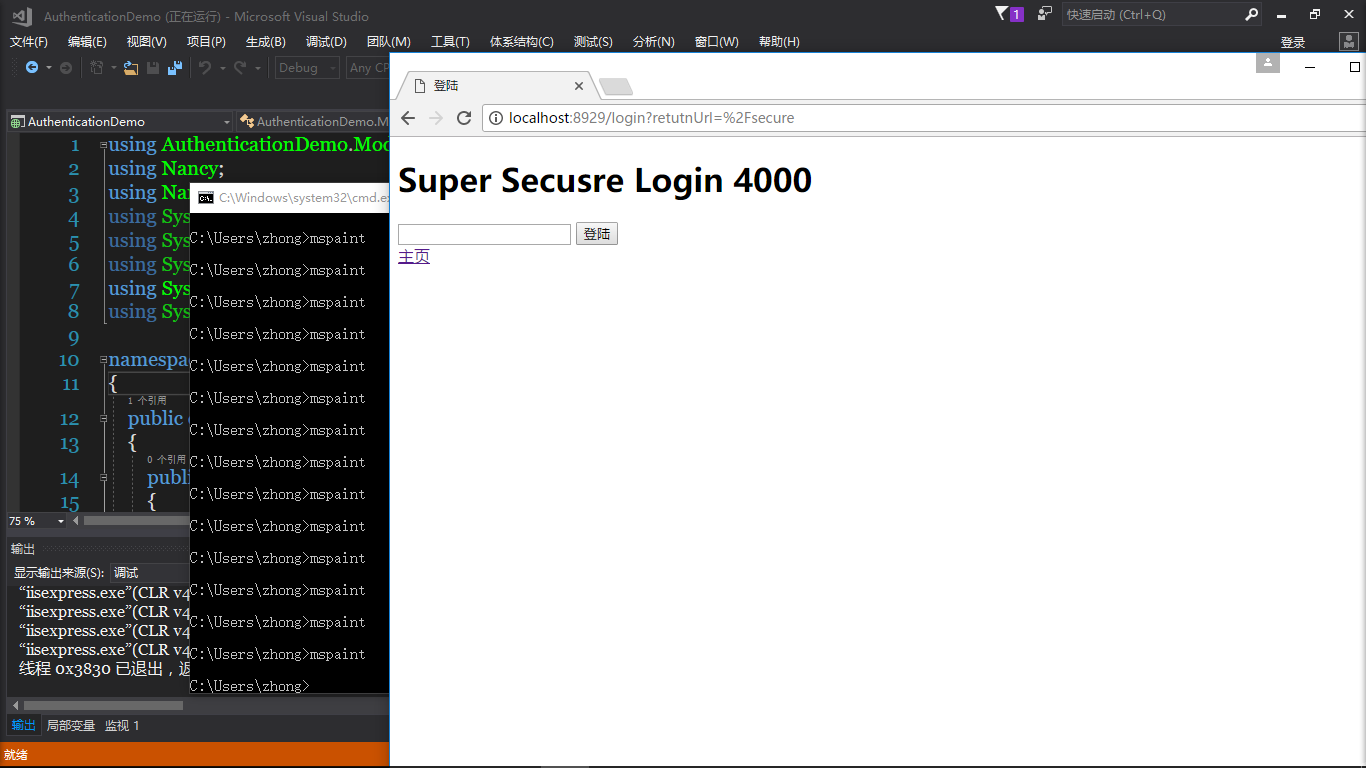
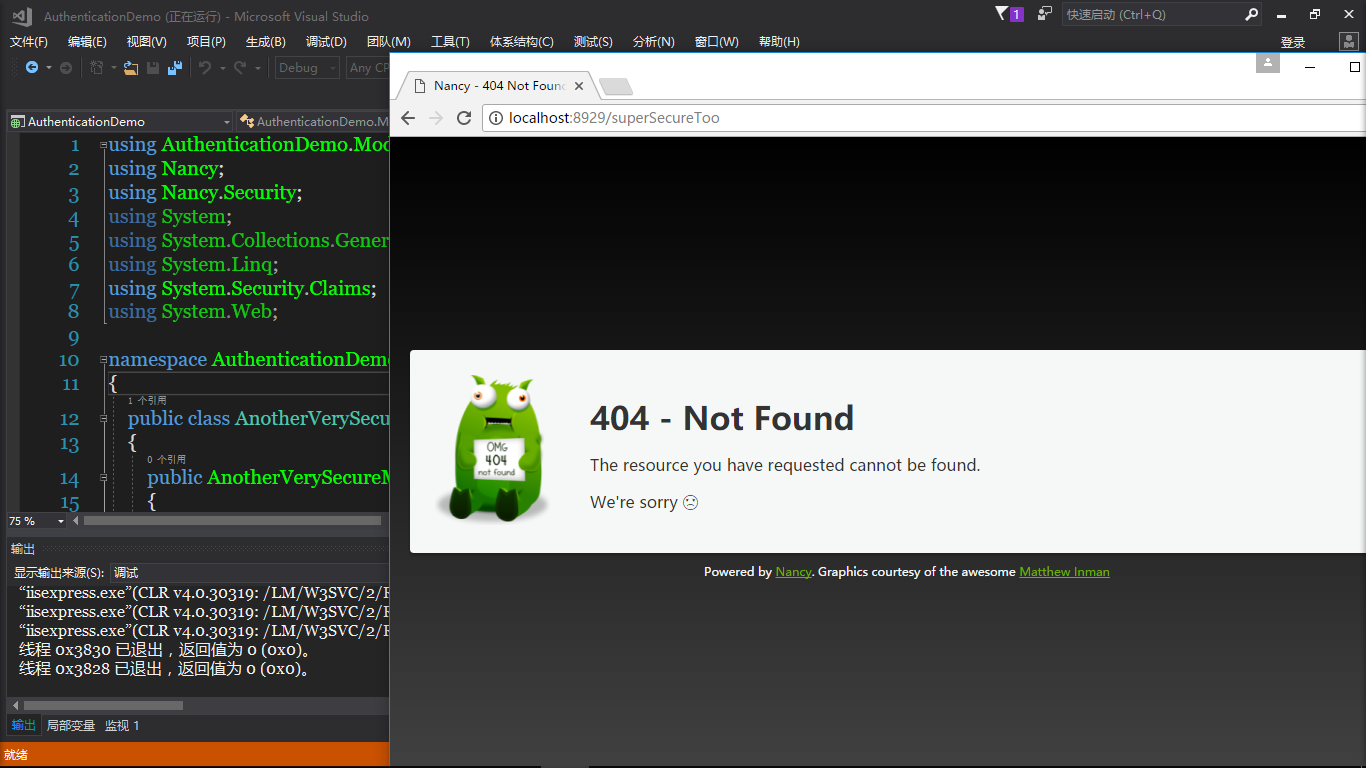
运行如下图
谢谢观看!