一、前言
看网上很多资料,大多数都是
mac安装php,只需要:
brew tap homebrew/php

brew install phpXX
安装php扩展只需要:
brew install phpXX-phpExtension
但是执行上面两条命令的时候都会抛出error:
homebrew/dupes was deprecated. This tap is now empty as all its formulae were migrated.

homebrew/php was deprecated. This tap is now empty as all its formulae were migrated.
即Homebrew/php已经弃用了,其他第三方tap也已经弃用或者迁移了,参考:
https://github.com/Homebrew/homebrew-php
现在执行一下
brew search php
出现的是:

不再是以往的一大片各种版本的php以及扩展任君选择了,而扩展方面,以往我们是这样安装扩展的:
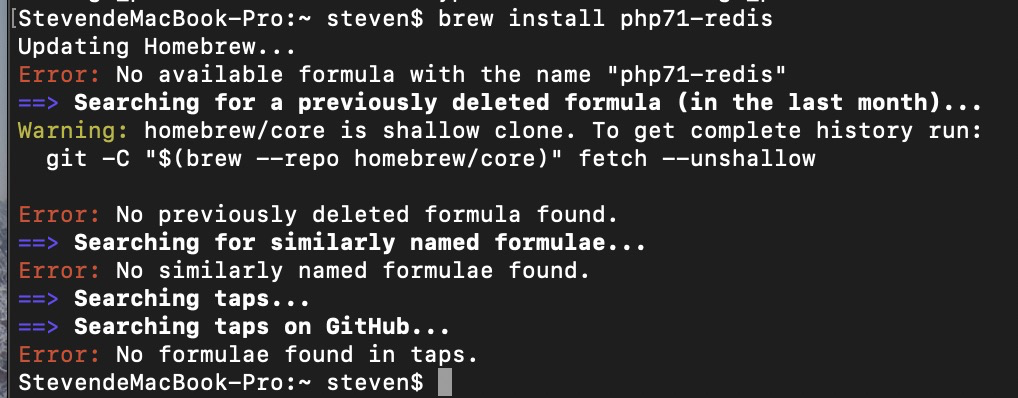
brew install php71-redis
现在已经搜不出来:

二、安装
那么现在怎么安装php及扩展呢,上述github链接已经说的很明白,有兴趣的可以自己去看,我这里简单说一下。
下面举例安装php7.1
首先
brew tap Homebrew/homebrew-core
因为其他第三方tab已经迁移/弃用了,全部合并到这里
现在仍然可以通过
brew install php71
来安装php7.1,但是其实你会看到php71已经更名为php@7.1:

安装过程截图:

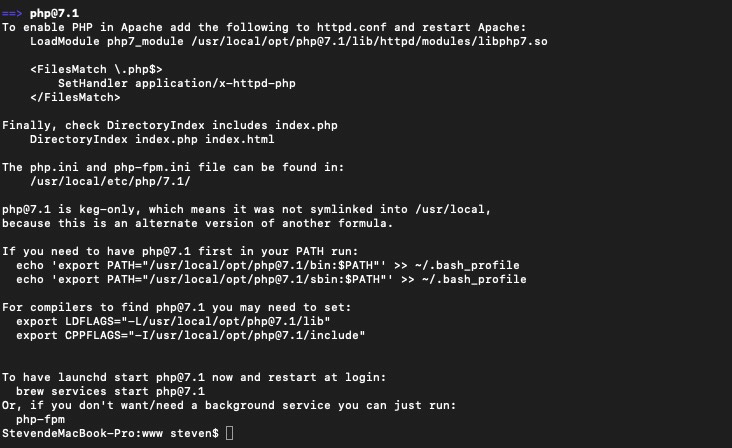
安装成功截图:


启动 php-fpm
brew services start php@7.1
设置开机启动:
cp /usr/local/Cellar/php@7.1/7.1.29/homebrew.mxcl.php@7.1.plist  ~/Library/LaunchAgents/

launchctl load -w ~/Library/LaunchAgents/homebrew-php.josegonzalez.php@7.1.plist
设置 Nginx 的 PHP-FPM 配置
打开 nginx 默认注释掉的php location设置,修改如下(具体配置参数,例如路径,这里以我本地安装为准):
location ~ .php$ {
            root           html;
            fastcgi_pass   127.0.0.1:9000;
            fastcgi_index  index.php;
            fastcgi_param  SCRIPT_FILENAME  /usr/local/var/www$fastcgi_script_name;
            include        /usr/local/etc/nginx/fastcgi_params;
        }
测试nginx配置是否正确:
StevendeMacBook-Pro:nginx steven$ nginx -t
nginx: [alert] could not open error log file: open() "/usr/local/var/log/nginx/error.log" failed (13: Permission denied)
nginx: the configuration file /usr/local/etc/nginx/nginx.conf syntax is ok
2019/05/21 16:35:46 [emerg] 96011#0: open() "/usr/local/var/run/nginx.pid" failed (13: Permission denied)
nginx: configuration file /usr/local/etc/nginx/nginx.conf test failed
因为我同时打开了日志,根据提示,说明日志文件夹没有权限
sudo chmod -R 777 /usr/local/var/log/nginx/
给他权限
再试试:
StevendeMacBook-Pro:log steven$ sudo nginx -t
nginx: the configuration file /usr/local/etc/nginx/nginx.conf syntax is ok
nginx: [emerg] open() "/usr/local/Cellar/nginx/1.15.12/logs/access.log" failed (2: No such file or directory)
nginx: configuration file /usr/local/etc/nginx/nginx.conf test failed
哦,这里没有/usr/local/Cellar/nginx/1.15.12/logs logs文件夹,去创建一个就OK,并赋予权限
mkdir  /usr/local/Cellar/nginx/1.15.12/logs

chmod -R 777 logs/
再试试:
StevendeMacBook-Pro:1.15.12 steven$ sudo nginx -t
nginx: the configuration file /usr/local/etc/nginx/nginx.conf syntax is ok
nginx: configuration file /usr/local/etc/nginx/nginx.conf test is successful
成功了,重载nginx配置
sudo nginx -s reload
因为我的nginx解析的根目录是
/usr/local/var/www
所以,去这个目录下创建一个phpinfo.php文件,写入代码
<?php
    echo phpinfo();

?>
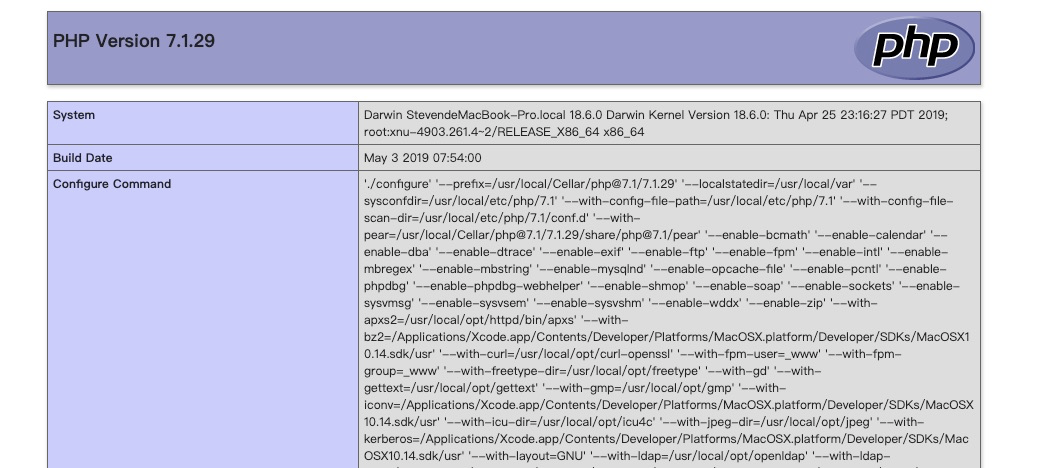
浏览器访问 http://localhost:8080/phpinfo.php

附:
说一下要用到的几个位置
php-fpm在/usr/local/Cellar/php@7.1/7.1.22/sbin/php-fpm
php和fpm的相关配置在/usr/local/etc/php/7.1
安装php扩展:
直接pecl install phpExtension(如:pecl install redis)
扩展放置的位置开发者已经设置好,在/usr/local/lib/php/pecl/20160303