一、简介
标签栏Tab的作用对于应用程序那是不言而喻的,它是应用程序中除了导航栏组件外的又一个核心组件,使用它可以实现页面的切换。RN提供了一个TabBarIOS组件来完成页面的切换(视图或者路由),它代表整个标签栏,不过它需要搭配的它的一个附属组件TabBarIOS.Item,它代表每一个tabItem。TabBarIOS组件内部可以包含多个TabBarIOS.Item组件,而在每一个TabBarIOS.Item组件内部又必须包括容器视图组件显示页面。基本格式如下:
<TabBarIOS> //标签栏
      <TabBarIOS.Item>  //页面1的tab item
          <View></View> //页面1
      </TabBarIOS.Item>

      <TabBarIOS.Item>  //页面2的tab item
          <View></View> //页面2
      </TabBarIOS.Item>

      <TabBarIOS.Item>  //页面3的tab item
          <View></View> //页面3
      </TabBarIOS.Item>

      <TabBarIOS.Item>  //页面4的tab item
          <View></View> //页面4
      </TabBarIOS.Item>
</TabBarIOS>
二、TabBarIOS
主要属性
//Tab栏的背景颜色
barTintColor

//Tab未选中的标签背景颜色
unselectedTintColor

//Tab选中的标签背景颜色
tintColor

//Tab未选中的item背景色
unselectedItemTintColor

//Tab栏是否半透明
translucent

//Tab的每一个item的位置
itemPositioning
三、TabBarIOS.Item
主要属性
//红色的提醒数字或者文字,一般用作消息提示
badge

//提示数字或者文字的背景色
badgeColor

//Tab的自定义图标,如果不指定,默认显示系统图标systemIcon
icon

//点击事件,当某一个tab被选中时,需要改变该组件的selected={true}设置
onPress

//是否选中某一个tab,如果其值为true,则选中并显示子组件
selected

//选中状态的自定义图标,如果为空,默认会把图标变成蓝色
selectedIcon

//系统图标,会覆盖自定义图标和标题,其值为枚举类型,可选值包括:bookmarks、contacts、downloads、favorites、featured、history、more、most-recent、most-viewed、recents、search和top-rated
systemIcon

//是否采用原始图颜色渲染
renderAsOriginal

//标题,它会出现在图标底部。当我们使用了系统图标时,将会忽略该标题
title
三、使用
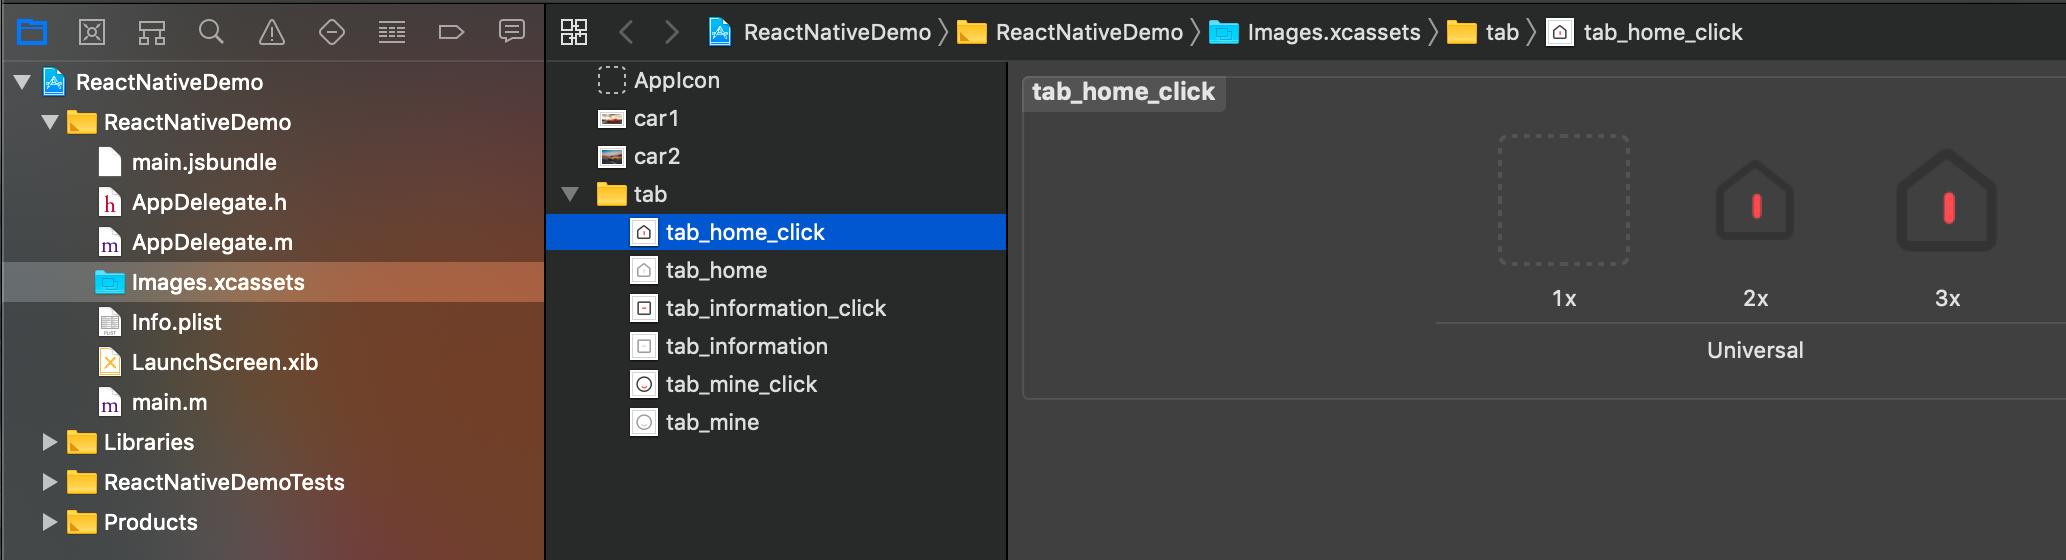
TabBar.js【注意:在icon配置中使用scale:2,保证了图标不变形】
import React, { Component } from 'react';
import {
    StyleSheet,
    View,
    TabBarIOS
} from 'react-native';

export default class TabBar extends Component{

    constructor(props){
        super(props);
        this.state = {tabItemIndex:0}
    }

    render(){
        const {tabItemIndex} = this.state;
        return (
            <View style={styles.flex}>
                <TabBarIOS style={styles.size} tintColor={'black'} translucent={true}>
                    <TabBarIOS.Item
                        title={"首页"}
                        icon={{uri:"tab_home",scale:2}}
                        selectedIcon={{uri:"tab_home_click",scale:2}}
                        renderAsOriginal={true}
                        onPress={()=>{this.setState({tabItemIndex:0})}}
                        selected={tabItemIndex === 0}>
                        <View style={[styles.flex,styles.tab1]}/>
                    </TabBarIOS.Item>
                    <TabBarIOS.Item
                        title={"消息"}
                        icon={{uri:"tab_information",scale:2}}
                        selectedIcon={{uri:"tab_information_click",scale:2}}
                        renderAsOriginal={true}
                        onPress={()=>{this.setState({tabItemIndex:1})}}
                        selected={tabItemIndex === 1}>
                        <View style={[styles.flex,styles.tab2]}/>
                    </TabBarIOS.Item>
                    <TabBarIOS.Item
                        title={"我的"}
                        icon={{uri:"tab_mine",scale:2}}
                        selectedIcon={{uri:"tab_mine_click",scale:2}}
                        renderAsOriginal={true}
                        onPress={()=>{this.setState({tabItemIndex:2})}}
                        selected={tabItemIndex === 2}>
                        <View style={[styles.flex,styles.tab3]}/>
                    </TabBarIOS.Item>
                </TabBarIOS>
            </View>
        )
    }
}

const styles = StyleSheet.create({
    flex: {
        flex: 1,
    },
    size: {
        height: 49,
    },
    tab1: {
        marginBottom: 49,
        backgroundColor: 'red'
    },
    tab2: {
        marginBottom: 49,
        backgroundColor: 'green'
    },
    tab3: {
        marginBottom: 49,
        backgroundColor: 'brown'
    }
});
index.ios.js
/**
 * Sample React Native App
 * https://github.com/facebook/react-native
 * @flow
 */

import React, { Component } from 'react';
import TabBar from './src/TabBar'

import {
    AppRegistry,
    StyleSheet,
    View
} from 'react-native';


export default class ReactNativeDemo extends Component {

    render() {
        return (
            <View style={styles.flex}>
                <TabBar/>
            </View>
        );
    }
}

const styles = StyleSheet.create({
    flex: {
        flex: 1
    }
});

AppRegistry.registerComponent('ReactNativeDemo', () => ReactNativeDemo);