(1)下载HBase安装包并解压
https://mirrors.tuna.tsinghua.edu.cn/apache/hbase/1.2.6/hbase-1.2.6-bin.tar.gz
tar -zxvf hbase-1.2.6-bin.tar.gz
(2)进入该目录下的conf目录

向hbase-env.sh中添加:
export JAVA_HOME=/usr/lib/jvm/java-8-oracle
export HBASE_MANAGES_ZK=false
修改hbase-site.xml为
-
<configuration>
-
<property>
-
<name>hbase.zookeeper.quorum</name>
-
<value>pc2,pc3,pc4</value>
-
<description>The directory shared by RegionServers.
-
</description>
-
</property>
-
-
<property>
-
<name>hbase.rootdir</name>
-
<value>hdfs://pc2:9000/hbase</value>
-
<description>The directory shared by RegionServers.
-
</description>
-
</property>
-
<property>
-
<name>hbase.cluster.distributed</name>
-
<value>true</value>
-
<description>The mode the cluster will be in. Possible values are
-
false: standalone and pseudo-distributed setups with managed Zookeeper
-
true: fully-distributed with unmanaged Zookeeper Quorum (see hbase-env.sh)
-
</description>
-
</property>
-
<property>
-
<name>hbase.master.info.port</name>
-
<value>60010</value>
-
</property>
-
</configuration>
其中,
hbase.zookeeper.quorum为zookeeper的节点主机名hbase.rootdir为hbase的存储根目录,设为hadoopHDFS根目录下的hbase修改regionservers为(regionserver为从结点)
pc3
pc4
使用scp -r hbase-1.2.6 chenjie@pc3:/home/chenjie
scp -r hbase-1.2.6 chenjie@pc4:/home/chenjie
将pc2上配置好的hbase发送到pc3、pc4上
(3)切换到bin目录下使用./start-hbase.sh启动hbase
(4)使用hbase shell进入hbase的命令行窗口
使用命令create 'test1', {NAME=>'cf',VERSIONS=>3,COMPRESSION=>'gz'}创建一张表
分别执行
put 'test1','rowkey1','cf:q1','r1-v1'
put 'test1','rowkey1','cf:q2','r1-v2'
put 'test1','rowkey2','cf:q1','r2-v1'
put 'test1','rowkey2','cf:q2','r2-v2'
put 'test1','rowkey2','cf:q3','r2-v3'
插入四条记录
使用命令scan 'test1'查看表数据
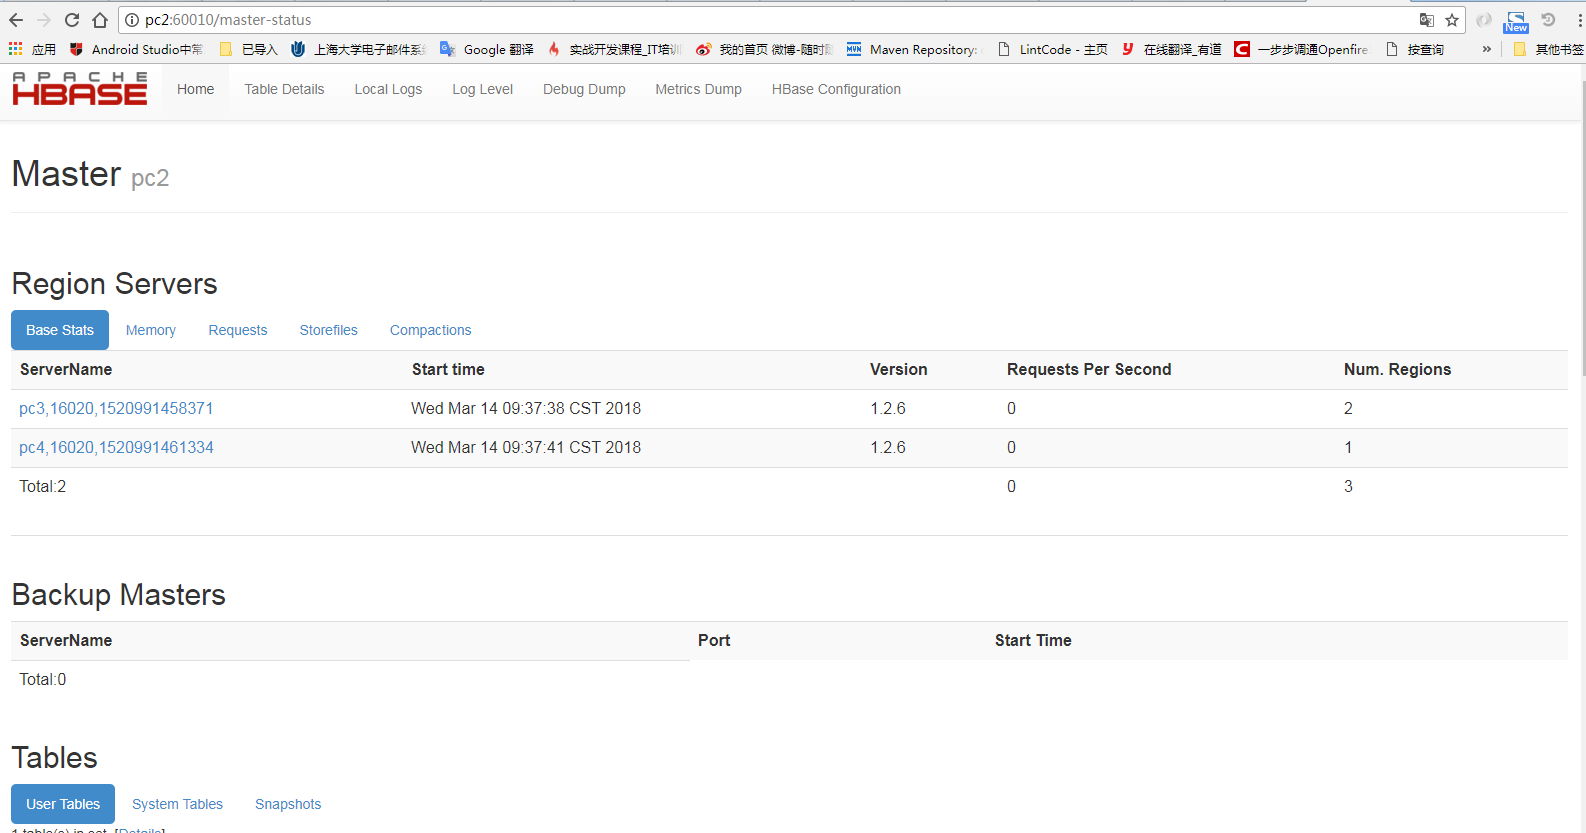
(5)登录master的web管理界面
http://192.168.1.112:60010