from PIL import Image
from PIL import ImageDraw
from PIL import ImageFont
def getchar(num):
char = ascii_char[int(num/256*count)]
return char
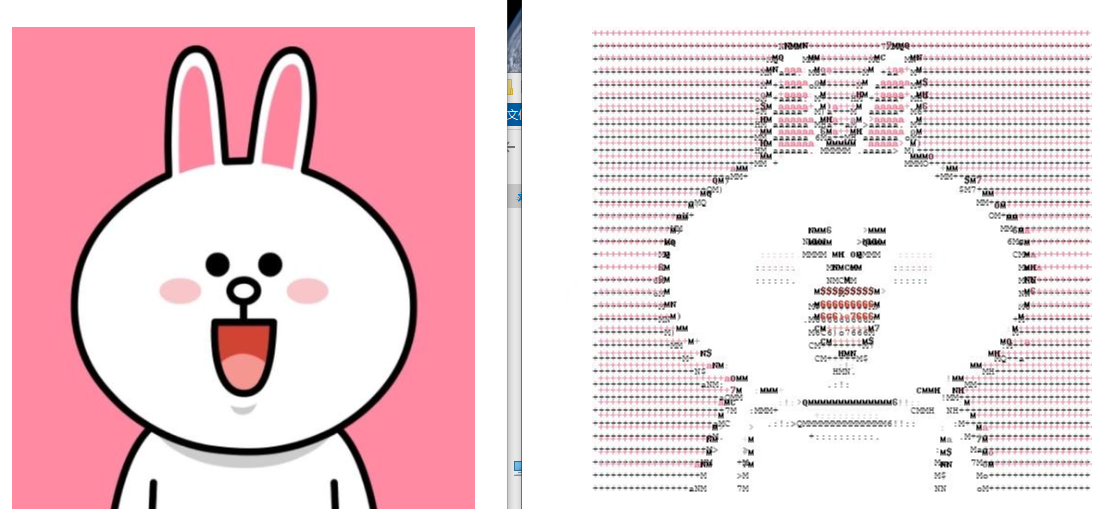
pth = r"C:UsersYoungPicturesSaved Pictures1.jpg"
ascii_char = list("MNHQ$OC67)oa+>!:+. ")
count = len(ascii_char)
img = Image.open(pth)
wd,he = img.size
#将原图大小比例设为宽度的1/6,宽度的1/15
WIDTH , HEIGHT =wd//6,he//15
revise_img = img.resize((WIDTH,HEIGHT),Image.NEAREST)
#获取灰度图,方便获取每个像素点的灰度值,用来匹配对应的字符
gray = revise_img.convert("L")
color = []
text = ""
for h in range(HEIGHT):
for w in range(WIDTH):
color.append(revise_img.getpixel((w,h)))
text +=getchar(gray.getpixel((w,h)))
# print(gray.getpixel((w,h)))
text+="
"
#因为字符串每行到底都会添加一个换行符,所以为了和字符长度相等,颜色也添加一个白色,颜色可以自定义
color.append((255,255,255))
#新建画布
new_img = Image.new("RGB",(img.size),(255,255,255))
draw = ImageDraw.Draw(new_img)
x=y=0
#font 用默认的字体和自定义的字体,输出的彩色字符画颜色饱满度差很多,是默认的字体效果好
# font = ImageFont.truetype(r"C:WindowsFontscour.ttf",10) #arial.ttf cour.ttf
font = ImageFont.load_default()
#获取字符的大小,并自定义字体的高度,默认用1.37比例显示会更佳
font_w,font_h = font.getsize(ascii_char[1])
font_h= int(font_h*1.37)
for h in range(len(text)):
if text[h] == "
":
#如果遇到换行符,将x轴归到0为,y轴增加一个字体高度
x = 0
y +=font_h
draw.text((x, y), text[h], fill=color[h],font=font)
x +=font_w
new_img.show()
#保存到本地
# new_img.save()