一.配置虚拟主机
1、什么是虚拟主机
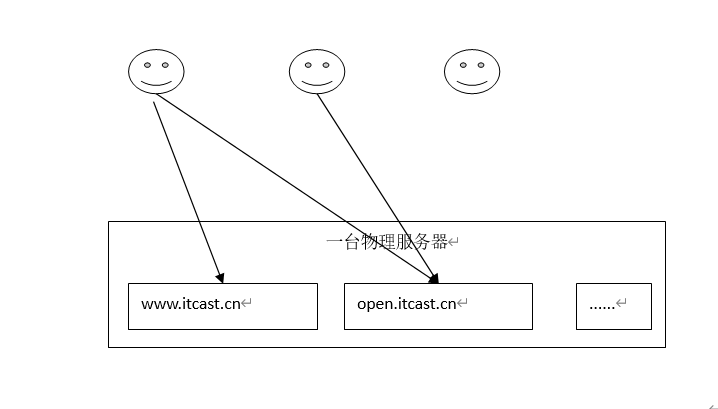
虚拟主机是一种特殊的软硬件技术,它可以将网络上的每一台计算机分成多个虚拟主机,每个虚拟主机可以独立对外提供www服务,
这样就可以实现一台主机对外提供多个web服务,每个虚拟主机之间是独立的,互不影响的。
如下图:
通过nginx可以实现虚拟主机的配置,nginx支持三种类型的虚拟主机配置,
1.基于ip的虚拟主机; 2.基于域名的虚拟主机 ;3.基于端口的虚拟主机。
nginx配置文件的结构:
nginx的配置文件结构如下:
......
events {
    .......
}

http{
   .......
   server{
         .......
         }
   server{
         .......
         }
}
每个server就是一个虚拟主机。
二.基于ip的虚拟主机配置
Linux操作系统允许添加IP别名,IP别名就是在一块物理网卡上绑定多个lP地址。这样就能够在使用单一网卡的同一个服务器上运行多个基于IP的虚拟主机。
1、需求:
一台nginx服务器绑定两个ip:192.168.101.3、192.168.101.103
访问不同的ip请求不同的html目录,即:
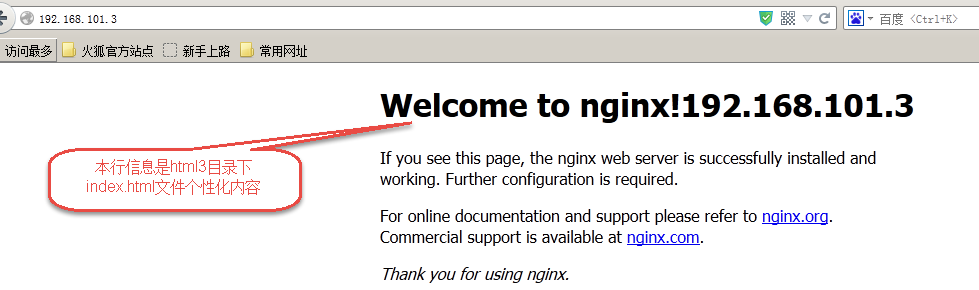
访问http://192.168.101.3将访问“html3”目录下的html网页
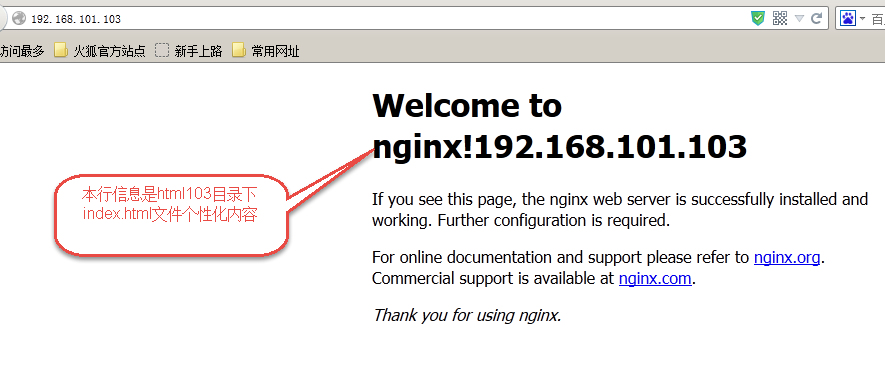
访问http://192.168.101.103将访问“html103”目录下的html网页
2、准备环境:
创建192.168.101.3虚拟机,保证本地电脑和虚拟网络通畅。
在192.168.101.3上安装nginx。
3、html目录创建:
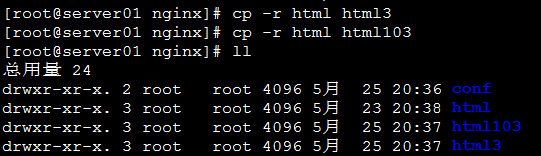
将原来nginx的html目录拷贝两个目录 “html3”和“html103”,为了方便测试需要修改每个目录下的index.html内容使之个性化。
cd /usr/local/nginx
cp -r html html3
cp -r html html103
4、绑定多ip
方法一:
使用标准的网络配置工具(比如ifconfig和route命令)添加lP别名:
当前ip配置情况:
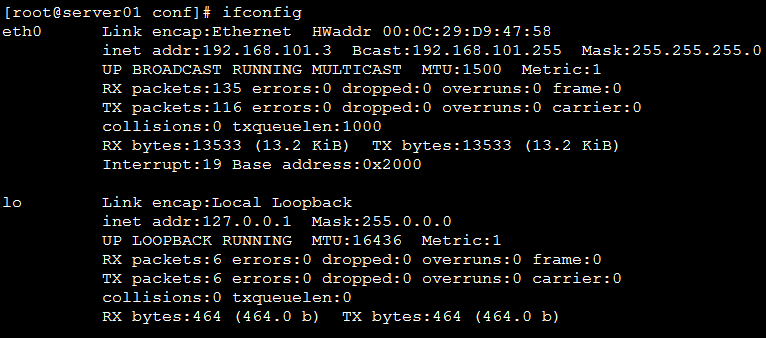
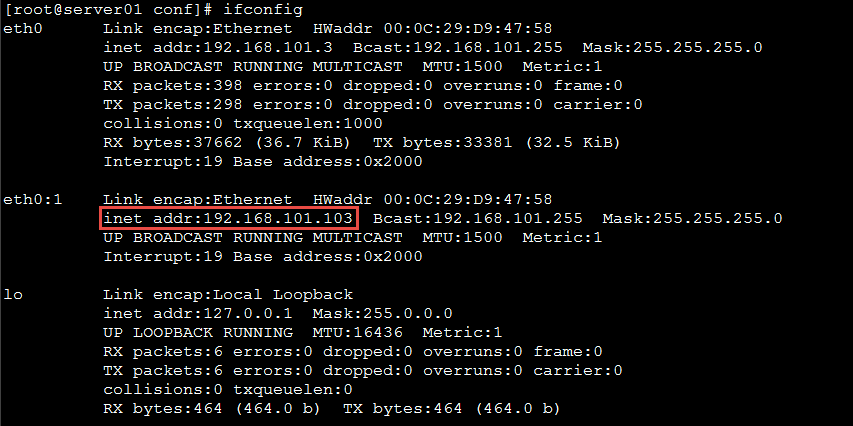
在eth0网卡再绑定一个ip:192.168.101.103
/sbin/ifconfig eth0:1 192.168.101.103 broadcast 192.168.101.255 netmask 255.255.255.0 up
/sbin/route add -host 192.168.101.103 dev eth0:1
方法二:
(1)将/etc/sysconfig/network-scripts/ifcfg-eth0文件复制一份,命名为ifcfg-eth0:1
修改其中内容:
DEVICE=eth0:1
IPADDR=192.168.25.103
其他项不用修改
(2)重启系统
5、配置虚拟主机:
修改/usr/local/nginx/conf/nginx.conf文件,添加两个虚拟主机,如下:
#user  nobody;

worker_processes  1;

events {
    worker_connections  1024;
}

http {
    include       mime.types;
    default_type  application/octet-stream;
    sendfile        on;

    keepalive_timeout  65;
    #配置虚拟主机192.168.101.3

    server {
         #监听的ip和端口,配置192.168.101.3:80
        listen       80;
         #虚拟主机名称这里配置ip地址
        server_name  192.168.101.3;
         #所有的请求都以/开始,所有的请求都可以匹配此location
        location / {
             #使用root指令指定虚拟主机目录即网页存放目录
             #比如访问http://ip/test.html将找到/usr/local/html3/test.html
             #比如访问http://ip/item/test.html将找到/usr/local/html3/item/test.html
            root   /usr/local/nginx/html3;
             #指定欢迎页面,按从左到右顺序查找
            index  index.html index.htm;
        }
    }

    #配置虚拟主机192.168.101.103
    server {
        listen       80;
        server_name  192.168.101.103;
        location / {
            root   /usr/local/nginx/html103;
            index  index.html index.htm;
        }
    }
}
6、测试
启动nginx,观察端口监听状态:

访问http://192.168.101.3
访问http://192.168.101.103
三.基于端口的虚拟主机
最有用的虚拟主机配置方式。一个域名只能绑定一个ip地址,一个ip地址可以被多个域名绑定。

设置域名和ip的映射关系
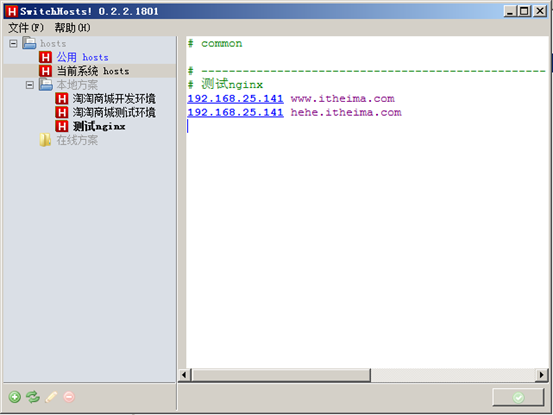
修改window的hosts文件:(C:WindowsSystem32driversetc)
基于域名的虚拟主机配置:
server {
        listen       80;
        server_name  www.itheima.com;

        #charset koi8-r;

        #access_log  logs/host.access.log  main;

        location / {
            root   html-www;
            index  index.html index.htm;
        }


    }

    server {
        listen       80;
        server_name  hehe.itheima.com;

        #charset koi8-r;

        #access_log  logs/host.access.log  main;

        location / {
            root   html-hehe;
            index  index.html index.htm;
        }


    }
修改配置文件后,需要nginx重新加载配置文件。
1、需求:
nginx对外提供80和8080两个端口监听服务。
请求80端口则请求html80目录下的html。
请求8080端口则请求html8080目录下的html。
2、准备环境:
创建192.168.101.3虚拟机,保证本地电脑和虚拟网络通畅。
在192.168.101.3上安装nginx。
3、html目录创建:
将原来nginx的html目录拷贝两个目录 “html80”和“html8080”,为了方便测试需要修改每个目录下的index.html内容使之个性化。
参考基于ip或域名的虚拟主机章节。
4、配置虚拟主机:
修改/usr/local/nginx/conf/nginx.conf文件,添加两个虚拟主机,如下:
#user  nobody;
worker_processes  1;

events {
    worker_connections  1024;
}

http {
    include       mime.types;
    default_type  application/octet-stream;

    sendfile        on;

    keepalive_timeout  65;
    #配置虚拟主机
    server {
    #监听的ip和端口,配置80
        listen       80;
    #虚拟主机名称这里配置ip地址
        server_name  192.168.101.3;
    #所有的请求都以/开始,所有的请求都可以匹配此location
        location / {
        #使用root指令指定虚拟主机目录即网页存放目录
        #比如访问http://ip/test.html将找到/usr/local/html3/test.html
        #比如访问http://ip/item/test.html将找到/usr/local/html3/item/test.html

            root   /usr/local/nginx/html80;
        #指定欢迎页面,按从左到右顺序查找
            index  index.html index.htm;
        }

    }
    #配置虚拟主机
    server {
        listen       8080;
        server_name  192.168.101.3;

        location / {
            root   /usr/local/nginx/html8080;
            index  index.html index.htm;
        }

    }

}
5、测试
启动 nginx,查看端口监听状态:

访问http://192.168.101.3
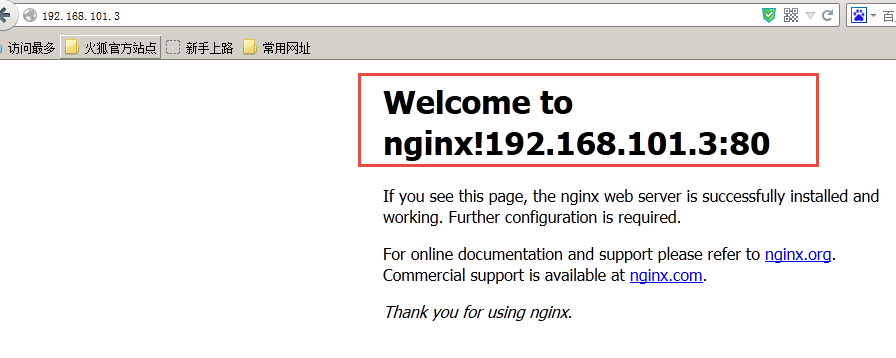
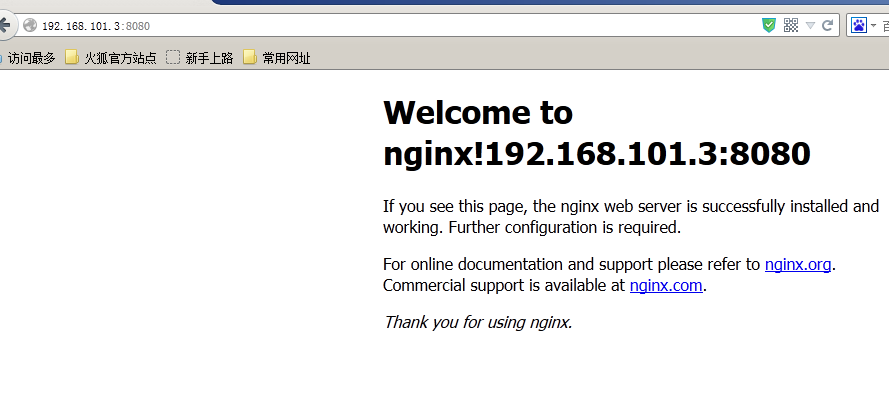
访问http://192.168.101.3:8080
四.基于域名的虚拟主机配置
1、需求
两个域名指向同一台nginx服务器,用户访问不同的域名显示不同的网页内容。
两个域名是aaa.test.com和bbb.test.com
nginx服务器使用虚拟机192.168.101.3
2、准备环境
创建192.168.101.3虚拟机,保证本地电脑和虚拟网络通畅。
在192.168.101.3上安装nginx。
通过host文件指定aaa.test.com和bbb.test.com对应192.168.101.3虚拟机:
修改window的hosts文件:(C:WindowsSystem32driversetc)

3、html目录创建
在192.168.101.3上创建/usr/local/aaa_html,此目录为aaa.test.com域名访问的目录。
在192.168.101.3上创建/usr/local/bbb_html,此目录为bbb.test.com域名访问的目录。
目录中的内容使用nginx自带的html文件,将/usr/local/nginx/html中的内容拷贝分别拷贝到上边两个目录中,
并且将aaa_html目录中的index.html内容改为:“Welcome to aaa nginx!”
将bbb_html目录中的index.html内容改为“Welcome to bbb nginx!”
4、配置虚拟主机
修改/usr/local/nginx/conf/nginx.conf文件,添加两个虚拟主机,如下:
#配置虚拟主机aaa.test.com
server {

        #监听的ip和端口,配置本机ip和端口
        listen 192.168.101.3:80;
        #虚拟主机名称是aaa.test.com,请求域名aaa.test.com的url将由此server配置解析
        server_name aaa.test.com;
        #所有的请求都以/开始,所有的请求都可以匹配此location
        location / {
                  #使用root指令指定虚拟主机目录即网页存放目录
                  #比如访问http://ip/test.html将找到/usr/local/aaa_html/test.html
                  #比如访问http://ip/item/test.html将找到/usr/local/aaa_html/item/test.html
                root /usr/local/aaa_html;
                #指定欢迎页面,按从左到右顺序查找
                index index.html index.htm;
        }
    }

#配置虚拟主机bbb.test.com
    server {
        listen 192.168.101.3:80;
        server_name bbb.test.com;
        location / {
                root /usr/local/bbb_html;
                index index.html index.htm;
        }
    }
5、测试
访问aaa.test.com、bbb.test.com