接上一篇博客,这次还是关于 esp8266 --> 物联网
一、云端数据监控:DHT11 + NodeMcu +Dweet.io
- 接上一篇博客的接线及相关配置不变( DHT11 + NodeMcu )
- 配置 Dweet.io
Dweet.io 是一个可以通过非常简易的方式为物联网设备提供通信服务(包括报警等)的云端平台。它不需要任何的设置或注册步骤,只要终端设备连接上互联网,即可直接发布或订阅数据。
通过 Dweet.io 提供的云端服务,可以很方便的将传感器数据发布到在线平台并实时地进行远程监控。
-
Dweeting(发送数据到云端)
- 调用URL:
https://dweet.io/dweet/for/my-thing-name?hello=world&foo=bar
- 调用URL:
-
Get Dweeting
- 获取最新发布的 dweet :
https://dweet.io/get/latest/dweet/for/my-thing-name - 获取某个名字下所有的 dweets :
https://dweet.io/get/dweets/for/my-thing-name
- 获取最新发布的 dweet :
$ http -b "https://dweet.io/get/dweets/for/rollingstarky"
{
    "by": "getting",
    "the": "dweets",
    "this": "succeeded",
    "with": [
        {
            "content": {
                "foo": "bar",
                "hello": "world"
            },
            "created": "2020-09-25T16:30:34.524Z",
            "thing": "rollingstarky"
        },
        {
            "content": {
                "foo": "bar",
                "hello": "world"
            },
            "created": "2020-09-25T16:10:46.694Z",
            "thing": "rollingstarky"
        }
    ]
}
- 项目代码
把上篇博客的数据传送到 Dweet.io 云端平台
#include <ESP8266WiFi.h>
#include "DHT.h"

// WiFi parameters
const char* ssid = "wifi-name";
const char* password = "wifi-password";

#define DHTPIN 5

#define DHTTYPE DHT11

// Initialize DHT sensor
DHT dht(DHTPIN, DHTTYPE, 15);

const char* host = "dweet.io";

void setup() {

  Serial.begin(115200);
  delay(10);

  dht.begin();

  // Connecting to a WiFi network
  Serial.println();
  Serial.println();
  Serial.print("Connecting to ");
  Serial.println(ssid);
  WiFi.begin(ssid, password);
  while (WiFi.status() != WL_CONNECTED) {
    delay(500);
    Serial.print(".");
  }

  Serial.println("");
  Serial.println("WiFi connected");
  Serial.println("IP address: ");
  Serial.println(WiFi.localIP());
}

void loop() {

  Serial.print("Connecting to ");
  Serial.println(host);

  // Use WiFiClient class to create TCP connections
  WiFiClient client;
  const int httpPort = 80;
  if (!client.connect(host, httpPort)) {
    Serial.println("connection failed");
    return;
  }

  // Reading temperature and humidity
  float h = dht.readHumidity();
  float t = dht.readTemperature();

  while (isnan(h) || isnan(t)) {
    Serial.println("Failed to read from DHT sensor!");
    delay(2000);

    // Get the measurements once more
    h = dht.readHumidity();
    t = dht.readTemperature();
  }

    Serial.println();
    Serial.println("The temperature and humidity are:");
    Serial.println(t);
    Serial.println(h);

    // Send the request to the server
    client.print(String("GET /dweet/for/rollingstarkyesp8266?temperature=") + String(t) + "&humidity=" + String(h) + " HTTP/1.1
" +
                 "Host: " + host + "
" +
                 "Connection: close

");
    unsigned long timeout = millis();
    while (client.available() == 0) {
      if (millis() - timeout > 5000) {
        Serial.println(">>> Client Timeout !");
        client.stop();
        return;
    }
  }

    // Read all the lines of the reply from server and print them to Serial
    while(client.available()){
      String line = client.readStringUntil('
');
      Serial.print(line);
    }
    Serial.println();
    Serial.println("closing connection");
    Serial.println();

  // Repeat every 10 seconds
  delay(10000);
}
- 访问最新更新的数据:
https://dweet.io/get/latest/dweet/for/rollingstarkyesp8266
{"this":"succeeded","by":"getting","the":"dweets","with":[{"thing":"rollingstarkyesp8266","created":"2020-09-25T09:27:22.823Z","content":{"temperature":28,"humidity":61}}]}
- 访问全部数据:
https://dweet.io/get/dweets/for/rollingstarkyesp8266
{"this":"succeeded","by":"getting","the":"dweets","with":[{"thing":"rollingstarkyesp8266","created":"2020-09-25T09:17:04.292Z","content":{"temperature":27.9,"humidity":58}},{"thing":"rollingstarkyesp8266","created":"2020-09-25T09:15:08.961Z","content":{"temperature":27.9,"humidity":59}},{"thing":"rollingstarkyesp8266","created":"2020-09-25T09:13:16.383Z","content":{"temperature":27.9,"humidity":58}},{"thing":"rollingstarkyesp8266","created":"2020-09-25T09:11:30.363Z","content":{"temperature":27.9,"humidity":57}},{"thing":"rollingstarkyesp8266","created":"2020-09-25T09:09:43.309Z","content":{"temperature":27.9,"humidity":57}}]}
- 访问可视化图表:
http://dweet.io/follow/rollingstarkyesp8266- 这里有点见鬼,出不来,单数据应该是都到云端了,可以查到 Json 数据(假装有图有真相)
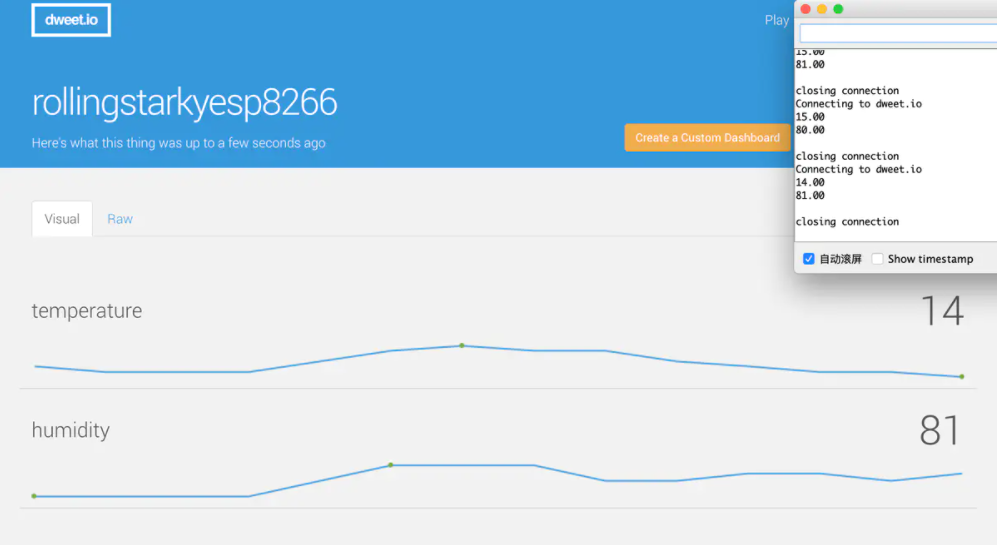
- 这里有点见鬼,出不来,单数据应该是都到云端了,可以查到 Json 数据(假装有图有真相)
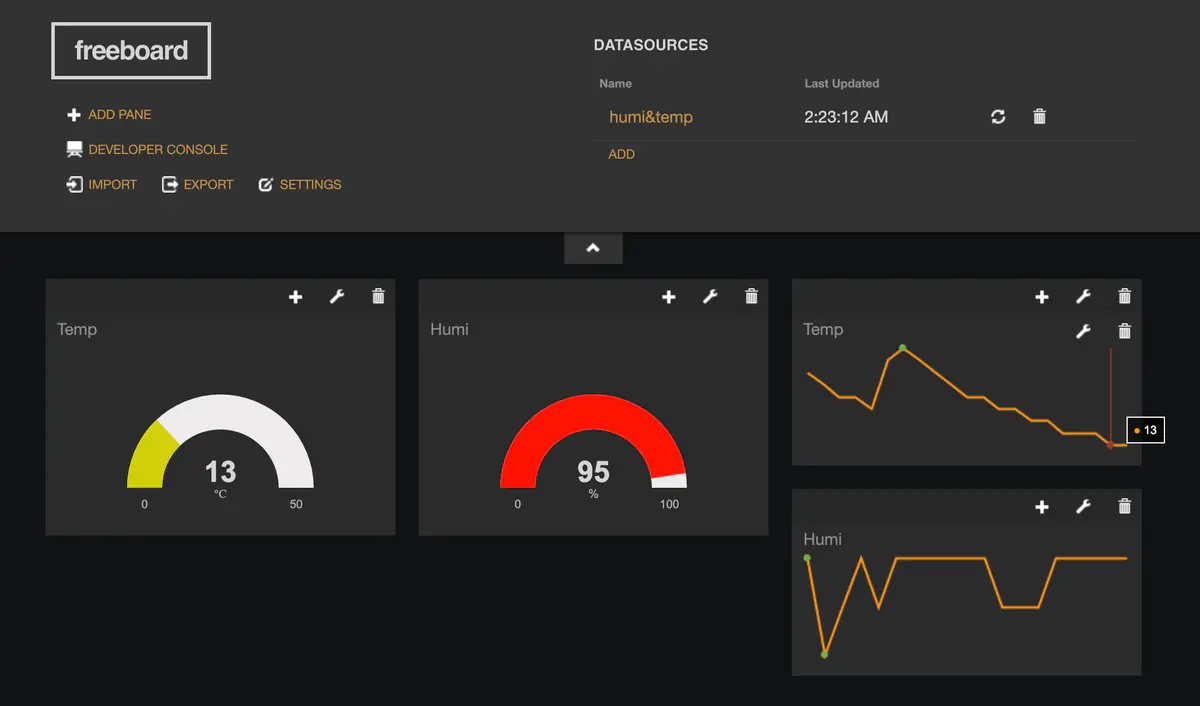
- 链接 freeboard 平台(仪表盘)
- 注册
- 懂点英语,稍微摸索一下
二、远程控制物联网设备:NodeMcu + PubSubClient + aREST
1.准备工具
- aREST 库
aREST 框架可以为一些常见的嵌入式开发板提供 RESTful 接口,支持通过串口、Wi-Fi、以太网、蓝牙等硬件发送命令至开发板,激发特定的操作,并将数据以 JSON 的格式返回给控制端用户
- PubSubClient 库
- 源代码
// Import required libraries
#include <ESP8266WiFi.h>
#include <PubSubClient.h>
#include <aREST.h>

// Clients
WiFiClient espClient;
PubSubClient client(espClient);

// Create aREST instance
aREST rest = aREST(client);

// Unique ID to identify the device for cloud.arest.io
char* device_id = "wuwu380";

// WiFi parameters
const char* ssid = "wifi-name";
const char* password = "wifi-password";

// Callback functions
void callback(char* topic, byte* payload, unsigned int length);

void setup(void)
{
  // Start Serial
  Serial.begin(115200);

  // Set callback
  client.setCallback(callback);

  // Give name and ID to device
  rest.set_id(device_id);
  rest.set_name("devices_control");

  // Connect to WiFi
  WiFi.begin(ssid, password);
  while (WiFi.status() != WL_CONNECTED) {
    delay(500);
    Serial.print(".");
  }
  Serial.println("");
  Serial.println("WiFi connected");

  // Set output topic
  char* out_topic = rest.get_topic();
}

void loop() {

  // Connect to the cloud
  rest.handle(client);
}

// Handles message arrived on subscribed topic(s)
void callback(char* topic, byte* payload, unsigned int length) {
  rest.handle_callback(client, topic, payload, length);
}
- 运行结果
$ http -b https://cloud.arest.io/wuwu380/name
{
"connected": true,
"hardware": "esp8266",
"id": "wuwu380",
"name": "devices_control",
"variables": {}
}
$ http -b https://cloud.arest.io/wuwu380/mode/5/o
{
"connected": true,
"hardware": "esp8266",
"id": "wuwu380",
"message": "Pin D5 set to output",
"name": "devices_control"
}
$ http -b https://cloud.arest.io/wuwu380/digital/5/1
{
"connected": true,
"hardware": "esp8266",
"id": "wuwu380",
"message": "Pin D5 set to 1",
"name": "devices_control"
}
三、 esp8266 连接 OLED 屏,制作天气时钟
我一开始就想做这个了hhh,今天先做个hello world
- 必要组件
- U8G2 屏幕驱动库
- 可以去 Ardunio 下载,也可以把 U8g2.rar 解压到 libraries 文件夹
- 接线
| OLED | NodeMcu |
| : - : | : - : |
| GND | GND |
| VCC | 3V3/5V |
| SCL | D1 |
| SDA | D2 |
- 载入程序
文件 - 示例 - U8G2 - full_buffer - 任意打开一个,去除下行代码的注释
U8G2_SSD1306_128X64_NONAME_F_SW_I2C u8g2(U8G2_R0, /* clock=*/ SCL, /* data=*/ SDA, /* reset=*/ U8X8_PIN_NONE); // All Boards without Reset of the Display
写入程序
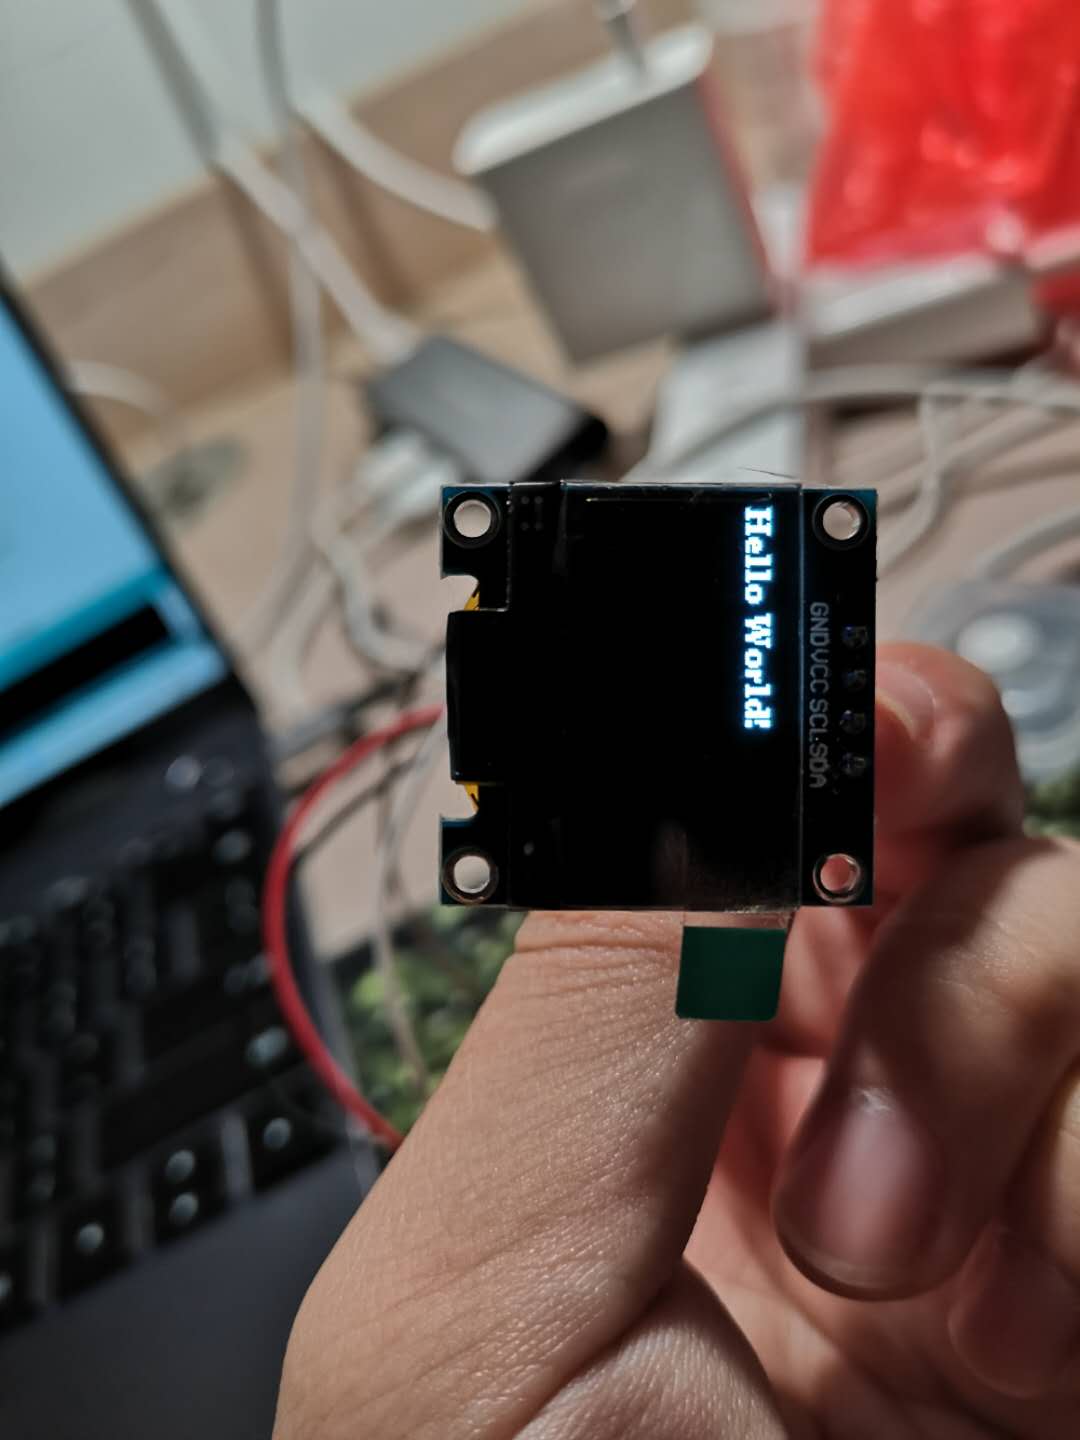
一切的学习,都是从 hello world 开始的[Doge]