一、添加文章
注:
后台管理页面,应该有个新得 app
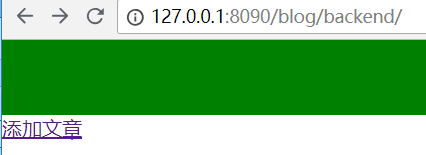
/blog/backend/ # 文章列表页
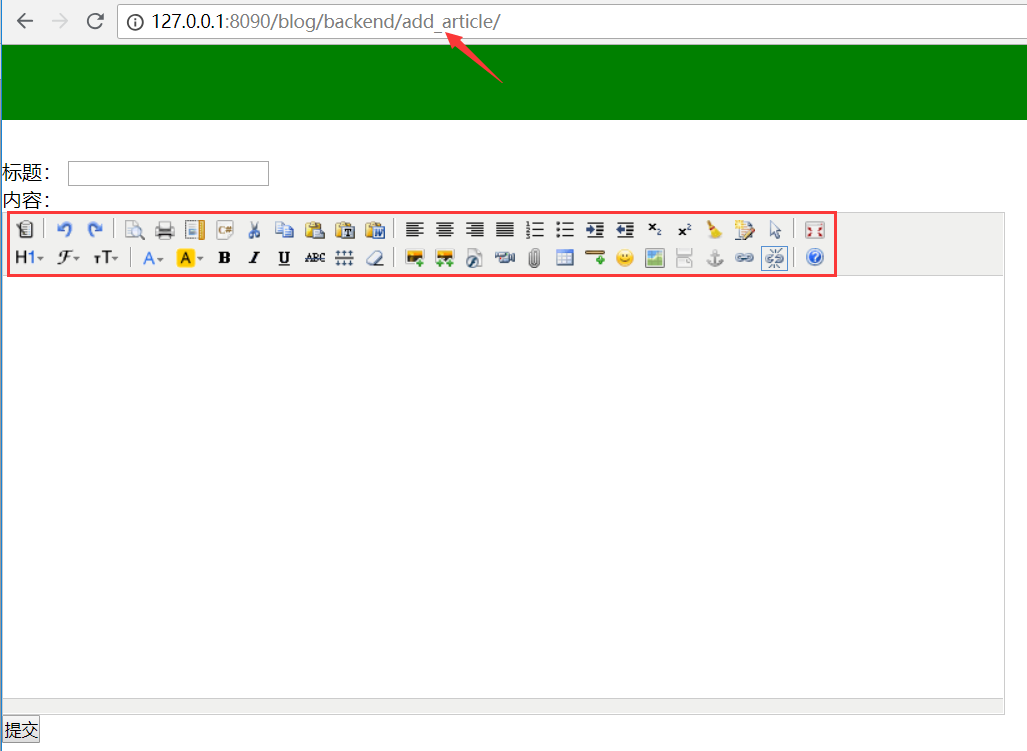
/blog/add_article/ # 添加文章
# 后台管理
re_path(r'backend/$', views.backend),
re_path(r'add_article/$', views.add_article),
二、文本编辑器
文本编辑器 kindeditor  本质上就是(css+js)
官网:
    http://kindeditor.net/demo.php
    http://kindeditor.net/doc.php

使用:
  kindeditor
    <script src="/static/kindeditor/kindeditor-all.js"></script>

    <textarea name="article_con" id="article_box" cols="30" rows="10"></textarea>

    KindEditor.ready(function (k) {
        window.editor = k.create('#article_box')
        ...
    })

    KindEditor会覆盖textarea, 注意 id

  初始化 参数
        http://kindeditor.net/docs/option.html
add_article.html
注意:kindeditor 参数配置
<!DOCTYPE html>
<html lang="en">
<head>
    <meta charset="UTF-8">
    <title>add_article</title>
    <style type="text/css">
        *{padding: 0;margin: 0}
        .header{ width: 100%; height: 60px;background-color: green}
        .content{ padding-top: 30px;}
    </style>
</head>
<body>

<div class="header">

</div>

<div class="content">
    <form action="" method="post">
        {% csrf_token %}
        <div class="title">
            标题: <input type="text" name="title" >
        </div>
        <div>
            内容:<br>
            <textarea name="article_con" id="article_box" cols="30" rows="10"></textarea>
        </div>
        <input type="submit">
    </form>

</div>

{% csrf_token %}
    <script src="/static/js/jquery-3.2.1.min.js"></script>
    <script src="/static/kindeditor/kindeditor-all.js"></script>
    <script charset="utf-8" src="/static/kindeditor/lang/zh-CN.js"></script>

    <script type="text/javascript">
        KindEditor.ready(function (k) {   // 将 自己写得 textarea id=article_box 覆盖
            window.editor = k.create('#article_box',{
                800,
                height:400,
                items:[  // 留可选得!!
                    'source', '|', 'undo', 'redo', '|', 'preview', 'print', 'template', 'code', 'cut', 'copy', 'paste',
                    'plainpaste', 'wordpaste', '|', 'justifyleft', 'justifycenter', 'justifyright',
                    'justifyfull', 'insertorderedlist', 'insertunorderedlist', 'indent', 'outdent', 'subscript',
                    'superscript', 'clearhtml', 'quickformat', 'selectall', '|', 'fullscreen', '/',
                    'formatblock', 'fontname', 'fontsize', '|', 'forecolor', 'hilitecolor', 'bold',
                    'italic', 'underline', 'strikethrough', 'lineheight', 'removeformat', '|', 'image', 'multiimage',
                    'flash', 'media', 'insertfile', 'table', 'hr', 'emoticons', 'baidumap', 'pagebreak',
                    'anchor', 'link', 'unlink', '|', 'about'
                ],
                resizeType:0,
                uploadJson:'upload_img/',
                extraFileUploadParams:{"csrfmiddlewaretoken":$('input[name=csrfmiddlewaretoken]').val()},
                filePostName:'img'
            })
        })

    </script>

</body>
</html>
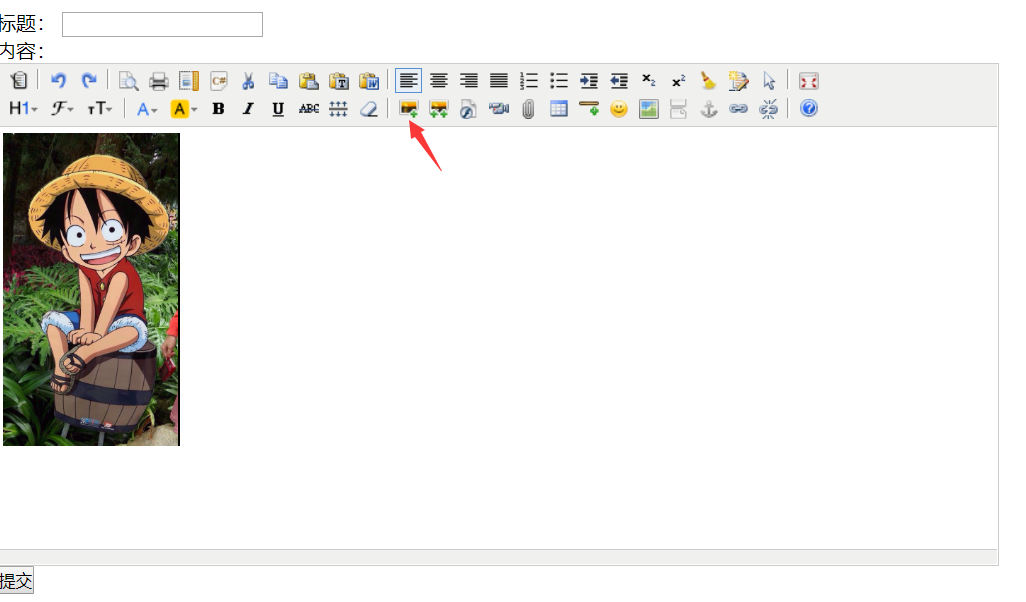
三、上传文件
注意点:
之前学过:form ajax
这次是:编辑器发文件:实质是 ajax的post
注意:
1.参数配置
uploadJson:'upload_img/', # 得是相对路径,否则会报错!
extraFileUploadParams:{"csrfmiddlewaretoken":$('input[name=csrfmiddlewaretoken]').val()},
filePostName:'img'
2.url
re_path(r'upload_img/', views.upload_img),
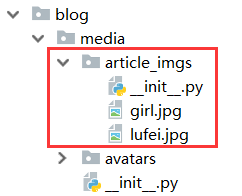
3.用户文件存放 /media/article_imgs/...
img_obj = request.FILES.get('img')
# MEDIA_ROOT = os.path.join(BASE_DIR,'blog','media')
media_path = settings.MEDIA_ROOT
path = os.path.join(media_path,'article_imgs',img_obj.name)
4.写文件
with open(path,'wb') as f:
for line in img_obj:
f.write(line)
5.返回json
res = {
"url":"/media/article_imgs/"+img_obj.name,
"error":0
}
return HttpResponse(json.dumps(res))
code:
from cnblog import settings
import os
import json
def upload_img(request):

    print('files:',request.FILES)  # files 才能拿到文件
    # <MultiValueDict: {'imgFile': [<InMemoryUploadedFile: lufei.jpg (image/jpeg)>]}>
    # 可以自己定义 文件名!!  filePostName:'img'
    # < MultiValueDict: {'img': [ < InMemoryUploadedFile: lufei.jpg(image / jpeg) >]} >

    img_obj = request.FILES.get('img')

    # MEDIA_ROOT = os.path.join(BASE_DIR,'blog','media')
    media_path = settings.MEDIA_ROOT
    path = os.path.join(media_path,'article_imgs',img_obj.name)

    with open(path,'wb') as f:
        for line in img_obj:
            f.write(line)

    res = {
        "url":"/media/article_imgs/"+img_obj.name,
        "error":0
    }
    return HttpResponse(json.dumps(res))
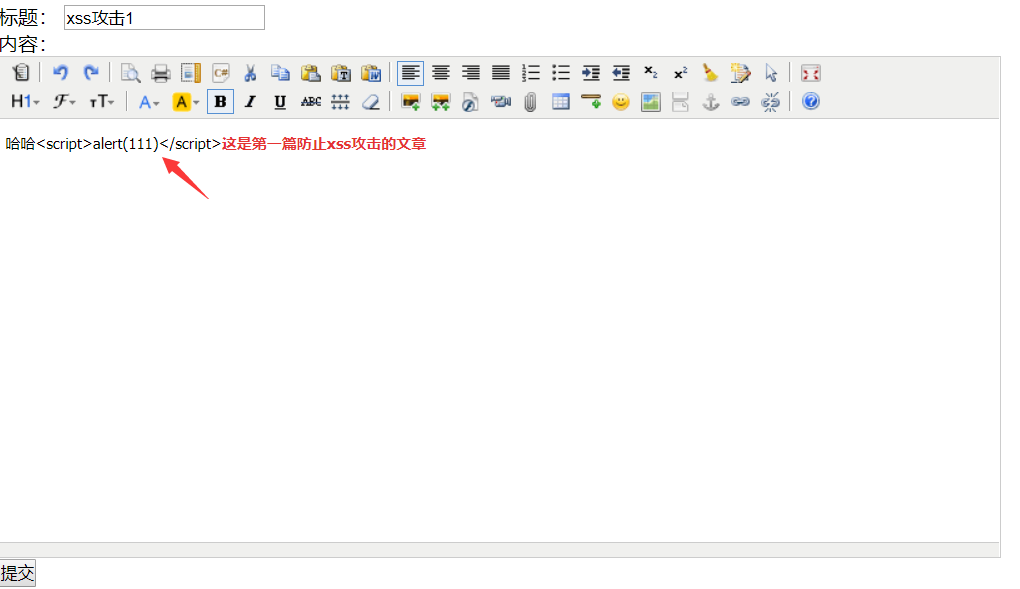
四、提交文章 - BeautifulSoup
总结:
Article:
nid, title, desc, create_time, comment_count, up_count, down_count, category, user, tags,
ArticleDetail:
nid,content,article
注意点:
title = request.POST.get('title')
article_con = request.POST.get('article_con')
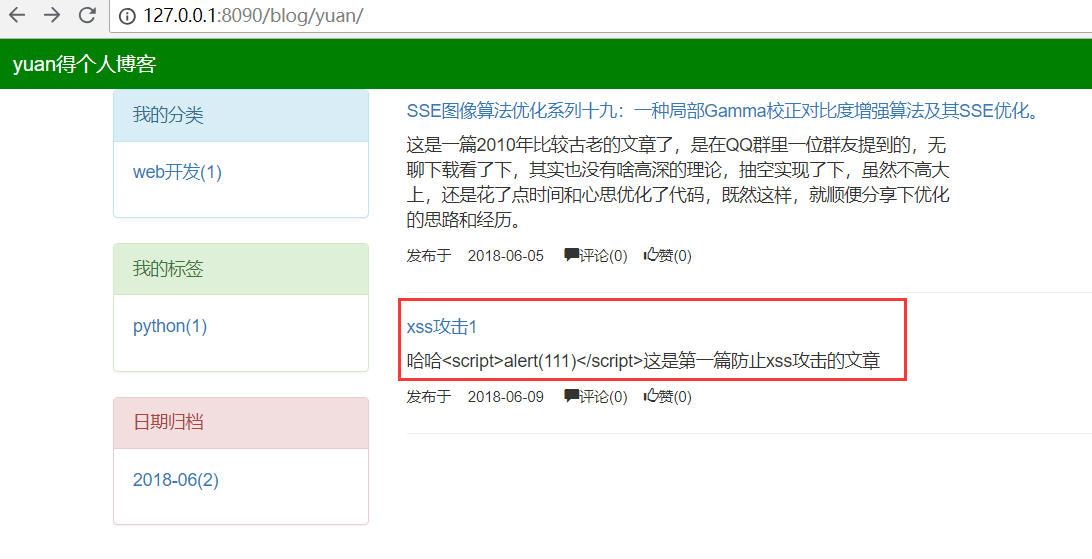
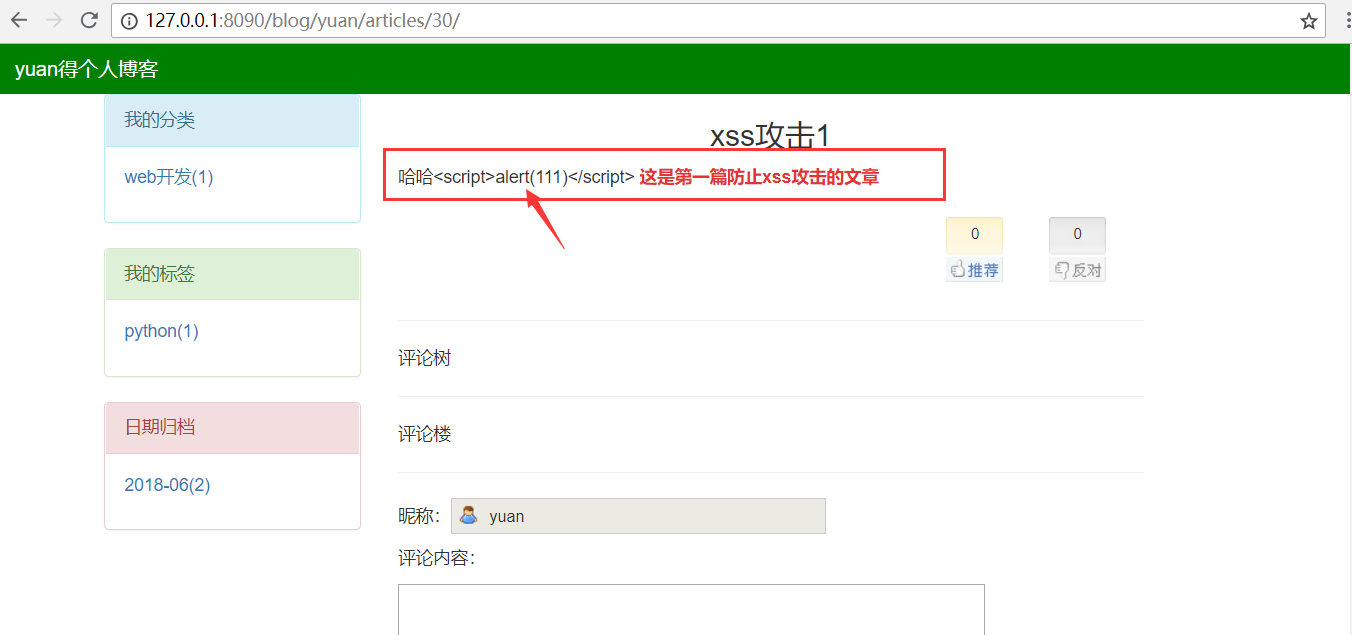
0.防止XSS攻击:引入 (BeautifulSoup)
https://www.cnblogs.com/yuanchenqi/articles/7617280.html
http://beautifulsoup.readthedocs.io/zh_CN/latest/
简单来说,Beautiful Soup是python的一个库,最主要的功能是从网页解析数据。
。。。详细使用。。。
pip3 install beautifulsoup4
from bs4 import BeautifulSoup
soup = BeautifulSoup(article_con,'html.parser')
# 过滤 script
for tag in soup.find_all():
if tag.name == 'script':
tag.decompose() # 删除了所有的script标签及内容
获取desc
1.
if desc = article_con[0:150]
会有问题:article_con 内容中含有标签,截取会截不全,导致有的标签没有闭合,样式错乱!
2.
图片代码不截,只截文本 soup.text[0:150] 会有一点问题:
引入:beautifulsoup 针对标签,字符串,做过滤查询。
soup = BeautifulSoup(article_con,'html.parser')
desc = soup.text[0:150]
but: 有一点问题 soup.text # text 把转义的字符又返回去了!!
eg: <script>alert(555)</script>
转为:<script>alert(555)</script>,存到库里有问题的!
所以:
desc = soup.text[0:150]
desc = desc.replace('<', '<').replace('>', '>')
<p>{{ article.desc|safe }}</p>3.soup.prettify()
code:
def add_article(request): if request.method == 'POST': title = request.POST.get('title') article_con = request.POST.get('article_con') from bs4 import BeautifulSoup soup = BeautifulSoup(article_con, 'html.parser') print('text1:', soup.text) # text 把 转义的字符又返回去了!! # 过滤 script for tag in soup.find_all(): if tag.name == 'script': tag.decompose() # 删除了所有的script标签 desc = soup.text[0:150] desc = desc.replace('<', '<').replace('>', '>') article_obj = Article.objects.create(title=title, desc=desc,user=request.user) # soup.prettify() == str(soup) ArticleDetail.objects.create(content=soup.prettify(),article=article_obj) return HttpResponse('提交成功') else: return render(request, 'add_article.html')


class Article(models.Model):
    """
    文章信息
    """
    nid = models.AutoField(primary_key=True)
    title = models.CharField(max_length=50, verbose_name='文章标题')
    desc = models.CharField(max_length=255, verbose_name='文章描述')
    create_time = models.DateTimeField(verbose_name='创建时间',auto_now_add=True)

    comment_count = models.IntegerField(default=0)  # 为了查询时,效率高!
    up_count = models.IntegerField(default=0)
    down_count = models.IntegerField(default=0)

    category = models.ForeignKey(to='Category', to_field='nid', null=True, on_delete=models.CASCADE)
    user = models.ForeignKey(verbose_name='作者', to='UserInfo', to_field='nid', on_delete=models.CASCADE)

    tags = models.ManyToManyField(
        to='Tag',
        through='Article2Tag',
        through_fields=('article','tag'),
    )

    def __str__(self):
        return self.title


class ArticleDetail(models.Model):
    """
    文章详细表
    """
    nid = models.AutoField(primary_key=True)
    content = models.TextField()
    article = models.OneToOneField(to='Article', to_field='nid', on_delete=models.CASCADE)