摘要: 本实例将演示从零开发一个微信应用号的过程,页面轮播与跳转传值,实现单元格自定义布局,全部源码可通过github下载。
下载最新版的微信小程序开发工具,目前是v0.9.092300
下载地址:https://mp.weixin.qq.com/debug/wxadoc/dev/devtools/download.html
官方文档:https://mp.weixin.qq.com/debug/wxadoc/dev/index.html
git下载地址:http://git.oschina.net/dotton/news
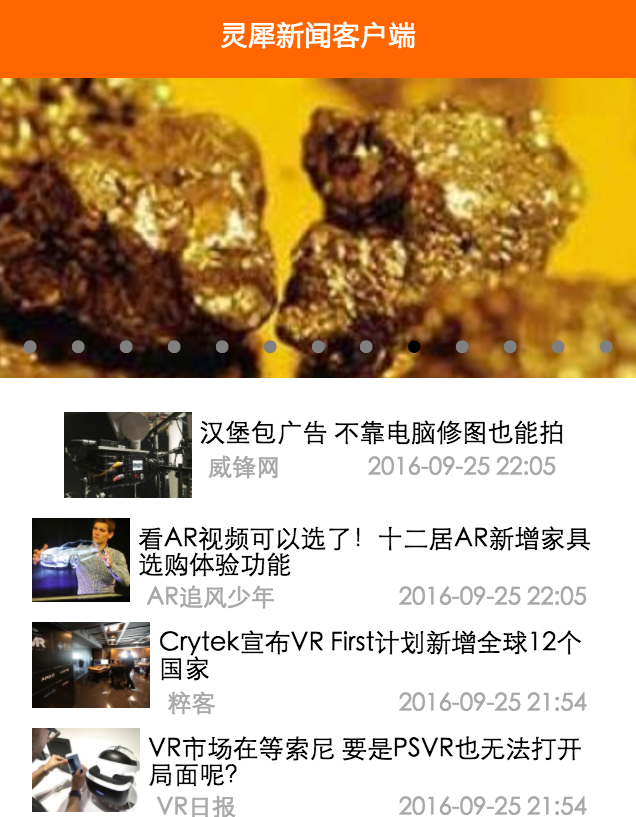
先看下效果图:
一、新建应用
1.内测阶段对于无内测号的开发者,请点无AppId。
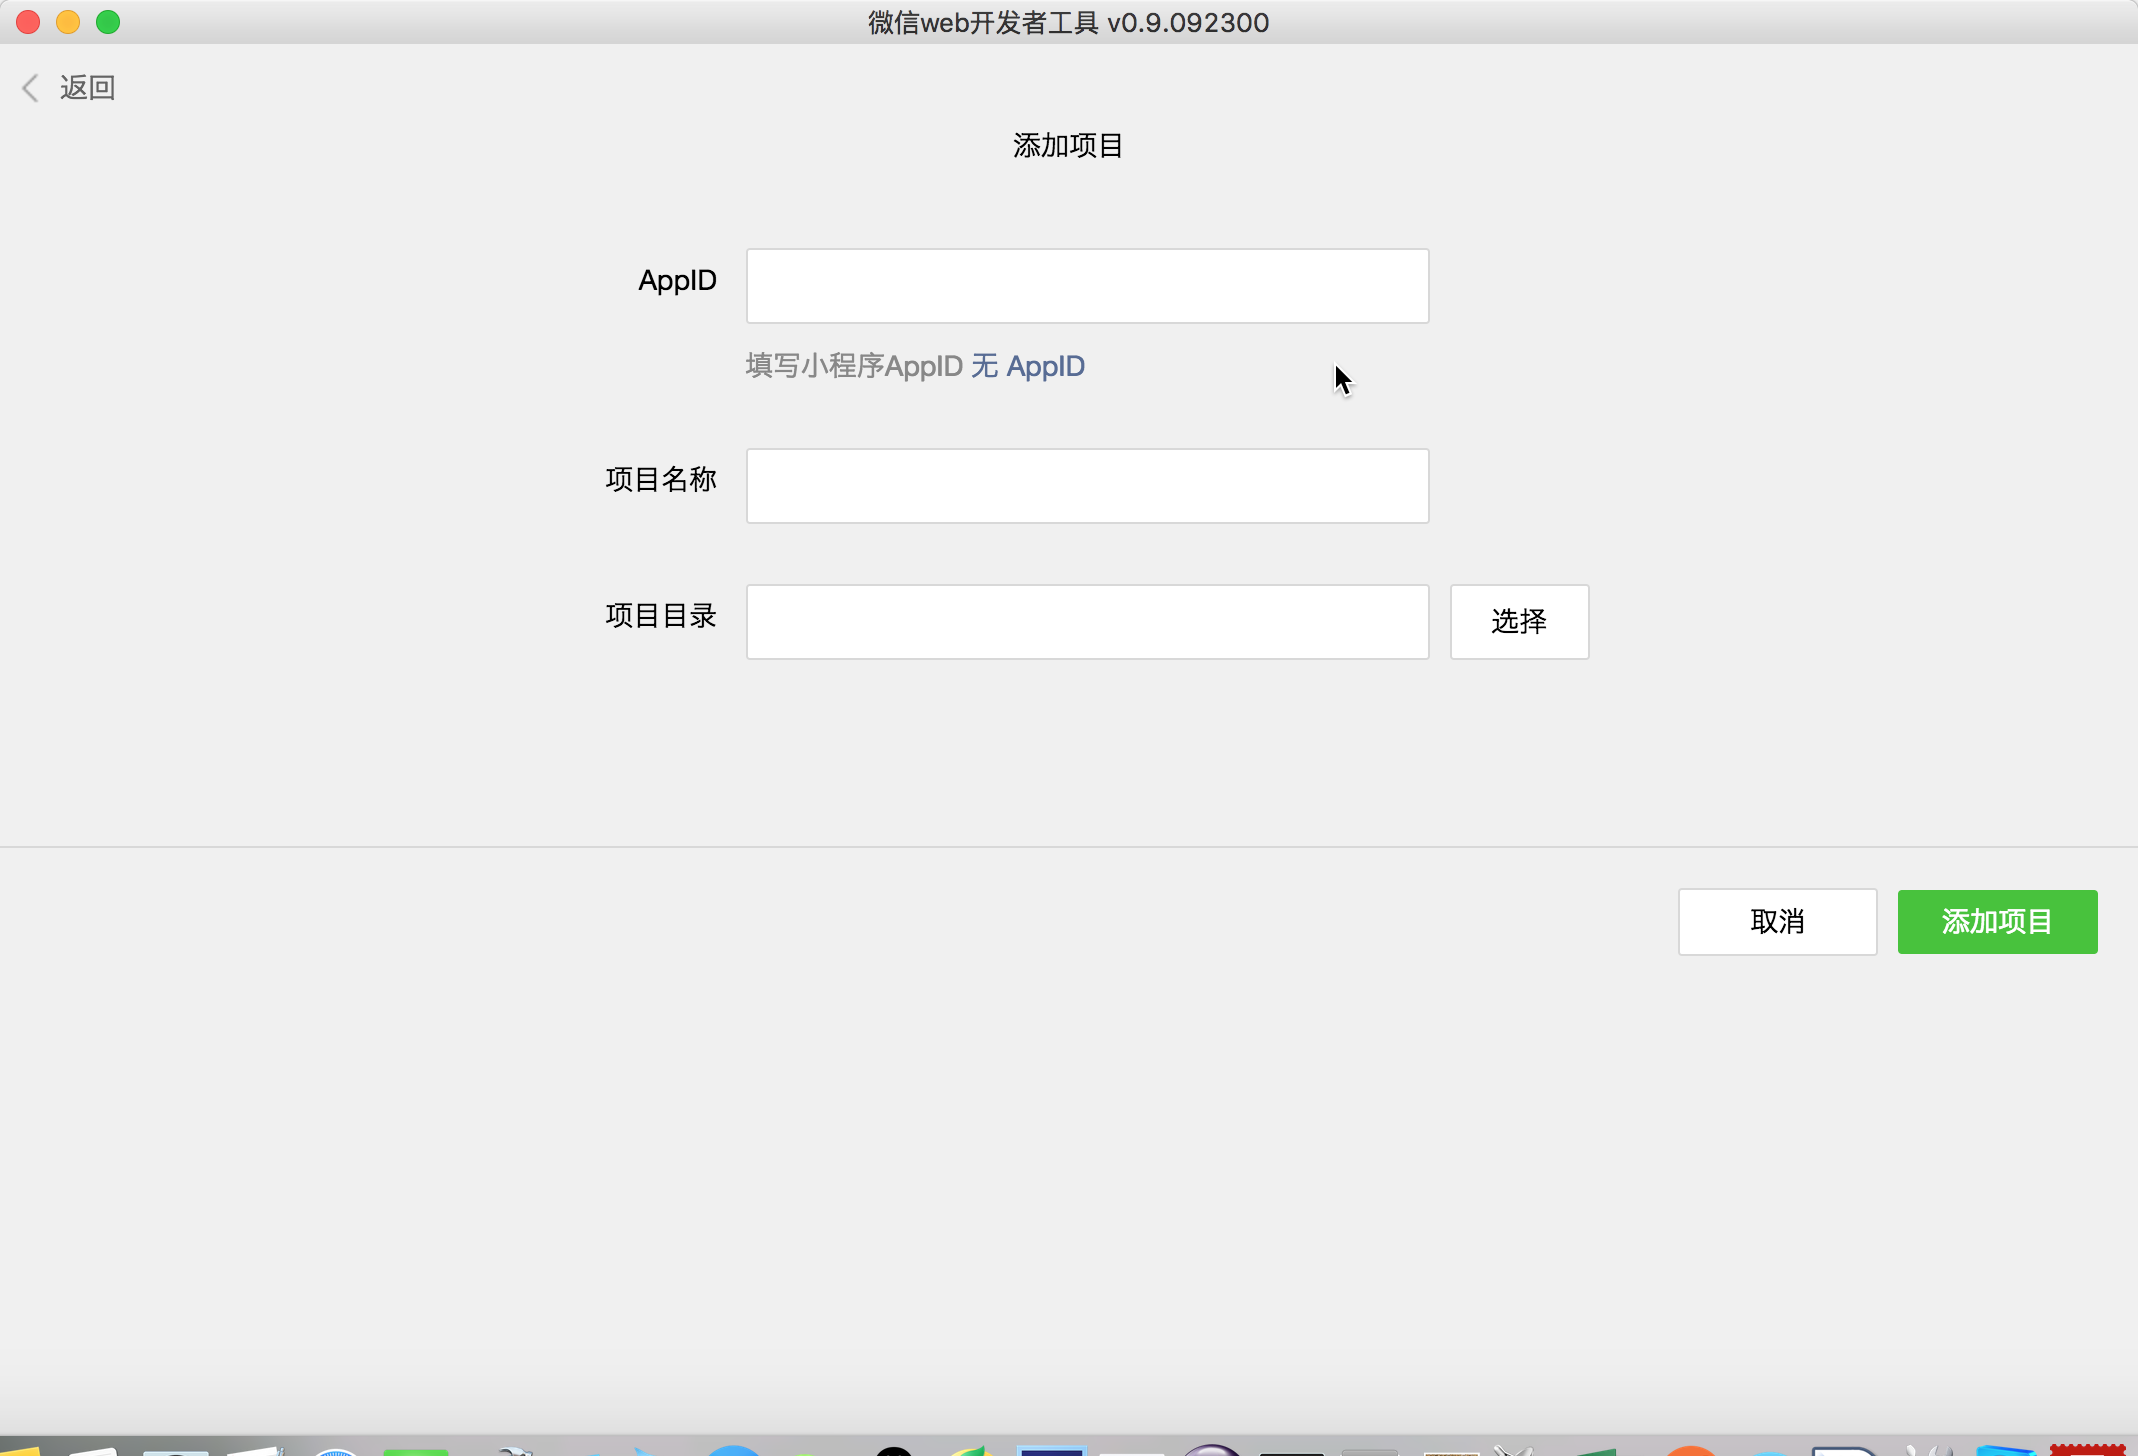
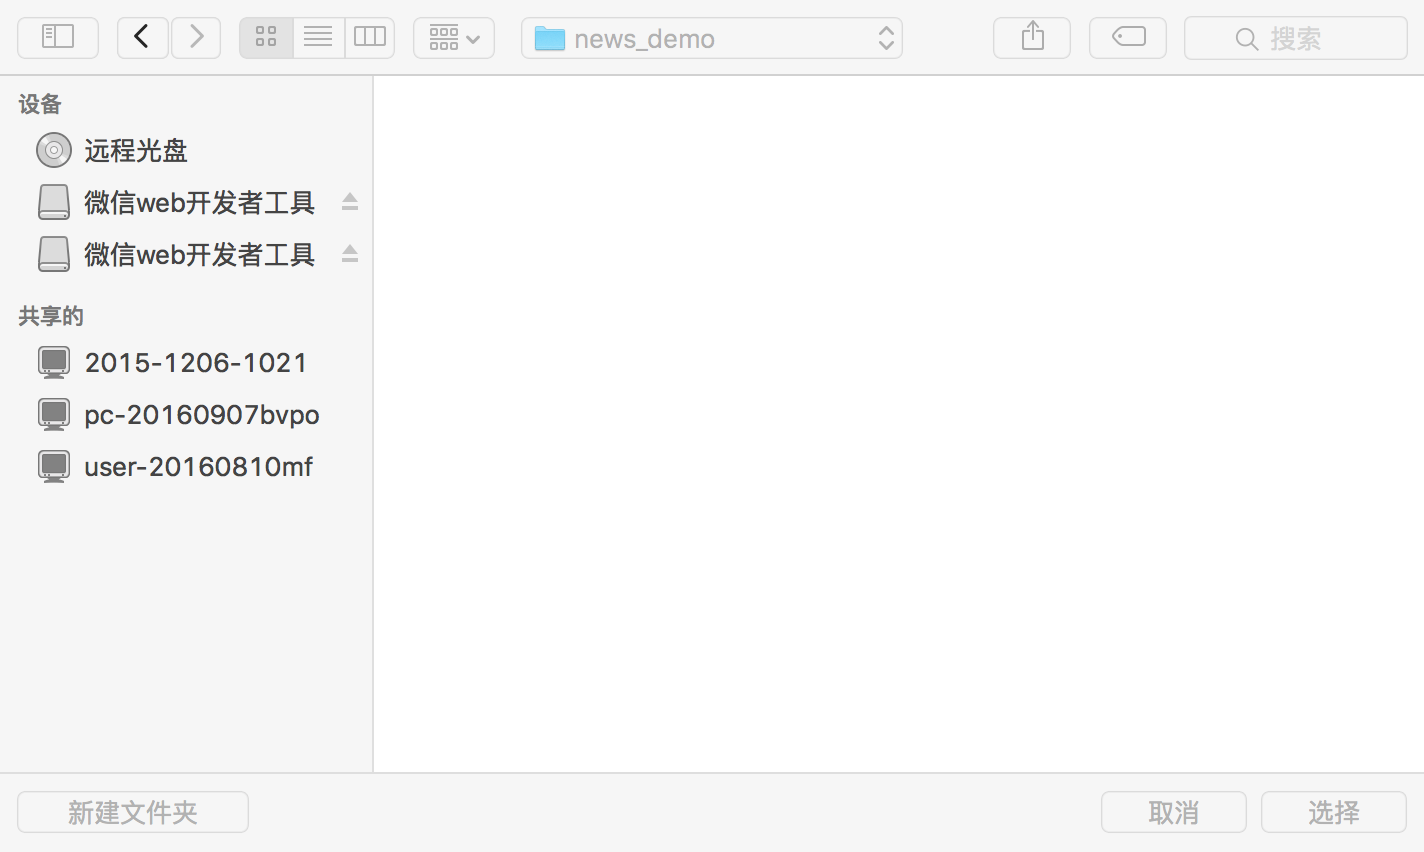
2.然后选择一个本地目录作为工程目录。
3.项目名称任意,设置好目录,勾上当前目录创建quick start项目。如图:

4.点击添加项目,这时可以运行的效果。是自己的微信个人信息以及一HelloWorld文本框。
5.右边是调试窗口,有2个警告,是由于没有AppID导致的,可以暂时忽略,不影响开发。

6.提示一下,在app.json中设置debug:true,这样控制台看到实时的交互信息,以及将来在js文件中设置断点,类似与Chrome的调试工具以及Firefox的Firebug。
关于首页配置:
{
  "pages":[
    "pages/index/index",
    "pages/logs/logs"
  ],
  "window":{
    "backgroundTextStyle":"light",
    "navigationBarBackgroundColor": "#fff",
    "navigationBarTitleText": "WeChat",
    "navigationBarTextStyle":"black"
  },
  "debug":true
}
其中pages属性表明每一个页面的存在,其中第一条为首页,即pages/index/index
二、请求网络API接口
1.前提条件:
这里需要用到聚合数据的新闻接口,前往:https://www.juhe.cn/docs/api/id/235 注册、申请接口,拿到key,我这里已经申请到一个key:482e213ca7520ff1a8ccbb262c90320a,可以直接拿它做测试,然后就可以将它集成到自己的应用了。
2.使用微信小程序接口来访问网络:
改写index.js文件:
//index.js
//获取应用实例
var app = getApp()
Page({
  data: {
    motto: 'Hello World',
    userInfo: {}
  },
  //事件处理函数
  bindViewTap: function() {
    wx.navigateTo({
      url: '../logs/logs'
    })
  },
  onLoad: function () {
  // 访问聚合数据的网络接口
  wx.request({
    url: 'http://v.juhe.cn/toutiao/index',
    data: {
     type: '' ,
     key: '482e213ca7520ff1a8ccbb262c90320a'
    },
    header: {
        'Content-Type': 'application/json'
    },
    success: function(res) {
      console.log(res.data)
    }
  })

    console.log('onLoad')
    var that = this
    //调用应用实例的方法获取全局数据
    app.getUserInfo(function(userInfo){
      //更新数据
      that.setData({
        userInfo:userInfo
      })
    })
  }
})
3.查看效果,检查Console控制台,得到以下信息:
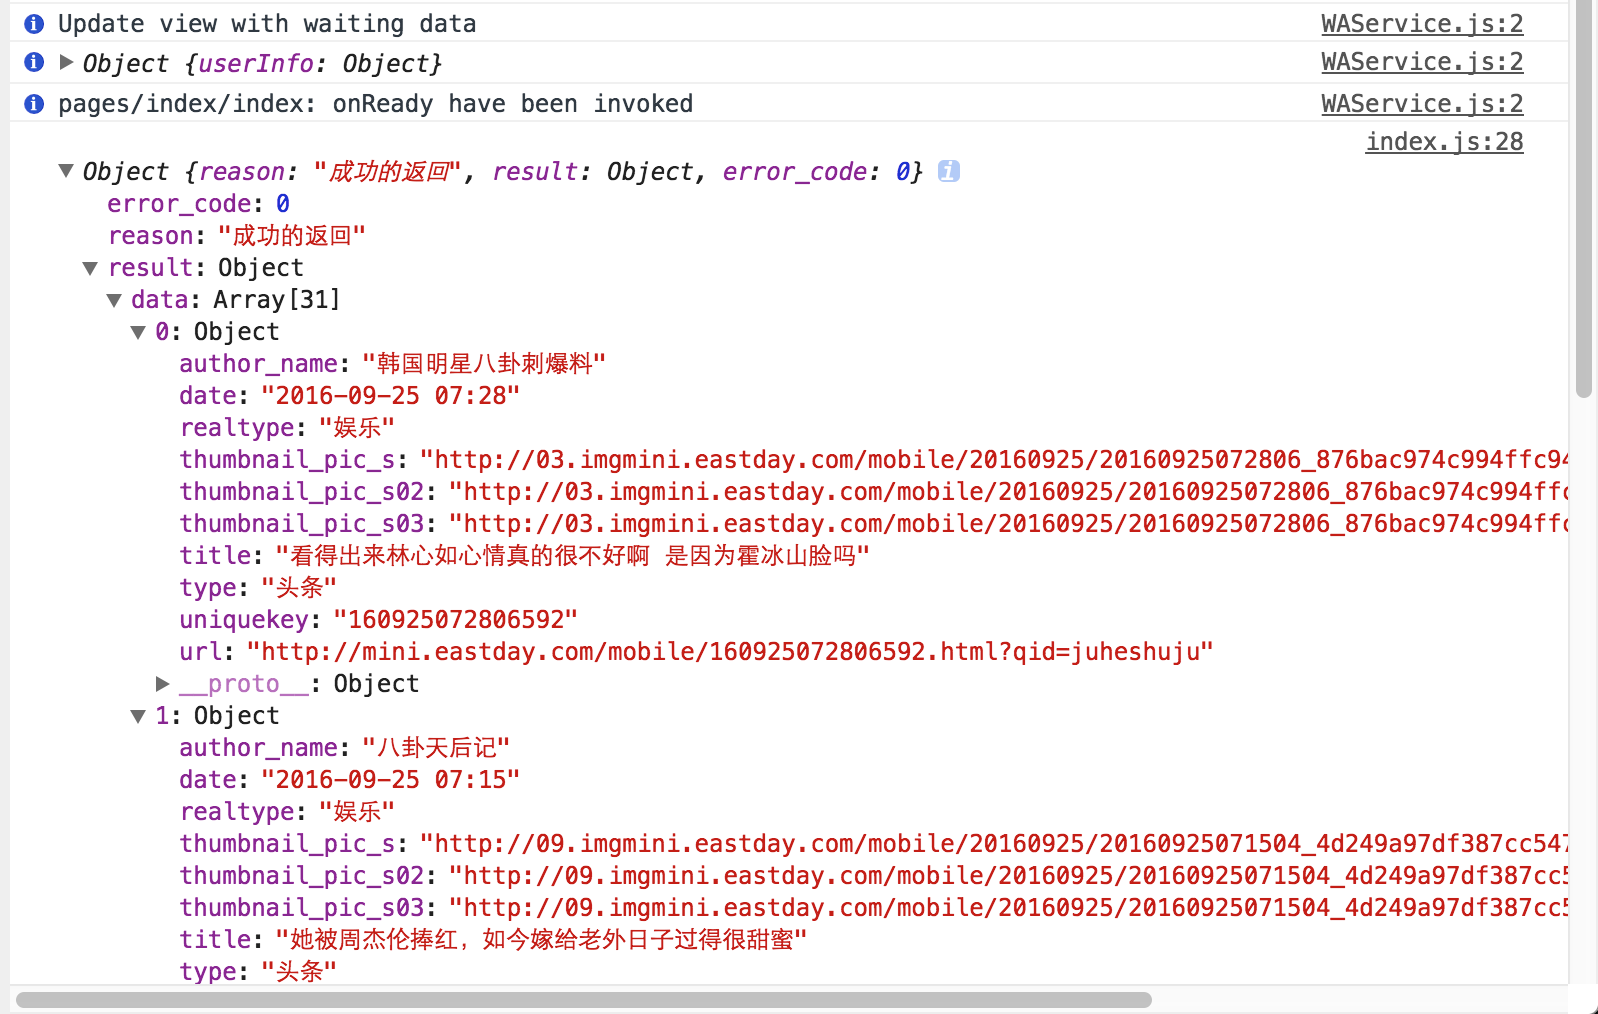
说明已经成功取得到了数据。
三、将json格式的数据渲染到视图
这里要用到swipe组件实现大图轮播,文档见:https://mp.weixin.qq.com/debug/wxadoc/dev/component/swiper.html
1.清空原index.wxml内容,加入如下代码:
<swiper indicator-dots="true"
  autoplay="true" interval="5000" duration="1000">
  <block wx:for="{{topNews}}">
    <swiper-item>
      <image src="{{item.thumbnail_pic_s02}}" class="slide-image" width="355" height="150"/>
    </swiper-item>
  </block>
</swiper>
2.相应地在index.js文件的onLoad方法中加入如下代码来获取网络数据
//index.js
//获取应用实例
var app = getApp()
Page({
  data: {
    topNews:[],
    techNews:[]
  },
  onLoad: function () {
    var that = this
  // 访问聚合数据的网络接口-头条新闻
  wx.request({
    url: 'http://v.juhe.cn/toutiao/index',
    data: {
     type: 'topNews' ,
     key: '482e213ca7520ff1a8ccbb262c90320a'
    },
    header: {
        'Content-Type': 'application/json'
    },
    success: function(res) {
      if (res.data.error_code == 0) {
        that.setData({
        topNews:res.data.result.data
        })
      } else {
        console.log('获取失败');
      }
    }
  })

  }
})
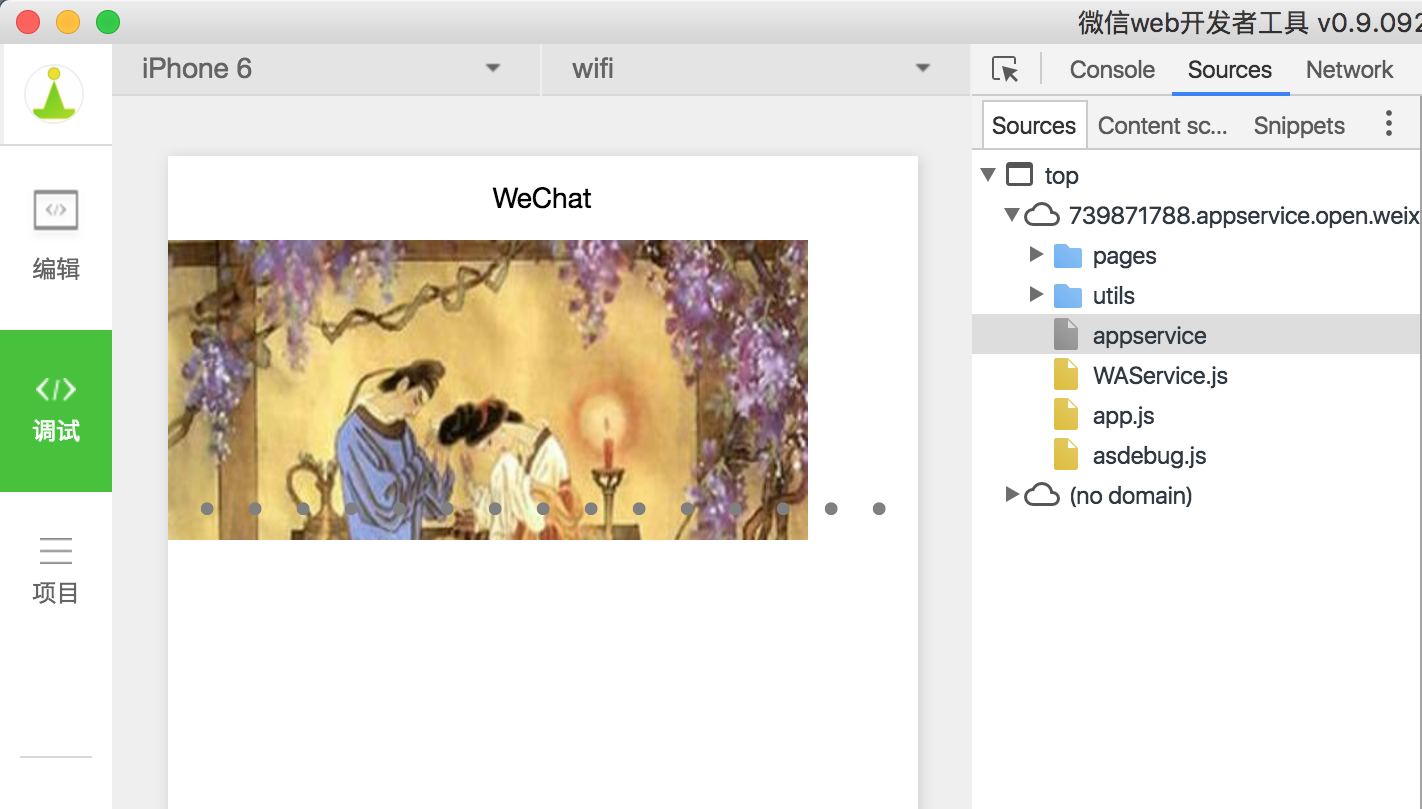
3.看到轮播已经成功的展示出来了
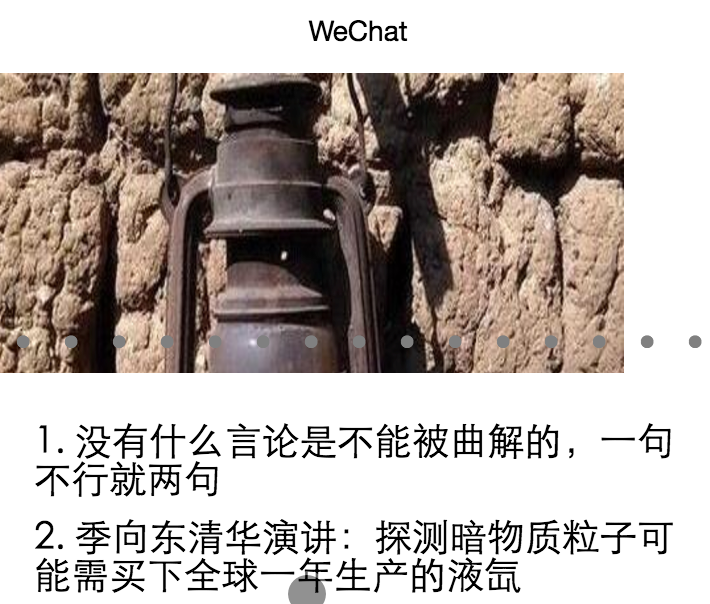
4.依样画葫芦,同样操作读取列表新闻:
<view class="news-list">
  <block wx:for="{{techNews}}">
    <text class="news-item">{{index + 1}}. {{item.title}}</text>
  </block>
</view>
配合样式表,不然列表文字排版是横向的,将以下css加到index.wxss中:
.news-list {
  display: flex;
  flex-direction: column;
  padding: 40rpx;
}
.news-item {
  margin: 10rpx;
}
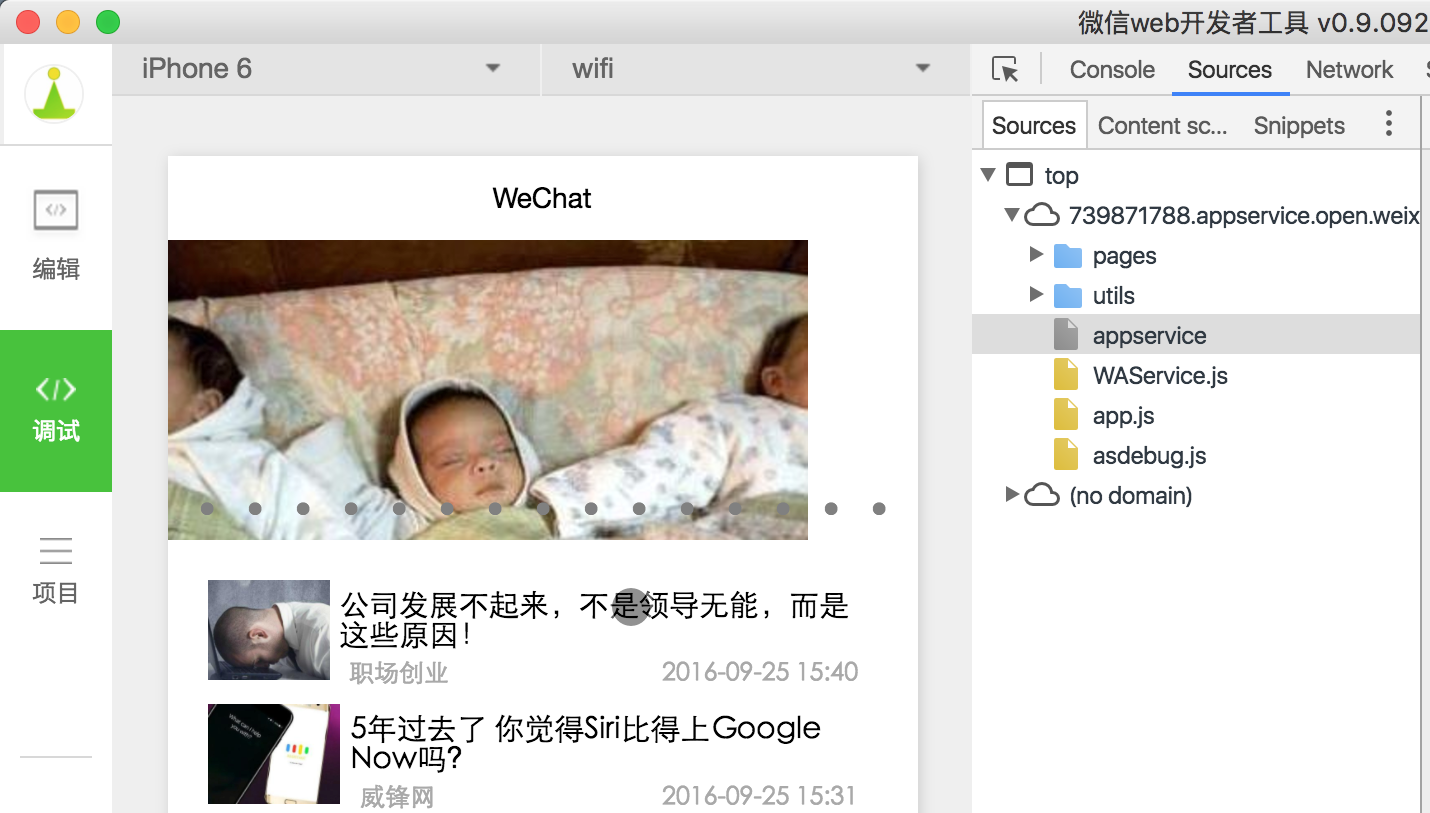
- 继续美化,文字列表也采用缩略图+大标题+出处+日期的形式
样式表与布局文件 index.wxss
/**index.wxss**/
.news-list {
  display: flex;
  flex-direction: column;
  padding: 40rpx;
}

.news-item {
  display: flex;
  flex-direction: row;
  height:200rpx;
}

.news-text {
  display: flex;
  flex-direction: column;
}

.news-stamp {
    font-size: 25rpx;
    color:darkgray;
    padding: 0 20rpx;
    display: flex;
    flex-direction: row;
    justify-content:space-between;
}

.news-title {
  margin: 10rpx;
  font-size: 30rpx;
}

.container {
  height: 5000rpx;
  display: flex;
  flex-direction: column;
  align-items: center;
  justify-content: space-between;
  /*padding: 200rpx 0;*/
  box-sizing: border-box;
}

.list-image {
  150rpx;
  height:100rpx;
}
index.wxml
<!--index.wxml-->
<swiper indicator-dots="true"
  autoplay="true" interval="5000" duration="1000">
  <block wx:for="{{topNews}}">
    <swiper-item>
      <image src="{{item.thumbnail_pic_s02}}" mode="aspectFill" class="slide-image" width="375" height="250"/>
    </swiper-item>
  </block>
</swiper>
<view class="container news-list">
  <block wx:for="{{techNews}}">
    <view class="news-item">
      <image src="{{item.thumbnail_pic_s}}" mode="aspectFill" class="list-image"/>
      <view class="news-text">
        <text class="news-title">{{item.title}}</text>
        <view class="news-stamp">
          <text>{{item.author_name}}</text>
          <text>{{item.date}}</text>
        </view>
      </view>
    </view>
  </block>
</view>
四、跳转详情页与传值
保存当前点击的新闻条目信息中的title,参见官方文档:https://mp.weixin.qq.com/debug/wxadoc/dev/framework/view/wxml/event.html
传值到详情页
<!--logs.wxml-->
<view class="container">
  <text class="news-title">{{title}}</text>
  <text class="news-info">暂时找不到WebView的组件接口,于是不能加载网页数据</text>
</view>
  //事件处理函数
  bindViewTap: function(event) {
    wx.navigateTo({
      url: '../detail/detail?title='+event.currentTarget.dataset.newsTitle
    })
  }

//index.js
   //事件处理函数
  bindViewTap: function(event) {
    wx.navigateTo({
      url: '../detail/detail?title='+event.currentTarget.dataset.newsTitle
    })
  }
<!--index.wxml-->
//加入data-xxx元素来传值
<view class="container news-list">
  <block wx:for="{{techNews}}">
    <view class="news-item" data-news-title="{{item.title}}" bindtap="bindViewTap">
      <image src="{{item.thumbnail_pic_s}}" mode="aspectFill" class="list-image"/>
      <view class="news-text">
        <text class="news-title">{{item.title}}</text>
        <view class="news-stamp">
          <text>{{item.author_name}}</text>
          <text>{{item.date}}</text>
        </view>
      </view>
    </view>
  </block>
</view>
当然也可以通过获取全局的变量的方式传值,这里场景是由一个页面与子页面是一对一传值关系,所以不推荐,可参考quickStart项目中微信个人信息的传值方式来做。 app.js末尾加上
  globalData:{
    userInfo:null,
    newsItem:null
  }
})
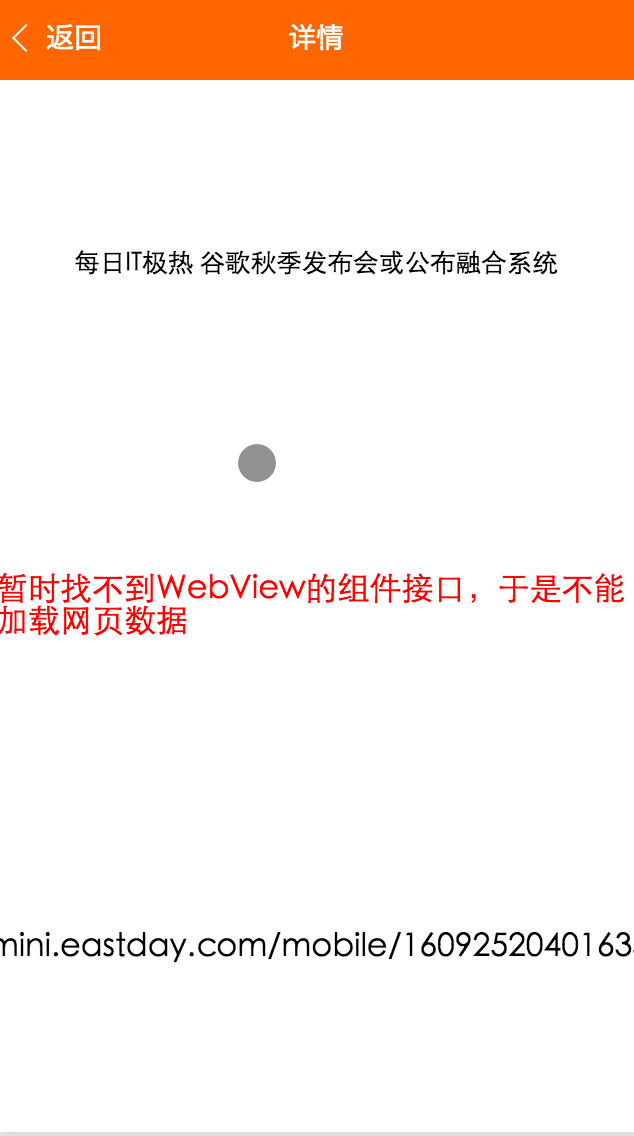
由于未在官方文档中找到WebView的组件,所以详情的网页正文暂时无法实现。
结语
整体开发过程还是比较舒适的,上手难度不高,过程中用到一定的CSS语法,本质上还是体现了一个H5开发模式,WXML实质上一种模板标签语言。