1,下载,编译 nignix nignx-rtmp-mpdule
编译nginx时需要nignx-rtmp-mpdule的包加入
git clone https://github.com/arut/nginx-rtmp-module.git
wget http://nginx.org/download/nginx-1.7.5.tar.gz
放置于同一个目录
tar -xvf nginx-1.7.5.tar.gz
cd nginx-1.7.5/
./configure --with-http_ssl_module --add-module=../nginx-rtmp-module
make
make install
安装到 /usr/local
cd /usr/local
cd nginx/
wget https://raw.github.com/JasonGiedymin/nginx-init-ubuntu/master/nginx -O /etc/init.d/nginx
chmod a+x /etc/init.d/nginx
update-rc.d nginx defaults
service nginx start
service nginx stop
默认启动80端口监听
修改监听端口
cd conf/
cp nginx.conf nginx.conf-bak
vi nginx.conf
修改http下的端口为8080
再次启动
浏览器打开localhost:8080
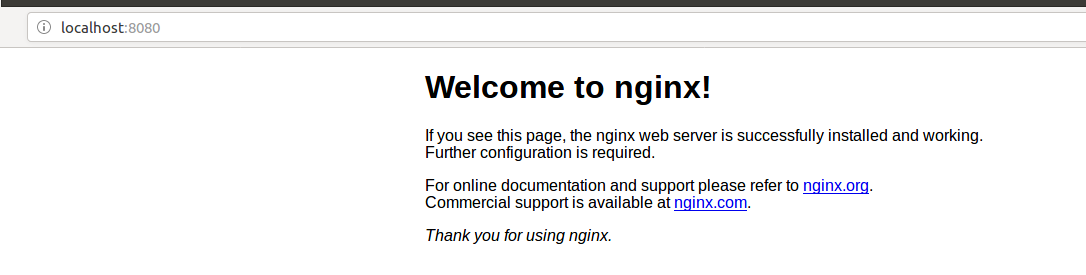
安装完成
增加nginx-rtmp 状态查看页面
解压nginx-rtmp下的html.tar.gz包
到/usr/local/nginx/html
2.修改nginx配置 加入rmpt配置
rtmp {
server {
listen 1935;
chunk_size 4096;
application live {
live on;
record off;
}
application live360p {
live on;
record off;
}
}
}
添加stat查看相关的配置项
server {
listen 60010;
server_name localhost;
#charset koi8-r;
#access_log logs/host.access.log main;
location / {
root html;
index index.html index.htm;
}
location /stat {
rtmp_stat all;
rtmp_stat_stylesheet stat.xsl;
}
location /stat.xsl {
root html;
}
location /hls {
#server hls fragments
types{
application/vnd.apple.mpegurl m3u8;
video/mp2t ts;
}
alias temp/hls;
expires -1;
}
配置完成 重启nginx
3.使用ffmpeg推流
windows平台 下载http://ffmpeg.org/documentation.html的static包
将解压后的目录中bin目录添加到环境变量
cmd 输入
ffmpeg -stream_loop -1 -re -i rtsp://winIp/media/video/Dubai.mkv -acodec copy -vcodec libx264 -f flv rtmp://unbuntuIp:1935/live/video1
其中:
rtsp://winIp/media/video/Dubai.mkv为使用vlc播出的流
rtmp://unbuntuIp:1935/live/video1为推向ngix-rtmp服务的流
命令执行后 无报错及执行成功
使用
播放流 cmd 输入命令 ffmpeg -i rtmp://unbuntuIp:1935/live/video1
播出成功。
===================
如果是centos7.5
启动脚本:
[root@~]# cat /lib/systemd/system/nginx.service
[Unit]
Description=The nginx HTTP and reverse proxy server
After=network.target remote-fs.target nss-lookup.target
[Service]
Type=forking
PIDFile=/var/run/nginx.pid
# Nginx will fail to start if /run/nginx.pid already exists but has the wrong
# SELinux context. This might happen when running `nginx -t` from the cmdline.
# https://bugzilla.redhat.com/show_bug.cgi?id=1268621
ExecStartPre=/usr/bin/rm -f /run/nginx.pid
ExecStartPre=/usr/local/nginx/sbin/nginx -t
ExecStart=/usr/local/nginx/sbin/nginx
ExecReload=/bin/kill -s HUP $MAINPID
KillSignal=SIGQUIT
TimeoutStopSec=5
KillMode=process
PrivateTmp=true
[Install]
WantedBy=multi-user.target
然后使用命令:
systemctl enable nginx.service
systemctl start nginx.service
查看启动情况