场景
Dubbo环境搭建-管理控制台dubbo-admin实现服务监控:
https://blog.csdn.net/BADAO_LIUMANG_QIZHI/article/details/103624846
Dubbo搭建HelloWorld-搭建服务提供者与服务消费者并完成远程调用(附代码下载):
https://blog.csdn.net/BADAO_LIUMANG_QIZHI/article/details/103675259
在上面搭建好Dubbo的HelloWorld后,将其与Springboot项目进行整合。
注:
博客:
https://blog.csdn.net/badao_liumang_qizhi
关注公众号
霸道的程序猿
获取编程相关电子书、教程推送与免费下载。
实现
还是采用上面用户服务提供者和订单服务消费者的模式。
将公共的接口和实体类抽离出来,放在gmall-interface中。
新建服务提供者
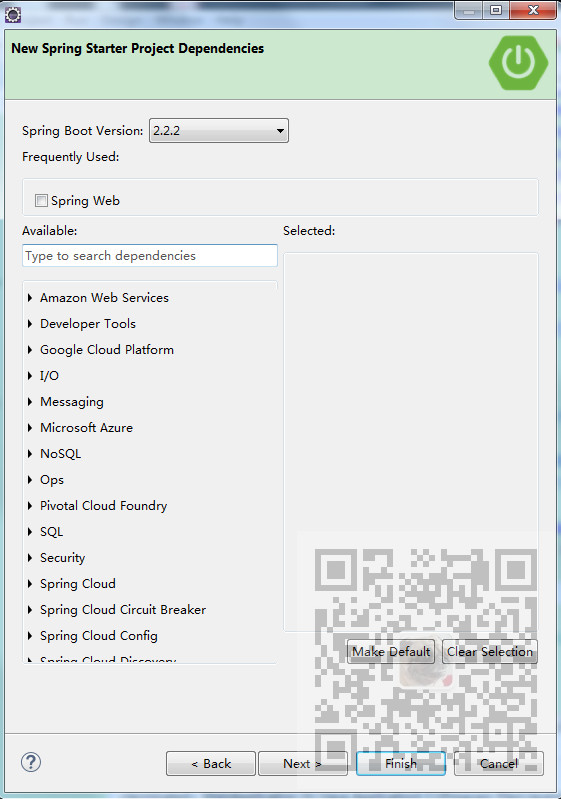
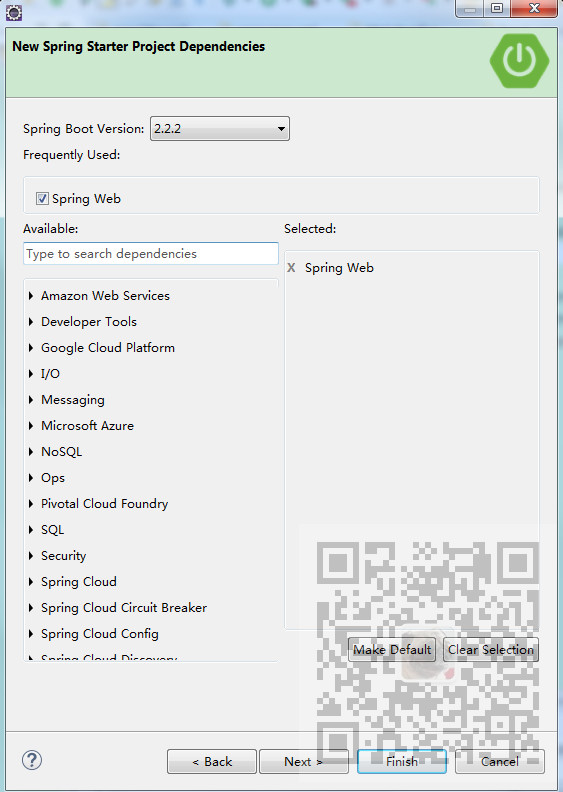
打开Eclipse-新建一个Spring Starter Project

点击Next,输入相关包名与应用名

点击next,这里新建的是服务提供者,只需要简单的SpringBoot项目,不用选择Web依赖,直接点击Next,
注意这里的SpringBoot的版本为2.2.2,在后面选择Dubbo-starter依赖时有版本对应关系。
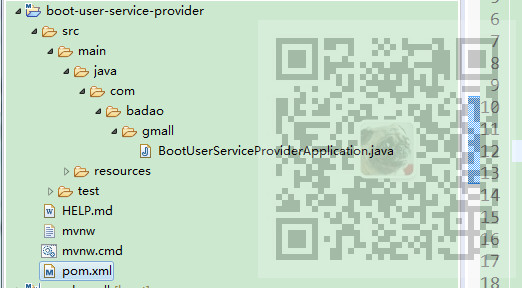
建完之后的目录为
然后打开pom.xml,添加上面公共接口的依赖以及dubbo-starter的依赖。
引入公共接口依赖,具体实现参照上面博客
  <dependency>
   <groupId>com.badao.gmall</groupId>
   <artifactId>gmall-interface</artifactId>
   <version>0.0.1-SNAPSHOT</version>
  </dependency>
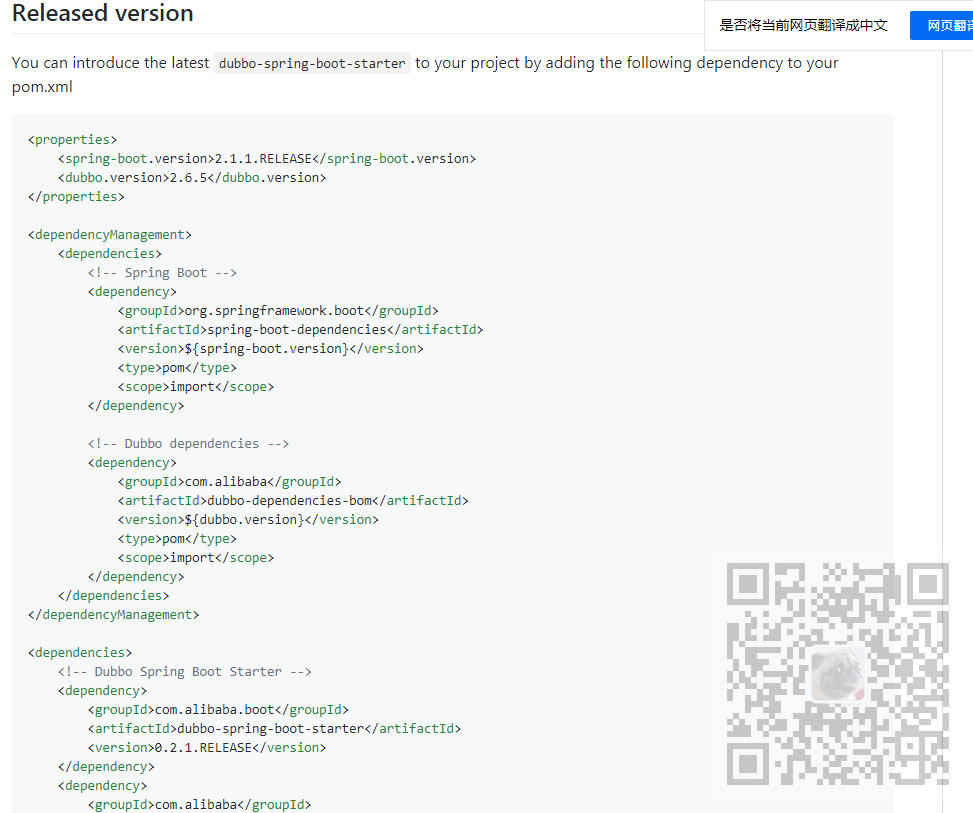
引入dubbo-starter以及相关依赖
按照其官方指示:https://github.com/apache/dubbo-spring-boot-project
添加相应的dubbo的依赖和dubbo-starter的依赖
完整pom.xml代码
<?xml version="1.0" encoding="UTF-8"?>
<project xmlns="http://maven.apache.org/POM/4.0.0" xmlns:xsi="http://www.w3.org/2001/XMLSchema-instance"
 xsi:schemaLocation="http://maven.apache.org/POM/4.0.0 https://maven.apache.org/xsd/maven-4.0.0.xsd">
 <modelVersion>4.0.0</modelVersion>
 <parent>
  <groupId>org.springframework.boot</groupId>
  <artifactId>spring-boot-starter-parent</artifactId>
  <version>2.2.2.RELEASE</version>
  <relativePath/> <!-- lookup parent from repository -->
 </parent>
 <groupId>com.badao</groupId>
 <artifactId>boot-user-service-provider</artifactId>
 <version>0.0.1-SNAPSHOT</version>
 <name>boot-user-service-provider</name>
 <description>Demo project for Spring Boot</description>

 <properties>
  <java.version>1.8</java.version>
 </properties>

 <dependencies>
  <dependency>
   <groupId>com.badao.gmall</groupId>
   <artifactId>gmall-interface</artifactId>
   <version>0.0.1-SNAPSHOT</version>
  </dependency>
  <dependency>
   <groupId>org.springframework.boot</groupId>
   <artifactId>spring-boot-starter</artifactId>
  </dependency>
  <!-- 引入dubbo -->
  <dependency>
   <groupId>com.alibaba</groupId>
   <artifactId>dubbo</artifactId>
   <version>2.6.2</version>
  </dependency>
  <!-- 注册中心使用的是zookeeper,引入操作zookeeper的客户端端 -->
  <dependency>
   <groupId>org.apache.curator</groupId>
   <artifactId>curator-framework</artifactId>
   <version>2.12.0</version>
  </dependency>
  <dependency>
   <groupId>org.springframework.boot</groupId>
   <artifactId>spring-boot-starter-test</artifactId>
   <scope>test</scope>
   <exclusions>
    <exclusion>
     <groupId>org.junit.vintage</groupId>
     <artifactId>junit-vintage-engine</artifactId>
    </exclusion>
   </exclusions>
  </dependency>
  <!-- Dubbo Spring Boot Starter -->
     <dependency>
         <groupId>com.alibaba.boot</groupId>
         <artifactId>dubbo-spring-boot-starter</artifactId>
         <version>0.2.1.RELEASE</version>
     </dependency>
 </dependencies>

 <build>
  <plugins>
   <plugin>
    <groupId>org.springframework.boot</groupId>
    <artifactId>spring-boot-maven-plugin</artifactId>
   </plugin>
  </plugins>
 </build>

</project>
参考上面博客搭建服务提供者时配置信息是在provider.xml中进行配置,在这里要将其配置在application.properties中。
dubbo.application.name=user-service-provider
dubbo.registry.address=127.0.0.1:2181
dubbo.registry.protocol=zookeeper
#
dubbo.protocol.name=dubbo
dubbo.protocol.port=20881
#
dubbo.monitor.protocol=registry
dubbo.scan.base-packages=com.badao.gmall
具体配置信息作用见上面博客。或者参照其官方指示

然后将上面博客搭建好的serviceImpl复制到springBoot项目中
package com.badao.gmall.service.impl;

import java.util.Arrays;
import java.util.List;

import org.springframework.stereotype.Component;

import com.alibaba.dubbo.config.annotation.Service;
import com.badao.gmall.bean.UserAddress;
import com.badao.gmall.service.UserService;

@Service  //暴露服务
@Component
public class UserServiceImpl implements UserService {

 public List<UserAddress> getUserAddressList(String userId) {

  // TODO Auto-generated method stub
  UserAddress address1 = new UserAddress(1, "霸道流氓气质", "1", "李老师", "123456789", "Y");
  UserAddress address2 = new UserAddress(2, "公众号:霸道的程序猿)", "1", "王老师", "987654321", "N");
  return Arrays.asList(address1,address2);
 }

}
注意的是之前在上面搭建的spring项目中使用的@Service注解是spring的注解,而这里使用的dubbo的注解
import com.alibaba.dubbo.config.annotation.Service;
为了区分spring的@Service注解,所以使用spring的@Componment注解。
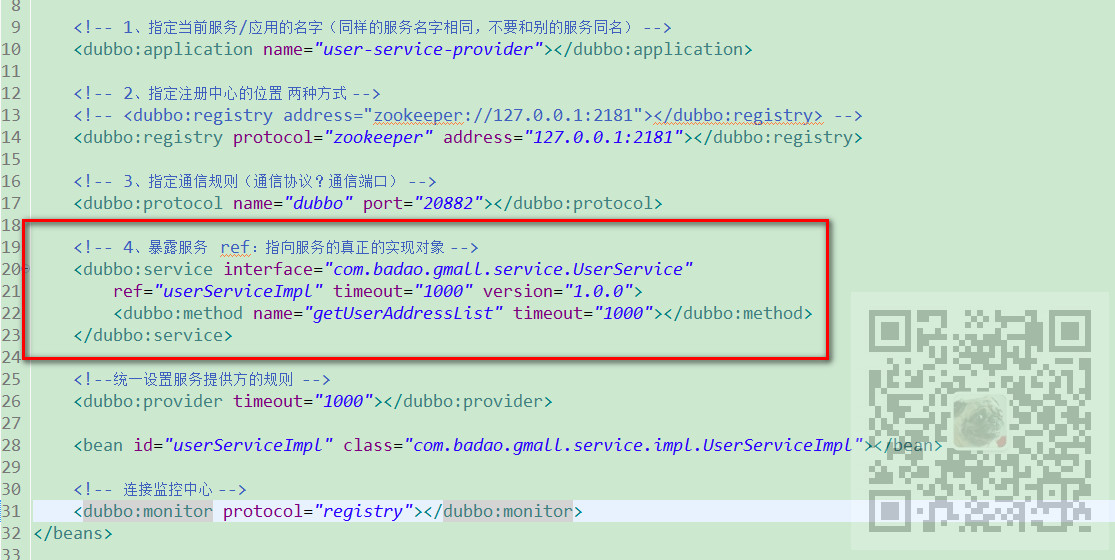
dubbo的@Service注解的作用是指定要暴露的服务,让别人能引用。其作用就是上面在provider.xml中使用dubbo-service标签
暴露服务一样
然后在SpringBoot的主程序中添加注解@EnableDubbo时支持dubbo
package com.badao.gmall;

import org.springframework.boot.SpringApplication;
import org.springframework.boot.autoconfigure.SpringBootApplication;

import com.alibaba.dubbo.config.spring.context.annotation.EnableDubbo;

@EnableDubbo   //开启基于注解的dubbo功能
@SpringBootApplication
public class BootUserServiceProviderApplication {

 public static void main(String[] args) {
  SpringApplication.run(BootUserServiceProviderApplication.class, args);
 }

}
启动提供者主程序
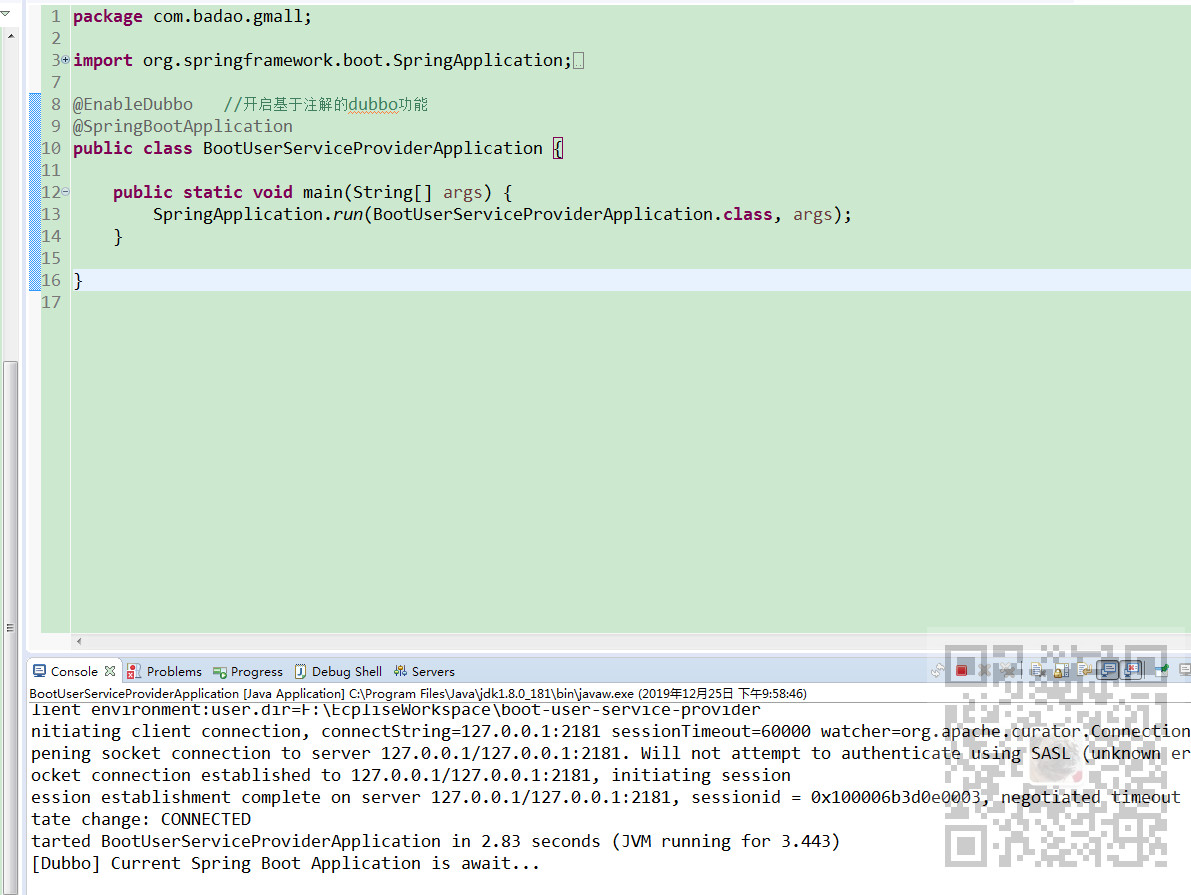
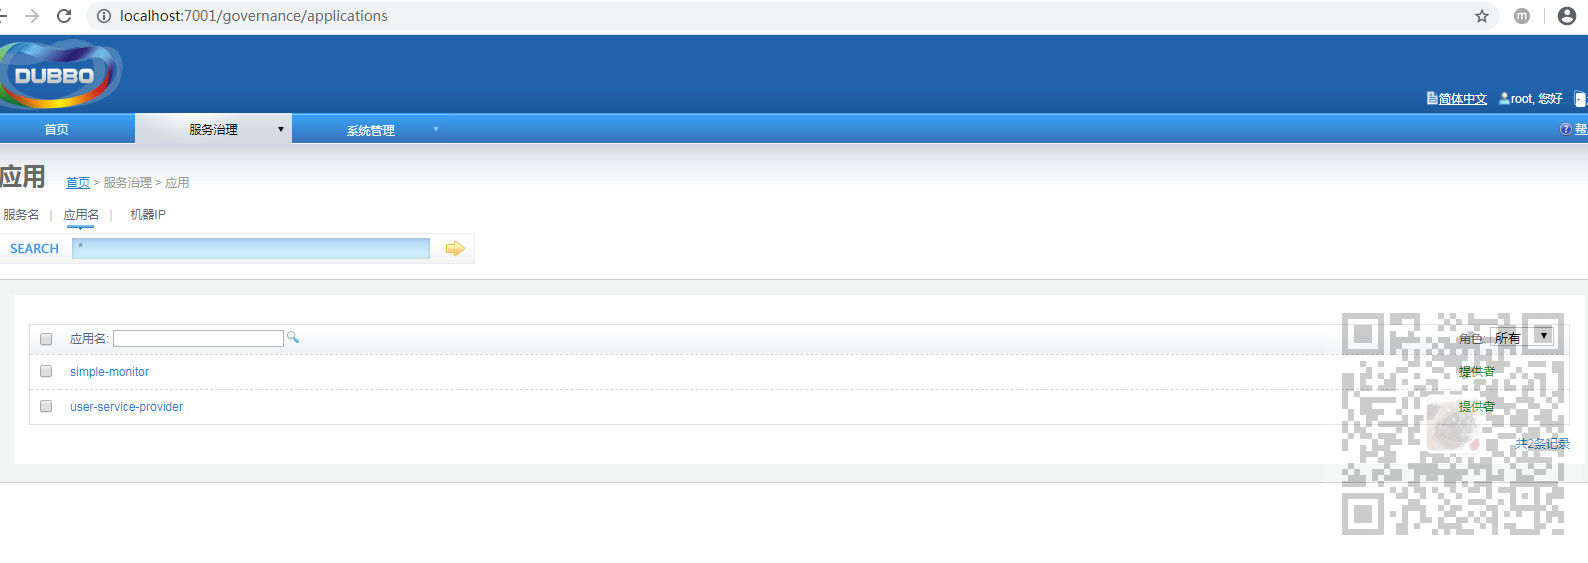
使用上面博客中搭建好的管理平台可见服务提供者搭建成功
新建服务消费者
参照上面搭建服务提供者的流程,新建服务消费者

此时添加web依赖
此时的pom.xml同样引入公共接口依赖与dubbo和dubbo-starter相关依赖
<?xml version="1.0" encoding="UTF-8"?>
<project xmlns="http://maven.apache.org/POM/4.0.0" xmlns:xsi="http://www.w3.org/2001/XMLSchema-instance"
 xsi:schemaLocation="http://maven.apache.org/POM/4.0.0 https://maven.apache.org/xsd/maven-4.0.0.xsd">
 <modelVersion>4.0.0</modelVersion>
 <parent>
  <groupId>org.springframework.boot</groupId>
  <artifactId>spring-boot-starter-parent</artifactId>
  <version>2.2.2.RELEASE</version>
  <relativePath/> <!-- lookup parent from repository -->
 </parent>
 <groupId>com.badao</groupId>
 <artifactId>boot-order-service-consumer</artifactId>
 <version>0.0.1-SNAPSHOT</version>
 <name>boot-order-service-consumer</name>
 <description>Demo project for Spring Boot</description>

 <properties>
  <java.version>1.8</java.version>
 </properties>

 <dependencies>
  <dependency>
   <groupId>org.springframework.boot</groupId>
   <artifactId>spring-boot-starter-web</artifactId>
  </dependency>
  <dependency>
   <groupId>com.badao.gmall</groupId>
   <artifactId>gmall-interface</artifactId>
   <version>0.0.1-SNAPSHOT</version>
  </dependency>
  <dependency>
   <groupId>org.springframework.boot</groupId>
   <artifactId>spring-boot-starter-test</artifactId>
   <scope>test</scope>
   <exclusions>
    <exclusion>
     <groupId>org.junit.vintage</groupId>
     <artifactId>junit-vintage-engine</artifactId>
    </exclusion>
   </exclusions>
  </dependency>
  <!-- 引入dubbo -->
  <!-- https://mvnrepository.com/artifact/com.alibaba/dubbo -->
  <dependency>
   <groupId>com.alibaba</groupId>
   <artifactId>dubbo</artifactId>
   <version>2.6.2</version>
  </dependency>
  <!-- 注册中心使用的是zookeeper,引入操作zookeeper的客户端 -->
  <dependency>
   <groupId>org.apache.curator</groupId>
   <artifactId>curator-framework</artifactId>
   <version>2.12.0</version>
  </dependency>
  <!-- Dubbo Spring Boot Starter -->
     <dependency>
         <groupId>com.alibaba.boot</groupId>
         <artifactId>dubbo-spring-boot-starter</artifactId>
         <version>0.2.1.RELEASE</version>
     </dependency>

 </dependencies>

 <build>
  <plugins>
   <plugin>
    <groupId>org.springframework.boot</groupId>
    <artifactId>spring-boot-maven-plugin</artifactId>
   </plugin>
  </plugins>
 </build>

</project>
然后打开其配置文件进行相关配置
server.port=8081

dubbo.application.name=boot-order-service-consumer
dubbo.registry.address=zookeeper://127.0.0.1:2181
dubbo.monitor.protocol=registry
注意:这里修改端口号是因为8080已经被dubbo-monitor所占用,
具体配置的作用参照上面博客。
然后将服务消费者的接口实现复制过来
package com.badao.gmall.service.impl;

import java.util.List;

import org.springframework.beans.factory.annotation.Autowired;
import org.springframework.stereotype.Service;

import com.alibaba.dubbo.config.annotation.Reference;
import com.badao.gmall.bean.UserAddress;
import com.badao.gmall.service.OrderService;
import com.badao.gmall.service.UserService;

/**
 * 1、将服务提供者注册到注册中心(暴露服务)
 *   1)、导入dubbo依赖(2.6.2)操作zookeeper的客户端(curator)
 *   2)、配置服务提供者
 *
 * 2、让服务消费者去注册中心订阅服务提供者的服务地址
 * @author badao
 *
 */
@Service
public class OrderServiceImpl implements OrderService {

 //@Autowired
 @Reference
 UserService userService;
 public List<UserAddress> initOrder(String userId) {
  // TODO Auto-generated method stub
  System.out.println("用户id:"+userId);
  //1、查询用户的收货地址
  List<UserAddress> addressList = userService.getUserAddressList(userId);
  for (UserAddress userAddress : addressList) {
   System.out.println(userAddress.getUserAddress());
  }
  return addressList;
 }


}
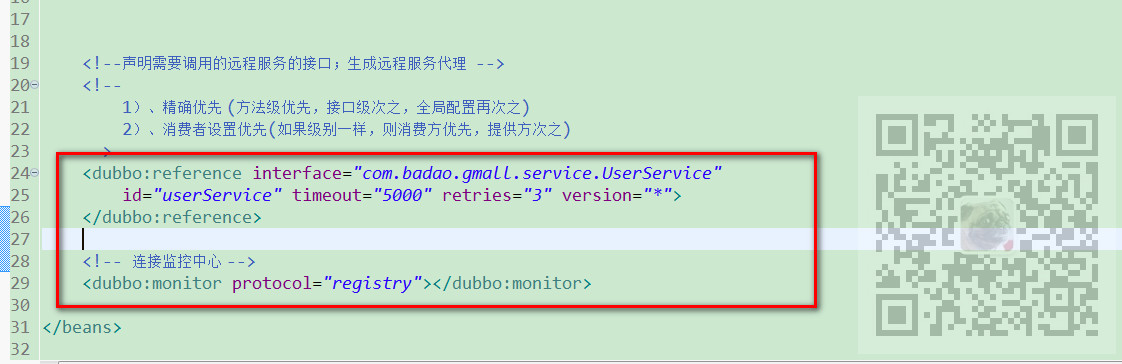
注意:这里的自动注入的@Autowired注解要修改为dubbo的@Reference,其作用是能远程引用userService的服务,自己能从服务注册中心发现。
其作用相当于之前的consumer.xml中使用dubbo:reference标签声明需要调用的远程服务接口,即生成远程服务代理。
在包下新建controller包以及OrderController类
package com.badao.gmall.controller;

import java.util.List;

import org.springframework.beans.factory.annotation.Autowired;
import org.springframework.stereotype.Controller;
import org.springframework.web.bind.annotation.RequestMapping;
import org.springframework.web.bind.annotation.RequestParam;
import org.springframework.web.bind.annotation.ResponseBody;
import com.badao.gmall.bean.UserAddress;
import com.badao.gmall.service.OrderService;


@Controller
public class OrderController {

 @Autowired
 OrderService orderService;

 @ResponseBody
 @RequestMapping("/initOrder")
 public List<UserAddress> initOrder(@RequestParam("uid")String userId) {
  return orderService.initOrder(userId);
 }


}
然后修改主程序开启dubbo支持
package com.badao.gmall;

import org.springframework.boot.SpringApplication;
import org.springframework.boot.autoconfigure.SpringBootApplication;

import com.alibaba.dubbo.config.spring.context.annotation.EnableDubbo;

@EnableDubbo
@SpringBootApplication
public class BootOrderServiceConsumerApplication {

 public static void main(String[] args) {
  SpringApplication.run(BootOrderServiceConsumerApplication.class, args);
 }

}
启动应用主程序
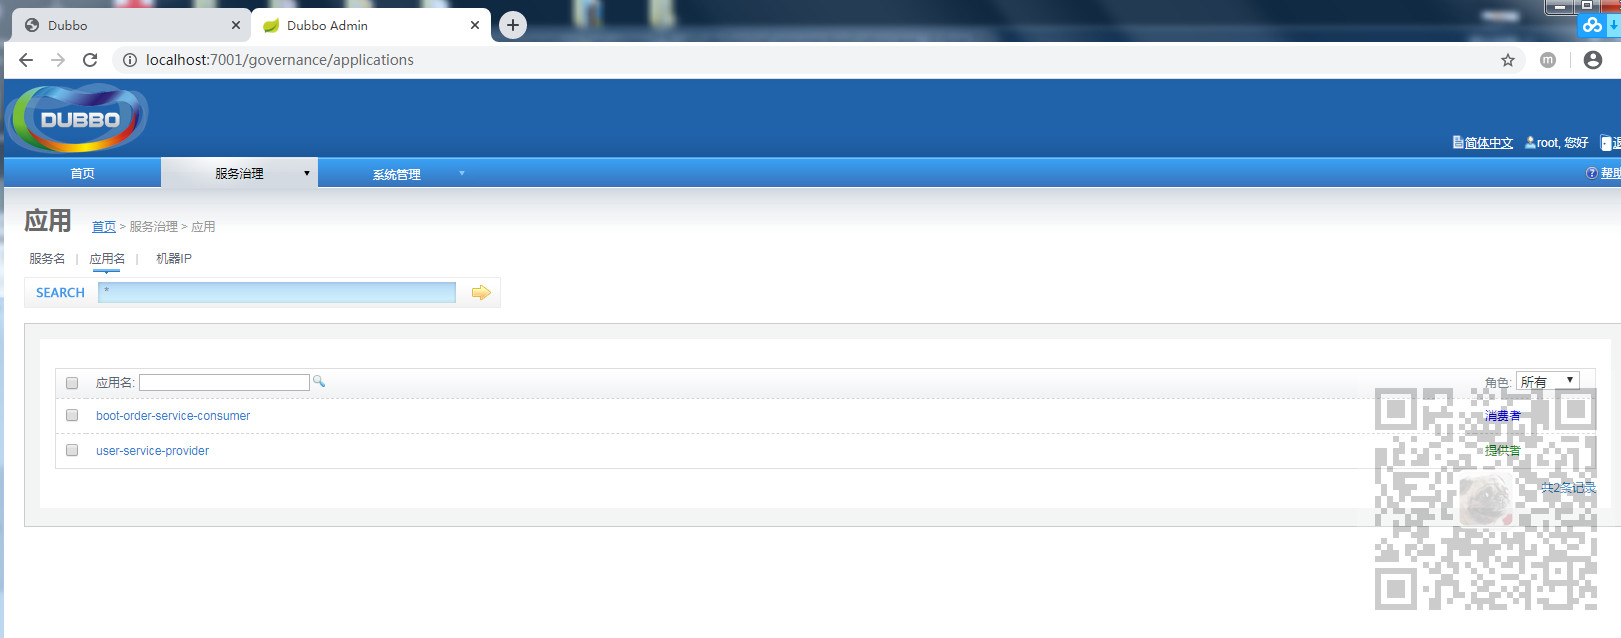
此时在管理平台就会监控到服务消费者
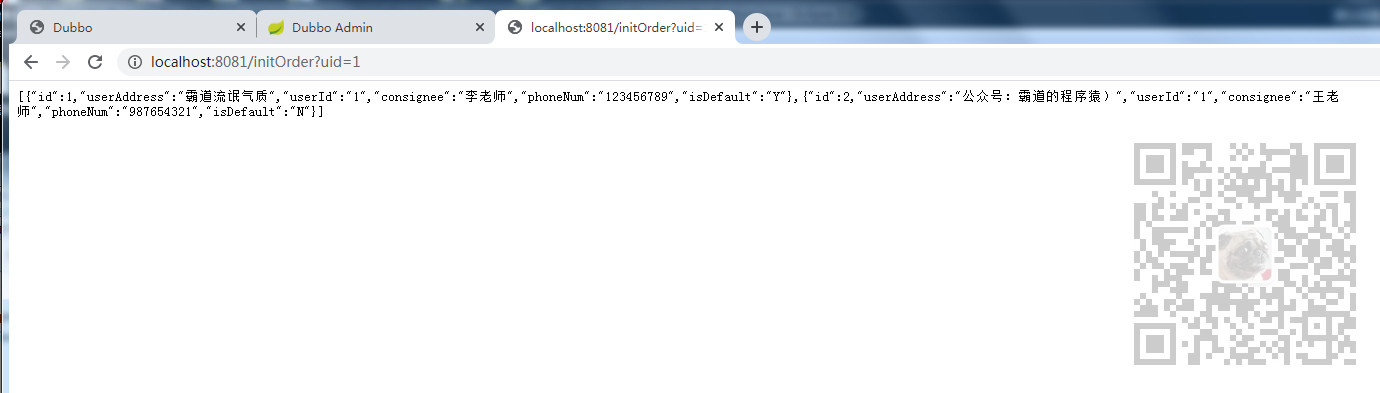
然后打开浏览器,输入:localhost:8081/initOrder?uid=1
示例代码下载
https://download.csdn.net/download/BADAO_LIUMANG_QIZHI/12052055