Response封装
utils/response.py
from rest_framework.response import Response


class APIResponse(Response):
    def __init__(self, status=100, msg='success', headers=None, exception=False, content_type=None,
                 **kwargs):
        data = {
            'status': status,
            'msg': msg
        }
        # 在外界数据可以用result和results来存储
        if kwargs:
            data.update(kwargs)
        super().__init__(data=data, headers=headers, exception=exception, content_type=content_type)
异常封装(异常处理中还有记录日志功能)
utils/exceptions.py
# 异常处理
from rest_framework.views import exception_handler
from .response import APIResponse
from .logger import log


def common_exception_handler(exc, context):
    response = exception_handler(exc, context)   # 调用一下原有方法,在原有基础上加处理
    # 两种情况,一个是None,drf没有处理
    # response是Response对象,django处理了,但是处理的不符合咱们的要求
    # print(type(exc))

    # 记录错误日志
    log.error('%s---view: 错误是%s' %(context['view'].__class__.__name__, str(exc)))
    if not response:
        # 跟具体的捕获异常
        if isinstance(exc, KeyError):
            return APIResponse(status=101, msg="key error")
        return APIResponse(status=101, msg="error",result=str(exc))
    else:
        return APIResponse(status=101, msg="error", result=str(response.data))
dev.py(开发阶段使用的配置文件)配置文件中配置,含有日志配置
REST_FRAMEWORK = {
    'EXCEPTION_HANDLER': 'luffyapi.utils.exceptions.common_exception_handler',  # 异常处理
}

# 配置日志字典
standard_format = '%(levelname)s [%(asctime)s][%(threadName)s:%(thread)d][日志名:%(name)s][%(filename)s:%(lineno)d]'
                  '[%(message)s]'

simple_format = '[%(levelname)s][%(asctime)s][%(filename)s:%(lineno)d]%(message)s'


# 日志配置字典
LOGGING_DIC = {
    'version': 1,
    'disable_existing_loggers': False,
    'formatters': {
        'standard': {
            'format': standard_format
        },
        'simple': {
            'format': simple_format
        }
    },
    'filters': {},
    'handlers': {
        # 打印到终端的日志
        'console': {
            'level': 'DEBUG',
            'class': 'logging.StreamHandler',  # 打印到屏幕
            'formatter': 'simple'
        },
        # 打印到文件的日志,收集info及以上的日志
        'default': {
            'level': 'INFO',
            'class': 'logging.handlers.RotatingFileHandler',  # 保存到文件,日志轮转
            'formatter': 'standard',
            # 可以定制日志文件路径
            # BASE_DIR = os.path.dirname(os.path.abspath(__file__))  # log文件的目录
            # LOG_PATH = os.path.join(BASE_DIR,'a1.log')
            'filename': os.path.join(os.path.dirname(BASE_DIR), 'logs', 'luffy.log'),  # 日志文件
            'maxBytes': 300 * 1024 * 1024,  # 日志大小 5M,默认单位字节,日志大小达到5M就将其内容剪切到其他文件备份
            'backupCount': 10,  # 最大备份5份,备份文件名access.log.1,在filename名后.1或.2、.3。。。。
            'encoding': 'utf-8',  # 日志文件的编码,再也不用担心中文log乱码了
        }
    },
    'loggers': {
        'django': {
            'handlers': ['default', 'console'],  # 如果k为空,代表找不到k的时候用空k,并将日志名用这个空k
            'level': 'DEBUG',
            'propagate': False
        },
    },
}
logger.py
from logging import getLogger
from logging import config
from luffyapi.settings import dev

config.dictConfig(dev.LOGGING_DIC)
log = getLogger("django")
补充:
要想日志文件根据日志级别显示颜色,安装ideolog插件,注意两点:
1、 写入文件的日志格式format必须以levelname开头且不能有其他符号
2、 日志文件名称必须以.log结尾
跨域问题的解决
见https://www.cnblogs.com/baicai37/p/13335954.html
前后台打通
#1 前台可以发送ajax的请求,axios
#2 cnpm install axios
#3 配置在main.js中
import axios from 'axios'   //导入安装的axios
//相当于把axios这个对象放到了vue对象中,以后用  vue对象.$axios
Vue.prototype.$axios = axios;


#4 使用(某个函数中)
      this.$axios.get('http://127.0.0.1:8000/home/home/'). 向某个地址发送get请求
      then(function (response) {  如果请求成功,返回的数据再response中
        console.log(response)
      }).catch(function (error) {
        console.log(error)
      })

#5 es6的箭头函数
function (response) { console.log(response)}
# 使用箭头函数后可写成
response=>{ console.log(response)}

# 所以4 中可以使用箭头函数写成
this.$axios.get('http://127.0.0.1:8000/home/home/').then(response => {
                console.log(response.data)  //response.data才是真正后台返回的数据
            }).catch(errors => {
                console.log(errors)
            })
xadmin后台管理
1 安装xadmin
# pip install https://codeload.github.com/sshwsfc/xadmin/zip/django2

# 如果下载的时候因为连接超时而导致下载失败,可以使用下面的命令进行安装

# pip install -U https://codeload.github.com/sshwsfc/xadmin/zip/django2 --default-timeout=1000
2 在app中注册
# xadmin主体模块
'xadmin',
# 渲染表格模块
'crispy_forms',
# 为模型通过版本控制,可以回滚数据
'reversion',
3 主路由中替换掉admin,luffyapi/luffyapi/urls.py
# xadmin的依赖
import xadmin
xadmin.autodiscover()
# xversion模块自动注册需要版本控制的 Model
from xadmin.plugins import xversion
xversion.register_models()

urlpatterns = [
    path('xadmin/', xadmin.site.urls),
    ...
]
4 数据迁移
# python manage.py makemigrations

# python manage.py migrate
5 命令生成超级用户,之后到页面查看
# python manage.py createsuperuser

# 账号密码设置:admin | admin@123
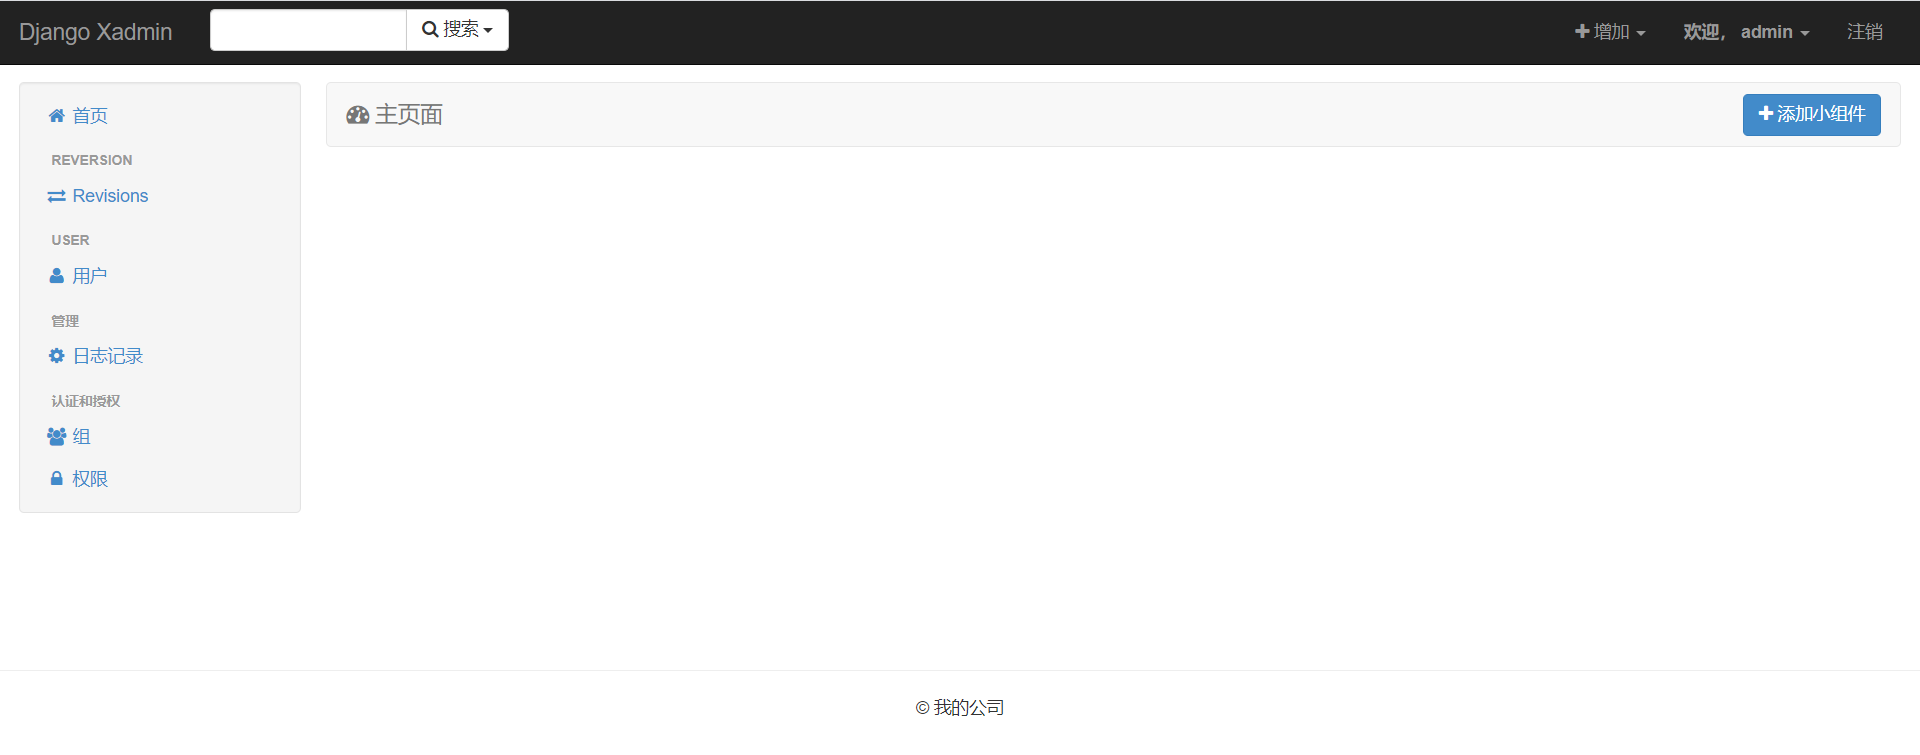
页面查看
6 xadmin全局配置 (默认xadmin已经把权限6表注册进去了)
在任意已经注册的应用中新建adminx.py
import xadmin
from xadmin import views


class BaseSetting(object):
    """xadmin的基本配置"""
    enable_themes = True  # 开启主题切换功能
    use_bootswatch = True


xadmin.site.register(views.BaseAdminView, BaseSetting)


class GlobalSettings(object):
    """xadmin的全局配置"""
    site_title = "路飞学城"  # 设置站点标题
    site_footer = "路飞学城有限公司"  # 设置站点的页脚
    menu_style = "accordion"  # 设置菜单折叠


xadmin.site.register(views.CommAdminView, GlobalSettings)
7 注册模型表
from . import models
# 注册
xadmin.site.register(models.User)