首先声明本篇博文是作者原创,在QQ群里看到一枚猿友求助,问题描述:使用UItableView 实现在表头里点击不同的按钮,去刷新当前的界面(界面是大的 cell),自己就实现了一下。
实验原材料:故事版(storyBoard)、xib、UItableView、通知中心
技术点:多cell 的切换、通知的收发、*通知用完及时移除
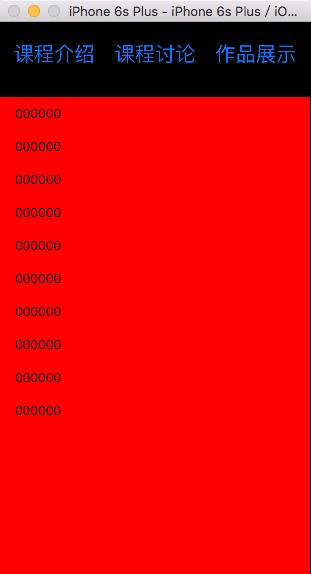
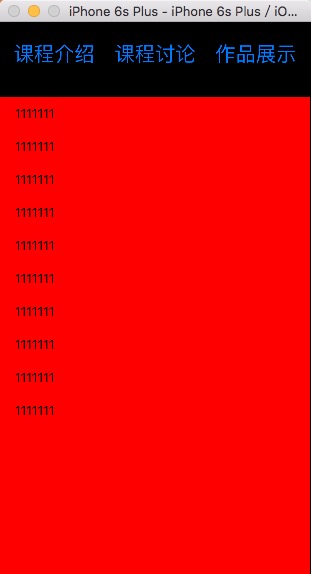
先看效果图:
默认的当前界面是左图。点击“课程介绍”按钮就刷新为左图,点击“课程讨论”按钮就刷新为中图,点击“作品介绍”按钮就刷新为右图。

实现代码上传到我的群空间,如果需要,请去QQ群 215901818 下载。
实现关键代码:


#import "ViewController.h"
#import "CellA.h"
#import "CellB.h"
#import "CellC.h"
#import "Empty.h"

@interface ViewController ()<UITableViewDelegate,UITableViewDataSource>

@property (weak, nonatomic) IBOutlet UITableView *myTableView;
@property(nonatomic,assign)BOOL isSelectA,isSelectB,isSelectC;

@end

@implementation ViewController

- (void)viewDidLoad {
    [super viewDidLoad];
    self.myTableView.backgroundColor = [UIColor redColor];

    //注册
    [self RegisterCellID];

    //通知中心去接受通知
    [self getNotify];

    //默认的设置,加载哪一个cell
    [self setBoolCell];

}

//设置,加载哪一个 cell 的 bool 值
-(void)setBoolCell{
    self.isSelectA = YES;
    self.isSelectB = NO;
    self.isSelectC = NO;
}

//接通知方法
-(void)getNotify{

    [[NSNotificationCenter defaultCenter] addObserver:self selector:@selector(changeReloading:) name:nil object:nil];
}

//接受到通知之后要办理的事情
-(void)changeReloading:(NSNotification *)notify{

    if ([notify.userInfo[@"key"] isEqualToString:@"post1"]) {
        NSLog(@"收到通知 %@",notify.userInfo[@"key"]);
        self.isSelectA = YES;
        self.isSelectB = NO;
        self.isSelectC = NO;
        [self.myTableView reloadData];
    }
    if ([notify.userInfo[@"key"] isEqualToString:@"post2"]) {
        NSLog(@"收到通知 %@",notify.userInfo[@"key"]);
        self.isSelectA = NO;
        self.isSelectB = YES;
        self.isSelectC = NO;
        [self.myTableView reloadData];
    }
    if ([notify.userInfo[@"key"] isEqualToString:@"post3"]) {
        NSLog(@"收到通知 %@",notify.userInfo[@"key"]);
        self.isSelectA = NO;
        self.isSelectB = NO;
        self.isSelectC = YES;
        [self.myTableView reloadData];
    }

}

//注册cellId 方法
-(void)RegisterCellID{
    [self.myTableView registerClass:[CellA class] forCellReuseIdentifier:@"cellA"];
    [self.myTableView registerClass:[CellB class] forCellReuseIdentifier:@"cellB"];
    [self.myTableView registerClass:[CellC class] forCellReuseIdentifier:@"cellC"];
}

//得到cellID 的方法
-(NSArray *)getCellID{
        NSArray * tempArr = [NSArray arrayWithObjects:@"cellA",@"cellB",@"cellC", nil];
        return tempArr;
}
#pragma Mark===自定义表的头部

-(UIView *)tableView:(UITableView *)tableView viewForHeaderInSection:(NSInteger)section{
    Empty * viewHead = [[[NSBundle mainBundle]loadNibNamed:@"Empty" owner:self options:nil] lastObject];
    viewHead.backgroundColor = [UIColor blackColor];
    viewHead.frame = CGRectMake(0, 0, self.myTableView.bounds.size.width, 100);
    return viewHead;

}
-(CGFloat)tableView:(UITableView *)tableView heightForHeaderInSection:(NSInteger)section{
    return 100;
}

#pragma Mark===必须实现的两个代理方法

- (NSInteger)tableView:(UITableView *)tableView numberOfRowsInSection:(NSInteger)section{
    return 10;
}
-(UITableViewCell *)tableView:(UITableView *)tableView cellForRowAtIndexPath:(NSIndexPath *)indexPath{

    if (self.isSelectA == YES) {
        CellA * cellA = [tableView dequeueReusableCellWithIdentifier:[self getCellID][0]];
        if (cellA == nil) {
            cellA = [[CellA alloc]initWithStyle:UITableViewCellStyleDefault reuseIdentifier:[self getCellID][0]];
        }
        cellA.textLabel.text = @"000000";
        return cellA;

    }else if (self.isSelectB == YES){

        CellB * cellB = [tableView dequeueReusableCellWithIdentifier:[self getCellID][1]];
        if (cellB == nil) {
            cellB = [[CellB alloc]initWithStyle:UITableViewCellStyleDefault reuseIdentifier:[self getCellID][1]];
        }
        cellB.textLabel.text = @"1111111";
        return cellB;

    }else if (self.isSelectC == YES){

        CellC * cellC = [tableView dequeueReusableCellWithIdentifier:[self getCellID][2]];
        if (cellC == nil) {
            cellC = [[CellC alloc]initWithStyle:UITableViewCellStyleDefault reuseIdentifier:[self getCellID][2]];
        }
        cellC.textLabel.text = @"2222222";

        return cellC;

    }
    return nil;
}


-(NSInteger)numberOfSectionsInTableView:(UITableView *)tableView{
    return 1;
}

//在合适的时候移除通知中心,由于 根视图不能移除,所以 dealloc 方法这里不管用,这里写在了页面消失的时候
-(void)viewWillDisappear:(BOOL)animated{
    [super viewWillAppear:animated];
    [[NSNotificationCenter defaultCenter] removeObserver:self forKeyPath:@"post1"];
    [[NSNotificationCenter defaultCenter] removeObserver:self forKeyPath:@"post2"];
    [[NSNotificationCenter defaultCenter] removeObserver:self forKeyPath:@"post3"];

}


@end
#import "Empty.h"

@implementation Empty

-(instancetype)initWithFrame:(CGRect)frame{
    self = [super initWithFrame:frame];
    if (self) {
        NSLog(@"加载了噢噢噢噢");
    }
    return self;
}

- (IBAction)buttonA:(UIButton *)sender {
    NSLog(@"点击了--课程介绍");
    NSString * post1 = @"post1";
    [self postNotifyWith:post1];
}

- (IBAction)buttonB:(UIButton *)sender {
    NSLog(@"点击了--课程讨论");
    NSString * post1 = @"post2";
    [self postNotifyWith:post1];
}

- (IBAction)buttonC:(UIButton *)sender {
    NSLog(@"点击了--作品展示");
    NSString * post1 = @"post3";
    [self postNotifyWith:post1];
}

//发通知实现
-(void)postNotifyWith:(NSString *)sender{
    [[NSNotificationCenter defaultCenter] postNotificationName:sender object:self userInfo:@{@"key":sender}];

}

@end
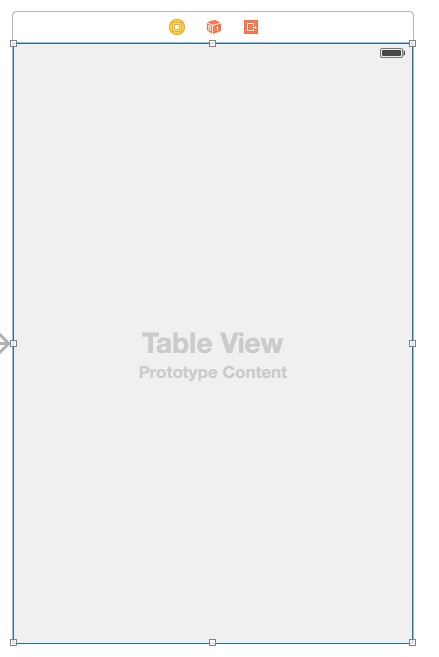
对应的故事版如下左图、对应的xib如下右图所示:

可使用领域的猜想:作为页面的加载少量数据的组件出现
有可能出现的问题:效率底下、在通知中心的使用上有可能出现问题
other(再小的组件功能实现了就是一件开心的事情)