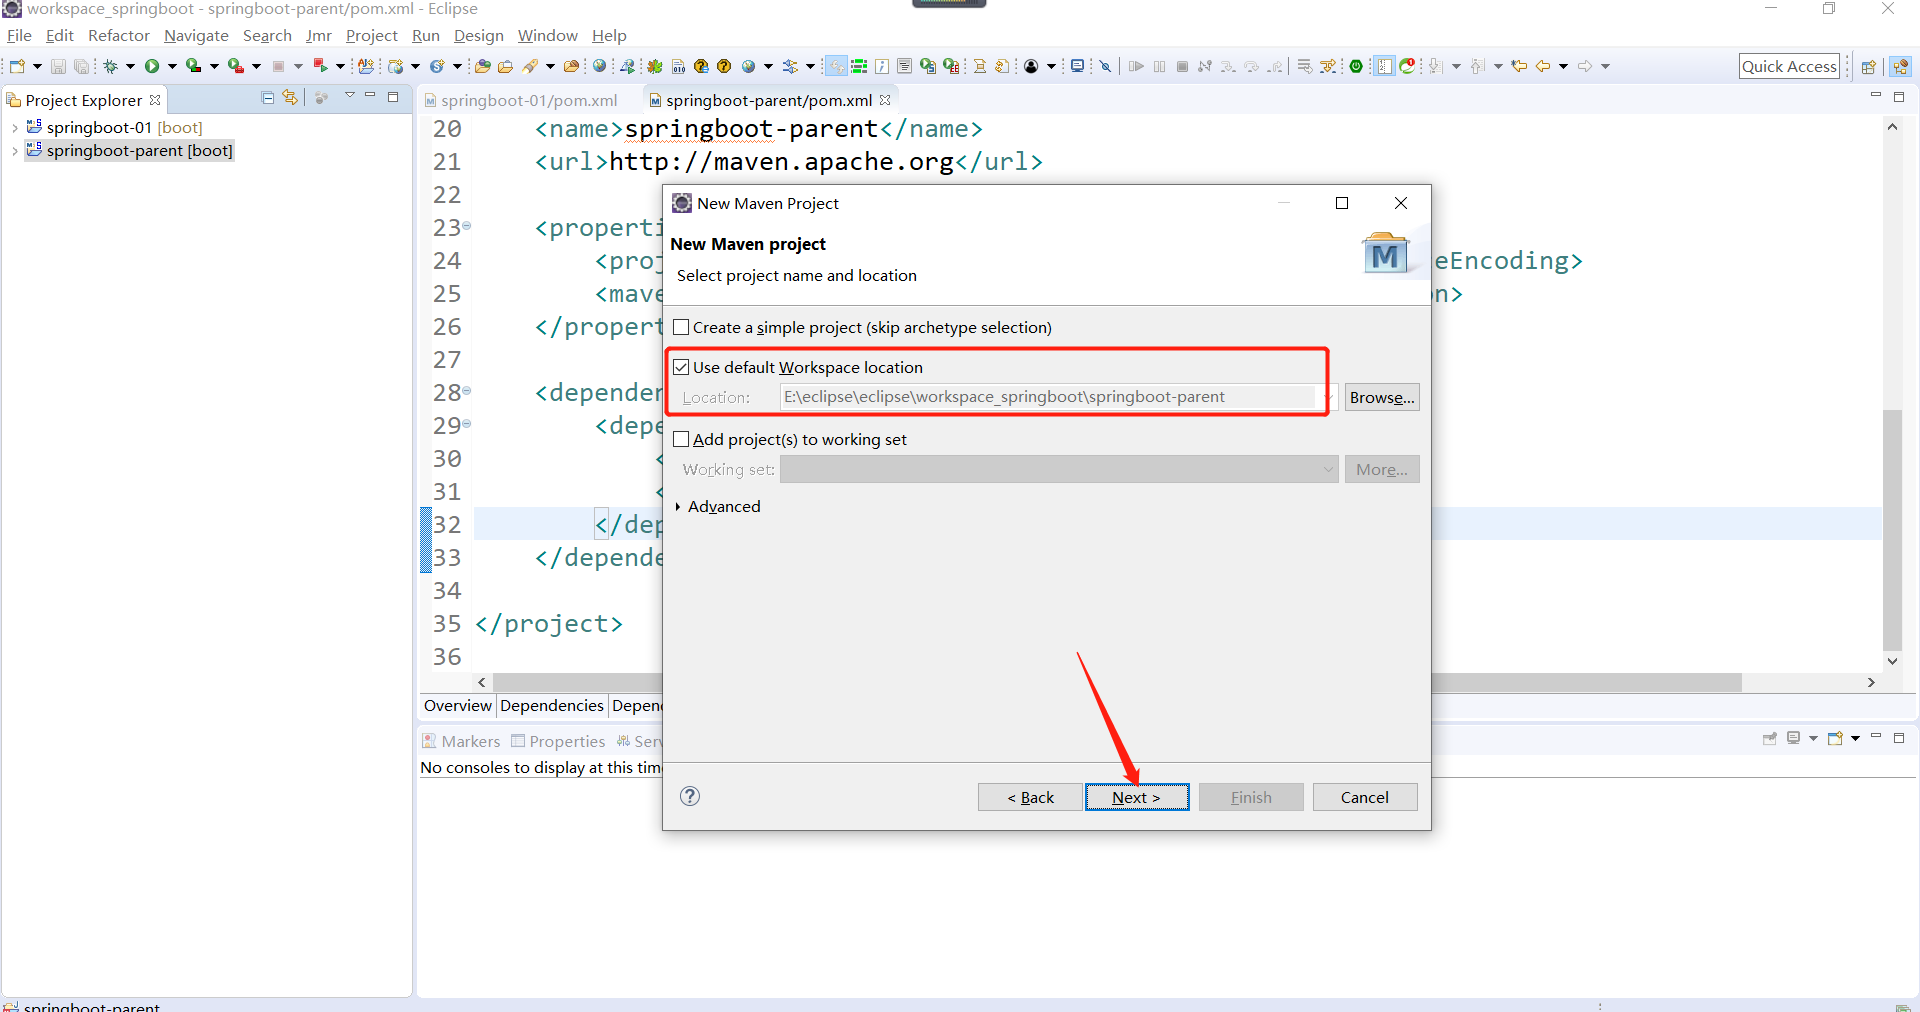
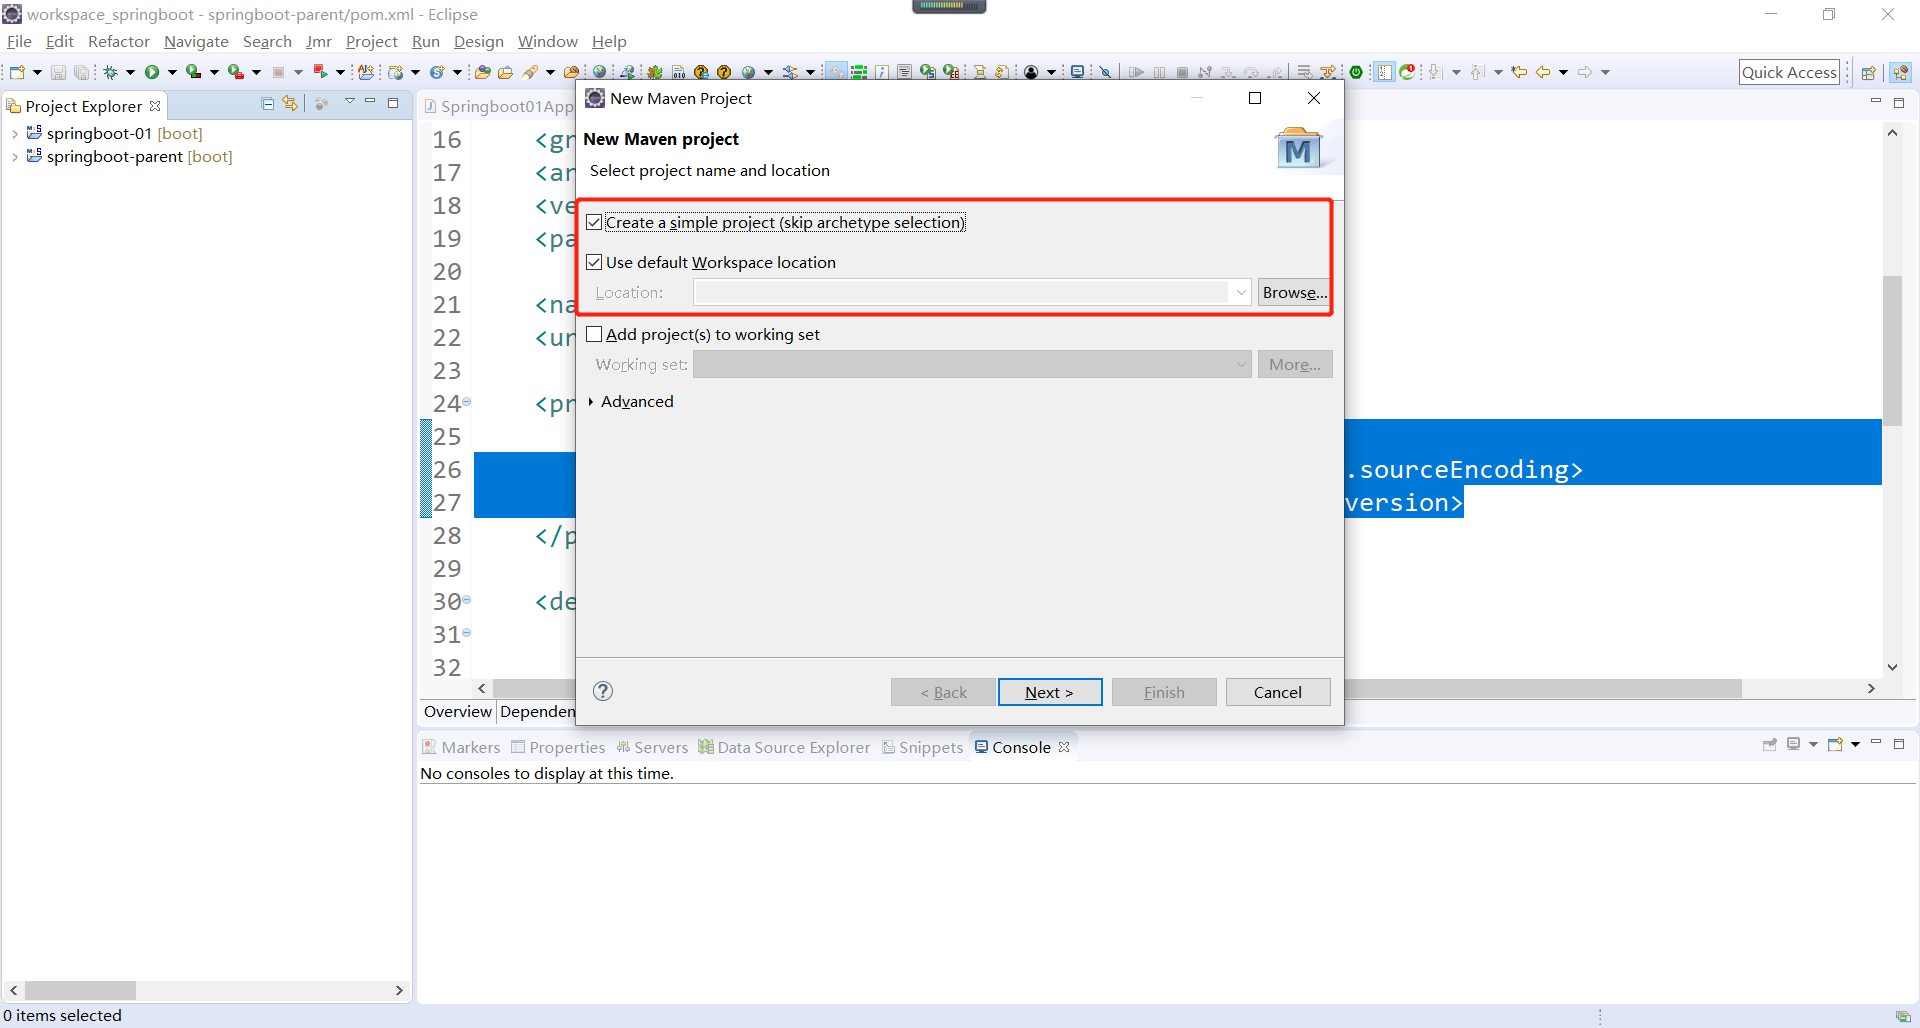
1、在eclipse开发工具中创建一个新的Maven项目,项目类型为quickstart,如下所示:

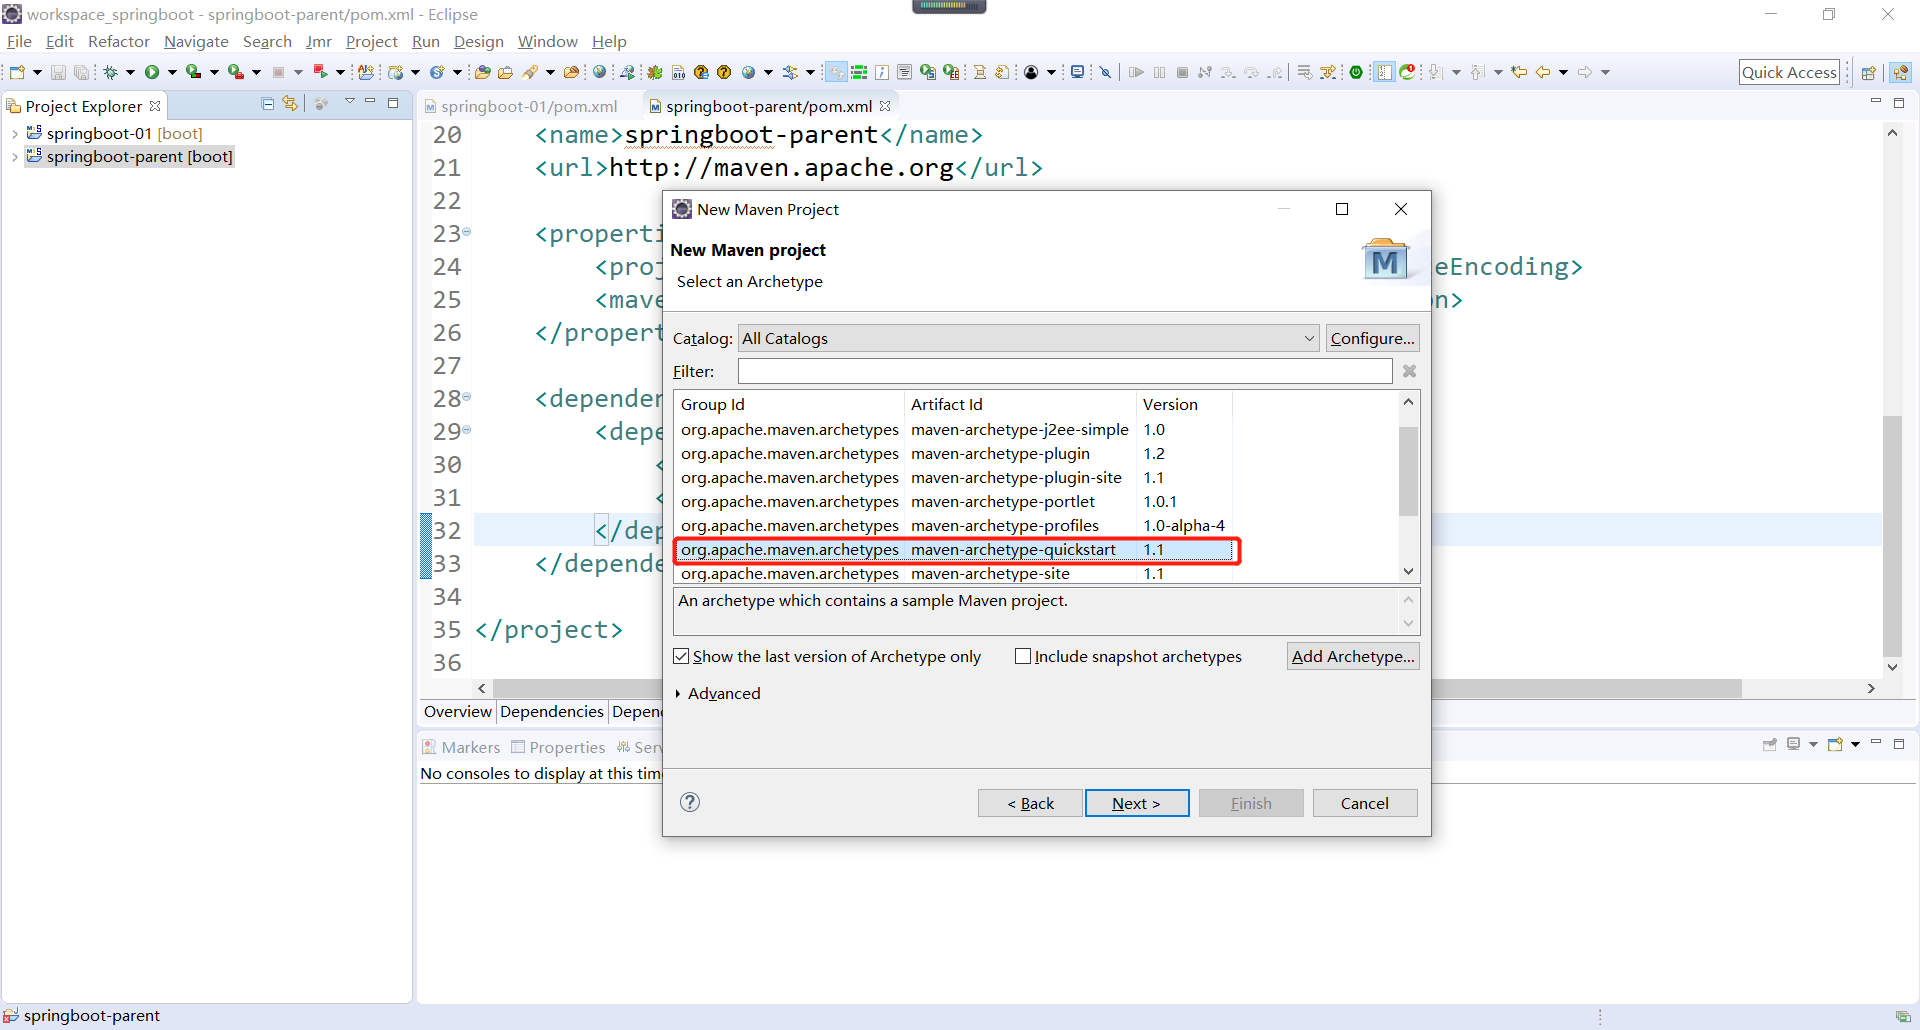
然后项目类型为quickstart,如下所示:
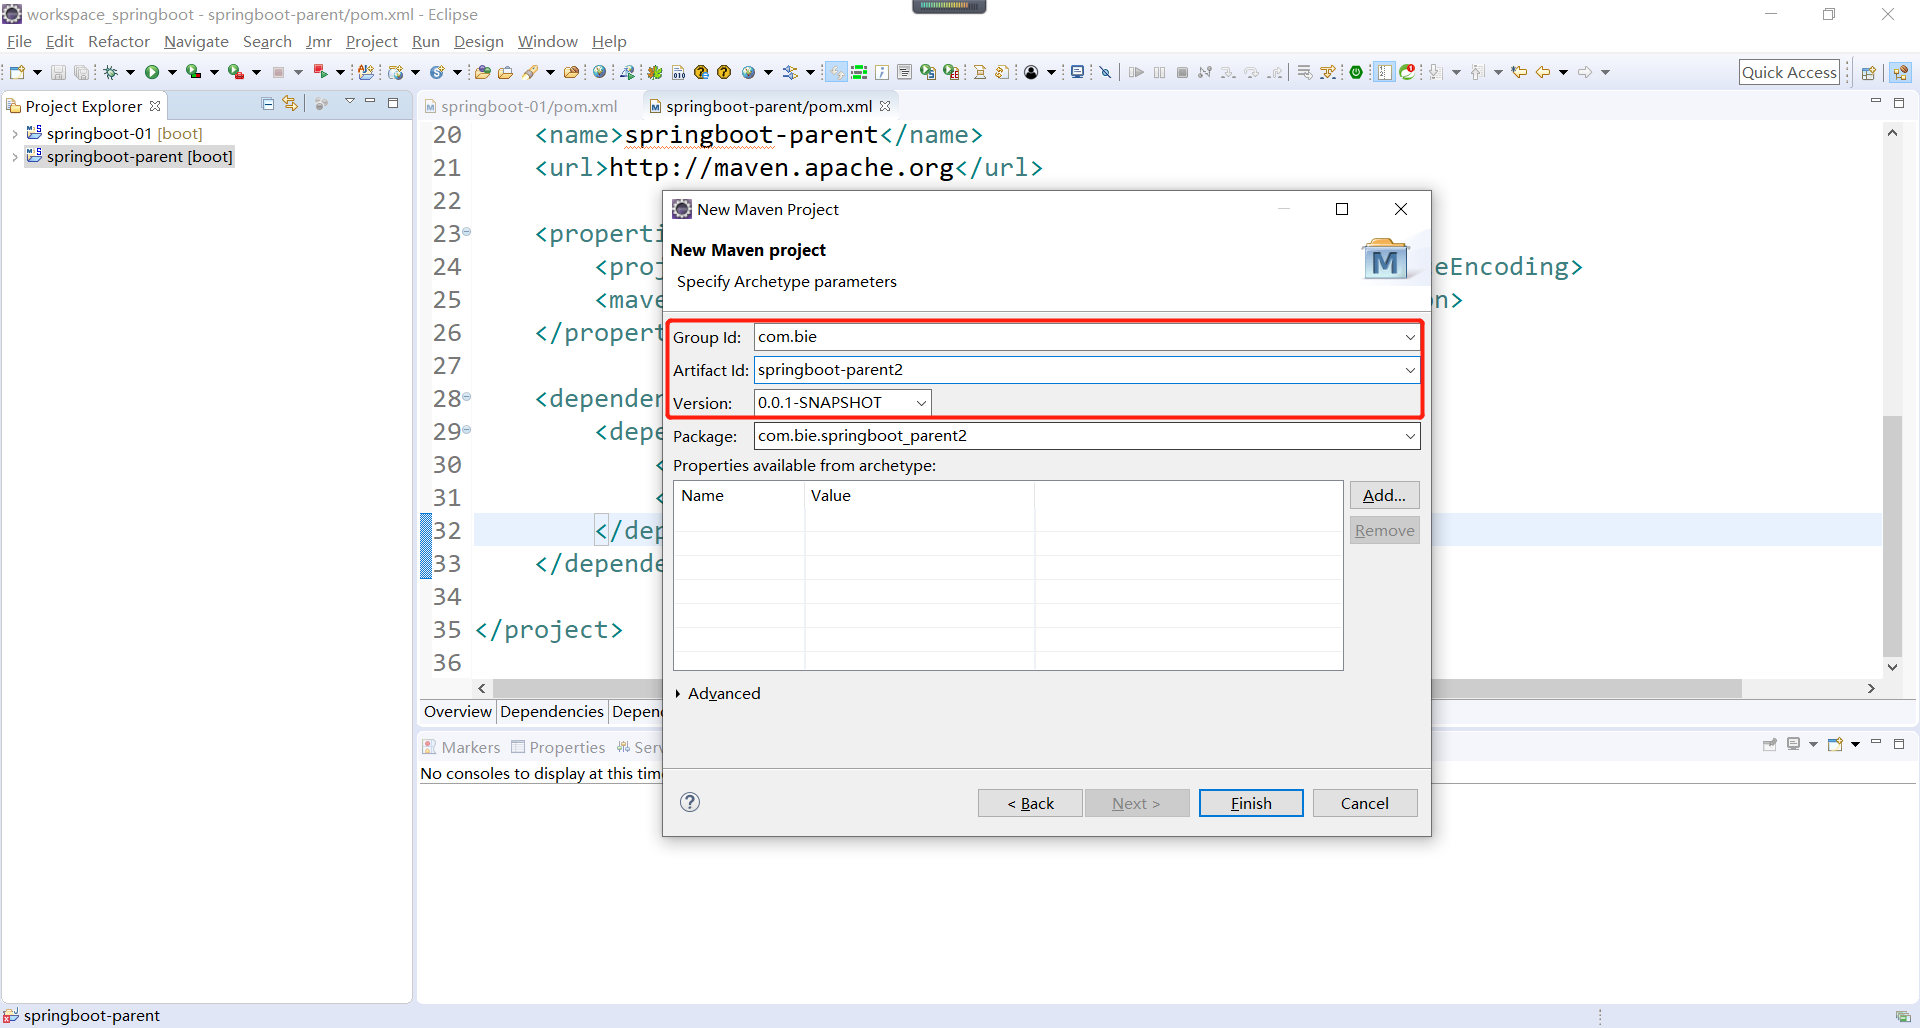
然后设置Maven项目的信息(Group Id、Artifact Id、Version等),如下所示:
修改pom.xml配置文件,添加SpringBoot的依赖配置与相关插件,如下所示:
 1 <project xmlns="http://maven.apache.org/POM/4.0.0"
 2     xmlns:xsi="http://www.w3.org/2001/XMLSchema-instance"
 3     xsi:schemaLocation="http://maven.apache.org/POM/4.0.0
 4     http://maven.apache.org/xsd/maven-4.0.0.xsd">
 5     <modelVersion>4.0.0</modelVersion>
 6
 7     <!-- 引入Springboot的支持 -->
 8     <parent>
 9         <!-- spring-boot-starter-parent就是官方给出的快速构建SpringBoot项目的公共父pom.xml配置文件支持。 -->
10         <groupId>org.springframework.boot</groupId>
11         <artifactId>spring-boot-starter-parent</artifactId>
12         <version>2.3.4.RELEASE</version>
13         <relativePath /> <!-- lookup parent from repository -->
14     </parent>
15
16     <groupId>com.bie</groupId>
17     <artifactId>springboot-parent</artifactId>
18     <version>0.0.1-SNAPSHOT</version>
19     <packaging>jar</packaging>
20
21     <name>springboot-parent</name>
22     <url>http://maven.apache.org</url>
23
24     <properties>
25         <jdk.version>1.8</jdk.version>
26         <project.build.sourceEncoding>UTF-8</project.build.sourceEncoding>
27         <maven-jar-plugin.version>3.1.1</maven-jar-plugin.version>
28     </properties>
29
30     <dependencies>
31         <dependency>
32             <groupId>org.springframework.boot</groupId>
33             <artifactId>spring-boot-starter-web</artifactId>
34         </dependency>
35     </dependencies>
36
37     <build>
38         <finalName>springboot-parent</finalName>
39         <plugins>
40             <!-- <plugin> <groupId>org.springframework.boot</groupId> <artifactId>spring-boot-maven-plugin</artifactId>
41                 </plugin> -->
42             <plugin>
43                 <groupId>org.apache.maven.plugins</groupId>
44                 <artifactId>maven-compiler-plugin</artifactId>
45                 <configuration>
46                     <!-- 源代码使用的开发版本 -->
47                     <source>${jdk.version}</source>
48                     <!-- 需要生成的目标class文件的编译版本 -->
49                     <target>${jdk.version}</target>
50                     <!-- 字符集编码设置为utf-8 -->
51                     <encoding>${project.build.sourceEncoding}</encoding>
52                 </configuration>
53             </plugin>
54         </plugins>
55     </build>
56
57 </project>
本案例,使用的spring-boot-starter-parent就是官方给出的快速构建SpringBoot项目的公共父pom.xml配置文件支持。如果你的项目开发是基于eclipse开发工具的,修改完pom.xml配置文件之后,一定要更新项目(快捷键为Alt + F5)。
2、在项目中使用SpringBoot,往往会需要引入一个标准的父pom配置(spring-boot-starter-parent),利用这个父pom文件,可以方便地进行核心依赖库的导入,并且由父pom统一管理所有的开发版本。但在实际的Maven项目开发中,往往会根据自己的需要来自定义属于自己的父pom,这样就会造成冲突。为了解决这样的问题,在SpringBoot里面,用户也可以直接以依赖管理的形式使用SpringBoot。
3、创建一个用于管理父pom的Maven项目springboot-base,如下所示:
注意:这里定义为pom类型的,如下所示:

修改springboot-base项目pom.xml配置文件,如下所示:
 1 <project xmlns="http://maven.apache.org/POM/4.0.0"
 2     xmlns:xsi="http://www.w3.org/2001/XMLSchema-instance"
 3     xsi:schemaLocation="http://maven.apache.org/POM/4.0.0
 4     http://maven.apache.org/xsd/maven-4.0.0.xsd">
 5
 6     <modelVersion>4.0.0</modelVersion>
 7     <groupId>com.bie</groupId>
 8     <artifactId>springboot-base</artifactId>
 9     <version>0.0.1-SNAPSHOT</version>
10     <!-- 此父工程被定义为pom类型的 -->
11     <packaging>pom</packaging>
12     <name>springboot-base</name>
13     <url>http://maven.apache.org</url>
14
15     <properties>
16         <jdk.version>1.8</jdk.version>
17         <project.build.sourceEncoding>UTF-8</project.build.sourceEncoding>
18         <maven-jar-plugin.version>3.1.1</maven-jar-plugin.version>
19         <spring-boot-dependencies.version>2.3.4.RELEASE</spring-boot-dependencies.version>
20     </properties>
21
22     <!-- 在SpringBoot里面,用户也可以直接以依赖管理的形式使用SpringBoot。 -->
23     <dependencyManagement>
24         <dependencies>
25             <dependency>
26                 <groupId>org.springframework.boot</groupId>
27                 <artifactId>spring-boot-dependencies</artifactId>
28                 <version>${spring-boot-dependencies.version}</version>
29                 <type>pom</type>
30                 <scope>import</scope>
31             </dependency>
32         </dependencies>
33     </dependencyManagement>
34
35     <build>
36         <finalName>springboot-parent</finalName>
37         <plugins>
38             <!-- 配置编译插件 -->
39             <plugin>
40                 <groupId>org.apache.maven.plugins</groupId>
41                 <artifactId>maven-compiler-plugin</artifactId>
42                 <configuration>
43                     <!-- 源代码使用的开发版本 -->
44                     <source>${jdk.version}</source>
45                     <!-- 需要生成的目标class文件的编译版本 -->
46                     <target>${jdk.version}</target>
47                     <!-- 字符集编码设置为utf-8 -->
48                     <encoding>${project.build.sourceEncoding}</encoding>
49                 </configuration>
50             </plugin>
51         </plugins>
52     </build>
53
54 </project>
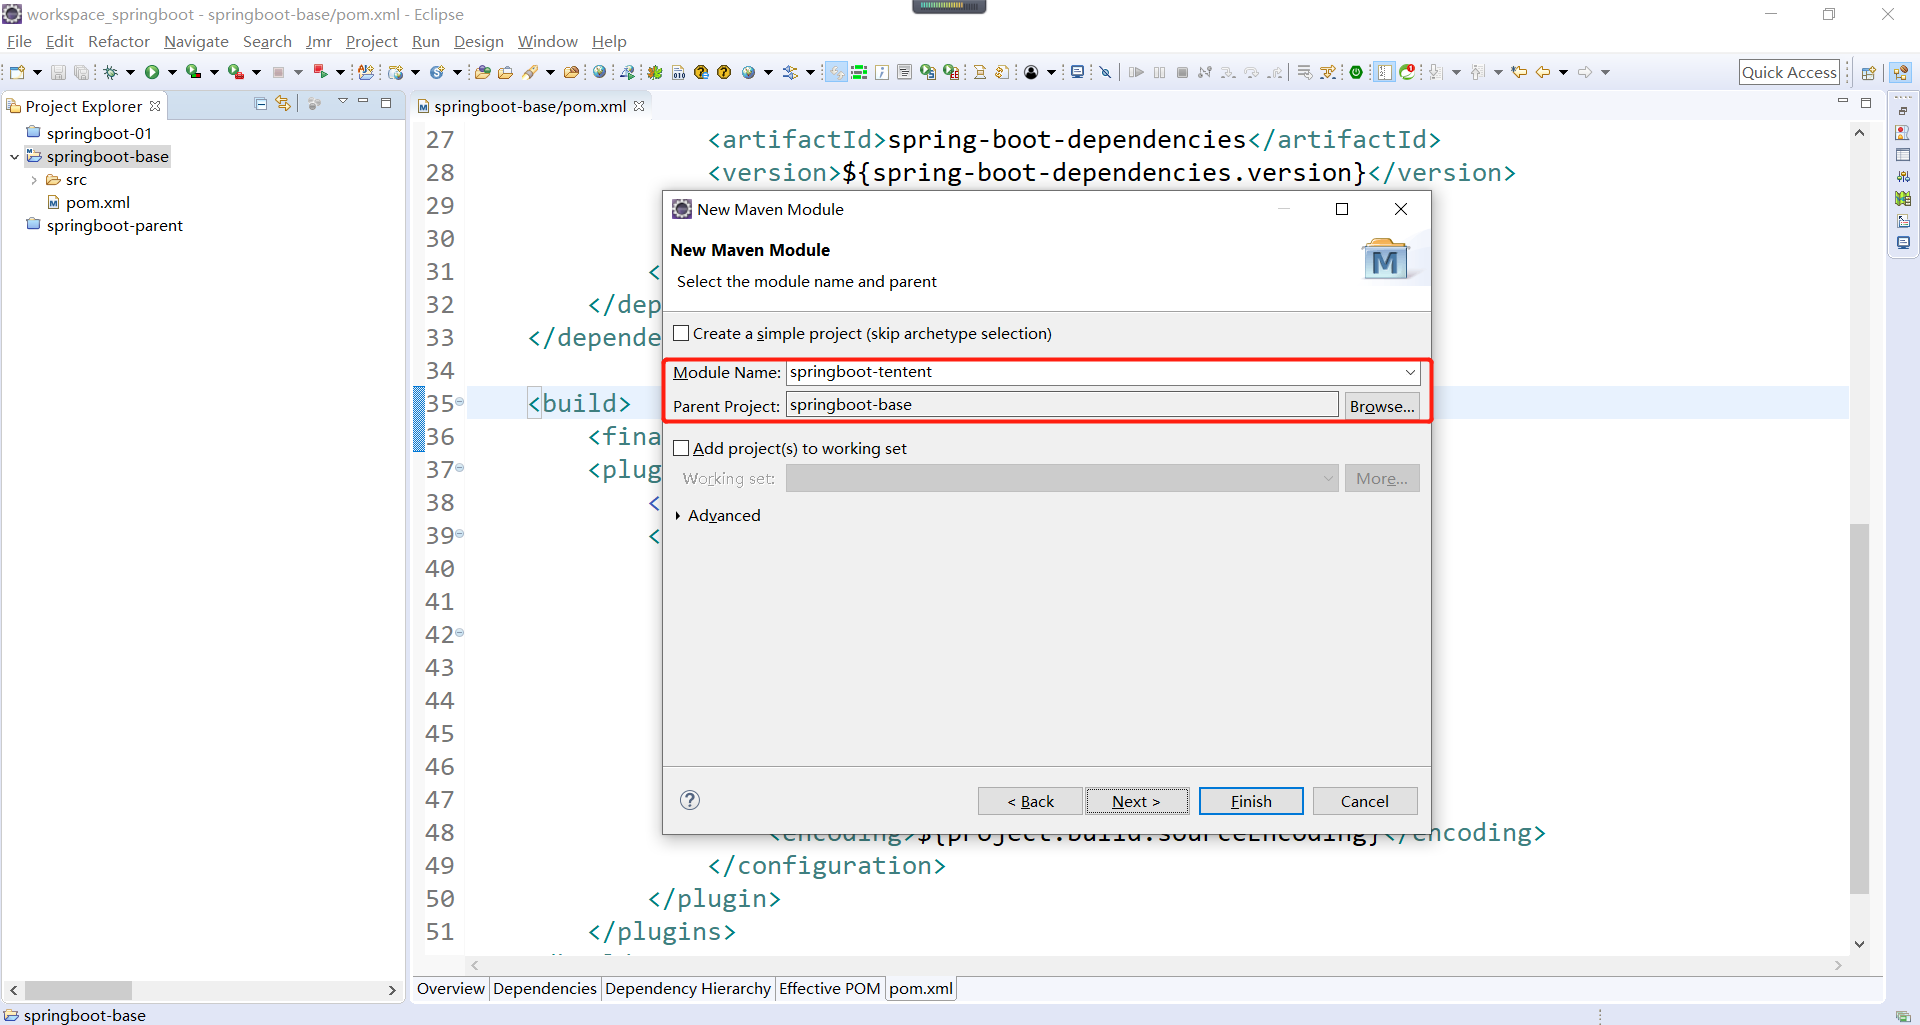
在父项目springboot-base之中建立一个新的Maven模块springboot-tentent,如下所示:

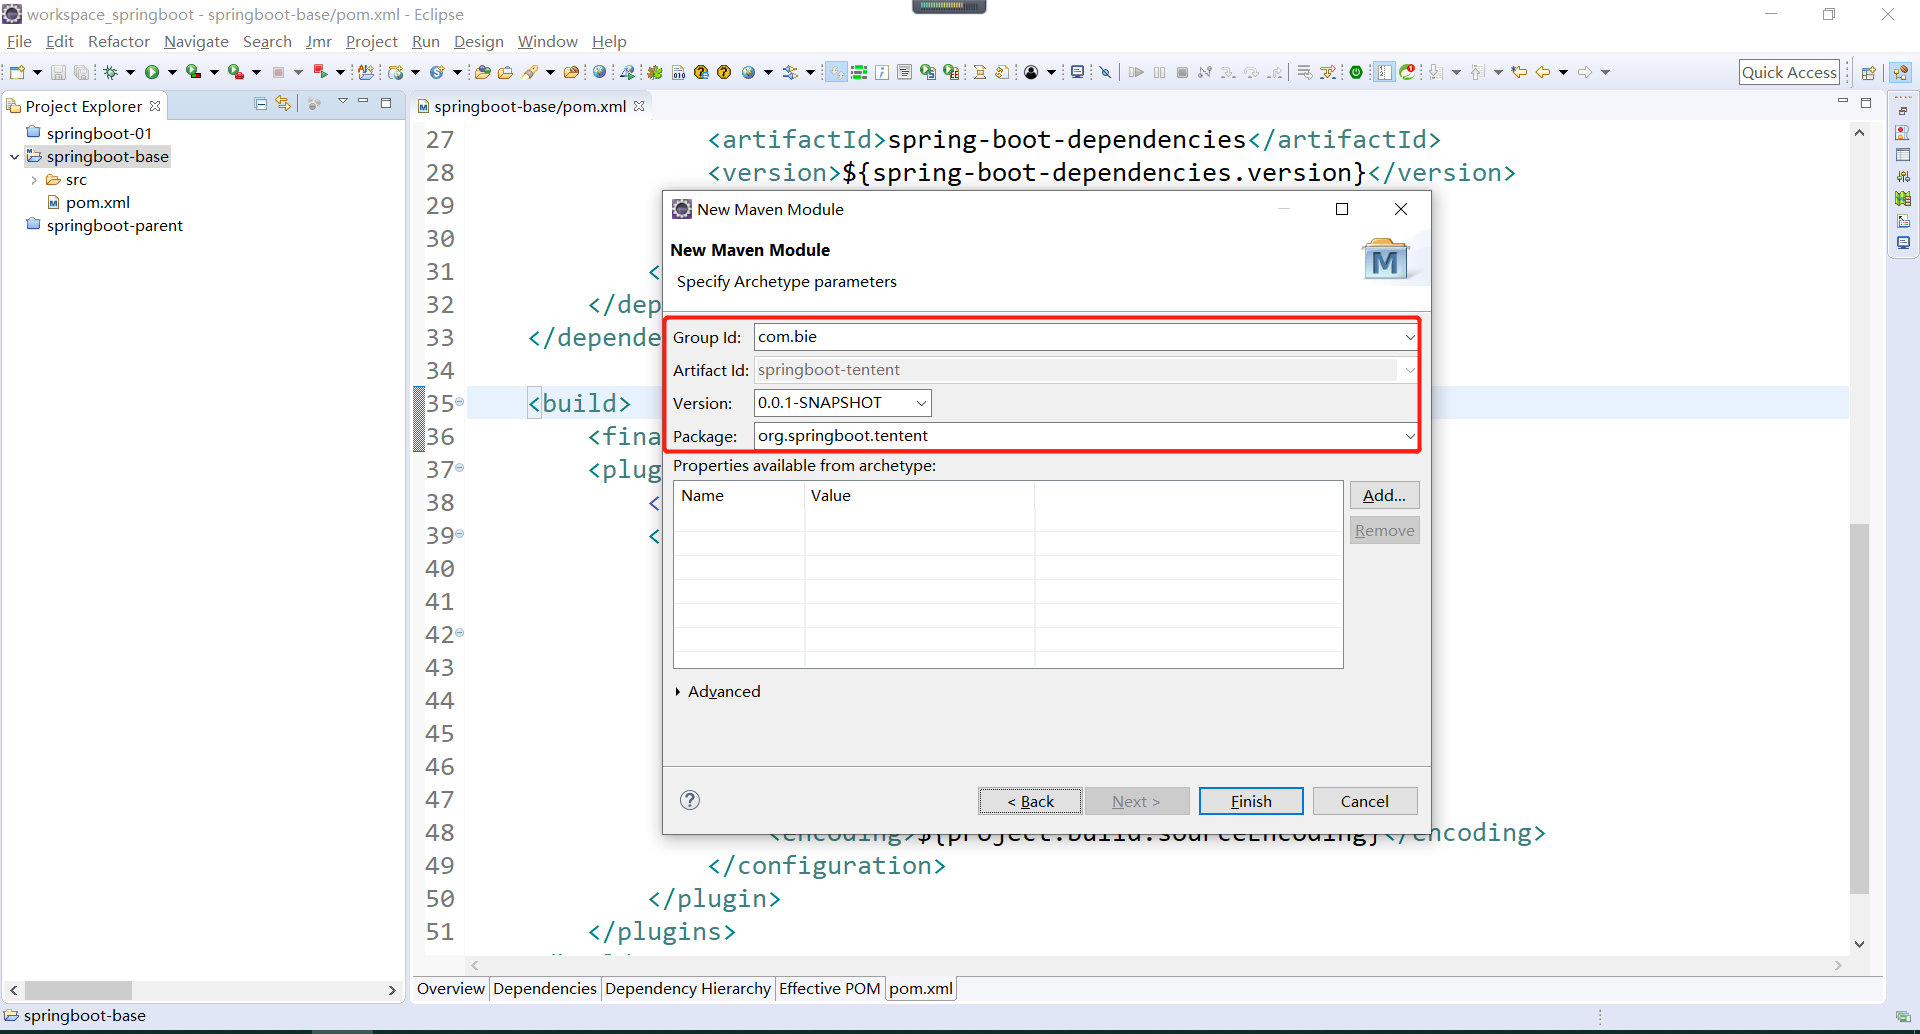
修改springboot-tentent项目的pom.xml配置文件,追加要引入的SpringBoot依赖配置,如下所示:
 1 <?xml version="1.0"?>
 2 <project
 3     xsi:schemaLocation="http://maven.apache.org/POM/4.0.0
 4     http://maven.apache.org/xsd/maven-4.0.0.xsd"
 5     xmlns="http://maven.apache.org/POM/4.0.0"
 6     xmlns:xsi="http://www.w3.org/2001/XMLSchema-instance">
 7     <modelVersion>4.0.0</modelVersion>
 8
 9     <parent>
10         <groupId>com.bie</groupId>
11         <artifactId>springboot-base</artifactId>
12         <version>0.0.1-SNAPSHOT</version>
13     </parent>
14
15     <!-- 父项目已经指定,这里可以省略 -->
16     <!-- <groupId>com.bie</groupId> -->
17     <artifactId>springboot-tentent</artifactId>
18     <!-- <version>0.0.1-SNAPSHOT</version> -->
19     <name>springboot-tentent</name>
20     <url>http://maven.apache.org</url>
21
22     <properties>
23         <project.build.sourceEncoding>UTF-8</project.build.sourceEncoding>
24     </properties>
25
26     <dependencies>
27         <dependency>
28             <groupId>org.springframework.boot</groupId>
29             <artifactId>spring-boot-starter-web</artifactId>
30         </dependency>
31     </dependencies>
32
33 </project>
如果要修改application.properties配置文件,可以创建一个src/main/resources目录,如下所示:

此时的Maven创建的springboot的父子工程的项目结构,如下所示:

4、SpringBoot程序开发完成之后,需要对程序的功能进行测试,这时需要启动Spring容器。开发者可以直接利用SpringBoot提供的依赖包来实现控制层方法测试。
在子模块springboot-tentent新增测试的依赖,如下所示:
 1 <?xml version="1.0"?>
 2 <project
 3     xsi:schemaLocation="http://maven.apache.org/POM/4.0.0
 4     http://maven.apache.org/xsd/maven-4.0.0.xsd"
 5     xmlns="http://maven.apache.org/POM/4.0.0"
 6     xmlns:xsi="http://www.w3.org/2001/XMLSchema-instance">
 7     <modelVersion>4.0.0</modelVersion>
 8
 9     <parent>
10         <groupId>com.bie</groupId>
11         <artifactId>springboot-base</artifactId>
12         <version>0.0.1-SNAPSHOT</version>
13     </parent>
14
15     <!-- 父项目已经指定,这里可以省略 -->
16     <!-- <groupId>com.bie</groupId> -->
17     <artifactId>springboot-tentent</artifactId>
18     <!-- <version>0.0.1-SNAPSHOT</version> -->
19     <name>springboot-tentent</name>
20     <url>http://maven.apache.org</url>
21
22     <properties>
23         <project.build.sourceEncoding>UTF-8</project.build.sourceEncoding>
24     </properties>
25
26     <dependencies>
27         <dependency>
28             <groupId>org.springframework.boot</groupId>
29             <artifactId>spring-boot-starter-web</artifactId>
30         </dependency>
31         <dependency>
32             <groupId>org.springframework.boot</groupId>
33             <artifactId>spring-boot-starter-test</artifactId>
34             <scope>test</scope>
35         </dependency>
36         <dependency>
37             <groupId>junit</groupId>
38             <artifactId>junit</artifactId>
39             <scope>test</scope>
40         </dependency>
41     </dependencies>
42
43 </project>
编写一个测试程序类,如下所示:
 1 package org.springboot.tentent.test;
 2
 3 import org.junit.Test;
 4 import org.junit.runner.RunWith;
 5 import org.springboot.tentent.controller.SampleController;
 6 import org.springframework.beans.factory.annotation.Autowired;
 7 import org.springframework.boot.test.context.SpringBootTest;
 8 import org.springframework.test.context.junit4.SpringJUnit4ClassRunner;
 9 import org.springframework.test.context.web.WebAppConfiguration;
10
11 @SpringBootTest(classes = SampleController.class) // 定义要测试的Springboot类
12 @RunWith(SpringJUnit4ClassRunner.class) // 使用Junit进行测试
13 @WebAppConfiguration // 进行web应用配置
14 public class SampleControllerTest {
15
16     @Autowired
17     private SampleController sampleController;
18
19     @Test // 使用Junit进行测试
20     public void testPrint() {
21         System.out.println(this.sampleController.hello());
22     }
23
24 }
当右击方法,run as -> Junit Test的时候,报如下所示的错误:
 1 java.lang.NoClassDefFoundError: org/junit/platform/launcher/core/LauncherFactory
 2     at org.eclipse.jdt.internal.junit5.runner.JUnit5TestLoader.<init>(JUnit5TestLoader.java:31)
 3     at sun.reflect.NativeConstructorAccessorImpl.newInstance0(Native Method)
 4     at sun.reflect.NativeConstructorAccessorImpl.newInstance(Unknown Source)
 5     at sun.reflect.DelegatingConstructorAccessorImpl.newInstance(Unknown Source)
 6     at java.lang.reflect.Constructor.newInstance(Unknown Source)
 7     at java.lang.Class.newInstance(Unknown Source)
 8     at org.eclipse.jdt.internal.junit.runner.RemoteTestRunner.createRawTestLoader(RemoteTestRunner.java:367)
 9     at org.eclipse.jdt.internal.junit.runner.RemoteTestRunner.createLoader(RemoteTestRunner.java:362)
10     at org.eclipse.jdt.internal.junit.runner.RemoteTestRunner.defaultInit(RemoteTestRunner.java:306)
11     at org.eclipse.jdt.internal.junit.runner.RemoteTestRunner.init(RemoteTestRunner.java:221)
12     at org.eclipse.jdt.internal.junit.runner.RemoteTestRunner.main(RemoteTestRunner.java:205)
13 Caused by: java.lang.ClassNotFoundException: org.junit.platform.launcher.core.LauncherFactory
14     at java.net.URLClassLoader.findClass(Unknown Source)
15     at java.lang.ClassLoader.loadClass(Unknown Source)
16     at sun.misc.Launcher$AppClassLoader.loadClass(Unknown Source)
17     at java.lang.ClassLoader.loadClass(Unknown Source)
18     ... 11 more
解决方法,参考:https://blog.csdn.net/weixin_41287260/article/details/90578478
为项目添加eclipse对应的Junit库即可,具体步骤如下:在包资源管理器中右键单击您的项目build path,configure build path,libraries-->add libraries-->junit-->添加就好了。
注意:@EnableAutoConfiguration为整个SpringBoot的启动注解配置,也就是说,这个注解应该随着程序的主类一起进行定义。但是该注解有一个前提,就是只能够扫描在同一程序类包中的配置程序,很明显其功能是不足的。
对于控制器程序类,由于在项目中有许多的控制器,那么最好将这些类统一保存在一个包中(如将所有的控制器程序类保存在org.springboot.tentent.controller中,这是org.springboot.tentent的子包),在这样的环境下建议开发者使用@SpringBootApplication注解实现启动配置。
请严格遵守SpringBoot的自动配置约束,在SpringBoot开发过程中,为了简化开发配置,往往会在SpringBoot启动类下创建若干个子包,这样子包中的注解就都可以自动扫描到(@EnableAutoConfiguration注解不支持此功能),并且可以实现依赖关系的自动配置。如果不在指定的子包中,程序启动类就需要配置@ComponentScan注解设置扫描包。

JUnit Platform是提供了运行(测试框架)环境的平台,JUnit Jupiter 是新的Junit5(子项目提供了一个基于平台测试运行Jupiter的测试引擎),JUnit Vintage提供了Junit3/4的测试引擎(应该是向前兼容的意思)。