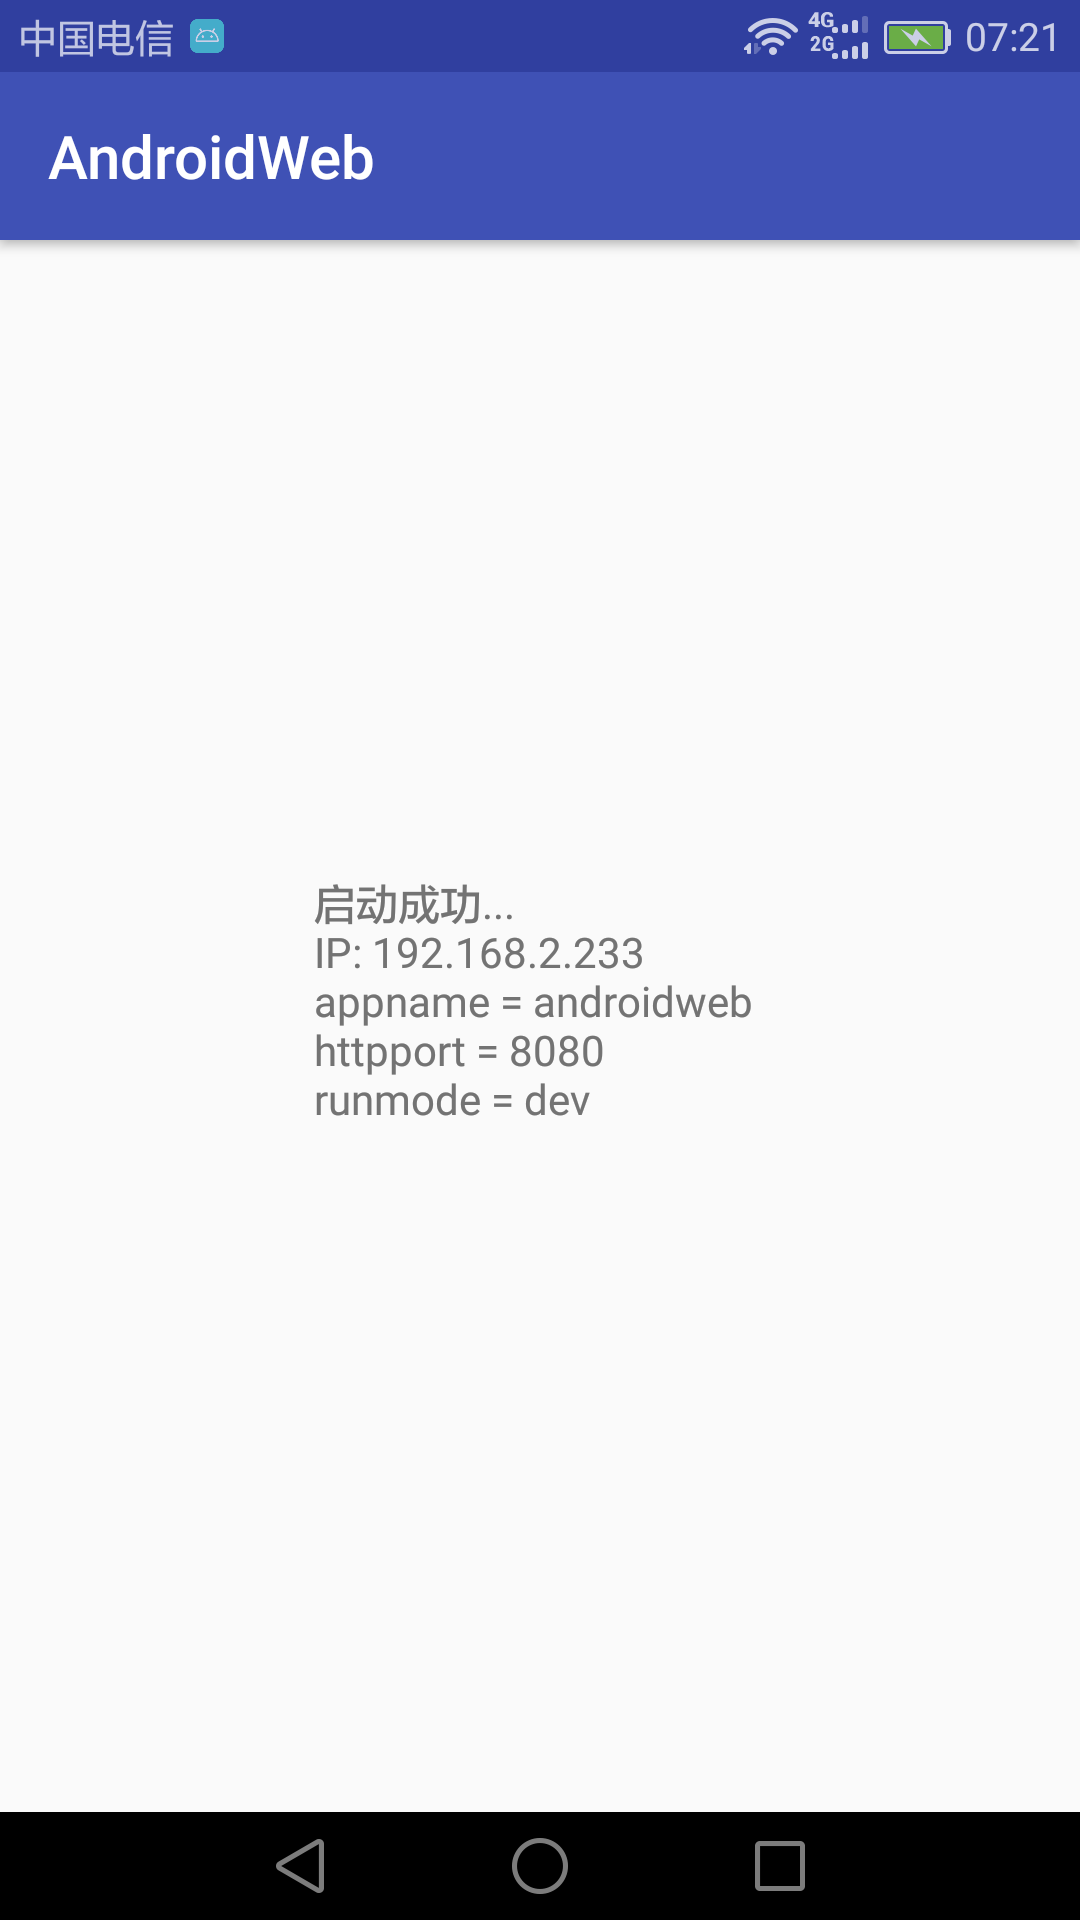
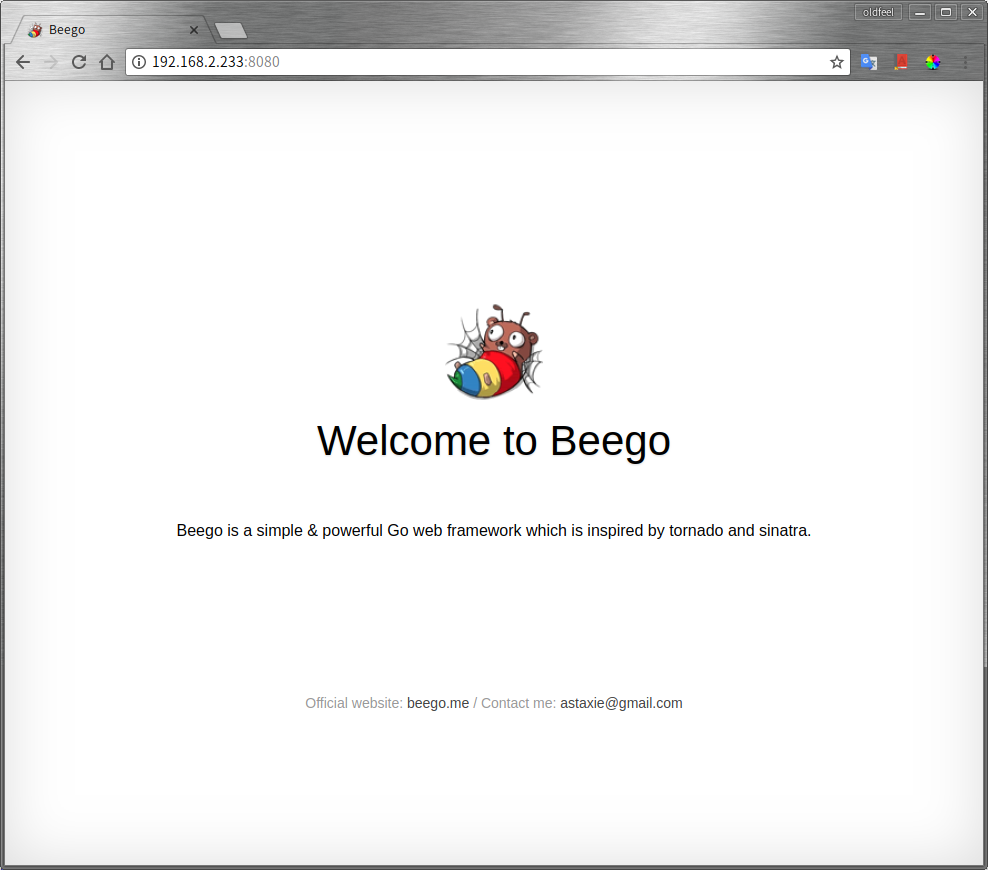
配置 golang 开发环境
略
安装并初始化 gomobile
go get golang.org/x/mobile/cmd/gomobile
gomobile init
创建 beego 项目, 参考 https://beego.me/quickstart
cd $GOPATH/src
bee new androidweb
# 创建 gomobile 文件
cd androidweb
mkdir androidweb
gedit androidweb.go
androidweb.go 的内容
package androidweb

import (
	"androidweb/controllers"
	_ "androidweb/routers"

	"github.com/astaxie/beego"
)

func Run(dir string) {
	beego.Router("/", &controllers.MainController{})
	beego.LoadAppConfig("ini", dir+"/conf/app.conf")
	beego.SetStaticPath("/static", dir+"/static")
	beego.BConfig.WebConfig.ViewsPath = dir + "/views"
	beego.Run()
}
生成 aar,
cd $GOPATH/src
gomobile bind -target=android androidweb/androidweb/
成功的话,会在 $GOPATH/src 目录下创建一个 androidweb.aar 文件
创建 android 项目,并添加权限
    <uses-permission android:name="android.permission.ACCESS_WIFI_STATE" />

    <uses-permission android:name="android.permission.INTERNET" />
将 beego 项目中的 conf static views 复制到 android 项目的 assets 中
导入前面生成的 androidweb.aar 文件
修改 MainActivity
import android.content.Context;
import android.content.res.AssetManager;
import android.net.wifi.WifiInfo;
import android.net.wifi.WifiManager;
import android.os.Bundle;
import android.support.v7.app.AppCompatActivity;
import android.widget.TextView;

import java.io.BufferedReader;
import java.io.File;
import java.io.FileOutputStream;
import java.io.IOException;
import java.io.InputStream;
import java.io.InputStreamReader;
import java.io.OutputStream;

import androidweb.Androidweb;

public class MainActivity extends AppCompatActivity {

    @Override
    protected void onCreate(Bundle savedInstanceState) {
        super.onCreate(savedInstanceState);
        setContentView(R.layout.activity_main);
        ((TextView) findViewById(R.id.textView)).setText("启动成功..." + "
" +
                "IP: " + getIpAddress() + "
" +
                appConf());

        copyFolder("conf");
        copyFolder("static");
        copyFolder("views");

        new Thread() {
            @Override
            public void run() {
                super.run();
                Androidweb.run(getFilesDir().getAbsolutePath());
            }
        }.start();
    }

    private String appConf() {
        BufferedReader reader = null;
        StringBuilder sb = new StringBuilder();
        try {
            reader = new BufferedReader(new InputStreamReader(getAssets().open("conf/app.conf")));
            // do reading, usually loop until end of file reading
            String mLine;
            while ((mLine = reader.readLine()) != null) {
                //process line
                sb.append(mLine + "
");
            }
        } catch (IOException e) {
            //log the exception
        } finally {
            if (reader != null) {
                try {
                    reader.close();
                } catch (IOException e) {
                    //log the exception
                }
            }
        }
        return sb.toString();
    }

    private String getIpAddress() {
        WifiManager wm = (WifiManager) getApplicationContext().getSystemService(Context.WIFI_SERVICE);
        if (wm.getWifiState() == WifiManager.WIFI_STATE_ENABLED) {
            WifiInfo info = wm.getConnectionInfo();
            int hostip = info.getIpAddress();
            String ip = (hostip & 0xFF) + "." + ((hostip >> 8) & 0xFF) + "." + ((hostip >> 16) & 0xFF) + "." + ((hostip >> 24) & 0xFF);
            return ip;
        }
        return null;
    }

    private void copyFolder(String path) {
        AssetManager assetManager = getAssets();
        InputStream in = null;
        OutputStream out = null;

        File dir = new File(getFilesDir() + "/" + path);
        if (!dir.exists()) {
            dir.mkdirs();
        }
        try {
            String[] files = assetManager.list(path);
            for (String filename : files) {
                in = assetManager.open(path + "/" + filename);
                File outFile = new File(dir, filename);
                out = new FileOutputStream(outFile);
                copyFile(in, out);
            }
        } catch (IOException e) {
            e.printStackTrace();
        } finally {
            if (in != null) {
                try {
                    in.close();
                } catch (IOException e) {
                    e.printStackTrace();
                }
            }
            if (out != null) {
                try {
                    out.close();
                } catch (IOException e) {
                    e.printStackTrace();
                }
            }
        }
    }

    private void copyFile(InputStream in, OutputStream out) throws IOException {
        byte[] buffer = new byte[1024];
        int read;
        while ((read = in.read(buffer)) != -1) {
            out.write(buffer, 0, read);
        }
    }
}
启动 android 程序即可


本文来自:开源中国博客