springboot2.0 JPA配置自定义repository,并作为基类BaseRepository使用
原文链接:https://www.cnblogs.com/blog5277/p/10661441.html
原文作者:博客园--曲高终和寡
*******************如果你看到这一行,说明爬虫在本人还没有发布完成的时候就抓走了我的文章,导致内容不完整,请去上述的原文链接查看原文****************
可能是我找的方法不对,但是我找配置一个自定义基类repository没一个人的文章的说的完全正确、不走弯路的,所以我就来写一个。
上一章中设置的批量插入、更新,肯定各个repository里面都要用,他们应该被放进BaseRepository里面,我们建一个这个接口:
/**
 * @Author:ShadowSaint
 * @Date:19-4-4 上午3:45
 * @Description: 框架通用的基础repository接口
 */
@NoRepositoryBean
public interface BaseRepository<T, ID extends Serializable>
        extends
        JpaRepository<T, ID>,
        JpaSpecificationExecutor<T>,
        PagingAndSortingRepository<T, ID> {


    <S extends T> Iterable<S> batchSave(Iterable<S> var1);

    <S extends T> Iterable<S> batchUpdate(Iterable<S> var1);

}
我们再建一个BaseRepository的实现类
/**
 * @Author:ShadowSaint
 * @Date:19-4-4 上午3:50
 * @Description: TODO
 */
public class BaseRepositoryImpl<T, ID extends Serializable>
        extends SimpleJpaRepository<T, ID>
        implements BaseRepository<T, ID> {

    private static final int BATCH_SIZE = 500;

    private EntityManager em;

    public BaseRepositoryImpl(JpaEntityInformation<T, ?> entityInformation, EntityManager em) {
        super(entityInformation, em);
        this.em = em;

    }

    public BaseRepositoryImpl(Class<T> domainClass, EntityManager em) {
        super(domainClass, em);
        this.em = em;
    }


    @Override
    @Transactional
    public <S extends T> Iterable<S> batchSave(Iterable<S> var1) {
        Iterator<S> iterator = var1.iterator();
        int index = 0;
        while (iterator.hasNext()){
            em.persist(iterator.next());
            index++;
            if (index % BATCH_SIZE == 0){
                em.flush();
                em.clear();
            }
        }
        if (index % BATCH_SIZE != 0){
            em.flush();
            em.clear();
        }
        return var1;
    }

    @Override
@Transactional
public <S extends T> Iterable<S> batchUpdate(Iterable<S> var1) { Iterator<S> iterator = var1.iterator(); int index = 0; while (iterator.hasNext()){ em.merge(iterator.next()); index++; if (index % BATCH_SIZE == 0){ em.flush(); em.clear(); } } if (index % BATCH_SIZE != 0){ em.flush(); em.clear(); } return var1; } }
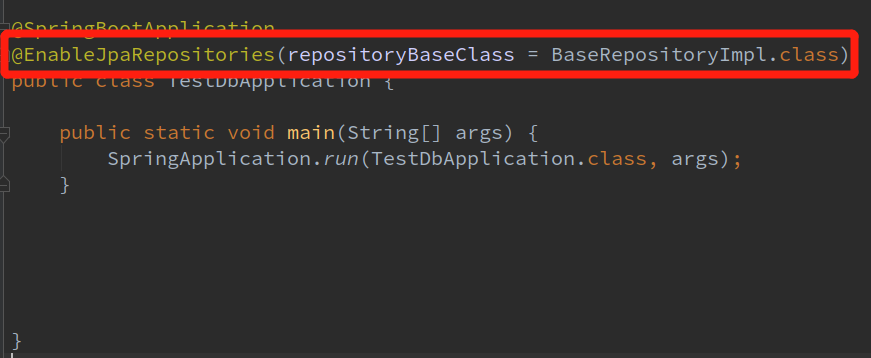
接下来在springboot的主入口:XXXXApplication里面添加一个设置
@EnableJpaRepositories(repositoryBaseClass = BaseRepositoryImpl.class)

好了,到这里就可以了。
其他各种教程让你设置什么Factory、FactoryBean什么的,完全不用,就这样就已经可以了。
这样让你各个业务相关的Repository继承这个BaseRepository就可以了,就像这样:
