一,JRebel 插件 获取与安装
直接在 IDEA 中操作获取 JRebel 插件

Paste_Image.png

Paste_Image.png
安装完成,记得重启 IDEA 使刚才安装的插件生效。
二,激活

Paste_Image.png

Paste_Image.png
http://idea.lanyus.com/ilanyu
lanyu19950316@gmail.com
在此感谢 IDEA开源社区 http://www.ideajava.org/

Paste_Image.png

Paste_Image.png
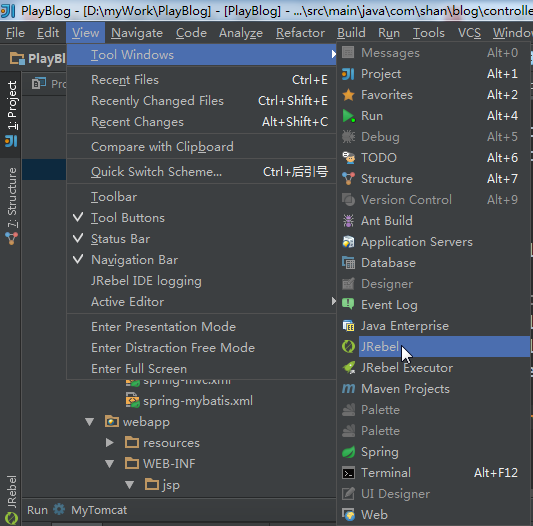
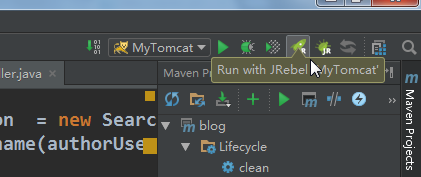
三:使用

Paste_Image.png

Paste_Image.png

Paste_Image.png

Paste_Image.png
配置完毕!

Paste_Image.png
启动项目之后
任意修改 java 代码,并 ctrl + s 保存 ,update classes and resources 一下。

当一个项目使用maven多模块开发时通过上面的配置, 只能自动加载webapp所在的模块, 若想改动其他模块的代码也要自动加载, 需在项目的根(父)pom.xml中加入下面的配置:

<plugin> <groupId>org.zeroturnaround</groupId> <artifactId>jrebel-maven-plugin</artifactId> <version>1.1.5</version> <configuration> <addResourcesDirToRebelXml>true</addResourcesDirToRebelXml> <alwaysGenerate>true</alwaysGenerate> <showGenerated>true</showGenerated> </configuration> <executions> <execution> <id>generate-rebel-xml</id> <phase>process-resources</phase> <goals> <goal>generate</goal> </goals> </execution> </executions> </plugin>- 1
- 2
- 3
- 4
- 5
- 6
- 7
- 8
- 9
- 10
- 11
- 12
- 13
- 14
- 15
- 16
- 17
- 18
- 19
- 20
- 1
- 2
- 3
- 4
- 5
- 6
- 7
- 8
- 9
- 10
- 11
- 12
- 13
- 14
- 15
- 16
- 17
- 18
- 19
- 20
运行mvn jrebel:generate, 生成rebel.xml文件.
Step1
pom.xml 中添加如下代码:
 <plugin>
                <groupId>org.zeroturnaround</groupId>
                <artifactId>jrebel-maven-plugin</artifactId>
                <version>1.1.5</version>
                <executions>
                    <execution>
                        <id>generate-rebel-xml</id>
                        <phase>process-resources</phase>
                        <goals>
                            <goal>generate</goal>
                        </goals>
                    </execution>
                </executions>
</plugin>- 1
- 2
- 3
- 4
- 5
- 6
- 7
- 8
- 9
- 10
- 11
- 12
- 13
- 14
step2 添加 rebel.xml 文件
勾选 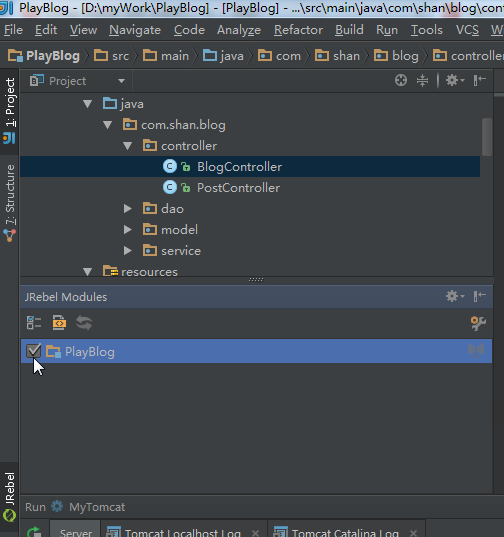
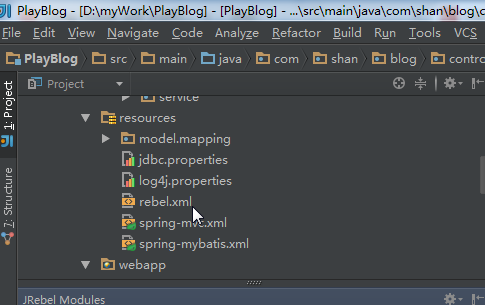
生成了 rebel.xml 文件
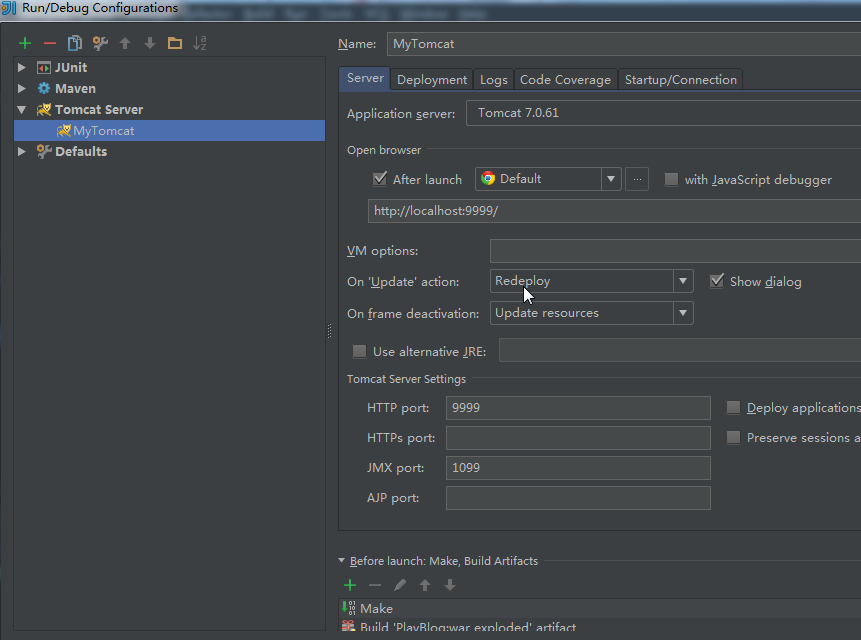
step3 配置运行
配置运行选项,
然后就运行
step4 同步操作
这样还不能实现eclipse中那样的快速自动编译生效,需要自己手动编译一下修改的java文件:
crtl+F9 是编译单个文件
ctrl+shift+F9 是编译整个项目
当然 html 文件无需这样 ,直接刷新页面就可以了…
参考过得文档:
http://manuals.zeroturnaround.com/jrebel/standalone/maven.html
http://flurdy.com/docs/intellij/
https://dzone.com/articles/using-jrebel-intellij-idea-os
http://237451446.blog.51cto.com/2307663/1441300