一、安装完成后效果
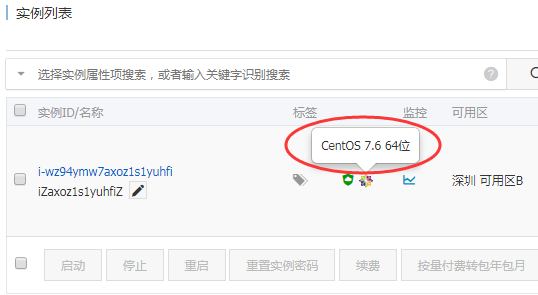
A、阿里云服务器
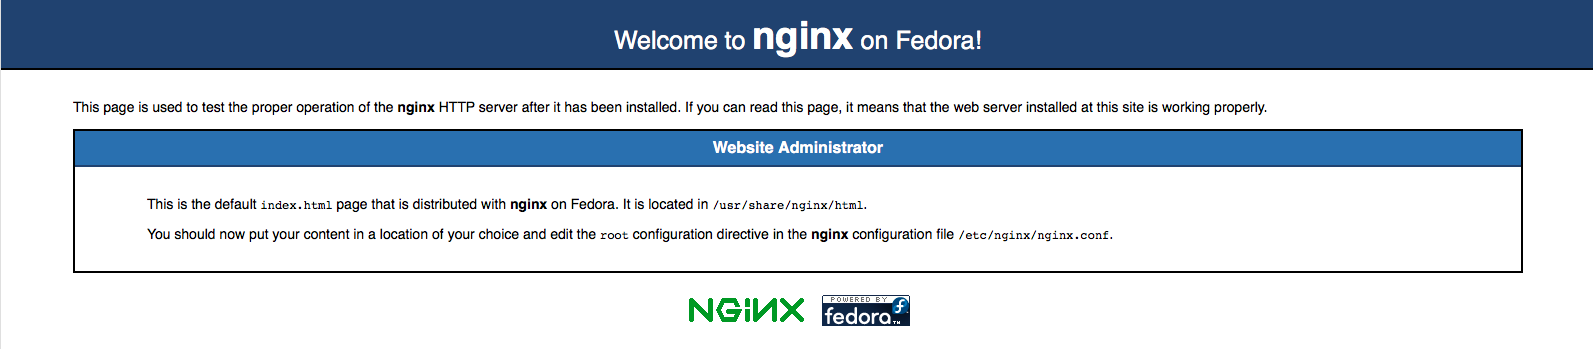
B、nginx1.12.2安装完成

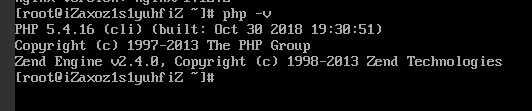
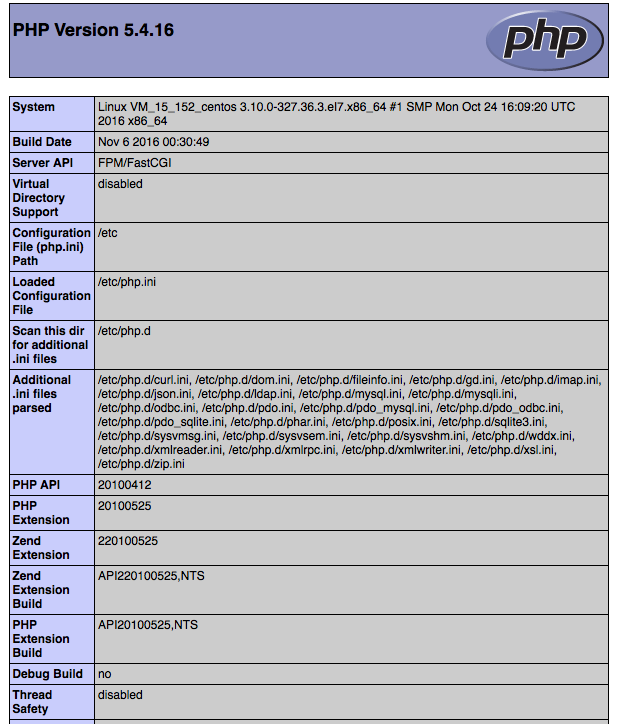
C、php 安装完成
二、详细安装步骤
第一步:安装nginx
(1)、安装nginx:
yum install nginx
(2)、启动ngixn:
systemctl start nginx 常用的相关命令还有systemctl stop nginx、systemctl restart nginx、systemctl status nginx
(3)、确认是否安装成功
浏览器输入ip地址或者域名(已经解析过的域名),如下图所示,则安装成功。
第二步:安装PHP
(1) 、安装php
yum install php php-mysql php-fpm
安装过程中经常会见到如下问题:
postfix-2.10.1-6.el7.x86_64 有缺少的需求 libmysqlclient.so.18()(64bit)
postfix-2.10.1-6.el7.x86_64 有缺少的需求 libmysqlclient.so.18(libmysqlclient_18)(64bit)
解决方法:
把 php-mysql 换成 php-mysqlnd
(2) 、编缉PHP的配置文件
vim /etc/php.ini
将 ;cgi.fix_pathinfo=1 改为 cgi.fix_pathinfo=0
(3)、编缉 .conf配置文件
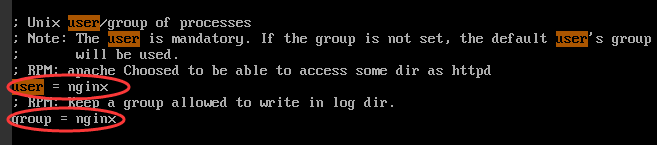
vim /etc/php-fpm.d/www.conf
将 user=nobody
group=nobody 改为如下图:
(4)、启动PHP
systemctl start php-fpm
(5)、设置开机启动
systemctl enable php-fpm
(6)、重要:配置nginx文件
vim /etc/nginx/nginx.conf
内容如下图
server {
listen 80 default_server;
listen [::]:80 default_server;
server_name _;
root /usr/share/nginx/html;
index index.php index.html index.htm;
# Load configuration files for the default server block.
include /etc/nginx/default.d/*.conf;
location / {
}
error_page 404 /404.html;
location = /40x.html {
}
error_page 500 502 503 504 /50x.html;
location = /50x.html {
}
location ~ .php$ {
try_files $uri =404;
include fastcgi.conf;
fastcgi_pass 127.0.0.1:9000;
}
}
(7)、验证php是否安装成功
在/usr/share/nginx/html/目录下创建phpinfo.php
内容如下:
<?php phpinfo();?>
(8)、浏览器上输入ip/phpinfo.php,如果出现如下界面,说明PHP和Nginx均安装和配置成功。
第三步:安装MySQL
(1)、yum install mysql-community-server
若出错,则需要的安装包在CentOS中没有源,需要自己在网上去下载后再安装;
(2)、启动mysql服务
systemctl start mysqld
(3)、初始mysql的密码
1 mysql -uroot
2 mysql> set password for ‘root’@‘localhost’ = password('888888');
3 mysql> exit
(4)、mysql -u root -p 进入mysql ,输入你刚才设置的密码