环境说明:
| IP | 用途 | 系统版本 | 内核版本 | 软件版本 | 备注 |
| 192.168.10.100 | zabbix-server | CentOS Linux release 7.4.1708 (Core) | 3.10.0-693.el7.x86_64 | zabbix3.4.7-1 | |
| 192.168.10.101 | zabbix-client | CentOS Linux release 7.4.1708 (Core) | 3.10.0-693.el7.x86_64 |
安装准备工作:
关闭防火墙和SELinux
#关闭防火墙
systemctl stop firewalld
systemctl disable firewalld
#关闭SELinux
sed -i 's/SELINUX=enforcing/SELINUX=disabled/g' /etc/selinux/config
setenforce 0
getenforce
安装epel源和zabbix源
wget -O /etc/yum.repos.d/epel.repo http://mirrors.aliyun.com/repo/epel-7.repo
rpm -i http://repo.zabbix.com/zabbix/3.4/rhel/7/x86_64/zabbix-release-3.4-2.el7.noarch.rpm
安装依赖包
yum -y install wget net-snmp-devel OpenIPMI-devel httpd openssl-devel java lrzsz fping-devel libcurl-devel perl-DBI pcre-devel libxml2 libxml2-devel mysql-devel gcc php php-bcmath php-gd php-xml php-mbstring php-ldap php-mysql.x86_64 php-pear php-xmlrpc net-tools wget vim-enhanced
zabbix-server端安装、配置web环境
安装数据库及web相关软件
1 yum -y install mariadb mariadb-server php php-mysql httpd
初始化mysql数据库,并配置root用户密码。
[root@Server ~]# mysql_secure_installation
....
Enter current password for root (enter for none):                   #mariadb安装完毕后默认空密码,此处直接回车即可
OK, successfully used password, moving on...

Set root password? [Y/n] y
New password:
Re-enter new password:
Password updated successfully!
Reloading privilege tables..
 ... Success!
...
Remove anonymous users? [Y/n] y                             #是否移除匿名用户
 ... Success!

Disallow root login remotely? [Y/n] y                         #是否允许root远程登录MySQL
 ... Success!

Remove test database and access to it? [Y/n] y                    #是否移除测试数据库并且访问它
 - Dropping test database...
 ... Success!
 - Removing privileges on test database...
 ... Success!
...
Reload privilege tables now? [Y/n] y                          #是否现在重新加载权限表
 ... Success!

Cleaning up...

All done!  If you've completed all of the above steps, your MariaDB
installation should now be secure.

Thanks for using MariaDB!
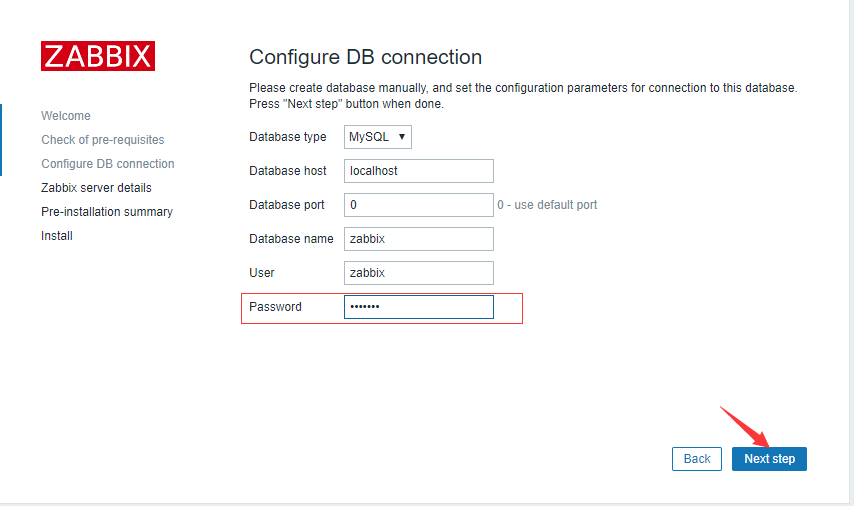
创建zabbix库和用户
ariaDB [(none)]> create database zabbix character set utf8 collate utf8_bin;
Query OK, 1 row affected (0.00 sec)

MariaDB [(none)]> grant all privileges on zabbix.* to zabbix@localhost identified by 'zabbix3';
Query OK, 0 rows affected (0.00 sec)

MariaDB [(none)]> flushr privieles;
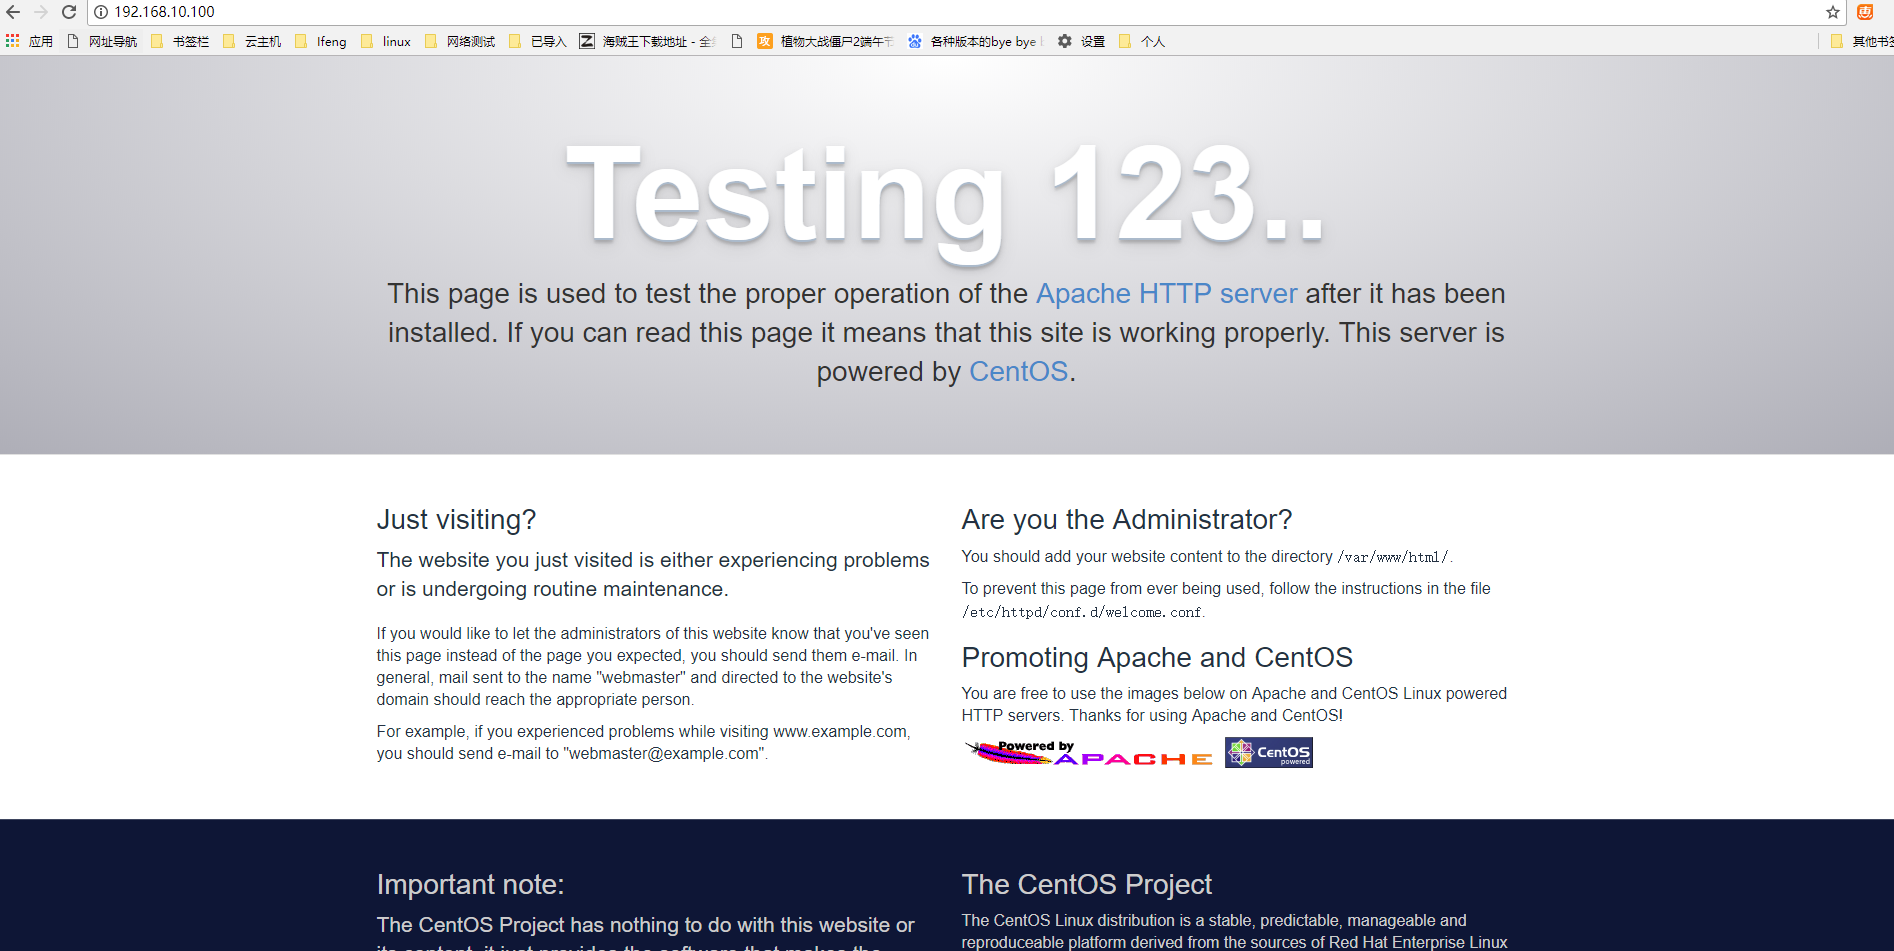
启动httpd服务
systemctl start httpd
查看测试页
安装zabbix服务
由于之前配置yum源的时候已经安装的zabbix的源,此处直接yum安装即可
yum install -y zabbix-server-mysql zabbix-web-mysql zabbix-agent
导入数据库
cd /usr/share/doc/zabbix-server-mysql-3.4.7/
zcat create.sql.gz |mysql -uroot -p123456 zabbix
修改zabbix配置文件
#备份zabbix配置文件
cp zabbix_server.conf zabbix_server.conf.default
vim /etc/zabbix/zabbix_server.conf
LogFile=/var/log/zabbix/zabbix_server.log
LogFileSize=0
PidFile=/var/run/zabbix/zabbix_server.pid
SocketDir=/var/run/zabbix
DBHost=localhost
DBName=zabbix
DBUser=zabbix
DBPassword=zabbix3
SNMPTrapperFile=/var/log/snmptrap/snmptrap.log
Timeout=4
AlertScriptsPath=/usr/lib/zabbix/alertscripts
ExternalScripts=/usr/lib/zabbix/externalscripts
LogSlowQueries=3000
备注:主要关注与DB相关的配置,保证正确性即可,以上配置为zabbix安全完毕后的默认配置,其中DBHost与DBPassword均是注释状态,去掉‘#’修改正确即可。其余注释的配置已过滤。
修改httpd的zabbix配置文件
cd /etc/httpd/conf.d/
cp zabbix.conf zabbix.conf.bak
sed -i "s?# php_value date.timezone Europe/Riga?php_value date.timezone Asia/Shanghai?g" zabbix.conf
此处主要修改php的时区配置。
启动zabbix并配置开机启动,重启httpd
systemctl enable zabbix-server
systemctl start zabbix-server
systemctl restart httpd
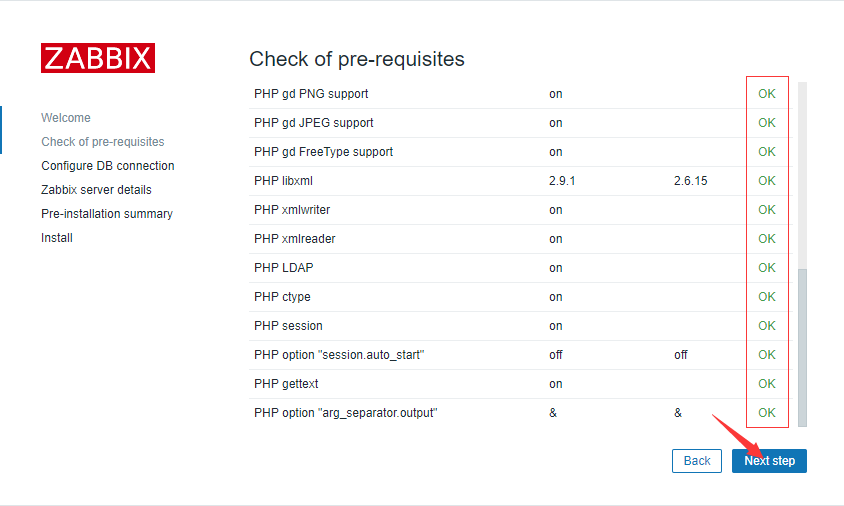
配置zabbix
浏览器输入IP/zabbix/setup.php
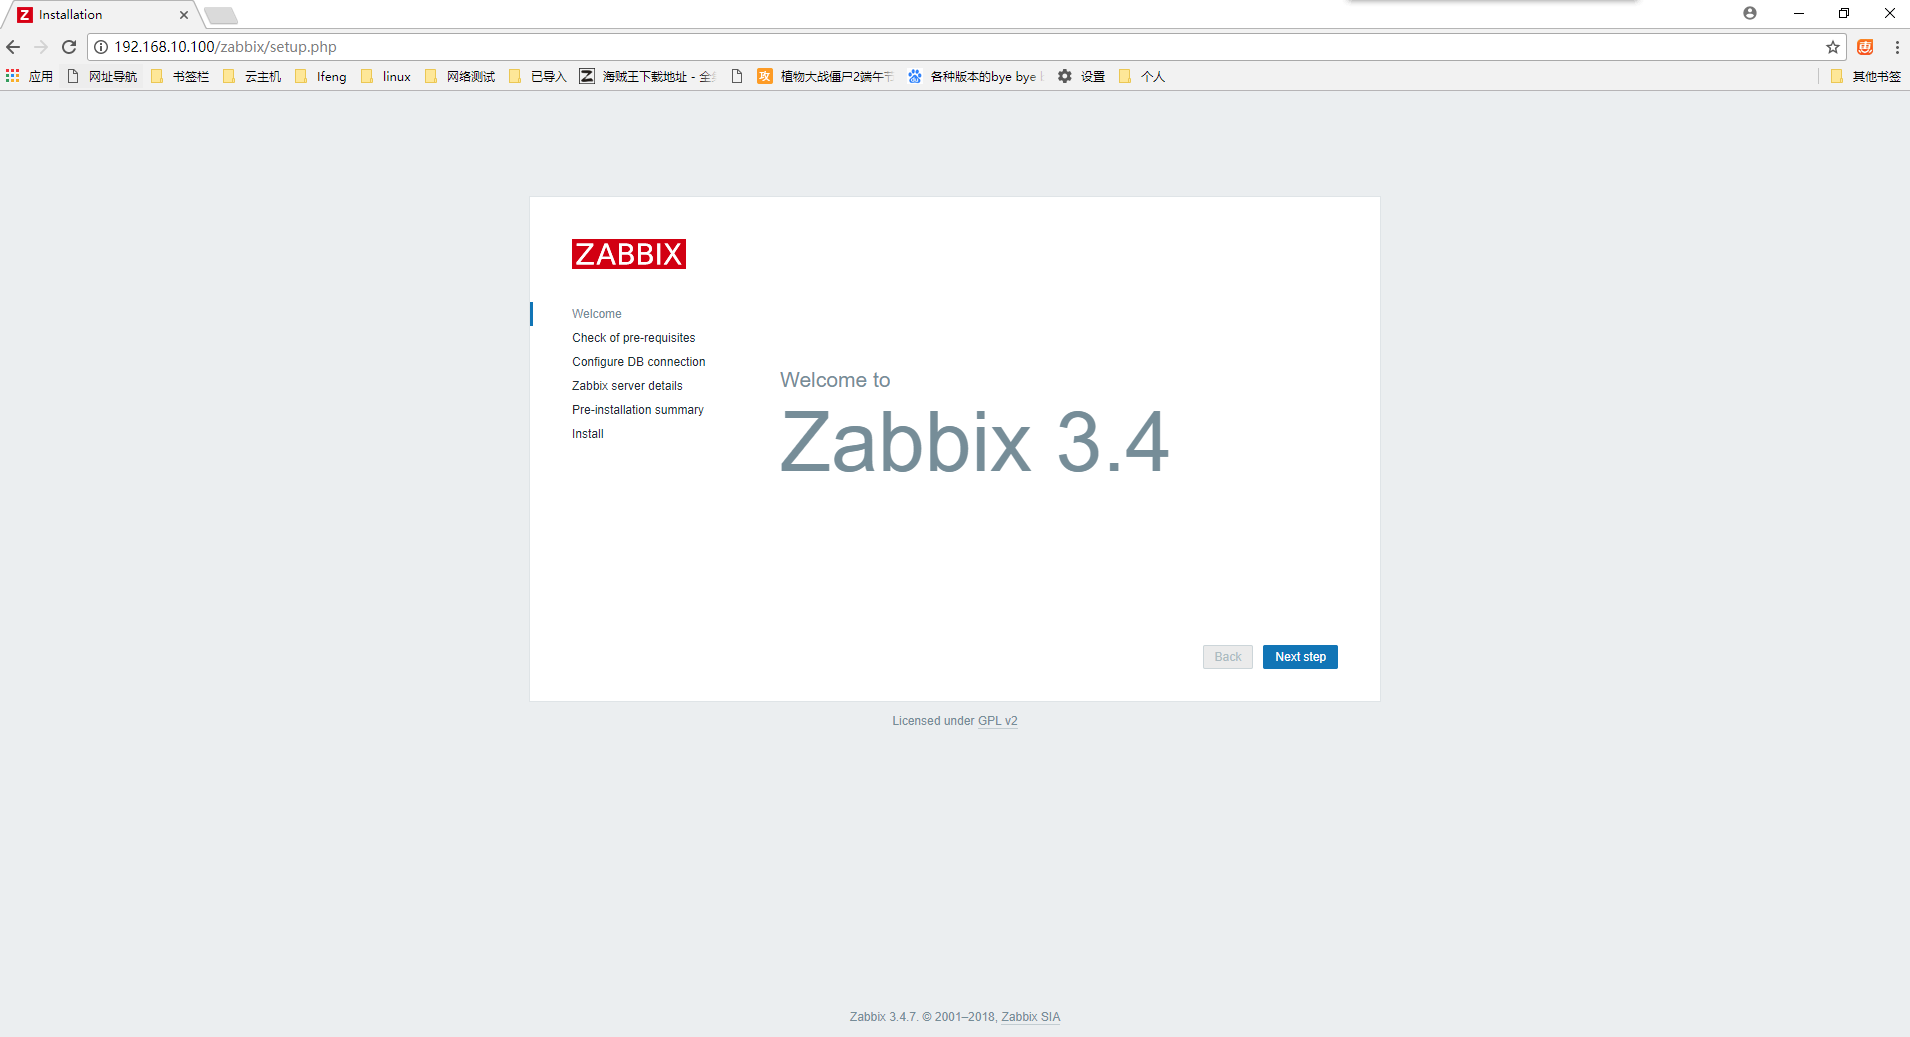
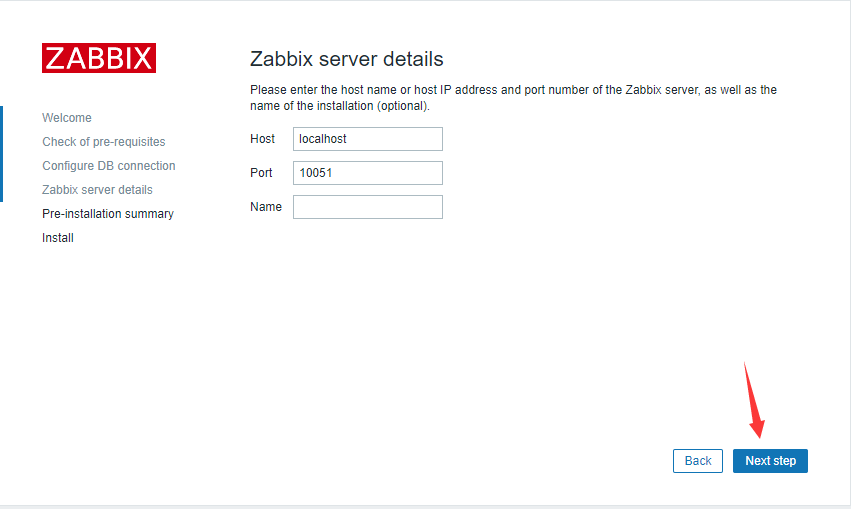
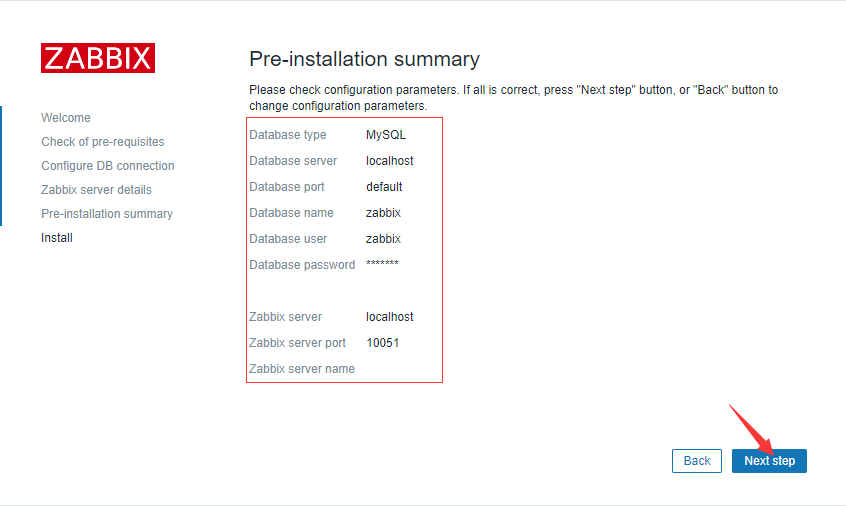


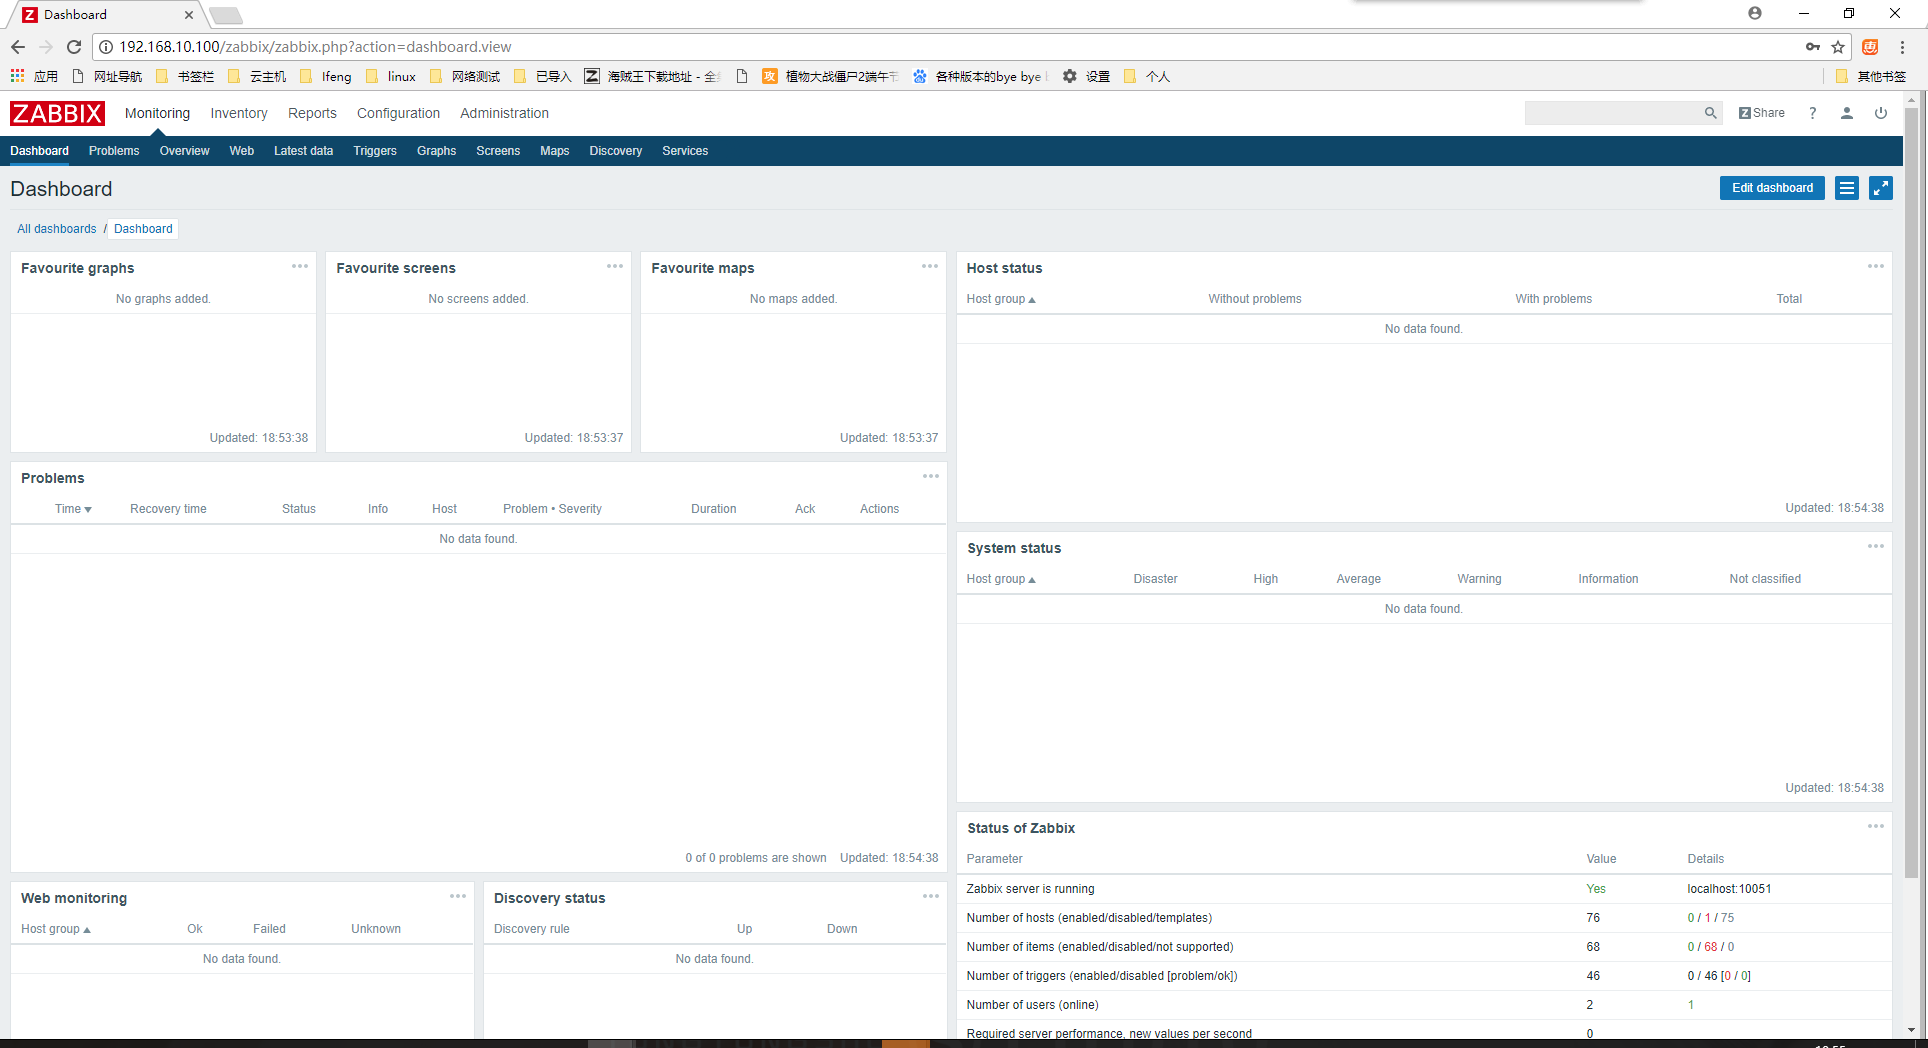
默认用户名和密码为Admin、zabbix输入完毕后点击sing in即可完成登录。至此zabbix-server安装完毕。