1.安装依赖
$ yum -y install policycoreutils openssh-server openssh-clients postfix
$ yum install policycoreutils-python
2.设置postfix开机自启并启动
$ systemctl enable postfix
$ systemctl start postfix
3.下载
$ wget --content-disposition https://packages.gitlab.com/gitlab/gitlab-ce/packages/ol/7/gitlab-ce-12.0.3-ce.0.el7.x86_64.rpm/download.rpm
4.解压
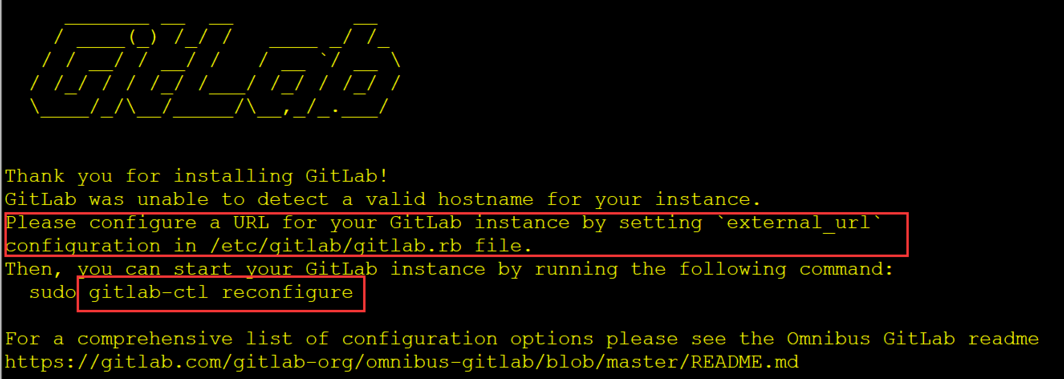
$ rpm -i gitlab-ce-12.0.3-ce.0.el7.x86_64.rpm
解压完后会出现如下界面:
5.修改gitlab配置文件指定服务器ip和自定义端口
vim /etc/gitlab/gitlab.rb

6.重置并启动GitLab
$ gitlab-ctl reconfigure
7.访问 GitLab页面 http://服务器IP:端口
如果gitlab密码忘记了,可以执行如下步骤:
(1)执行: gitlab-rails console production
[root@localhost gitlab]# gitlab-rails console production
Loading production environment (Rails 4.1.12)
irb(main):001:0>
(2)执行: user = User.where(id:1).first
irb(main):001:0> user = User.where(id:1).first
=> #<User id: 1, email: "admin@example.com", encrypted_password: "$2a$10$DMtAMOAM0w9IobSlUm5H3.gprVLzulSsMKyCDkRALBh...", reset_password_token: nil, reset_password_sent_at: nil, remember_created_at: nil, sign_in_count: 0, current_sign_in_at: nil, last_sign_in_at: nil, current_sign_in_ip: nil, last_sign_in_ip: nil, created_at: "2018-06-14 13:14:23", updated_at: "2018-06-14 13:14:23", name: "Administrator", admin: true, projects_limit: 10000, skype: "", linkedin: "", twitter: "", authentication_token: "QsfSW1J1ffhNgM76AsHb", theme_id: 2, bio: nil, failed_attempts: 0, locked_at: nil, username: "root", can_create_group: true, can_create_team: false, state: "active", color_scheme_id: 1, notification_level: 1, password_expires_at: "2018-06-14 13:14:23", created_by_id: nil, last_credential_check_at: nil, avatar: nil, confirmation_token: "Rca6bsELVxBbGqbgykEn", confirmed_at: "2018-06-14 13:14:23", confirmation_sent_at: "2018-06-14 13:14:23", unconfirmed_email: nil, hide_no_ssh_key: false, website_url: "", notification_email: "admin@example.com", hide_no_password: false, password_automatically_set: false, location: nil, encrypted_otp_secret: nil, encrypted_otp_secret_iv: nil, encrypted_otp_secret_salt: nil, otp_required_for_login: false, otp_backup_codes: nil, public_email: "", dashboard: 0, project_view: 0, consumed_timestep: nil>
irb(main):002:0>
(3)执行:user.password='66668888'
irb(main):002:0> user.password='66668888'
=> "66668888"
irb(main):003:0>
(4)执行:user.save!
irb(main):003:0> user.save!
=> true
irb(main):004:0>