一、镜像image
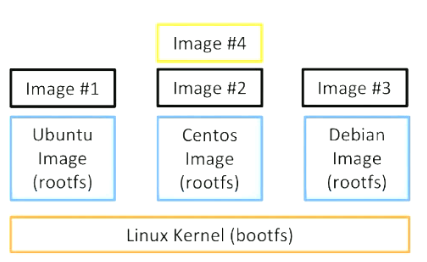
镜像由多个层组成,每层叠加之后,从外部看来就如一个独立的对象。镜像内部是一个精简的操作系统(OS),同时还包含应用运行所必须的文件和依赖包。
linux发行版(OS)=linux kernel➕外围软件(meta data);
应用镜像=基础镜像rootfs(meta data)➕应用程序image分层(文件);
增删文件则会形成一个新的image,不同image可共享相同的基础镜像rootfs,image本身是只读的,按多层进行存储;
Usage:  docker image COMMAND
Manage images
Commands:
  build       Build an image from a Dockerfile
  history     Show the history of an image
  import      Import the contents from a tarball to create a filesystem image
  inspect     Display detailed information on one or more images
  load        Load an image from a tar archive or STDIN
  ls          List images
  prune       Remove unused images
  pull        Pull an image or a repository from a registry
  push        Push an image or a repository to a registry
  rm          Remove one or more images
  save        Save one or more images to a tar archive (streamed to STDOUT by default)
  tag         Create a tag TARGET_IMAGE that refers to SOURCE_IMAGE
Usage:  docker images [OPTIONS] [REPOSITORY[:TAG]]
List images
Options:
  -a, --all             Show all images (default hides intermediate images)
      --digests         Show digests
  -f, --filter filter   Filter output based on conditions provided
      --format string   Pretty-print images using a Go template
      --no-trunc        Don't truncate output
  -q, --quiet           Only show numeric IDs
docker images #列出所有镜像;
docker image ls #列出所有镜像;
docker image ls -q #列出所有镜像id;
docker image rm alpine #删除latest版本的镜像;
docker image rm alpine:3.14 #删除镜像alpine:3.14;
docker rmi alpine #简写方式:删除latest版本的镜像;
镜像获取方式:
1)根据dockerfile创建image:每一行在build过程中会创建一个分层(layer);
2)现有容器修改后生成新的image:尽量避免使用,缺点:镜像大,使用者不清楚镜像如何构成;
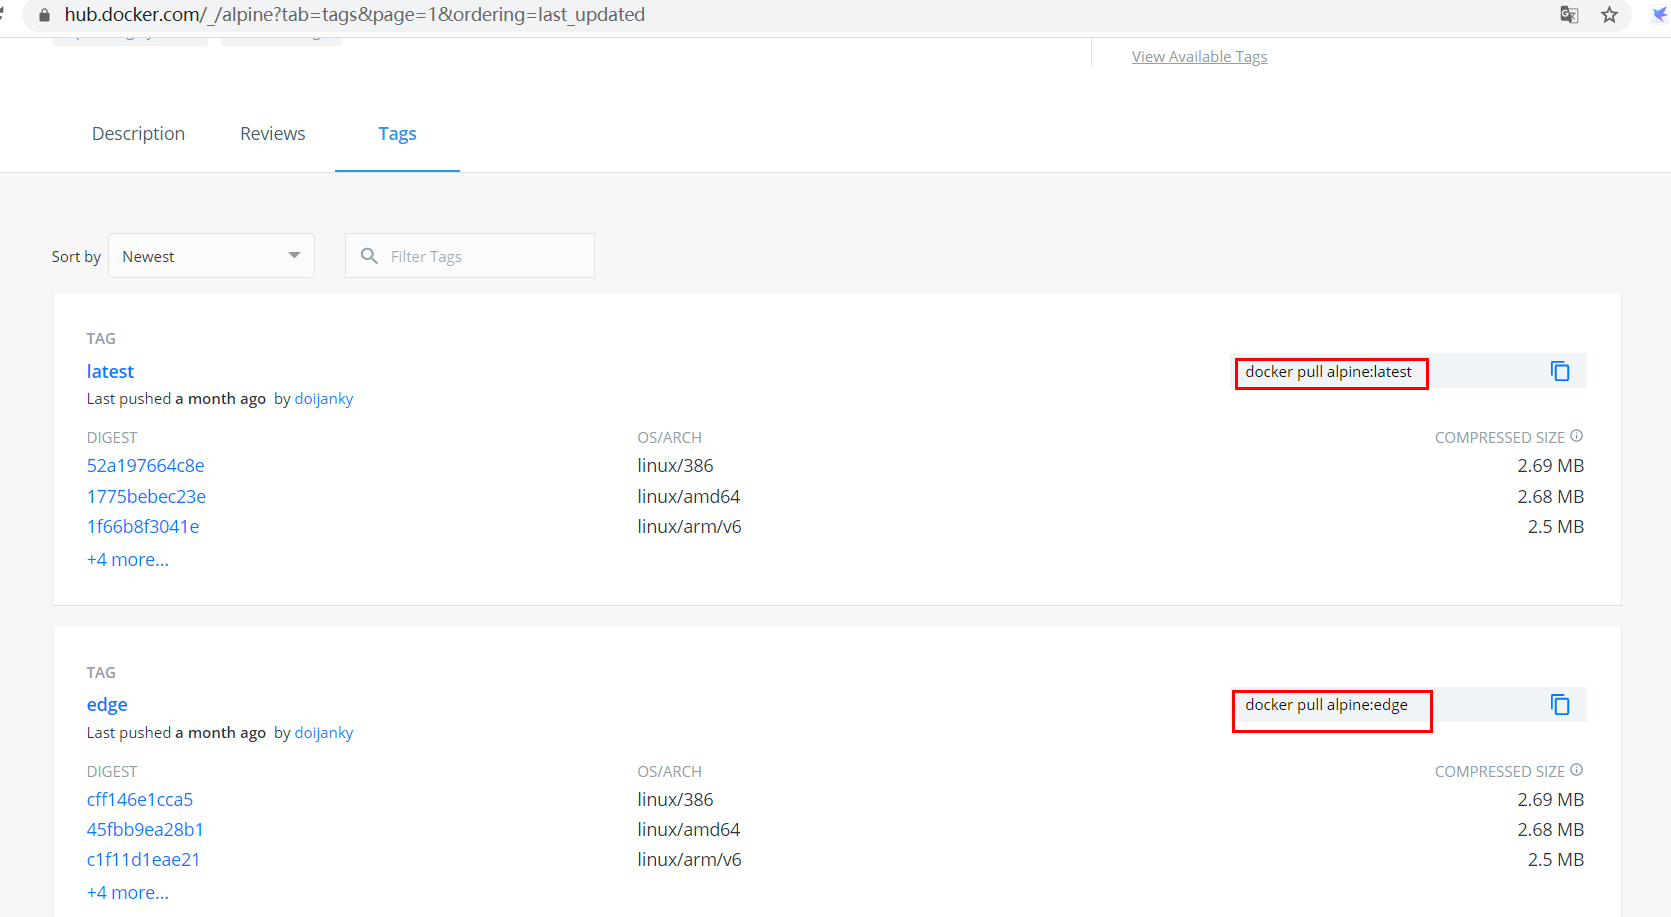
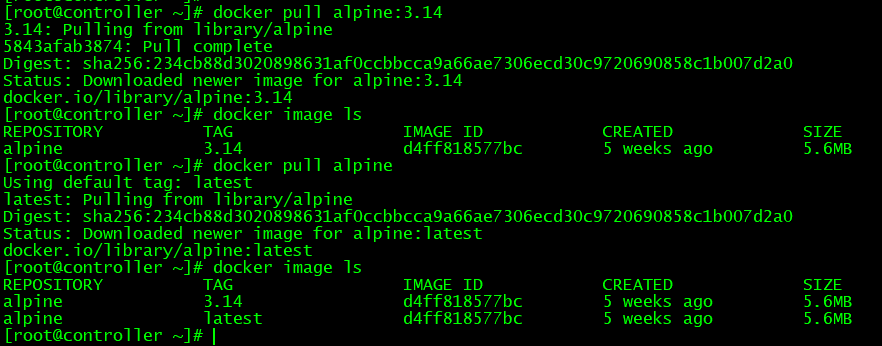
3)从仓库拉取创建好的image:尽量使用官方镜像(https://hub.docker.com/中explore下的镜像),以确保系统安全;若不指定tag,则默认拉取lastest版本镜像;
案例1:拉取官方镜像


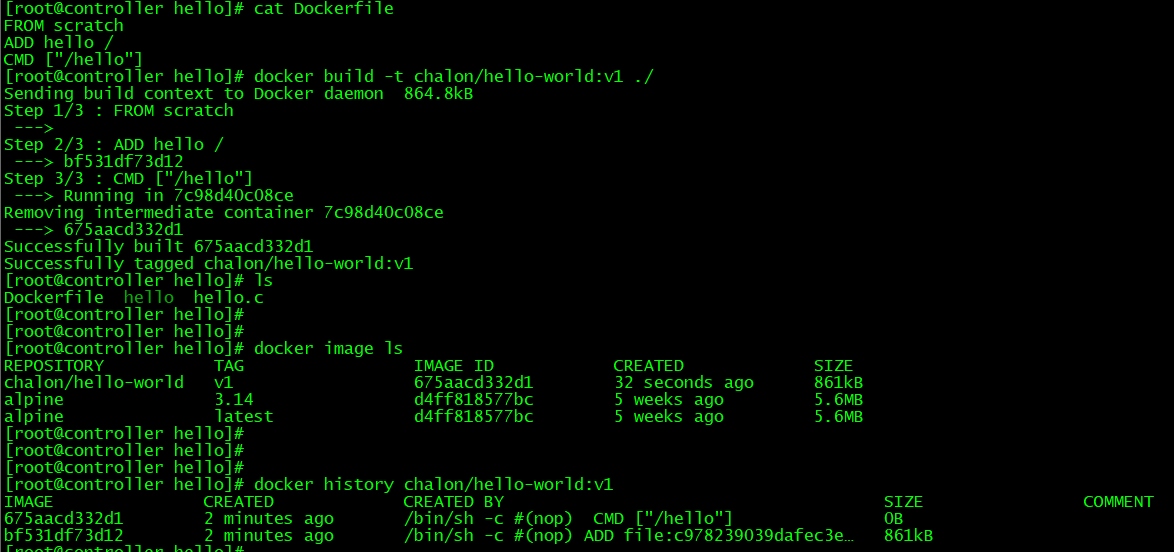
案例2:制作dockerfile并创建image
mkdir /root/hello/
cd /root/hello/
cat <<eof> hello.c
#include<stdio.h>
int main()
{
    printf("hello world! from chalon.");
}
eof
yum -y  install gcc glibc glibc-static  #编译c语言程序需要gcc编译器及glibc库文件;
gcc -static hello.c -o hello            #编译c语言程序为二进制执行文件;
./hello                                 #测试二进制程序;
cat <<eof> dockerfile
FROM scratch            #基础镜像为空;
ADD hello /             #将本目录下hello程序添加进镜像根目录;
CMD ["/hello"]          #运行容器时默认执行/hello程序;
eof
docker build -t chalon/hello-world:v1 ./    #在当前目录下构建image;
docker history chalon/hello-world:v1        #查看镜像历史记录,确认镜像分层layer为2;
docker image ls;ll -h                       #image基于hello创建,文件大小差别不大;
docker run chalon/hello-world:v1            #启动image运行容器;


案例 3 本地自建仓库,并上传、拉取、管理镜像
##镜像拉取采用https协议,因此本地仓库需要在配置中写明为insecure-registries;
cat <<eof> /etc/docker/daemon.json
{
    "exec-opts":["native.cgroupdriver=systemd"],
    "log-driver":"json-file",
    "log-opts":{
        "max-size":"100m"
    },
    "experimental": true,
    "registry-mirrors": ["https://docker.mirrors.ustc.edu.cn"],
    "insecure-registries": ["localhost:50000"]
}
eof
sed -i '/[Service]/aEnvironmentFile=/etc/docker/daemon.json' /lib/systemd/system/docker.service  #设置docker.service的启动配置文件为/etc/docker/daemon.json;
systemctl daemon-reload && systemctl restart docker
docker run -d -p 50000:5000 --restart always --name chalon_registry registry  #创建本地仓库chalon_registry;
docker pull alpine
docker tag alpine localhost:50000/alpine:v1               #重新标记镜像为本地仓库的镜像;
docker push localhost:50000/alpine:v1                     #推送镜像至本地仓库;
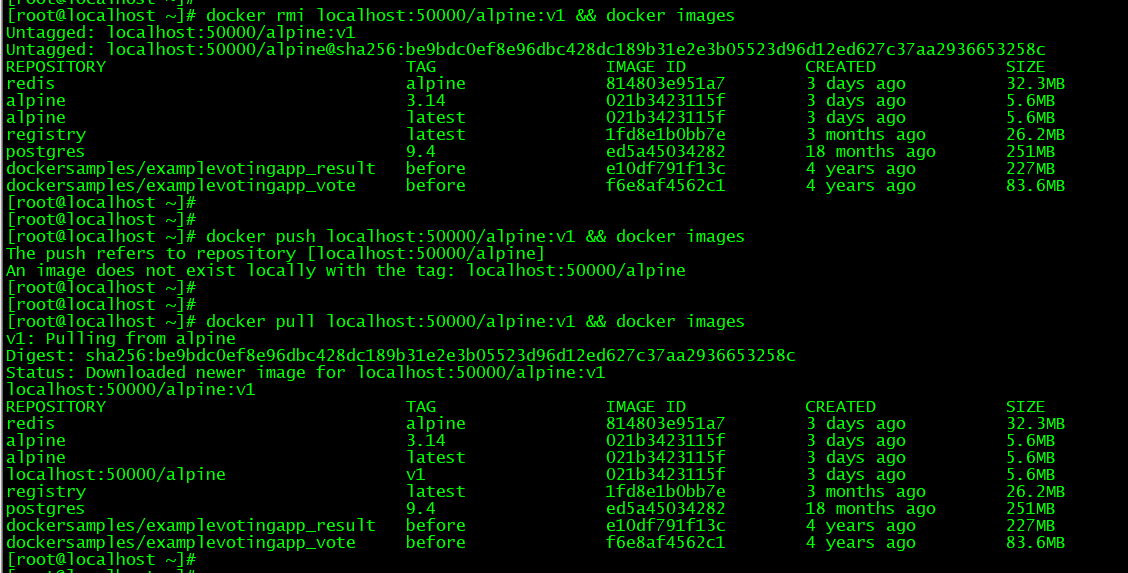
docker rmi localhost:50000/alpine:v1 && docker images     #删除测试镜像;
docker pull localhost:50000/alpine:v1 && docker images    #测试从本地仓库拉取镜像;
docker exec -it chalon_registry ls /var/lib/registry/docker/registry/v2/repositories/   #登录自建仓库查看仓库镜像明细;
curl http://localhost:50000/v2/_catalog                   #查看本地仓库的images目录;
curl http://localhost:50000/v2/alpine/tags/list           #查看本地仓库的image的版本信息;
##其他node测试本地仓库是否可用;
cat <<eof> /etc/docker/daemon.json
{
    "exec-opts":["native.cgroupdriver=systemd"],
    "log-driver":"json-file",
    "log-opts":{
        "max-size":"100m"
    },
    "experimental": true,
    "registry-mirrors": ["https://docker.mirrors.ustc.edu.cn"],
    "insecure-registries": ["192.168.66.10:50000"]
}
eof
sed -i '/[Service]/aEnvironmentFile=/etc/docker/daemon.json' /lib/systemd/system/docker.service  #设置docker.service的启动配置文件为/etc/docker/daemon.json;
systemctl daemon-reload && systemctl restart docker
docker pull 192.168.66.10:50000/alpine:v1 && docker images
