入门篇:
raspberry 官网:
https://www.raspberrypi.org/
各个系统镜像下载地址:
https://www.raspberrypi.org/downloads/
树莓派实验室:
http://shumeipai.nxez.com/
新手入门,下载一个raspbian 系统。
在这之前,你得有一张class 10 的sd卡,建议16g 80M 速度的那种。
利用sd formatterv 对sd claa10 进行格式化。
下载地址:
链接:http://pan.baidu.com/s/1slEjaKd 密码:5itz

再利用 win32diskimager 对卡进行少些系统
下载地址:
链接:http://pan.baidu.com/s/1c1JcZL2 密码:zgb9

然后把卡插入树莓派卡槽。
连上网线到你的路由器。
把USB电源线插上,开机。
进入你得路由器控制台,找到raspberry pi 的ip
利用ssh 登录.
ssh 下载地址:
链接:http://pan.baidu.com/s/1c2gJ8Ve 密码:ows0

输入刚才路由器控制台看到的ip,保存一个名字,保存,在打开。
输入账号:pi
密码:raspberry
登录进去。
sudo passwd root
设置一个root密码。
更改pi的密码也行。
到此,ssh远程登录树莓派成功。
下面介绍一下在没有hdmi显示器的情况下利用vnc进入 系统桌面:
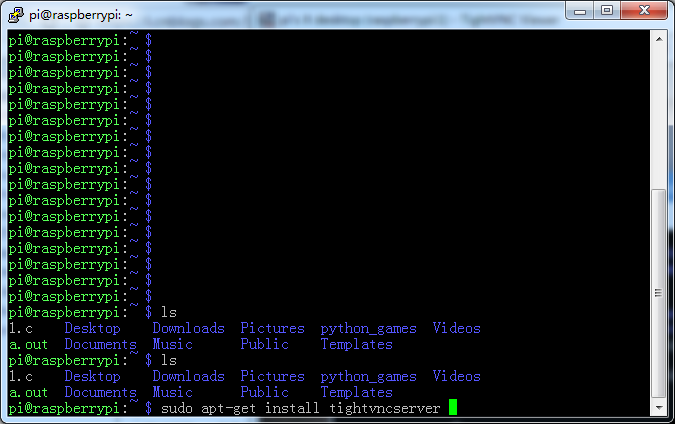
刚才利用ssh登录终端后。安装一个tigervnc
在用vncpasswd设一个密码。
再用vi 在/etc/init.d/里面创建一个文件。
sudo vi /etc/init.d/tightvncserver
#!/bin/sh

### BEGIN INIT INFO
# Provides:          tightvncserver
# Required-Start:    $local_fs
# Required-Stop:     $local_fs
# Default-Start:     2 3 4 5
# Default-Stop:      0 1 6
# Short-Description: Start/stop tightvncserver
### END INIT INFO

# More details see:
# http://www.penguintutor.com/linux/tightvnc

### Customize this entry
# Set the USER variable to the name of the user to start tightvncserver under
export USER='pi'
### End customization required

eval cd ~$USER

case "$1" in
  start)
    # 启动命令行。此处自定义分辨率、控制台号码或其它参数。
    su $USER -c '/usr/bin/tightvncserver -depth 16 -geometry 800x600 :1'
    echo "Starting TightVNC server for $USER "
    ;;
  stop)
    # 终止命令行。此处控制台号码与启动一致。
    su $USER -c '/usr/bin/tightvncserver -kill :1'
    echo "Tightvncserver stopped"
    ;;
  *)
    echo "Usage: /etc/init.d/tightvncserver {start|stop}"
    exit 1
    ;;
esac
exit 0
给这个文件加权限
并添加进开机自启脚本
sudo chmod 755 /etc/init.d/tightvncserver
sudo update-rc.d tightvncserver defaults
在windows 或者其他什么操作系统下下载一个vnc 客户端:
连接:
ip:1
参考:http://shumeipai.nxez.com/2013/09/04/login-rpi-with-vnc.html?variant=zh-cn