整理了一下.Net Core在 Windows 中的托管,把经验分享给大家。
- 使用IIS进行托管
本人用的是.net Core 2.1.1,首先需要安装dotnet-sdk-2.1.801-win-x64.exe和DotNetCore.1.0.4_1.1.1-WindowsHosting.exe
如果你创建的是API项目,直接发布并选择IIS.net framework的版本就好了
如果是Web应用程序托管到IIS上就必须要有web.config文件,添加web.config的方式,先在本地创建web.config文件,再添加到项目中,如下内容
<?xml version="1.0" encoding="utf-8"?>
<configuration>
  <system.webServer>
    <handlers>
      <add name="aspNetCore" path="*" verb="*" modules="AspNetCoreModule" resourceType="Unspecified" />
    </handlers>
    <aspNetCore processPath="%LAUNCHER_PATH%" arguments="%LAUNCHER_ARGS%" stdoutLogEnabled="false" stdoutLogFile=".logsstdout" forwardWindowsAuthToken="false" startupTimeLimit="3600" requestTimeout="23:00:00">
      <environmentVariables />
    </aspNetCore>
  </system.webServer>
</configuration>
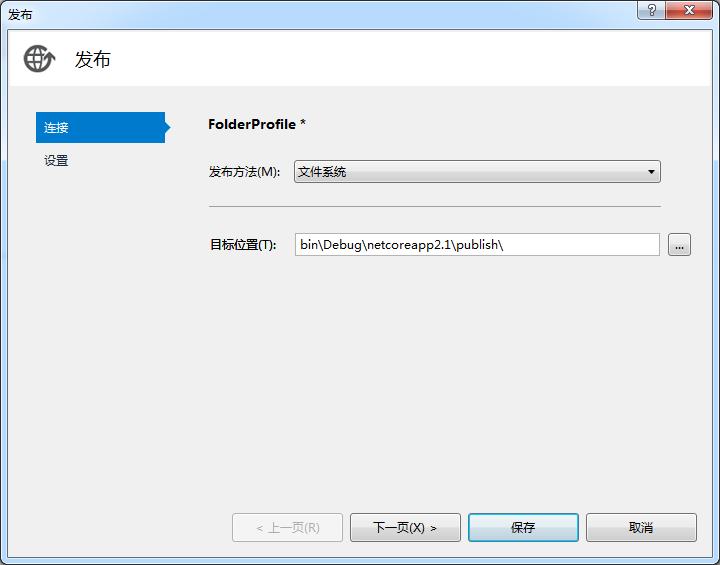
选择发布
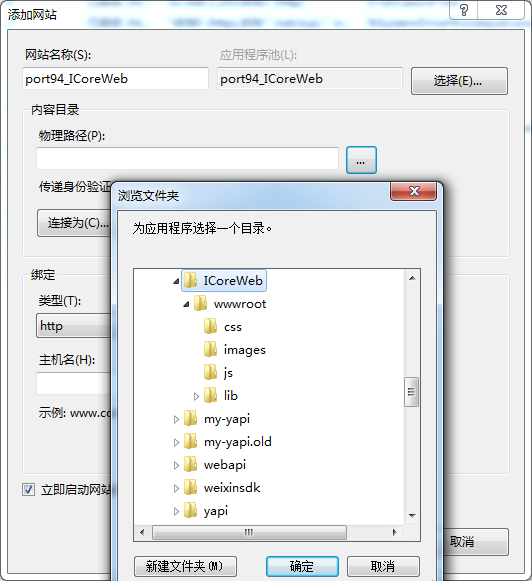
在IIS添加网站
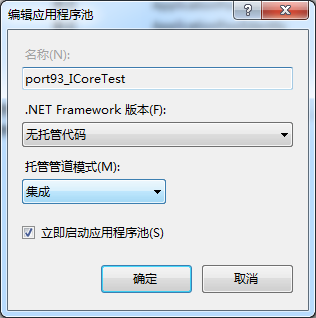
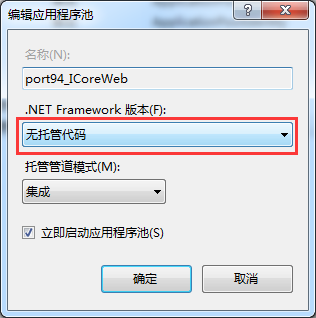
修改应用程序池
OK,这样.Net Core就完全托管到IIS上了
其他托管方式,以后用到再补充上来,下面分享的是控制台程序的发布
- .Net Core控制台发布
- 方法一、用.NET Core命令生成.exe可执行程序
项目使用的是.NET Core 2.1版本,查看项目路径
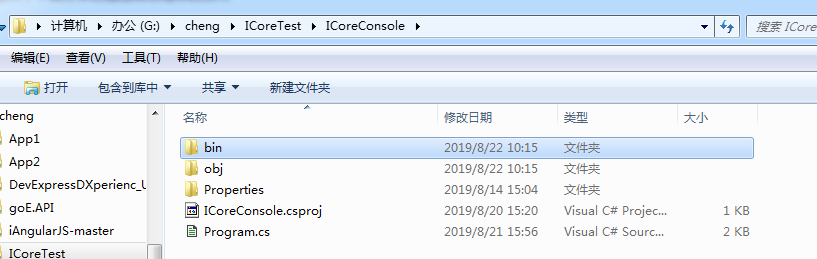
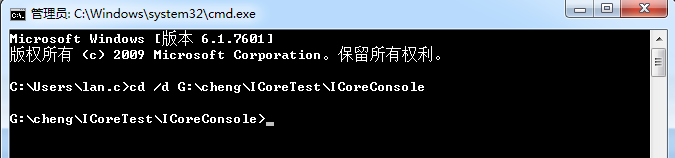
用CMD打开项目路径
cd /d G:chengICoreTestICoreConsole
运行发布命令程序
dotnet publish -c Release -r win10-x64

或者

dotnet publish -c Release -r ubuntu.16.10-x64
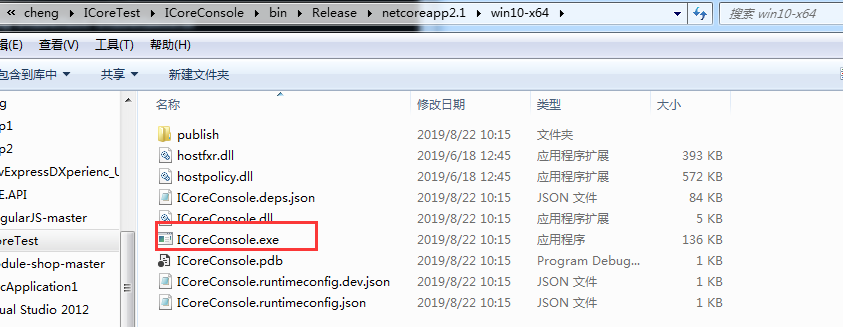
查看发布结果,ok发布成功
当然也可以在项目中运行程序包管理平台,直接发布(发布的是整个解决方案的所有项目),运行代码一样的
dotnet publish -c Release -r win10-x64

或者

dotnet publish -c Release -r ubuntu.16.10-x64
