实验准备
centos系统服务器3台、 一台作为监控服务器, 两台台作为被监控节点, 配置好yum源、 防火墙关闭、 各节点时钟服务同步、 各节点之间可以通过主机名互相通信。
根据架构图,实验基本设置如下:
| Host | IP | Role | Comment |
|---|---|---|---|
| server.joyo.com | 192.168.135.19 | zabbix-server | Monitoring |
| node1.joyo.com | 192.168.135.20 | zabbix-agent | Client |
| node2.joyo.com | 192.168.135.21 | zabbix-agent | Client |
Zabbix 服务端的安装
1. 所有机器临时关闭防火墙和selinux
iptables -F
setenforce 0
2. 所有机器永久关闭防火墙和selinux
systemctl stop firewalld
systemctl disable firewalld

#vi /etc/sysconfig/selinux
SELINUX=disabled

hostnamectl set-hostname server.joyo.com
3. 更新我们的yum仓库
我们去官网下载一个包zabbix-release-3.4-2.el7.noarch.rpm,本地安装至我们的虚拟机,这样,我们本地就有了新的yum源,可以直接安装zabbix服务:
#download
wget http://repo.zabbix.com/zabbix/3.4/rhel/7/x86_64/zabbix-release-3.4-2.el7.noarch.rpm
#install-verbose-hash
rpm -ivh zabbix-release-3.4-2.el7.noarch.rpm
4. 参照此文切换到国内源,否则出错如下
Error downloading packages:
  zabbix-web-3.4.15-1.el7.noarch: [Errno 256] No more mirrors to try.
  zabbix-server-mysql-3.4.15-1.el7.x86_64: [Errno 256] No more mirrors to try.
  zabbix-get-3.4.15-1.el7.x86_64: [Errno 256] No more mirrors to try.
  zabbix-agent-3.4.15-1.el7.x86_64: [Errno 256] No more mirrors to try.
国内源
cd /etc/yum.repos.d/
mv zabbix.repo zabbix.repo.bak
cat <<EOF > /etc/yum.repos.d/zabbix.repo
[zabbix]
name=Zabbix Official Repository - $basearch
baseurl=https://mirrors.aliyun.com/zabbix/zabbix/3.4/rhel/7/$basearch/
enabled=1
gpgcheck=1
gpgkey=file:///etc/pki/rpm-gpg/RPM-GPG-KEY-ZABBIX-A14FE591

[zabbix-non-supported]
name=Zabbix Official Repository non-supported - $basearch
baseurl=https://mirrors.aliyun.com/zabbix/non-supported/rhel/7/$basearch/
enabled=1
gpgkey=file:///etc/pki/rpm-gpg/RPM-GPG-KEY-ZABBIX
gpgcheck=1
EOF

#添加 gpg-key
curl https://mirrors.aliyun.com/zabbix/RPM-GPG-KEY-ZABBIX-A14FE591
-o /etc/pki/rpm-gpg/RPM-GPG-KEY-ZABBIX-A14FE591

curl https://mirrors.aliyun.com/zabbix/RPM-GPG-KEY-ZABBIX
-o /etc/pki/rpm-gpg/RPM-GPG-KEY-ZABBIX
5. Centos的基本repo也切换为国内源
cd /etc/yum.repos.d/
wget http://mirrors.aliyun.com/repo/Centos-7.repo
mv CentOS-Base.repo CentOS-Base.repo.bak
mv Centos-7.repo CentOS-Base.repo

yum clean all && yum makecache
6. 在server上安装zabbix
yum -y install zabbix-agent zabbix-get zabbix-sender zabbix-server-mysql zabbix-web-mysql
7. 安装数据MySQL 5.7
createrepo /usr/local/yum
ls /usr/local/yum

cd /tmp/
wget http://uni.mirrors.163.com/mysql/Downloads/MySQL-5.7/mysql-5.7.29-1.el7.x86_64.rpm-bundle.tar
#也可以从Windows上以QQ旋风等工具下载,然后运行pscp.exe上传到虚拟机
#pscp mysql-5.7.29-1.el7.x86_64.rpm-bundle.tar user@ip:/tmp/
tar -xf mysql-5.7.29-1.el7.x86_64.rpm-bundle.tar -C /usr/local/yum/mysqlRPMs

[root@localhost tmp]# cd /etc/yum.repos.d/
[root@localhost yum.repos.d]# cat <EOF >mysql-local.repo
-bash: EOF: No such file or directory
[root@localhost yum.repos.d]# cat <<EOF >mysql-local.repo
> #the RPMs of MySQL server
> [mysql-local]
> name=mysql-local
> baseurl=file:///usr/local/yum
> gpgcheck=0
> enabled=1
> EOF

yum -y install mysql-community-server
8. 重置数据库root用户的密码
systemctl start mysqld
grep "password" /var/log/mysqld.log
mysql -uroot -p
mysql> alter user 'root'@'localhost' identified by 'xxxxxxxx';
mysql> grant all privileges on *.* to 'root'@'192.168.135.%' identified by 'xxxxxxxx' with grant option;
mysql> flush privileges;
mysql> exit;
9. 修改mysql的字符编码(不修改会产生中文乱码问题)
#显示原来编码
mysql> show variables like '%character%';

#vi /etc/my.cnf
[mysqld]
character_set_server=utf8
init_connect='SET NAMES utf8'
#重启数据库
systemctl restart mysqld
10. 创建 zabbix 所用的数据库以及用户
mysql> create database zabbix character set utf8 collate utf8_bin;
mysql> grant all on zabbix.* to zabbix@'%' identified by 'xxxxxxxx';
mysql> grant all on zabbix.* to zabbix@'localhost' identified by 'xxxxxxxx';
mysql> exit;
11. 导入zabbix数据
rpm -qal | grep zabbix-server
cd /usr/share/doc/zabbix-server-mysql-3.4.15/
zcat create.sql.gz | mysql -uzabbix zabbix -p
12. 修改zabbix配置文件
vim /etc/zabbix/zabbix_server.conf

#打开这个文件后,找到对应的。进行修改即可。默认是DBHost和DBPassword是被屏蔽的
DBHost=localhost #数据库所在主机
DBName=zabbix   #数据库名
DBUser=zabbix   #数据库用户
DBPassword=xxxxxxxx   #数据库密码
13. 修改PHP时区配置
vi /etc/httpd/conf.d/zabbix.conf
php_value date.timezone Asia/Shanghai
14. 启动zabbix及httpd
systemctl start httpd
systemctl start zabbix-server
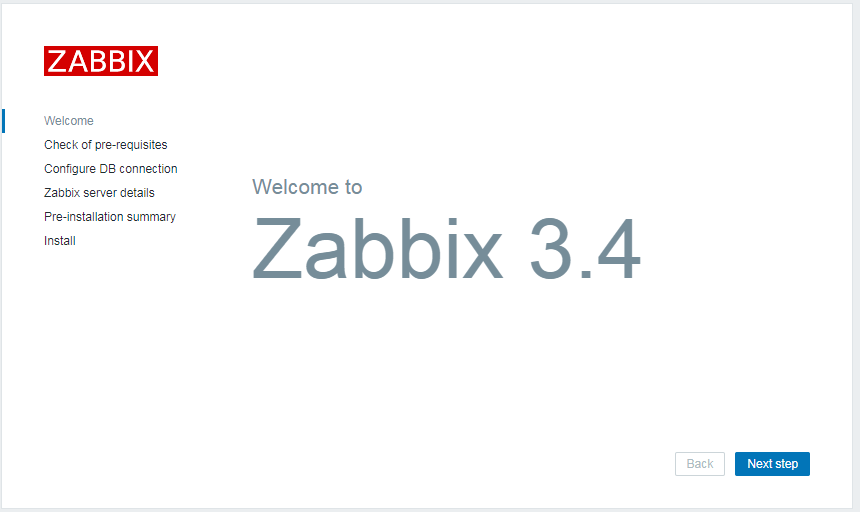
15. 用浏览器访问
http://192.168.135.19/zabbix/setup.php

Zabbix客户端的安装
1. 重复服务端 1 - 5 的操作
2. 安装客户端组件
yum -y install zabbix-agent zabbix-sender

#查询 zabbix-agent 的组成部件
rpm -ql zabbix-agent
3. 修改客户端配置
cd /etc/zabbix/
cp -p zabbix_agentd.conf{,.bak}
#查看所有有效的配置行
cat zabbix_agentd.conf | grep -v '^#' | sed '/^$/d'
#vi zabbix_agentd.conf

PidFile=/var/run/zabbix/zabbix_agentd.pid
LogFile=/var/log/zabbix/zabbix_agentd.log
LogFileSize=0
Server=192.168.135.19  #modify
ServerActive=192.168.135.19  #modify
Hostname=node1.joyo.com  #modify
Include=/etc/zabbix/zabbix_agentd.d/*.conf
4. 启动客户端服务
systemctl start zabbix-agent && systemctl enable zabbix-agent

#zabbix-agent 默认端口是 10050
ss -nutlp | grep 10050