上一篇博客是用户登录,为了方便大家连贯学习,现在将用户注册功能也一并讲解~
重复内容(新建项目register和配置路由)不进行复述
1.在register/views.py视图中添加相应处理,代码如下
 1 from django.shortcuts import render
 2 from django.http import HttpResponse
 3 # Create your views here.
 4 from login import models  #引入login下的models包(数据库处理)
 5 from login.models import Login
 6
 7
 8 def register_views(request):
 9     m=request.method
10     if m=='GET':
11         return render(request,'register.html')
12     else:
13         name = request.POST.get('name', '') #获取输出框传入的数据
14         pwd = request.POST.get('pwd', '')
15         if name and pwd:
16             flag=Login.objects.filter(name=name).count()#判断数据库中是否已经存在输入框输入的用户,0的话代表数据库中无这条数据否则已经存在
17             if flag==0:
18                 persons=Login(name=name,pwd=pwd) #把从输入框中传入的数据保存在数据库中
19                 persons.save()
20                 return HttpResponse('注册成功!')
21             else:
22                 return HttpResponse('用户名已存在,请重新注册!')
23
24         return HttpResponse('注册失败,请重新注册!')
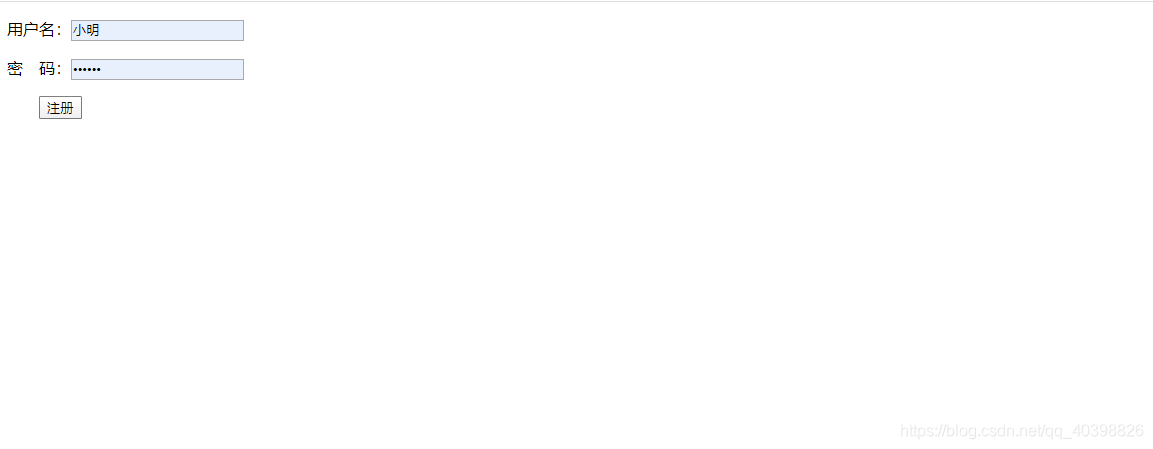
2.register.html
1 <!DOCTYPE html> 2 <html lang="en"> 3 <head> 4 <meta charset="UTF-8"> 5 <title>Title</title> 6 </head> 7 <body> 8 <form action="/register/" method="post"> 9 {% csrf_token%} 10 <p><label for="username">用户名:</label><input type="text" name="name" id="username" placeholder="请输入用户名"/></p> 11 <p><label for="u_pwd">密 码:</label><input type="password" name="pwd" id="u_pwd" placeholder="请输入密码"/></p> 12 <p>   <input type="submit" value="注册"/></p> 13 </form> 14 </body> 15 </html>