c# 工程里面,经常会添加资源文件。
作用:
- 一处文本多个地方的UI使用,最好把文本抽成资源,多处调用使用一处资源。
- 多语言版本支持,一份代码支持多国语言。配置多国语言的资源文件,调用处引用资源。
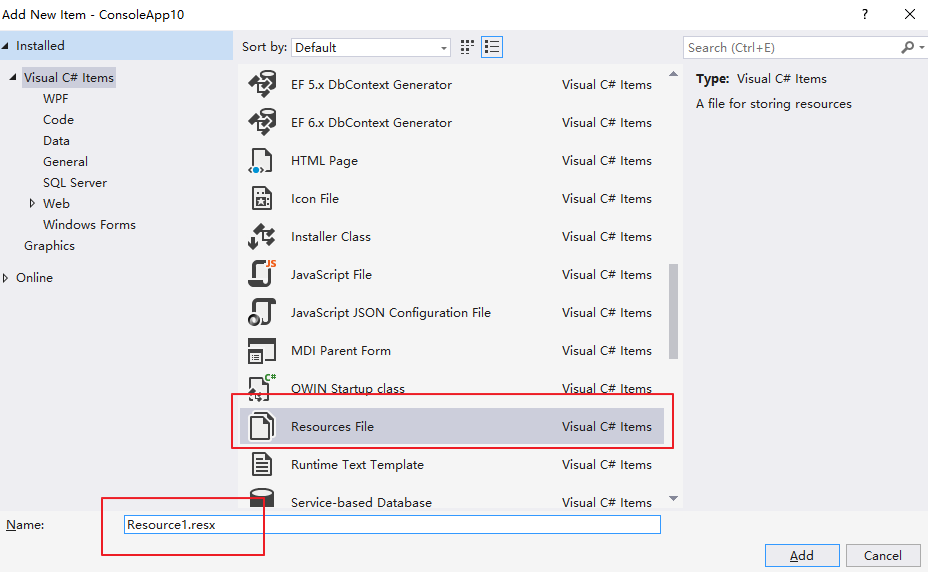
例如,新建一个简单的 .net framework console 工程,添加一个资源并使用。
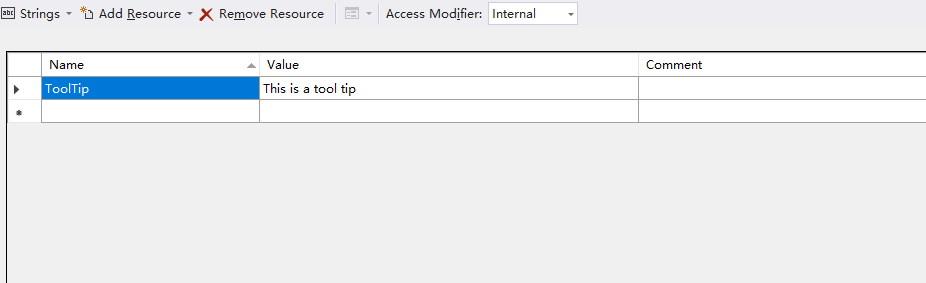
现在可以使用资源了:
        static void Main(string[] args)
        {
            var tooltip = Resource1.ToolTip;
        }
好奇心驱使着我看看VS怎么使用这个resx类型的文件的,于是查了一下文档,下面做个总结。
一 最简单的资源:文本资源
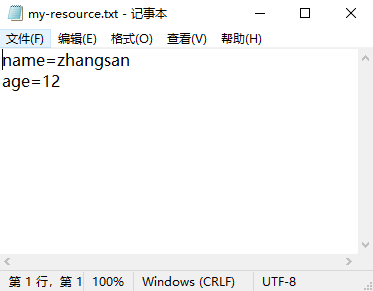
生成这样的资源成本极低,一个txt文本就可以。按照 key=value这样的格式一行一行的写好就好啦~
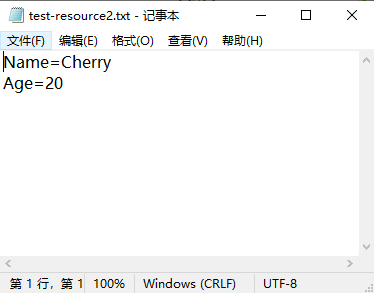
新建一个txt,写两个资源,name 和 age
使用工具 resgen.exe 生成资源文件。
resgen my-resource.txt
查看产物:

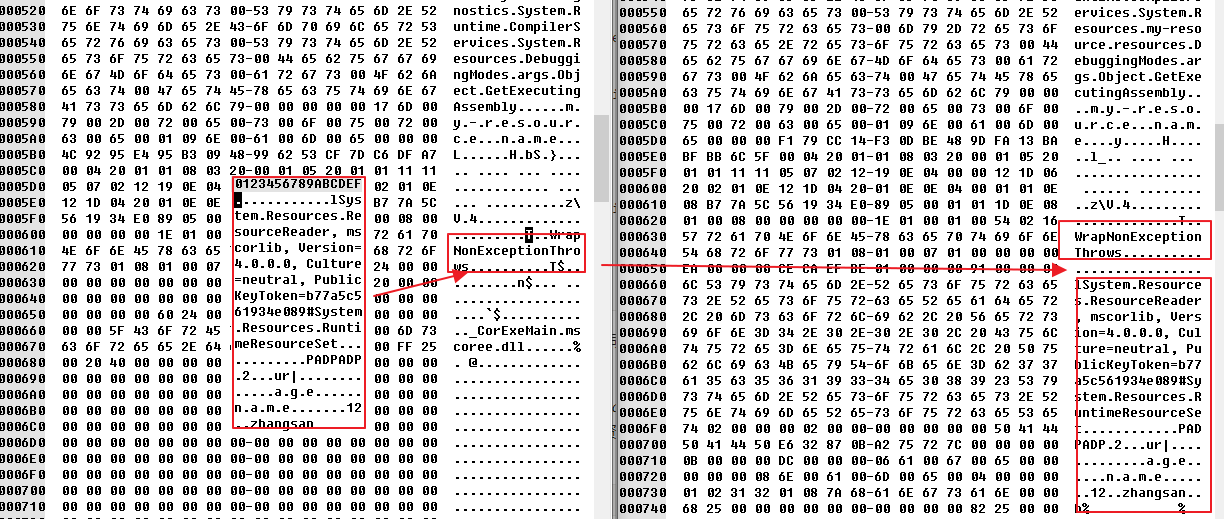
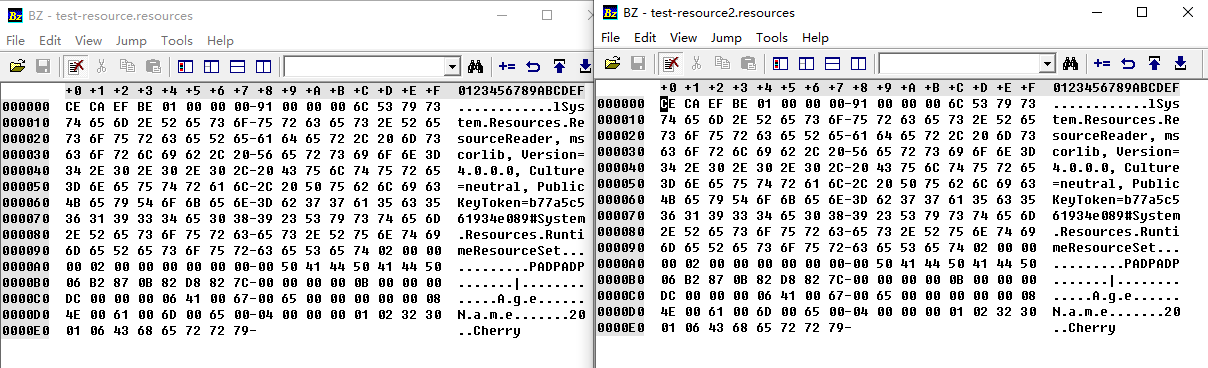
查看二进制文件到底长啥样,可以看到里面写了我们存的两个资源。至于其他文本估计是微软自己搞得格式~

看到了吗,最下面几个二进制数字对应的字符就是 age name 12 zhangsan 这些资源文件的信息。
现在我们编写代码去使用我们的资源(最朴素的txt文件写点c# code, 这样直观明了)
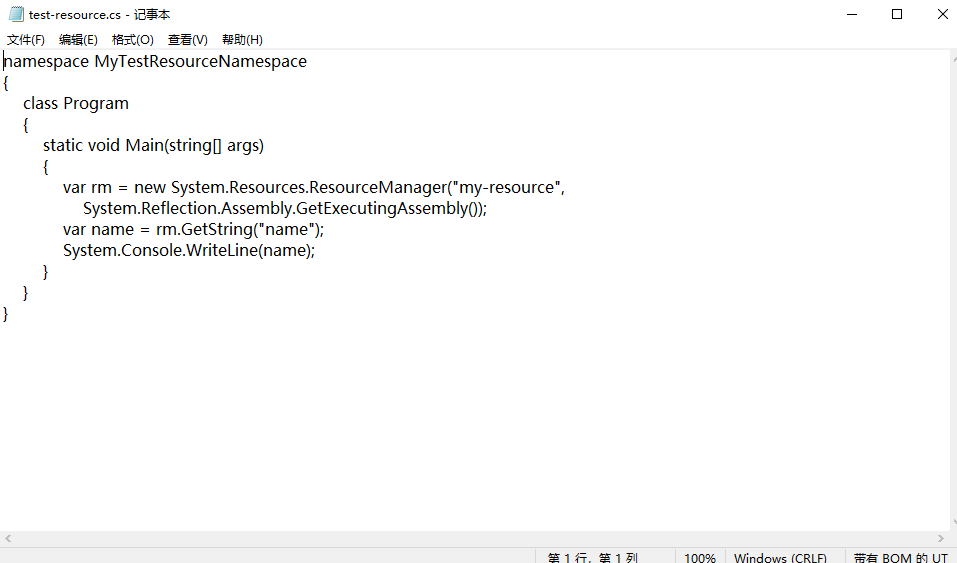
代码如下:
namespace MyTestResourceNamespace
{
    class Program
    {
        static void Main(string[] args)
        {
            var rm = new System.Resources.ResourceManager("my-resource",
                System.Reflection.Assembly.GetExecutingAssembly());
            var name = rm.GetString("name");
            System.Console.WriteLine(name);
        }
    }
}
使用csc工具,就能直接做成exe
csc test-resource.cs
产物:

现在直接调用exe自然会抛出异常,因为我们还没有嵌入我们的资源文件。
使用reflector查看:
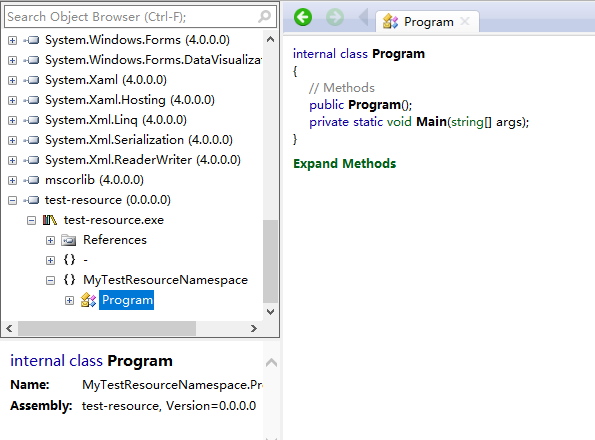
这里有两种方法,一个是生成exe的时候就嵌入。还有一种是生成好的exe用AL.exe这个工具嵌入资源。
先使用方法1:
csc test-resource.cs -resource:my-resource.resources
这次再查看reflector瞅瞅,这次资源成功嵌入到exe啦
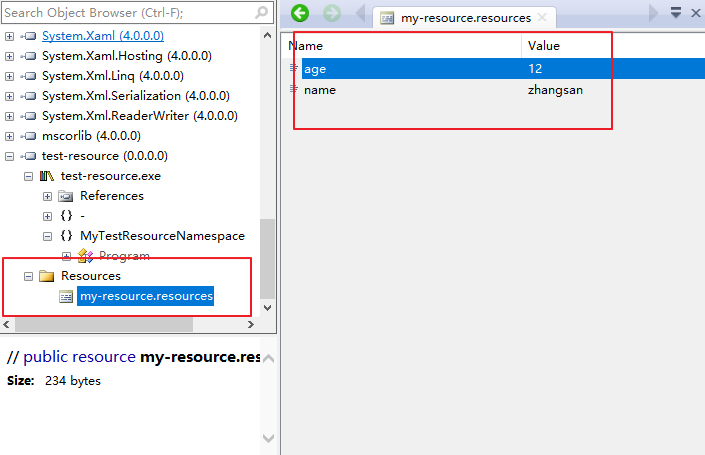
对比两次的exe二进制数据的不同,很容易发现,资源文件被嵌入到exe的某一段了。至于位置微软自己肯定知道,不需要我们操心
这次再次调用这个exe:
test-resource.exe
命令行输出:
zhangsan
二 最常用的资源:Resx类型资源
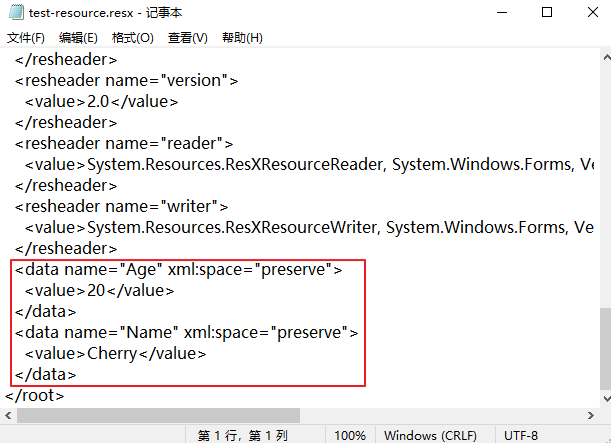
新建一个文件,命名为 test-resource.resx 这次写入两个资源,Name Age
<?xml version="1.0" encoding="utf-8"?>
<root>
  <xsd:schema id="root" xmlns="" xmlns:xsd="http://www.w3.org/2001/XMLSchema" xmlns:msdata="urn:schemas-microsoft-com:xml-msdata">
    <xsd:import namespace="http://www.w3.org/XML/1998/namespace" />
    <xsd:element name="root" msdata:IsDataSet="true">
      <xsd:complexType>
        <xsd:choice maxOccurs="unbounded">
          <xsd:element name="metadata">
            <xsd:complexType>
              <xsd:sequence>
                <xsd:element name="value" type="xsd:string" minOccurs="0" />
              </xsd:sequence>
              <xsd:attribute name="name" use="required" type="xsd:string" />
              <xsd:attribute name="type" type="xsd:string" />
              <xsd:attribute name="mimetype" type="xsd:string" />
              <xsd:attribute ref="xml:space" />
            </xsd:complexType>
          </xsd:element>
          <xsd:element name="assembly">
            <xsd:complexType>
              <xsd:attribute name="alias" type="xsd:string" />
              <xsd:attribute name="name" type="xsd:string" />
            </xsd:complexType>
          </xsd:element>
          <xsd:element name="data">
            <xsd:complexType>
              <xsd:sequence>
                <xsd:element name="value" type="xsd:string" minOccurs="0" msdata:Ordinal="1" />
                <xsd:element name="comment" type="xsd:string" minOccurs="0" msdata:Ordinal="2" />
              </xsd:sequence>
              <xsd:attribute name="name" type="xsd:string" use="required" msdata:Ordinal="1" />
              <xsd:attribute name="type" type="xsd:string" msdata:Ordinal="3" />
              <xsd:attribute name="mimetype" type="xsd:string" msdata:Ordinal="4" />
              <xsd:attribute ref="xml:space" />
            </xsd:complexType>
          </xsd:element>
          <xsd:element name="resheader">
            <xsd:complexType>
              <xsd:sequence>
                <xsd:element name="value" type="xsd:string" minOccurs="0" msdata:Ordinal="1" />
              </xsd:sequence>
              <xsd:attribute name="name" type="xsd:string" use="required" />
            </xsd:complexType>
          </xsd:element>
        </xsd:choice>
      </xsd:complexType>
    </xsd:element>
  </xsd:schema>
  <resheader name="resmimetype">
    <value>text/microsoft-resx</value>
  </resheader>
  <resheader name="version">
    <value>2.0</value>
  </resheader>
  <resheader name="reader">
    <value>System.Resources.ResXResourceReader, System.Windows.Forms, Version=4.0.0.0, Culture=neutral, PublicKeyToken=b77a5c561934e089</value>
  </resheader>
  <resheader name="writer">
    <value>System.Resources.ResXResourceWriter, System.Windows.Forms, Version=4.0.0.0, Culture=neutral, PublicKeyToken=b77a5c561934e089</value>
  </resheader>
  <data name="Age" xml:space="preserve">
    <value>20</value>
  </data>
  <data name="Name" xml:space="preserve">
    <value>Cherry</value>
  </data>
</root>
重点在于:
同样使用工具 resgen生成资源文件:


var tooltip = Resource1.ToolTip;
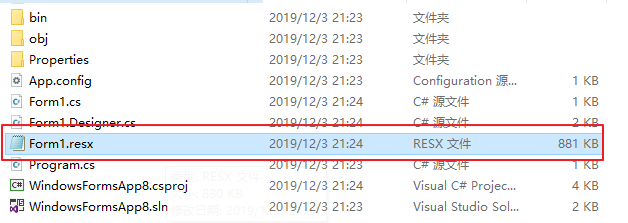
仔细观察VS帮我们多生成了一个cs文件:
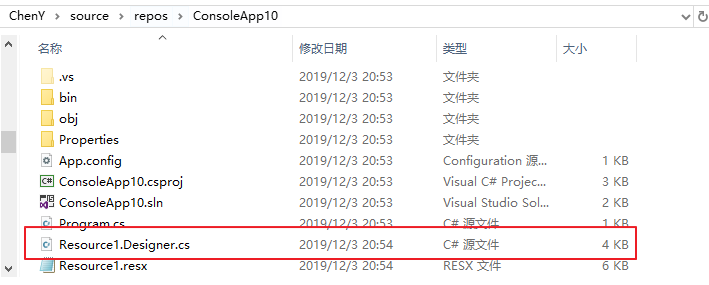
仔细看cs 文件的内容:
重点在于这两处:
     /// <summary>
        ///   Returns the cached ResourceManager instance used by this class.
        /// </summary>
        [global::System.ComponentModel.EditorBrowsableAttribute(global::System.ComponentModel.EditorBrowsableState.Advanced)]
        internal static global::System.Resources.ResourceManager ResourceManager {
            get {
                if (object.ReferenceEquals(resourceMan, null)) {
                    global::System.Resources.ResourceManager temp = new global::System.Resources.ResourceManager("ConsoleApp10.Resource1", typeof(Resource1).Assembly);
                    resourceMan = temp;
                }
                return resourceMan;
            }
        }
        /// <summary>
        ///   Looks up a localized string similar to This is a tool tip.
        /// </summary>
        internal static string ToolTip {
            get {
                return ResourceManager.GetString("ToolTip", resourceCulture);
            }
        }
看来VS生成的代码与我们之前的写法一致
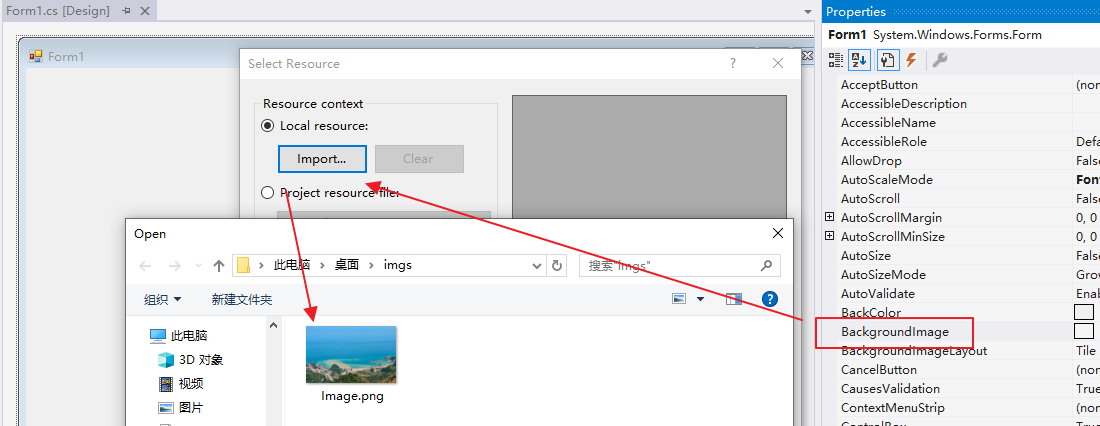
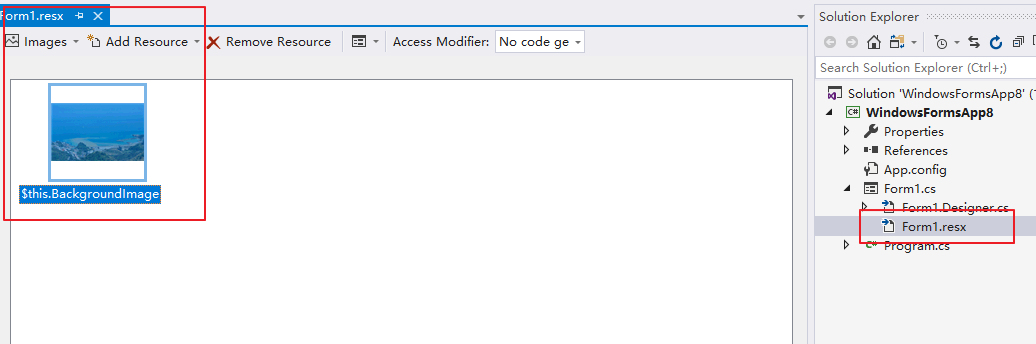
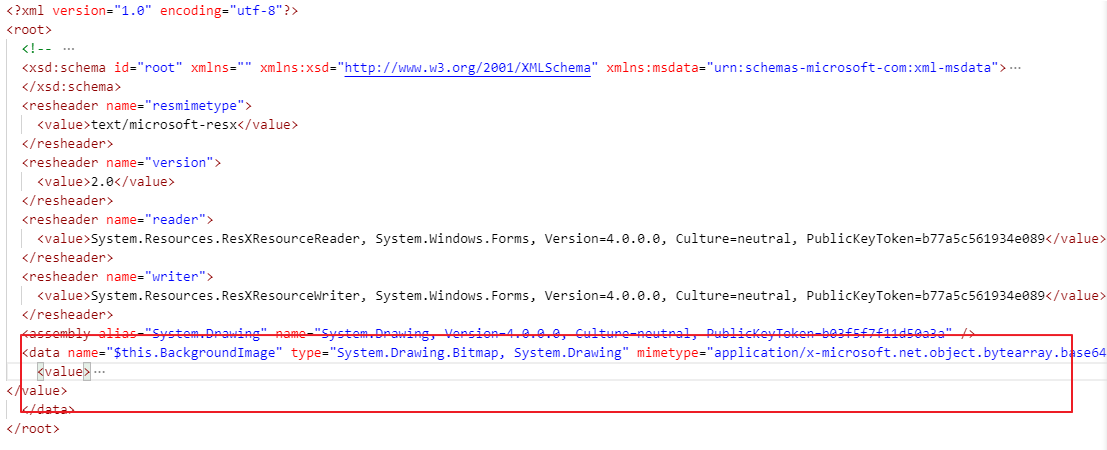
那么图片资源呢?
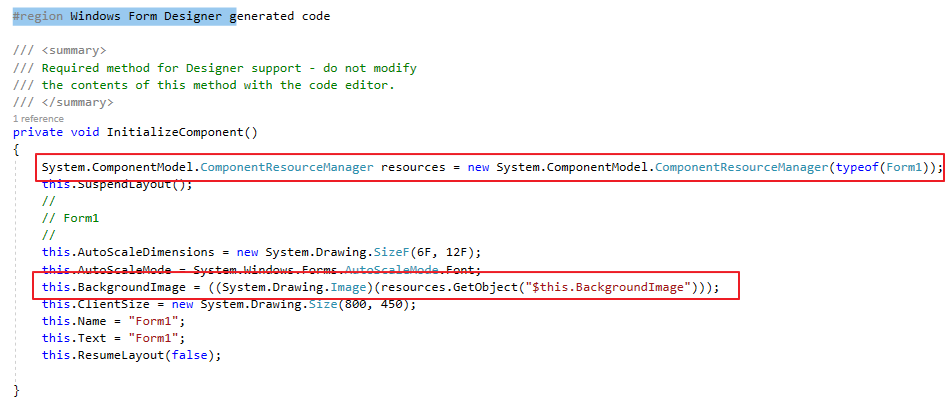
我们对于图片其实也可以用原来的方法:
        // 1. 方法一
            this.BackgroundImage = ((System.Drawing.Image)(resources.GetObject("$this.BackgroundImage")));

        // 2. 方法二
            var bitmap = new System.Resources.ResourceManager("WindowsFormsApp8.Form1",
                Assembly.GetExecutingAssembly()).GetObject("$this.BackgroundImage");
            this.BackgroundImage = (System.Drawing.Bitmap)bitmap;
四 Visual Studio 如何生成资源
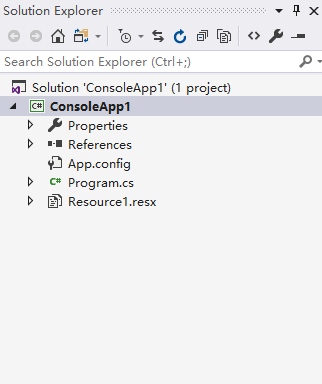
下面分析一下,Visual Studio 如何生成资源,依旧是一个最简单的 console 工程,如下图,注意添加了一个resource文件
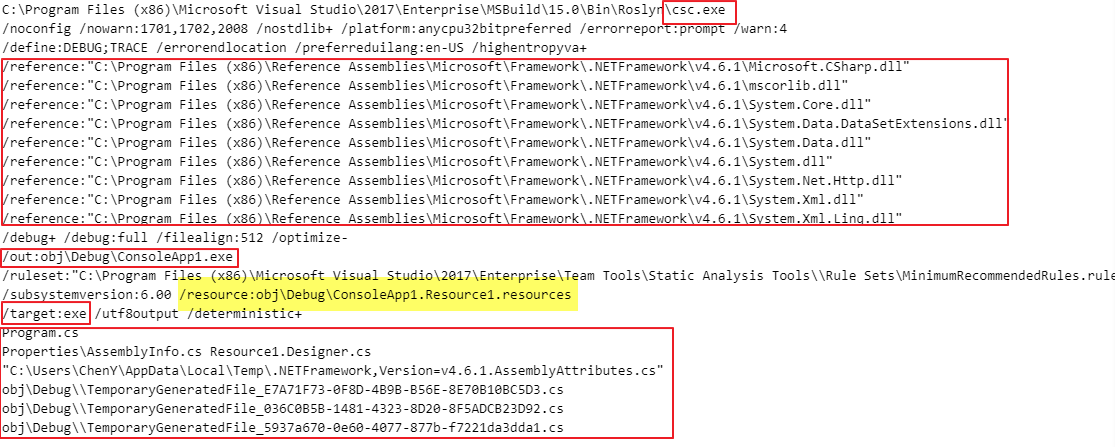
编译,并输出详细的log信息:
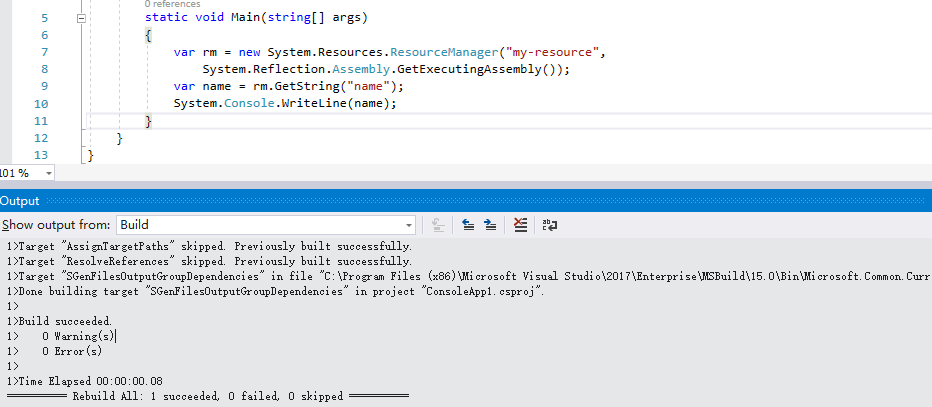
重点观察这两步:
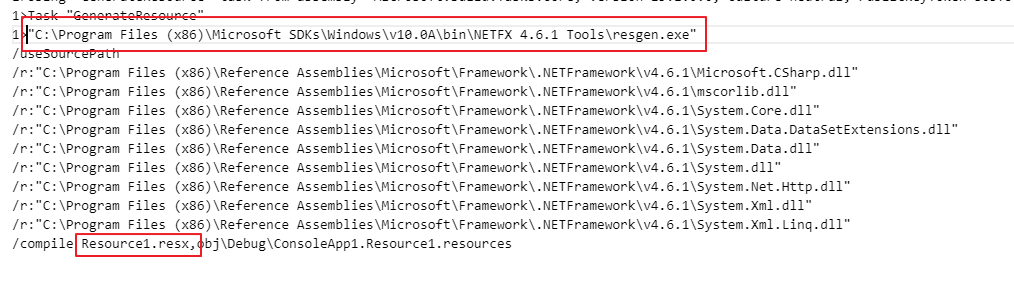
比较我们最早期生成资源的方法:
resgen.exe Resource1.resx
其实本质是一样的,只是VS多使用了一些参数。
查了下文档,使用Resgen的方法:
resgen [-define:symbol1[,symbol2,...]] [/useSourcePath] filename.extension | /compile filename.extension... [outputFilename.extension] [/r:assembly] [/str:lang[,namespace[,class[,file]]] [/publicclass]]
再来看看VS使用的那几个之前不了解的参数:


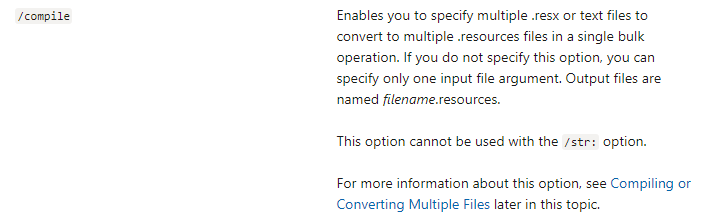
第一个参数 useSourcePath 用来确认相对路径参照哪个路径,/r 用来引用资源文件里的不同Type,compile指定输入的资源文件和输出的名称。
现在VS编译资源文件的思路已经非常清晰了。
在观察下VS嵌入资源的方法:
同样是用csc,比较我写的命令是:
csc test-resource.cs -resource:my-resource.resources
但是VS 使用的参数就很多了,我挑了几个重要的参数介绍一下:
1. /reference
代码里面引用了别的dll的东西,需要通过reference来标明在哪找到这些dll,进而在编译时不会出错。
如果引用了a.dll,并且a.dll引用b.dll,在a中如果使用了b的类型,那么b也需要列举出来。
如果引用了两个dll,中间有相同的namspace class,需要起个别名作为区分:
-reference:a=a.dll
-reference:b=b.dll
在引用他们的代码里要说清楚到底用哪个dll里面的class
extern alias a;
extern alias b;

var stu1 = new a::Student();
var stu2 = new b::Student();
2. /out
最终产出的文件名
3. /target
目标产物的类型,常用的就三种:
exe 做成控制台程序
winexe 做成桌面应用程序
library 做成dll
4. /resource
嵌入资源,我们要验证的关键点。看来VS也使用了这个参数来注入资源文件
再接下来你可以看到列举出来要编译哪些cs文件,重点
Program.cs
PropertiesAssemblyInfo.cs Resource1.Designer.cs
就这俩文件了
再剩下的一些参数大致也能猜到意思了。
总结一下:VS其实和我们之前做的实验完全一致,但是强大的IDE帮助我们做了这些枯燥繁琐的事情,使得我们可以把注意力到放到代码的开发上面。
关于c#里面资源的一个简单的介绍先就到这里技术啦~