什么是Kibana?
Kibana 是一个设计出来用于和 Elasticsearch 一起使用的开源的分析与可视化平台,可以用 kibana 搜索、查看、交互存放在Elasticsearch 索引里的数据,使用各种不同的图表、表格、地图等展示高级数据分析与可视化,基于浏览器的接口使你能快速创建和分享实时展现Elasticsearch查询变化的动态仪表盘,让大量数据变得简单,容易理解。
Kibana 7.* 安装条件
(适用windows 10 ,64位)
- 保证安装了JDK
- 保证安装node
- 保证安装了Elasticsearch
JDK的安装:
点击JDK官网下载
选择对应系统的安装包下载安装
(window10*64位操作系统)下载的版本如下图所示:

下载完毕之后双击安装,安装完毕之后进行环境变量的配置。
右键“我的电脑”---“属性”---“高级系统设置”---“环境变量”,进入环境变量的配置界面:
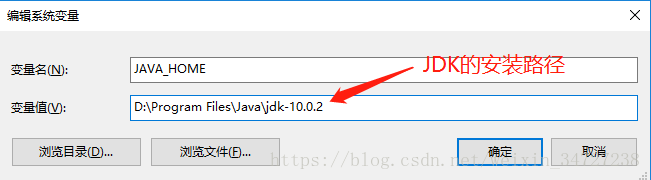
(2)在系统变量中“新建”环境变量 JAVA_HOME
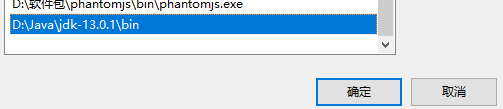
(3)向PATH(在系统目录中找到PATH并双击)中添加
(4)检查是否安装成功,同时按下键盘win+R键,打开运行窗口。在窗口中输入“cmd”,按“回车键(Enter)”或点击“确定”,进行测试。
- 输入java见如下显示:

则代表成功安装。
node的安装:
点击node官网下载
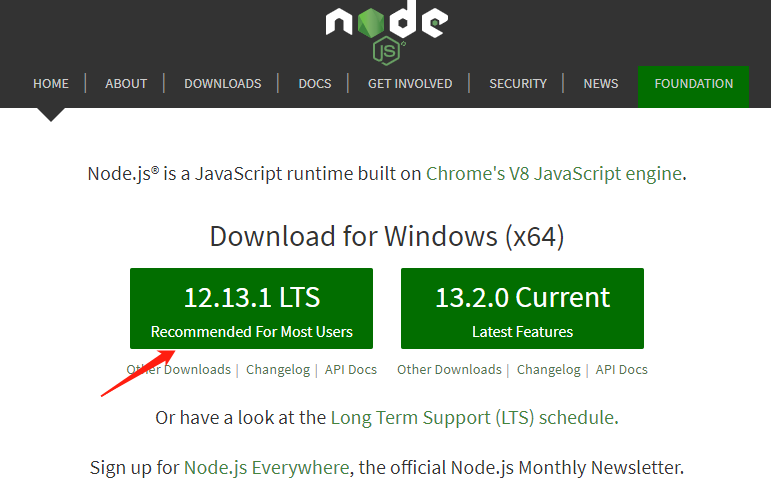
下载双击安装
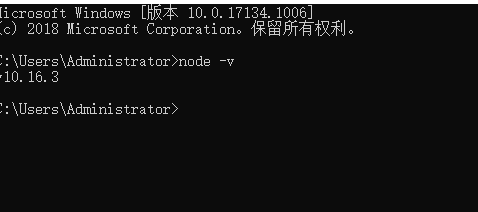
确保安装成功:输入
node -v
Elasticsearch的安装:
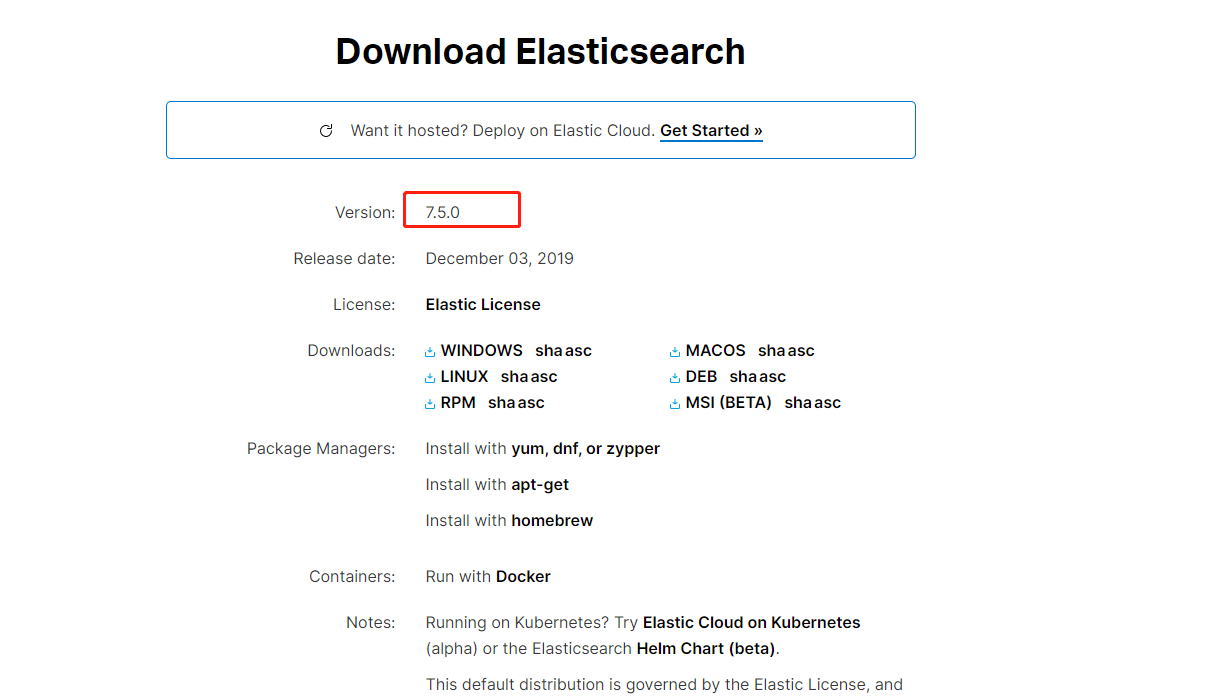
- 点击Elasticsearch官网下载
- 注意这个版本号!!!
- 值得注意的是,elasticsearch的版本和kibana的版本必须一致,才可以正确运行。
- 解压
- 进入bin目录,双击elasticsearch.bat(第一种方式):等待启动
- 通过cmd的方式进入bin目录,运行elasticsearch.bat install 安装服务(第二种方式):打开elasticsearch服务
- 配置文件可以自定义可先用默认启动,跳过
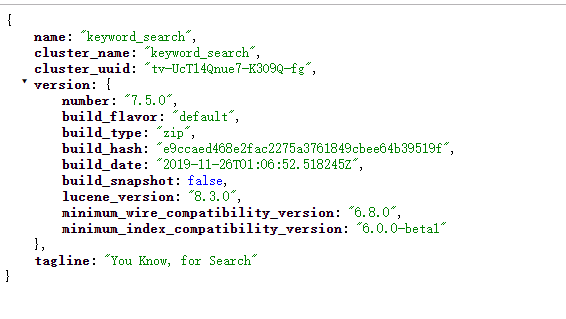
- 打开http://localhost:9200/,如果发现显示下图内容,则启动成功。
Kibana 的安装:
- 点击kibana官网下载
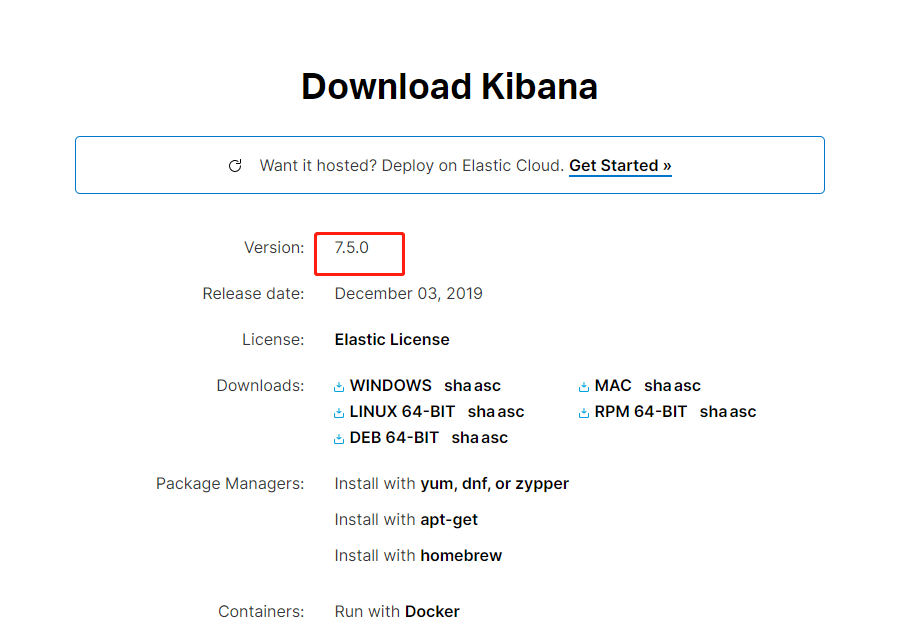
图为下载的版本7.5.0,kibana的版本和elasticsearch的版本和必须一致。
- 修改配置(可以省略)
-
打开下图的路径文件kibana.yml(可以通过记事本方式)

-
设置elasticsearch.url为启动的elasticsearch(http://localhost:9200/)(其实按照默认可以不用修改配置文件)
-

-
进入kibana的bin目录,双击kibana.bat(第一种方式)
-
通过cmd的方式进入kibana的bin目录,运行kibana.bat(第二种方式);
-
访问:http://localhost:5601,出现以下界面即完成安装。

liunx安装
过程基本上一致,只记录下关键点
1.1 选择 liunx包 并解压缩安装
https://www.elastic.co/cn/downloads/elasticsearch
tar -xzvf elasticsearch-7.5.0-linux-x86_64.tar.gz
mv  elasticsearch-7.5.0   elasticsearch
1.2 修改jvm配置
cd  elasticsearch/config
vim  jvm.options  # 修改为内存的一半  机器为32 我就配置了16
-Xms16g
-Xmx16g
1.3 配置集群设置
vim elasticsearch.yml
cluster.name: es    集群名称,相同名称为一个集群
node.name: node_1   节点名称,集群模式下每个节点名称唯一
node.master: true     当前节点是否可以被选举为master节点,是:true、否:false
node.data: true   当前节点是否用于存储数据,是:true、否:false
path.data: /data,/data1    索引数据存放的位置
path.logs: /usr/local/elasticsearch/logs  日志文件存放的位置
network.host: 0.0.0.0   监听地址,用于访问该es
http.port: 9190  es对外提供的http端口,默认 9200
discovery.seed_hosts: ["x.x.x.x", "x.x.x.x","x.x.x.x"]   写入候选主节点的设备地址,在开启服务后可以被选为主节点
cluster.initial_master_nodes: ["x.x.x.x", "x.x.x.x", "x.x.x.x"] 初始化一个新的集群时需要此配置来选举master 或者写入节点名字
http.cors.enabled: true   是否支持跨域,是:true,在使用head插件时需要此配置
http.cors.allow-origin: "*"  "*" 表示支持所有域名
indices.fielddata.cache.size: 16g
1.4 创建用户 不能用root启动es
useradd  elasticsearch
passwd   elasticsearch

# 添加权限
chown -R elasticsearch:elasticsearch  /usr/local/elasticsearch
chown -R elasticsearch:elasticsearch  /data
chown -R elasticsearch:elasticsearch  /data1
1.5 系统优化
etc/security/limits.conf,增加最大线程个数
vim /etc/security/limits.conf
* soft nofile 65536
* hard nofile 65536
* soft nproc 32000
* hard nproc 32000
* hard memlock unlimited
* soft memlock unlimited
vim /etc/systemd/system.conf
DefaultLimitNOFILE=65536
DefaultLimitNPROC=32000
DefaultLimitMEMLOCK=infinity
/bin/systemctl daemon-reload # 使其生效
vim /etc/sysctl.conf
vm.max_map_count=655360
sysctl -p
1.6 kibana
下载压缩
tar -xzvf kibana-7.5.0-linux-x86_64.tar.gz
mv kibana-7.5.0-linux-x86_64 kibana
配置文件
vim kibana.yml
server.port: 9191
server.host: "0.0.0.0"
# es服务器集群链接和端口
elasticsearch.hosts: ["http://x.17.75.37:x", "http://x.17.75.38:x", "http://x.17.75.36:x"]
# 中文设置
i18n.locale: "zh-CN"
权限设置或者直接用root启动
chown -R elasticsearch:elasticsearch /usr/local/kibana

nohup ./kibana --allow-root &
集群密码添加
2.1 创建证书文件
主节点一台操作
cd /usr/local/elasticsearch/
./bin/elasticsearch-certutil ca
两次回车
./bin/elasticsearch-certutil cert --ca elastic-stack-ca.p12
三次回车
mkdir config/certs        # 放置证书位置
mv elastic-*.p12 config/certs/
chown -R elasticsearch:elasticsearch config/certs/
再把证书文件 elastic-certificates.p12 复制到其他master节点并赋予权限。
scp或者ftp等
2.2 修改配置
所有节点配置完后重启 elasticsearch
vim elasticsearch.yml
xpack.security.enabled: true
xpack.security.transport.ssl.enabled: true
xpack.security.transport.ssl.verification_mode: certificate
xpack.security.transport.ssl.keystore.path: certs/elastic-certificates.p12
xpack.security.transport.ssl.truststore.path: certs/elastic-certificates.p12
2.3 生成客户端证书
cd /usr/local/elasticsearch
bin/elasticsearch-certutil cert --ca
config/certs/elastic-stack-ca.p12
-name "CN=esuser,OU=dev,DC=weqhealth,DC=com"
回车
client.p12
回车
拆分证书
mv client.p12 config/certs/
cd config/certs/

openssl pkcs12 -in client.p12 -nocerts -nodes > client-key.pem
openssl pkcs12 -in client.p12 -clcerts -nokeys  > client.crt
openssl pkcs12 -in client.p12 -cacerts -nokeys -chain > client-ca.crt

chown elasticsearch:elasticsearch client*
2.4 设置默认密码
主节点一台操作(启动es的账户)
注:如果之前运行的集群,请删掉elasticsearch.keystore 再启动后初始化密码
bin/elasticsearch-setup-passwords interactive
分别设置 elastic、apm_system、kibana、logstash_system、beats_system、remote_monitoring_user账号的密码。(密码设置最好相同)
2.5 kibana中添加配置
修改 kibana.yml 文件
elasticsearch.username: "kibana"
elasticsearch.password: "password"
然后用超级管理员账号 elastic 登入到 kibana。在kibana中设置角色和账号,也可以修改账号密码。
2.6 验证
head kibana curl 都可验证
禁止使用虚拟内存设置
3.1 禁止系统虚拟内存
swapoff -a   关闭虚拟内存(释放)
swapon -a    打开虚拟内存
swapon    /path/file   开启
swapoff   /path/file    关闭
3.2 添加es配置
bootstrap.memory_lock: true
这个配置的意义:锁定物理内存地址,防止es内存被交换出去,也就是避免es使用swap交换分区,频繁的交换,会导致IOPS变高。