在前两篇博文中分别介绍了Fragment得基础和Fragment的生命周期,然而说了这么多Fragment到底怎么用呢以及我们为什么要使用Fragment?本篇博文将主要探讨这两个问题,首先说下在APP中有这好好Activity,跳转起来有那么简单,我们为什么还要使用Fragment呢?这是因为Fragment相对Activity而言更加的轻量级,使用起来也更加灵活,在一个程序的内部界面切换,尽可能的用Fragment代替Activity会让我们的APP运行起来更加的流畅,更加的高效,同时也提高了界面的复用性。而却Fragment在适应多尺寸屏幕方面表现也非常优秀。
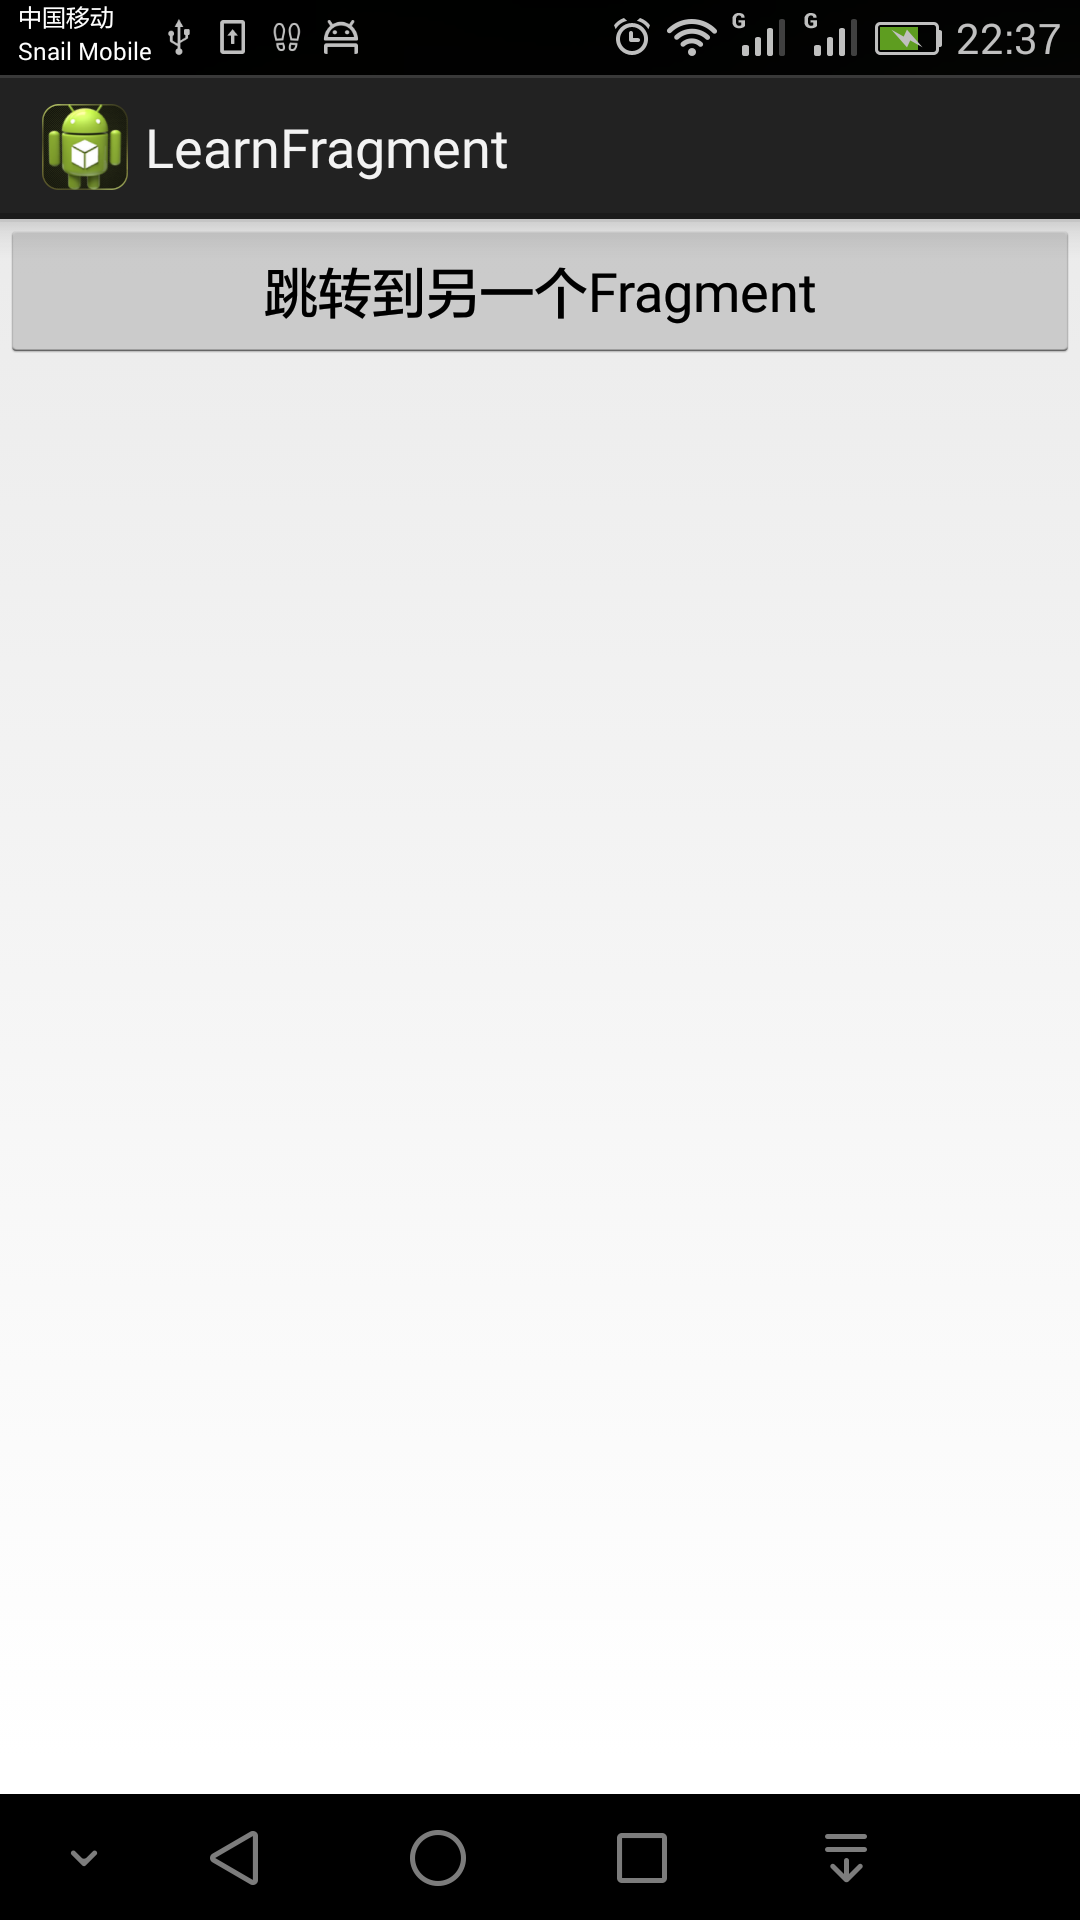
首先看一下栗子,非常简单的一个小示例,效果图如下:

体验一下就会发现,两个Fragment跳转起来要比Activity跳转的速度快很多。
MainActivity.java代码如下:
 1 /**
 2  * MainActivity 主界面
 3  * @author codingblock 2015/09/14
 4  *
 5  */
 6 public class MainActivity extends ActionBarActivity {
 7
 8     @Override
 9     protected void onCreate(Bundle savedInstanceState) {
10         super.onCreate(savedInstanceState);
11         setContentView(R.layout.activity_main);
12         if (savedInstanceState == null) {
13             getSupportFragmentManager()
14                     .beginTransaction()
15                     .add(R.id.container, new MainFragment())
16                     .commit();
17         }
18     }
19 }
在MainActivity首先通过getSupportFragmentManager()方法获取FragmentTransaction的对象,然后用add()方法将MainFragment加载进来,其中引用的布局文件activity_main.xml如下:
1 <FrameLayout xmlns:android="http://schemas.android.com/apk/res/android"
2     xmlns:tools="http://schemas.android.com/tools"
3     android:id="@+id/container"
4     android:layout_width="match_parent"
5     android:layout_height="match_parent"
6     tools:context="com.codingblock.learnfragment.MainActivity"
7     tools:ignore="MergeRootFrame" />
下面是MainFragment的代码:
 1 /**
 2  * MainFragment 主Fragment
 3  * @author codingblock 2015/09/14
 4  *
 5  */
 6 public class MainFragment extends Fragment {
 7
 8     public MainFragment() {
 9     }
10
11     @Override
12     public View onCreateView(LayoutInflater inflater, ViewGroup container,
13             Bundle savedInstanceState) {
14         View rootView = inflater.inflate(R.layout.fragment_main, container, false);
15         rootView.findViewById(R.id.btn_show_other).setOnClickListener(new OnClickListener() {
16
17             @Override
18             public void onClick(View arg0) {
19                 getFragmentManager()
20                     .beginTransaction()
21                     .addToBackStack(null)  //将当前fragment加入到返回栈中
22                     .replace(R.id.container, new OtherFragment()).commit();
23             }
24         });
25         return rootView;
26     }
27 }
在这个Fragment放了一按钮用于跳转到另一个Fragment,然后通过FragmentTransaction对象的replace()方法让OtherFragment把当前Fragment替换掉,在这里需要注意的是,如果想让程序可以通过后退方式显示上一个Fragment的话,需要在替换之前通过addToBackStack()把当前Fragment加入到返回栈中。
它的布局文件fragment_main.xml代码如下:
 1 <LinearLayout xmlns:android="http://schemas.android.com/apk/res/android"
 2     xmlns:tools="http://schemas.android.com/tools"
 3     android:layout_width="match_parent"
 4     android:layout_height="match_parent"
 5     android:orientation="vertical"
 6     tools:context="com.codingblock.learnfragment.MainActivity$PlaceholderFragment" >
 7
 8     <Button
 9         android:id="@+id/btn_show_other"
10         android:layout_width="fill_parent"
11         android:layout_height="wrap_content"
12         android:text="跳转到另一个Fragment" />
13
14 </LinearLayout>
最后一个OtherFragment代码如下:
 1 /**
 2  * OtherFragment 另一个Fragment
 3  * @author codingblock 2015/09/14
 4  *
 5  */
 6 public class OtherFragment extends Fragment {
 7
 8     @Override
 9     public View onCreateView(LayoutInflater inflater, @Nullable ViewGroup container, @Nullable Bundle savedInstanceState) {
10         View rootView = inflater.inflate(R.layout.fragment_other, container, false);
11         rootView.findViewById(R.id.btn_back).setOnClickListener(new OnClickListener() {
12
13             @Override
14             public void onClick(View arg0) {
15                 //从栈中将当前fragment推出
16                 getFragmentManager().popBackStack();
17             }
18         });
19         return rootView;
20     }
21 }
程序跳转到这个Fragment之后,如果想返回上一个MainFragment我们可以点击后退键,也可以为一个按钮绑定一个单击事件用FragmentTransaction的popBackStack()方法将当前的Fragment推出栈即可。
它的布局文件代码如下:
 1 <LinearLayout xmlns:android="http://schemas.android.com/apk/res/android"
 2     xmlns:tools="http://schemas.android.com/tools"
 3     android:layout_width="match_parent"
 4     android:layout_height="match_parent"
 5     android:orientation="vertical" >
 6
 7     <TextView
 8         android:id="@+id/tv_show"
 9         android:layout_width="wrap_content"
10         android:layout_height="wrap_content"
11         android:text="这是另一个Fragment" />
12
13     <Button
14         android:id="@+id/btn_back"
15         android:layout_width="fill_parent"
16         android:layout_height="wrap_content"
17         android:text="返回" />
18
19 </LinearLayout>
到此为止,栗子就结束了,虽然很简单,却能很清楚的说明Fragment的用法。
声明:欢迎转载,转载时请附上本文链接。