1、关于Gitlab CE / GitLab EE版本的区别:
Gitlab CE(Community Edition):Gitlab社区版,可以免费试用,无官方支持。
GitLab EE(Enterprise Edition):Gitlab企业版,需要购买License,功能更多,可以获取官方技术支持。
如果仅仅作为测试或者小团队使用,Gitlab CE可以满足要求了,本例也以Gitlab CE为基础部署。
为了测试方便,先关闭SELinux和Firewalld防火墙。
如果有防火墙需求,可以在系统配置完成后,安装iptables防火墙进行具体配置。
2、关闭SELinux:
[root@gitlab /]# sed -i 's/SELINUX=enforcing/SELINUX=disabled/g' /etc/selinux/config
3、关闭Firewalld防火墙:
[root@gitlab /]# systemctl stop firewalld
[root@gitlab /]# systemctl disable firewalld
以上设置需要重启系统后方可生效:
[root@gitlab /]# reboot
GitLab 的安装包和源码在国内下载速度不尽如人意,所以选择清华的源。
4、添加清华gitlab源:
[root@gitlab /]# vim /etc/yum.repos.d/gitlab-ce.repo
在文档中添加如下条目:
[gitlab-ce]
name=Gitlab CE Repository
baseurl=https://mirrors.tuna.tsinghua.edu.cn/gitlab-ce/yum/el$releasever/
gpgcheck=0
enabled=1
[root@gitlab /]# yum makecache
5、安装Gitlab社区版:
[root@gitlab /]# yum install gitlab-ce
6、初始化Gitlab服务:
[root@gitlab /]# gitlab-ctl reconfigure
到这里为止就可以通过ip地址来访问Gitlab服务了。
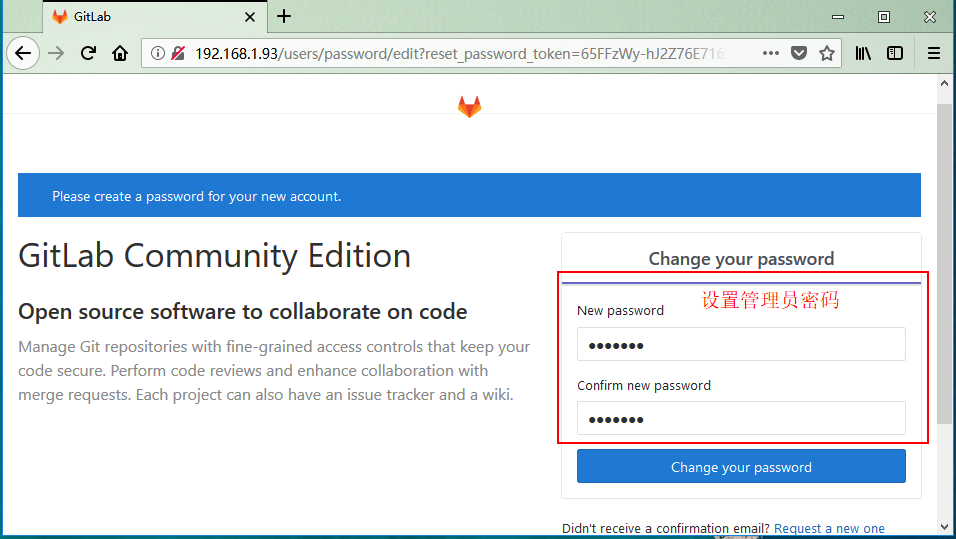
7、设置管理员密码:

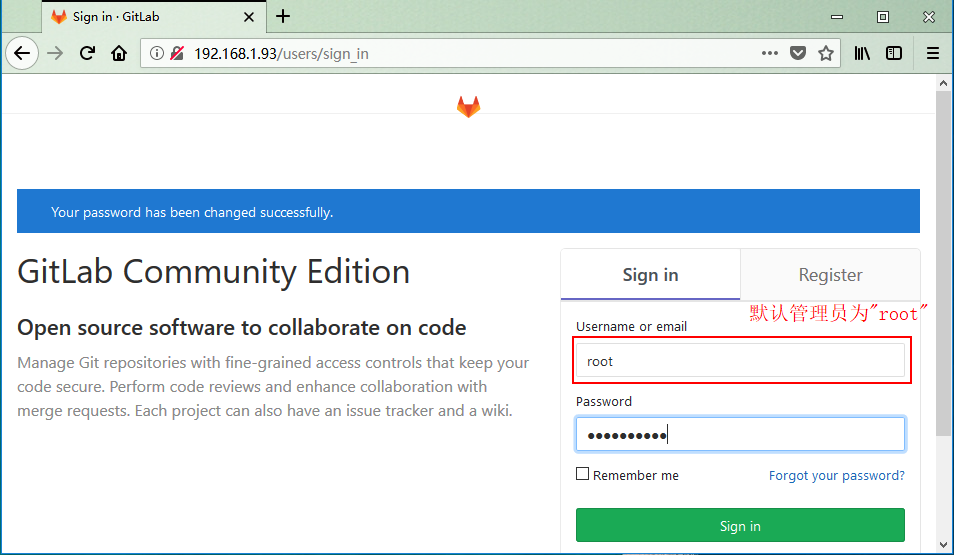
8、用管理员账户登录:

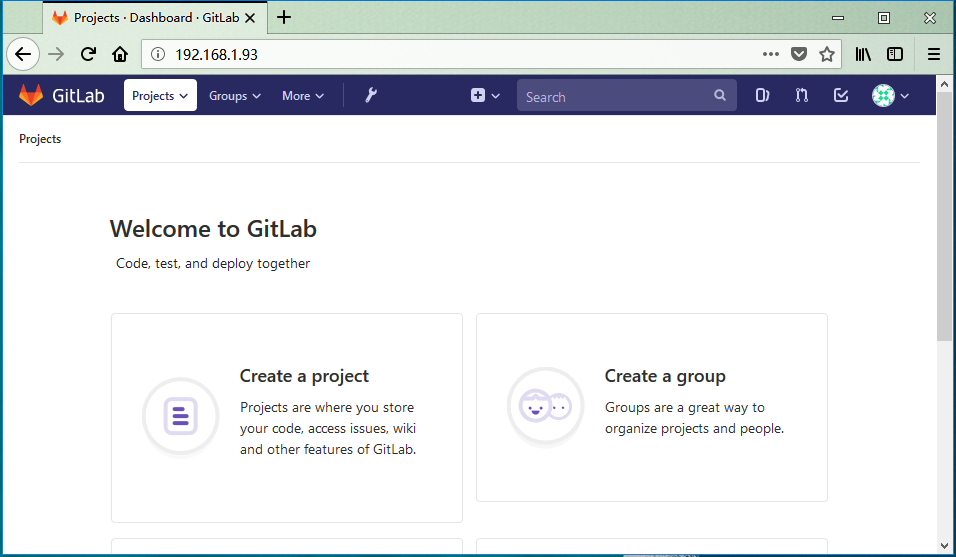
9、登录成功!

如果是通过内网访问的话,就可以开始体验属于自己的Git服务器了!
如果需要通过域名来访问你的Gitlab服务,还需要进行如下配置:
10、修改Gitlab配置文件,来支持通过域名访问:
[root@gitlab /]# vim /etc/gitlab/gitlab.rb
修改如下条目(这里假定域名为git.xyzxyz.com):
external_url 'http://git.xyzxyz.com'
11、重启Gitlab服务,使设置生效:
[root@gitxx-gitlab /]# gitlab-ctl restart
12、这时就可以通过域名访问Gitlab了:

[THE END]