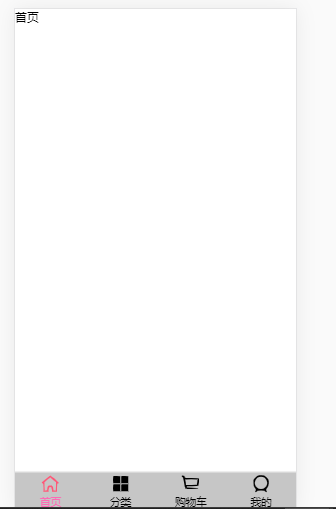
这是要做成写封装效果,
这个重点就是要学会router的用法,用router进行各个页面的跳转,(这里的跳转不是说真跳转了,而是url拼接了个路径。然后js代码读到这个路径,去做对应的页面展示)
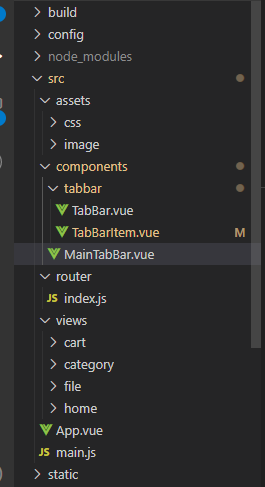
这是文件路径,
首先我们来看看router里面的index.vue代码
 1 import Vue from 'vue'
 2 import VueRouter from 'vue-router'
//懒加载
 3 const Home = () => import('../views/home/Home')
 4 const Category = () => import('../views/category/Category')
 5 const File = () => import('../views/file/File')
 6 const Cart = () => import('../views/cart/Cart')
 7 //安装插件ue
 8 Vue.use(VueRouter)
 9 //创建路由对象
10 const routes = [
11     {
12         path: '',
13         redirect: '/home'
14     },
15     {
16         path: '/home',
17         component: Home
18     },
19     {
20         path: '/category',
21         component: Category
22     },
23     {
24         path: '/file',
25         component: File
26     },
27     {
28         path: '/cart',
29         component: Cart
30     },
31 ]
32 const router = new VueRouter({
33     routes,
34     mode: 'history'
35 })
36 //导出
37 export default router
这里采用的懒加载(将不同的路由对应的组件分割成不同的代码块,然后当路由被访问的时候才加载对应的组件这样就更加高效了)
然后是Tabbar.vue这里面采用的预留插槽,这样使别人用起来更加的方便,可以添加不同的样式,
 1 <template>
 2     <div class="tab-bar">
 3       <slot></slot>
 4     </div>
 5   </template>
 6
 7   <script>
 8     export default {
 9       name: "TabBar"
10     }
11   </script>
12
13   <style scoped>
14     .tab-bar {
15       background-color: #f6f6f6;
16       height: 49px;
17       border-top: 1px solid #eee;
18       box-shadow: 0 -1px 1px rgba(150,150,150,.08);
19
20       position: fixed;
21       left: 0;
22       right: 0;
23       bottom: 0;
24
25       display: flex;
26       text-align: center;
27     }
28   </style>
29
然后是TabBarItem.vue里面的代码
 1 <template>
 2     <div class="tab-bar-item" @click="itemClick">
 3         <div v-if="!isActive">  <slot name='item-icon'></slot></div>
 4         <div v-else>  <slot name='item-icon-active'></slot></div>
 5         <div :style='activeStyle'><slot name='item-text'></slot></div>
 6
 7     </div>
 8 </template>
 9
10 <script>
11     export default {
12         name: 'TabBarItem',
13         props: {
14             path:String,
15             activeColor:{
16                 type:String,
17                 default:'hotpink'
18             }
19         },
20
21         data() {
22             return {
23
24             }
25         },
26         computed:{
27             isActive(){
28                return  this.$route.path.indexOf(this.path)!== -1
29             },
30             activeStyle(){
31                 return this.isActive?{color:this.activeColor}:{}
32             }
33         },
34         methods: {
35             itemClick() {
36                 this.$router.push(this.path)
37             }
38         }
39     }
40 </script>
41 <style scoped>
42       .tab-bar-item {
43         flex: 1;
44         text-align: center;
45         height: 49px;
46         font-size: 14px;
47     }
48     .tab-bar-item img {
49          24px;
50         height: 24px;
51         margin-top:3px;
52         vertical-align: middle;
53         margin-bottom: 2px;
54     }
55
56     </style>
依旧是插槽,然后颜色和路由地址是从外部组件传进来的