背景说明
公司的电脑一般都是windows系统的。但是windows系统如果配置开发环境,在安装一些依赖的时候经常会抓狂。
Vagrant是一个基于Ruby的工具,用于创建和部署虚拟机。
通过vagrant工具在windows系统上拉起一台linux系统的虚拟机,在上面安装emacs,然后通过 mobaxterm 工具的X server 功能,在windows上远程打开虚拟机中的emacs GUI界面。
vagrant
vagrant下载地址:https://www.vagrantup.com/
从官网上下载vagrant的最新版后直接安装在机器上。
vagrant box
在拉起虚拟机前我们需要有一个基础的虚拟机镜像包,镜像包一般是xxxx.box文件。
假设我们从同事手中或者从网上获取到了一个ubuntu18.04的box。
我们可以将这个box添加到我们的box list中
vagrant box add box的名字 box的绝对路径
添加完后查看系统中存在的box
vagrant box list
配置
在D盘下创建一个目录,然后进入到目录里。在目录中按住shift+右键,选择在此处打开命令行。
在打开的cmd窗口中执行命令。
vagrant init python_emacs_VM
python_emacs_VM 名字根据个人需要修改。
这个时候,在当前目录下就会生成一个Vagrantfile文件。
使用编辑器打开这个文件。
# -*- mode: ruby -*-
# vi: set ft=ruby :

Vagrant.configure("2") do |config|

  config.vm.box = "ubuntu18.04"
  config.vm.hostname = "myVM"
  config.vm.network "public_network", ip: "192.168.1.120"
  config.vm.provider "virtualbox" do |vb|
     # Display the VirtualBox GUI when booting the machine
     vb.gui = false

     # Customize the amount of memory on the VM:
     # vb.memory = "1024"
     # vb.name = "mywork"
     vb.customize ["modifyvm", :id, "--name", "python_emacs", "--memory", "512"]
   end
end
config.vm.box 指定基础镜像文件的名称,如果box名称在本地的box list不存在,那么vagrant会尝试去vagrant cloud中在线寻找,如果找到就会自动下载。
        你也可以到https://app.vagrantup.com/boxes/search 里搜寻你想要的镜像包,然后把名字填到这里就可以了。不过这个下载速度会比较慢。
config.vm.network "public_network" 指定使用公共网络,需要指定一个ip。在cmd命令行中执行ipconfig可以查看本机的IP,然后配置一个同网段中没人使用的配置上去就好。
                      当然也有其他网络配置。你可以自己搜索解决。
vb.customize 指定了虚拟机在vm box中显示的名称,和使用的内存大小。
文件配置好了后,执行 vagrant up 就可以启动虚拟机了。
然后执行vagrant ssh 就可以通过默认的用户vagrant连上虚拟机。
新增个人用户
ubuntu新增用户命令自行查找。
建议新增一个有sudo权限的用户。
一般新建的虚拟机会碰到在windows上使用xshell等工具连不上的问题。
可以通过修改/etc/ssh/sshd_confg文件解决。
sshd_config文件参考:


 1 # Package generated configuration file
 2 # See the sshd_config(5) manpage for details
 3
 4 # What ports, IPs and protocols we listen for
 5 Port 22
 6 # Use these options to restrict which interfaces/protocols sshd will bind to
 7 #ListenAddress ::
 8 ListenAddress 0.0.0.0
 9 Protocol 2
10 # HostKeys for protocol version 2
11 HostKey /etc/ssh/ssh_host_rsa_key
12 HostKey /etc/ssh/ssh_host_dsa_key
13 HostKey /etc/ssh/ssh_host_ecdsa_key
14 HostKey /etc/ssh/ssh_host_ed25519_key
15 #Privilege Separation is turned on for security
16 UsePrivilegeSeparation yes
17
18 # Lifetime and size of ephemeral version 1 server key
19 KeyRegenerationInterval 3600
20 ServerKeyBits 1024
21
22 # Logging
23 SyslogFacility AUTH
24 LogLevel INFO
25
26 # Authentication:
27 LoginGraceTime 120
28 PermitRootLogin prohibit-password
29 StrictModes yes
30
31 RSAAuthentication yes
32 PubkeyAuthentication yes
33 #AuthorizedKeysFile     %h/.ssh/authorized_keys
34
35 # Don't read the user's ~/.rhosts and ~/.shosts files
36 IgnoreRhosts yes
37 # For this to work you will also need host keys in /etc/ssh_known_hosts
38 RhostsRSAAuthentication no
39 # similar for protocol version 2
40 HostbasedAuthentication no
41 # Uncomment if you don't trust ~/.ssh/known_hosts for RhostsRSAAuthentication
42 #IgnoreUserKnownHosts yes
43
44 # To enable empty passwords, change to yes (NOT RECOMMENDED)
45 PermitEmptyPasswords no
46
47 # Change to yes to enable challenge-response passwords (beware issues with
48 # some PAM modules and threads)
49 ChallengeResponseAuthentication no
50
51 # Change to no to disable tunnelled clear text passwords
52 PasswordAuthentication yes
53
54 # Kerberos options
55 #KerberosAuthentication no
56 #KerberosGetAFSToken no
57 #KerberosOrLocalPasswd yes
58 #KerberosTicketCleanup yes
59
60 # GSSAPI options
61 #GSSAPIAuthentication no
62 #GSSAPICleanupCredentials yes
63
64 X11Forwarding yes
65 X11DisplayOffset 10
66 PrintMotd no
67 PrintLastLog yes
68 TCPKeepAlive yes
69 #UseLogin no
70
71 #MaxStartups 10:30:60
72 #Banner /etc/issue.net
73
74 # Allow client to pass locale environment variables
75 AcceptEnv LANG LC_*
76
77 Subsystem sftp /usr/lib/openssh/sftp-server
78
79 # Set this to 'yes' to enable PAM authentication, account processing,
80 # and session processing. If this is enabled, PAM authentication will
81 # be allowed through the ChallengeResponseAuthentication and
82 # PasswordAuthentication.  Depending on your PAM configuration,
83 # PAM authentication via ChallengeResponseAuthentication may bypass
84 # the setting of "PermitRootLogin without-password".
85 # If you just want the PAM account and session checks to run without
86 # PAM authentication, then enable this but set PasswordAuthentication
87 # and ChallengeResponseAuthentication to 'no'.
88 UsePAM yes
修改配置文件后,需要重启ssh服务
sudo service ssh restart
这个时候我们可以配置vagrantfile,指定vagrantg 的默认登陆用户为我们新增的用户。
参考:
# -*- mode: ruby -*-
# vi: set ft=ruby :

# All Vagrant configuration is done below. The "2" in Vagrant.configure
# configures the configuration version (we support older styles for
# backwards compatibility). Please don't change it unless you know what
# you're doing.
Vagrant.configure("2") do |config|
  # The most common configuration options are documented and commented below.
  # For a complete reference, please see the online documentation at
  # https://docs.vagrantup.com.

  # Every Vagrant development environment requires a box. You can search for
  # boxes at https://vagrantcloud.com/search.
  config.vm.box = "ubuntu18.04"
  config.vm.hostname = "emacs"
  config.vm.network "public_network", ip: "192.168.1.120"
  config.ssh.username = 'ubuntu'
  config.ssh.password = 'ubuntu'
  config.ssh.insert_key = false
  config.ssh.private_key_path = ["~/.ssh/id_rsa"]
  config.vm.provision "file", source: "~/.ssh/id_rsa.pub", destination: "~/.ssh/authorized_keys"
  config.vm.synced_folder ".", "/vagrant", disabled: true
  # config.vm.network "public_network", bridge: "en0: Wi-Fi (AirPort)"
  config.vm.provider "virtualbox" do |vb|
     # Display the VirtualBox GUI when booting the machine
     vb.gui = false

     # Customize the amount of memory on the VM:
     # vb.memory = "1024"
     # vb.name = "mywork"
     vb.customize ["modifyvm", :id, "--name", "emacs", "--memory", "512"]
   end
end
修改文件后,执行
vagrant provision
将ssh的公钥放到虚拟机上,免去连接虚拟机时需要输入密码的麻烦。ssh公钥私钥怎么配置,请百度windows配置ssh。
emacs
个人使用emacs作为平时的编辑器。如果你使用pycharm等IDE工具,这些工具有很好的vagrant插件,可以根据相关攻略配置。
安装配置
安装, 最好使用ubuntu的官方源。不知是什么原因,我换为阿里云的源是找不到emacs25的。
sudo apt-get update
sudo apt-get install git
sudo apt-get install emacs25
下载完成后就可以将自己的配置文件下载到虚拟机上了。
emacs远程编辑
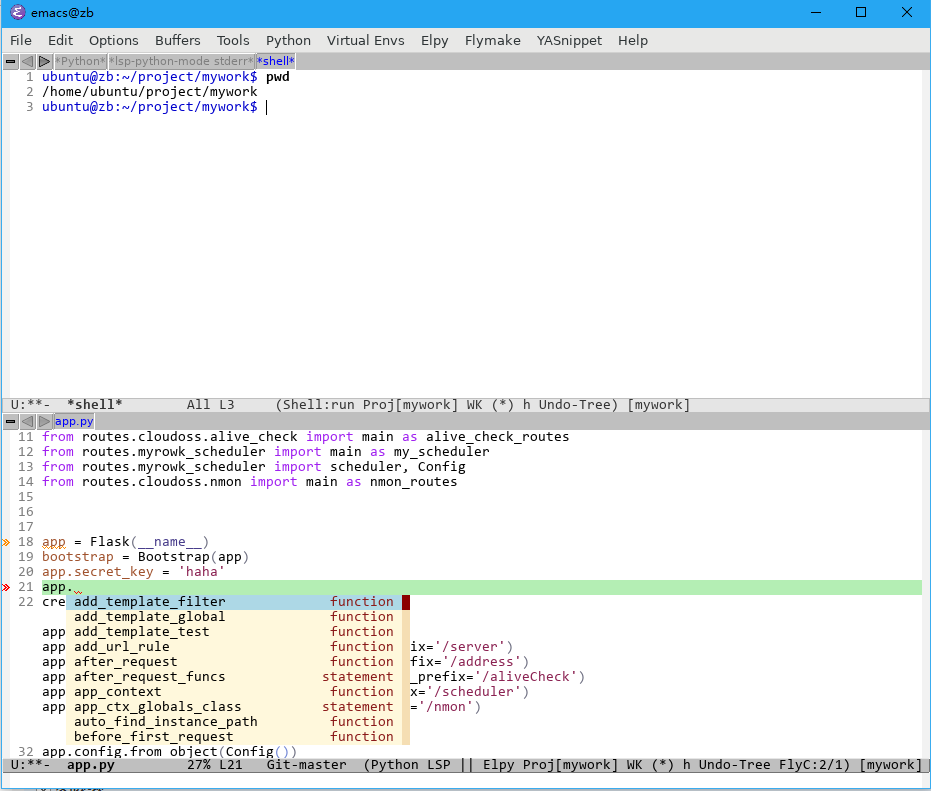
爽歪歪的时候到了。
打开mobaxterm 工具,ssh连接上虚拟机。
emacs&

开始写代码吧!
打包
我们这个安装了emacs的镜像可以打个包,作为基础镜像。
在cmd中输入打包命令
vagrant package ubuntu18.04_emacs.box