首先传统的create-router-app脚手架生成的脚手架我们写仓库的时候用reducers进行调用还有thunk进行异步操作的时候,需要多层函数进行调用,这样会让我们代码进行维护的时候变得麻烦,然后dva这款框架就弥补了我们这方面的问题 下面给大家介绍下这款脚手架的一些个人用法把
框架刚下载下来后是routes这个文件夹放的路由页面内容的 然后个人把其改成了RouteView和RouteConfig两篇配置文件了,其中RouteView是写页面路由展示的
RouteConfig是写路由配置信息的 类似于vue的路由配置,
然后在router.js这篇文件引入这两篇文件引进后直接进行循环 然后就能实现路由的展示了 代码展示如下
RouteView文件


 1 import React, { Component } from 'react'
 2
 3 import { Switch, Route, Redirect } from "dva/router"
 4
 5 export default class RouteView extends Component {
 6     render() {
 7         return (
 8             <Switch>
 9                     {this.props.children.map((item, index) => {
10                         if (item.redirect) {
11                             return <Redirect key={index} from={item.path} to={item.redirect}></Redirect>
12                         } else {
13                             return <Route key={index} path={item.path} render={(props) => {
14                                 //console.log(props)
15                                 return <item.component {...props} children={item.children}></item.component>
16                             }}></Route>
17                         }
18                     })}
19
20             </Switch>
21         )
22     }
23 }
RouteConfig文件
 1 import React from "react";
 2
 3 const RouteConfig=[
 4     {
 5         path:"/main",
 6         component:React.lazy(()=>import("../views/main/index.jsx")),
 7         children:[
 8             {
 9                 path:"/main/home",
10                 component:React.lazy(()=>import("../views/main/home/index.jsx"))
11             },{
12                 path:"/main/list",
13                 component:React.lazy(()=>import("../views/main/list/index.jsx"))
14             },{
15                 path:"/main",
16                 redirect:"/main/home"
17             }
18         ]
19     },{
20         path:"/detail/:id",
21         component:React.lazy(()=>import("../views/detail/index.jsx")),
22     },{
23         path:"/",
24         redirect: "/main"
25     }
26 ]
27
28 export default RouteConfig;
router.js文件
 1 import React ,{Suspense}from 'react';
 2 import { Router} from 'dva/router';
 3
 4
 5 // import Main from "./views/main/index";
 6
 7 // import Home from "./views/main/home/index"
 8
 9 // import List from "./views/main/list/index"
10 import RouteView from "./routes/RouteView"
11 import RouteConfig from "./routes/RouteConfig"
12 function RouterConfig({ history }) {
13
14   return (
15     <Router history={history}>
16         <Suspense fallback={<div>loading...</div>}>
17             <RouteView children={RouteConfig}></RouteView>
18         </Suspense>
19
20       {/* <Switch>
21         <Route path="/main" exact component={Main} />
22         <Route path="/main/home" exact component={Home} />
23         <Route path="/main/list" exact component={List} />
24         <Redirect from="/" to="/main"></Redirect>
25       </Switch> */}
26     </Router>
27   );
28 }
29
30 export default RouterConfig;
在dva中css样式的写法
全局添加样式
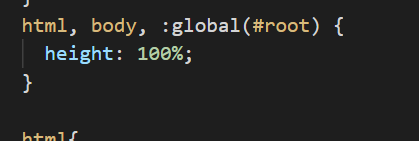
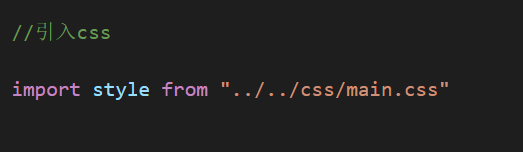
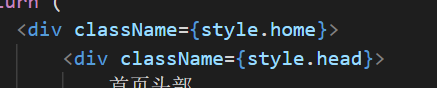
局部添加样式
重头戏 仓库的用法
在脚手架中生成的是models这个文件夹 , 作者是想让我们在这个仓库中进行写模块开发的
这里展示一篇写好的仓库
 1 //引入网络请求文件 然后发送各类网络请求
 2
 3 import * as Api from "../services/index"
 4
 5 //首页购物车数据列表
 6
 7 //初始化数据
 8 const state = {
 9   shoping: [], //购物列表的初始数据
10   buyList: [], //购物车列表数据
11 }
12
13 //同步函数方法
14
15 const reducers = {
16   getShopList(state, action) {
17     //console.log(state, action)
18     let newState = JSON.parse(JSON.stringify(state));
19     newState.shoping = action.payload.list.map(item => {
20       item.num = 0;
21       return item
22     });
23     //console.log(newState);
24     return {
25       ...newState
26     };
27   },
28   addBuyList(state, action) {
29     //购物车列表添加数据
30     let newState = JSON.parse(JSON.stringify(state));
31     newState.buyList = [...action.data];
32     //console.log(newState.buyList,"仓库中的购买列表")
33     return {
34       ...newState
35     };
36   }
37 }
38
39 //异步方法
40
41 const effects = {
42   //payload的意思是进行传参的  call调用异步网络请求 put调用上面的同步方法
43   * getShopListAsync({
44     payload
45   }, {
46     call,
47     put
48   }) { // eslint-disable-line
49     //发送网络请求  如果payload需要传参的话直接在call第二个参数写就可以了
50     let results = yield call(Api.getShopList)
51     let data = results.data;
52     console.log(data);
53     if (data.list.length) {
54       //调用上面的同步方法来改变数据
55       yield put({
56         type: 'getShopList',
57         payload: data
58       });
59     }
60
61   },
62 };
63
64
65
66
67 export default {
68   //命名空间
69   namespace: 'shop',
70   //数据
71   state,
72
73   subscriptions: {
74     setup({
75       dispatch,
76       history
77     }) { // eslint-disable-line
78     },
79   },
80   //异步函数
81   effects,
82   //同步函数
83   reducers,
84
85 };
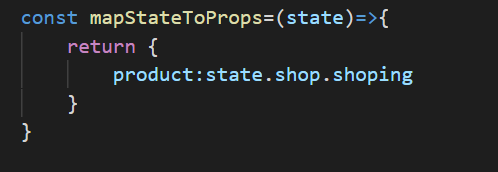
在组件中使用情况
获取仓库的数据

调用仓库中的方法也就是同步或者异步的函数

最重要的是将仓库展示出来

后端模拟接口的写法
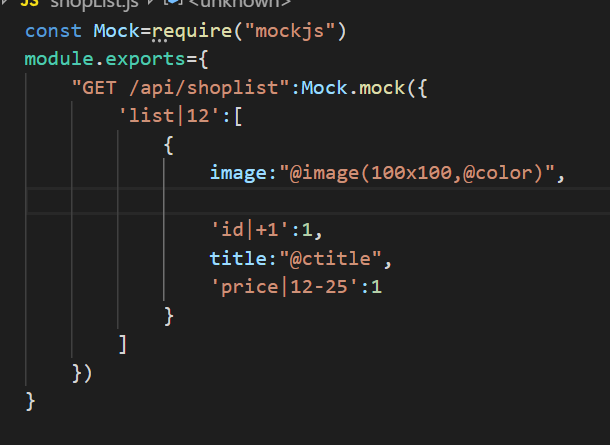
在mock下面新建一篇js用来写接口

具体写法
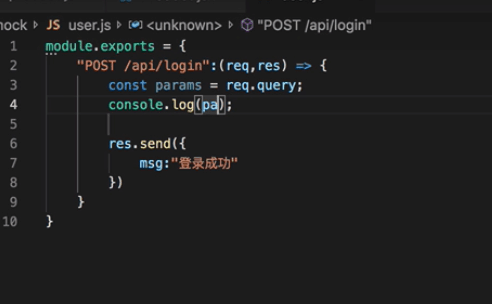
也可写成
然后引用写好的数据
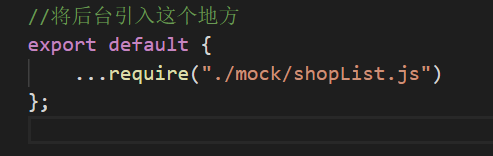
在.roadhogrc.mock.js这篇文件引入
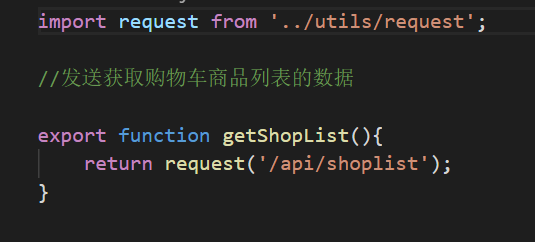
然后services文件夹下写个js就可以进行发送请求获取数据了
代码优化部分
.roadhogrc.mock.js文件
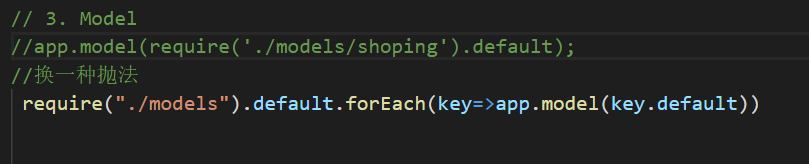
可以不用每次在mock创建一个数据就进行修改了 会自动循环引入

仓库部分代码优化
在models这个文件夹下新建造一个index.js作为仓库的主要出口文件

然后在index引入的话
redux-actions管理模块
新建一个actions文件 然后在里面写个index.js 将我们用到的所有type提出来
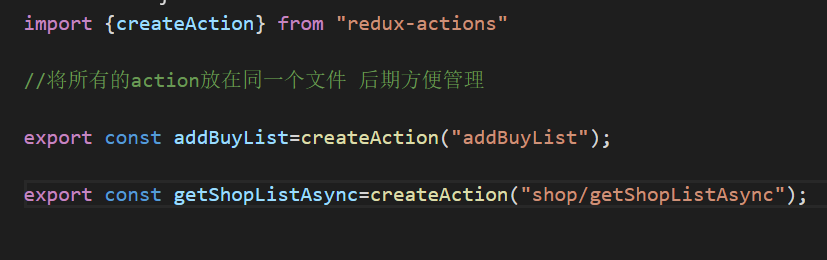
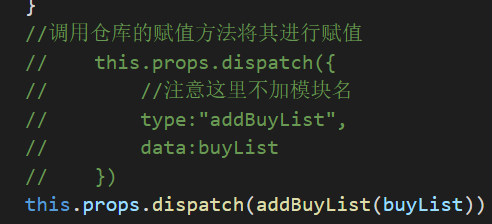
使用方法

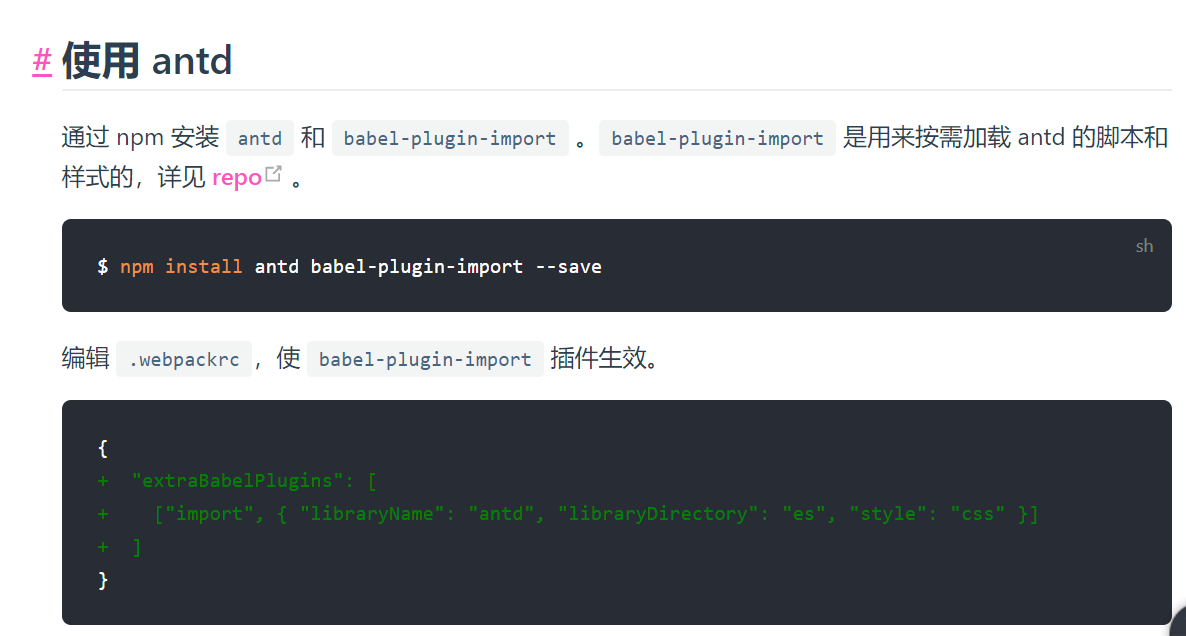
引入antd的按需加载和进行跨域设置
将.webpackrc设置成.webpackrc.js文件然后在进行下面配置

知识点引导
使用require.context实现前端工程自动化
redux-actions的使用
本文demoGitHub地址为 https://github.com/qiang-chen/dva-app