一、SpringBoot整合Jdbc
1、添加依赖
   <parent>
        <groupId>org.springframework.boot</groupId>
        <artifactId>spring-boot-starter-parent</artifactId>
        <version>2.0.6.RELEASE</version>
    </parent>
    <dependencies>
        <dependency>
            <groupId>org.springframework.boot</groupId>
            <artifactId>spring-boot-starter-web</artifactId>
        </dependency>
        <dependency>
            <groupId>org.springframework.boot</groupId>
            <artifactId>spring-boot-starter-test</artifactId>
        </dependency>
        <!--JDBC依赖-->
        <dependency>
            <groupId>org.springframework.boot</groupId>
            <artifactId>spring-boot-starter-jdbc</artifactId>
        </dependency>
        <!--mysql依赖-->
        <dependency>
            <groupId>mysql</groupId>
            <artifactId>mysql-connector-java</artifactId>
            <scope>runtime</scope>
        </dependency>
    </dependencies>
2、配置文件application.properties
spring.datasource.password=root
spring.datasource.username=root
spring.datasource.url=jdbc:mysql://localhost:3306/study
spring.datasource.driver-class-name=com.mysql.jdbc.Driver
3、测试类
@RunWith(SpringRunner.class)
@SpringBootTest
public class JDBCTest {

    @Autowired
    private DataSource dataSource;

    @Test
    public  void testJdbc() throws SQLException {
        //获取数据源的类
        Class<? extends DataSource> aClass = dataSource.getClass();
        System.out.println(aClass);
        //获取数据源的连接
        Connection connection = dataSource.getConnection();
        System.out.println(connection);
    }
}
4:效果
默认使用的是class com.zaxxer.hikari.HikariDataSource作为数据源,数据源的相关配置都在DataSourceProperties里面;
自动配置原理:
org.springframework.boot.autoconfigure.jdbc;
1、参考DataSourceConfiguration,根据配置创建数据源,默认使用HikariDataSource 连接池;可以使用
spring.datasource.type指定自定义的数据源类型;
    @ConditionalOnClass(HikariDataSource.class)
    @ConditionalOnMissingBean(DataSource.class)
     //指定数据类型
    @ConditionalOnProperty(name = "spring.datasource.type", havingValue = "com.zaxxer.hikari.HikariDataSource", matchIfMissing = true)
    static class Hikari {

        @Bean
        @ConfigurationProperties(prefix = "spring.datasource.hikari")
        public HikariDataSource dataSource(DataSourceProperties properties) {
            HikariDataSource dataSource = createDataSource(properties,
                    HikariDataSource.class);
            if (StringUtils.hasText(properties.getName())) {
                dataSource.setPoolName(properties.getName());
            }
            return dataSource;
        }

    }
2、SpringBoot默认支持
org.apache.tomcat.jdbc.pool.DataSource、HikariDataSource、BasicDataSource
3、自定数据源类型
    @ConditionalOnMissingBean(DataSource.class)
    @ConditionalOnProperty(name = "spring.datasource.type")
    static class Generic {
           // //使用DataSourceBuilder创建数据源,利用反射创建响应type的数据源,并且绑定相关属性
        @Bean
        public DataSource dataSource(DataSourceProperties properties) {
            return properties.initializeDataSourceBuilder().build();
        }

    }
4、DataSourceInitializer:ApplicationListener;
作用:
1)、runSchemaScripts();运行建表语句;
2)、runDataScripts();运行插入数据的sql语句;
默认只需要将文件命名为:
schema‐*.sql、data‐*.sql
默认规则:schema.sql,schema‐all.sql;
可以使用
schema:
      ‐ classpath:department.sql
      指定位置
5、操作数据库:自动配置了JdbcTemplate操作数据库
@RestController
public class UserController {


    @Autowired
    private JdbcTemplate jdbcTemplate;

    @RequestMapping("/query")
    public Map<String,Object> query(){
        return jdbcTemplate.queryForList("SELECT * FROM tb_user").get(0);
    }
}
二、整合Druid数据源
1、application.yml文件
spring:
  datasource:
#   数据源基本配置
    username: root
    password: root
    driver-class-name: com.mysql.jdbc.Driver
    url: jdbc:mysql://localhost:3306/study
    type: com.alibaba.druid.pool.DruidDataSource
#   数据源其他配置
    initialSize: 5
    minIdle: 5
    maxActive: 20
    maxWait: 60000
    timeBetweenEvictionRunsMillis: 60000
    minEvictableIdleTimeMillis: 300000
    validationQuery: SELECT 1 FROM DUAL
    testWhileIdle: true
    testOnBorrow: false
    testOnReturn: false
    poolPreparedStatements: true
2、引入依赖
 <!--druid 依赖-->
        <dependency>
        <groupId>com.alibaba</groupId>
        <artifactId>druid-spring-boot-starter</artifactId>
        <version>1.1.10</version>
      </dependency>
3、配置类
@Configuration
public class DruidDataSourceConfig {

    @ConfigurationProperties(prefix = "spring.datasource")
    @Bean
    public DataSource getDataSource(){
        return DruidDataSourceBuilder.create().build();
    }
    //配置Durid的监控
    //1、配置一个管理后台的Servlet
    @Bean
    public ServletRegistrationBean statViewFilter(){
        ServletRegistrationBean servletRegistrationBean =
                new ServletRegistrationBean(new StatViewServlet(),"/druid/*");
        Map<String,Object> initParam = new HashMap<>();
        initParam.put("loginUsername","admin");
        initParam.put("loginPassword","admin");
        initParam.put("allow","");//默认允许访问所有的
        initParam.put("deny","192.168.23.56");//不允许访问的ip
        servletRegistrationBean.setInitParameters(initParam);
        return servletRegistrationBean;
    }

    //2、配置一个web监控的filter
    @Bean
    public FilterRegistrationBean webFilterRegistrationBean(){
        FilterRegistrationBean filterRegistrationBean = new FilterRegistrationBean();
        filterRegistrationBean.setFilter(new WebStatFilter());
        Map<String,Object> initParam = new HashMap<>();
        initParam.put("exclusions","*.js,*.css,/druid/*");//忽略资源
        filterRegistrationBean.setUrlPatterns(Arrays.asList("/*"));//拦截所有
        return filterRegistrationBean;
    }
}
4、启动主启动类测试
访问http://localhost:8080/druid
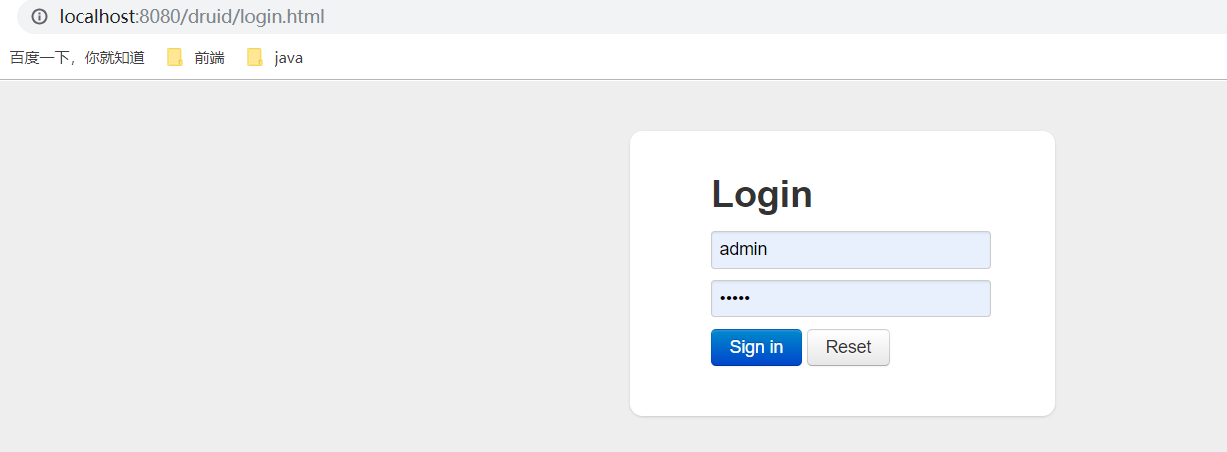
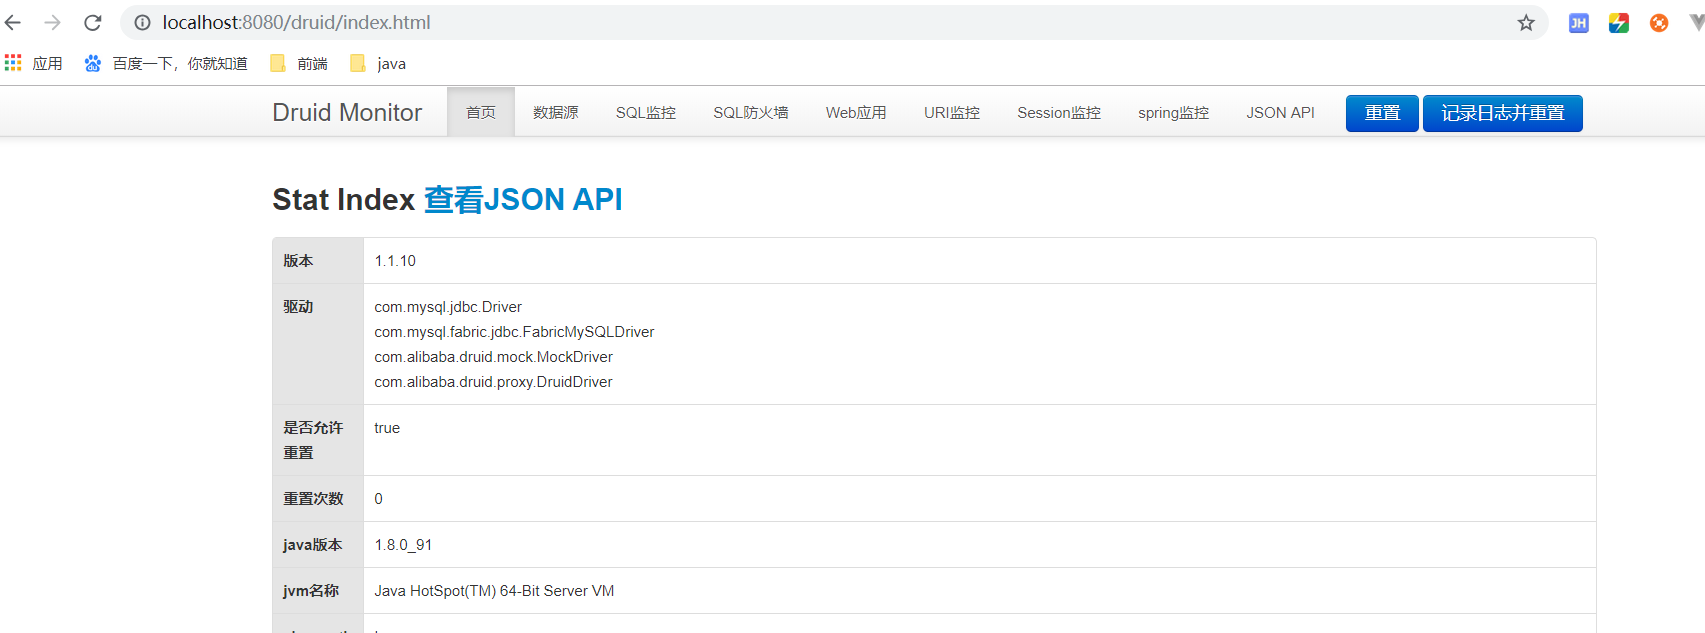
访问一个路径之后,效果
三、SpringBoot整合Mybatis
1、引入依赖
<parent>
<groupId>org.springframework.boot</groupId>
<artifactId>spring-boot-parent</artifactId>
<version>2.0.6.RELEASE</version>
</parent>
<dependencies>
<dependency>
<groupId>org.springframework.boot</groupId>
<artifactId>spring-boot-starter-web</artifactId>
</dependency>
<dependency>
<groupId>org.springframework.boot</groupId>
<artifactId>spring-boot-starter-test</artifactId>
</dependency>
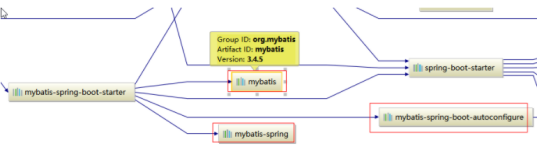
<!--mybatis起步依赖-->
<dependency>
<groupId>org.mybatis.spring.boot</groupId>
<artifactId>mybatis-spring-boot-starter</artifactId>
<version>1.1.1</version>
</dependency>
<!--mysql依赖-->
<dependency>
<groupId>mysql</groupId>
<artifactId>mysql-connector-java</artifactId>
<scope>runtime</scope>
</dependency>
</dependencies>
2、添加数据连接信息
application.properties
#mybatis配置信息
#spring集成Mybatis环境
#pojo别名扫描包
mybatis.type-aliases-package=com.yehui.mapper
#加载Mybatis映射文件
mybatis.mapper-locations=classpath:mapper/*.xml
3、创建实体类
public class User {
    private Integer id;
    private String password;
    private String NAME;
    private int age;
    private String sex;
4、编写Mapper
@Mapper
public interface UserMapper {
    public List<User> selectList();
}
注意:@Mapper标记该类是一个mybatis的mapper接口,可以被spring boot自动扫描到spring上下文中
如果不使用@Mapper注解,可以在启动类上面加上@MapperScan(value = "com.*.mapper")进行批量扫描如下
//使用MapperScan批量扫描所有的Mapper接口;
@MapperScan(value = "com.hui.mapper")
@SpringBootApplication
public class StartApp {
    public static void main(String[] args) {
        SpringApplication.run(StartApp.class,args);
    }
}
5、编写mapper配置文件
在srcmain esourcesmapper路径下加入UserMapper.xml配置文件"
<?xml version="1.0" encoding="utf-8" ?>
<!DOCTYPE mapper PUBLIC "-//mybatis.org//DTD Mapper 3.0//EN"
        "http://mybatis.org/dtd/mybatis-3-mapper.dtd" >
<mapper namespace="com.yehui.mapper.UserMapper">
    <select id="selectList" resultType="com.yehui.entity.User">
        select * from t_user
    </select>
</mapper>
6、编写service
@Service
public class Uservice {

    @Autowired
    private UserMapper userMapper;

    public List<User> selectUser(){
        return userMapper.selectList();
    }
}
7、编写Controller
@Controller
public class UserController {
    @Autowired
    private Uservice uservice;
    @RequestMapping("/selectList")
    @ResponseBody
    public Object selectList(){
        return uservice.selectUser();
    }
}
8、测试

四、springboot整合springjpa
1、引入依赖
<parent>
        <groupId>org.springframework.boot</groupId>
        <artifactId>spring-boot-starter-parent</artifactId>
        <version>2.0.6.RELEASE</version>
    </parent>
    <dependencies>
        <dependency>
            <groupId>org.springframework.boot</groupId>
            <artifactId>spring-boot-starter-web</artifactId>
        </dependency>
        <dependency>
            <groupId>org.springframework.boot</groupId>
            <artifactId>spring-boot-starter-test</artifactId>
        </dependency>
        <!-- springBoot JPA的起步依赖 -->
        <dependency>
            <groupId>org.springframework.boot</groupId>
            <artifactId>spring-boot-starter-data-jpa</artifactId>
        </dependency>
        <!--mysql依赖-->
        <dependency>
            <groupId>mysql</groupId>
            <artifactId>mysql-connector-java</artifactId>
            <scope>runtime</scope>
        </dependency>
    </dependencies>
2、编写UserRepository
public interface UserRepository extends Repository<User,Integer> {
    public List<User> findAll();
}
3、编写测试类
@RunWith(SpringRunner.class)
@SpringBootTest
public class JpaTest {

    @Autowired
    private UserRepository userRepository;
    @Test
    public void test01(){
        List<User> all = userRepository.findAll();
        System.out.println(all);
    }
}