1.下载
下载地址http://nginx.org/en/download.html

下载之后并上传Linux
2.解压
[root@rsyncClient nginx]# tar -zxvf nginx-1.10.3.tar.gz
[root@rsyncClient nginx]# ll
total 892
drwxr-xr-x. 8 1001 1001 158 Jan 31 2017 nginx-1.10.3
-rw-r--r--. 1 root root 911509 Mar 7 14:54 nginx-1.10.3.tar.gz
3.创建nginx的安装目录
[root@rsyncClient nginx-1.10.3]# mkdir -p /usr/local/nginx
4.检查配置
[root@rsyncClient nginx-1.10.3]# ./configure --prefix=/usr/local/nginx #或者./configure 不指定路径就在当前路径
检查报错:
./configure: error: the HTTP rewrite module requires the PCRE library.
You can either disable the module by using --without-http_rewrite_module
option, or install the PCRE library into the system, or build the PCRE library
statically from the source with nginx by using --with-pcre=<path> option.
错误提示缺少依赖库pcre,需要安装pcre依赖
安装pcre仓库
[root@rsyncClient nginx-1.10.3]# yum -y install pcer-devel
继续检查
[root@rsyncClient nginx-1.10.3]# ./configure --prefix=/usr/local/nginx
报错信息如下:
./configure: error: the HTTP gzip module requires the zlib library.
You can either disable the module by using --without-http_gzip_module
option, or install the zlib library into the system, or build the zlib library
statically from the source with nginx by using --with-zlib=<path> option.
错误信息提示缺少zlib依赖:
安装zlib依赖
[root@rsyncClient nginx-1.10.3]# yum -y install zlib-devel
继续检查
[root@rsyncClient nginx-1.10.3]# ./configure --prefix=/usr/local/nginx
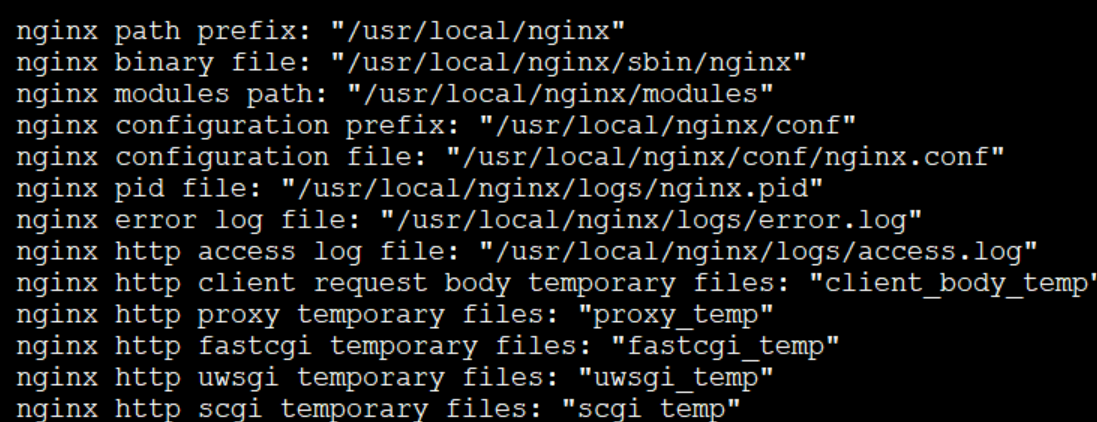
如果出现下面就检查通了成功了:

5. 编译和安装
[root@rsyncClient nginx-1.10.3]# make&&make install #make(编译)make install(安装)
6.检查是否安装成功
[root@rsyncClient nginx-1.10.3]# cd /usr/local/nginx/
[root@rsyncClient nginx]# ll
total 4
drwxr-xr-x. 2 root root 4096 Mar  7 16:00 conf
drwxr-xr-x. 2 root root   40 Mar  7 16:00 html
drwxr-xr-x. 2 root root    6 Mar  7 16:00 logs
drwxr-xr-x. 2 root root   19 Mar  7 16:00 sbin

有这几个目录说明安装成功
7.给80端口号放行
[root@rsyncClient nginx]# firewall-cmd --permanent --zone=public --add-port=80/tc
p
success
[root@rsyncClient nginx]# firewall-cmd --reload
success
[root@rsyncClient nginx]# firewall-cmd --permanent --zone=public --query-port=80/tcp
yes
8.启动Nginx
cd /usr/local/nginx/sbin 打开sbin目录
./nginx 启动
./nginx -s reload 重新载入配置文件
./nginx -s reopen 重启 Nginx
./nginx -s stop 停止 Nginx
检查Nginx是否启动起来
[root@rsyncClient nginx]# netstat -lntup|grep 80
tcp        0      0 0.0.0.0:80              0.0.0.0:*               LISTEN      10696/nginx: master
在浏览器中输入服务器IP,出现以下内容说明启动成功
