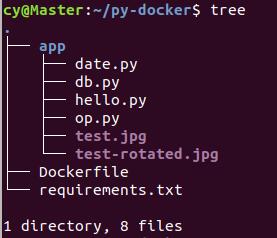
1.项目结构

2.搭建python镜像
(1)requirements.txt
PyMySQL
opencv-python
(2)Dockerfile
FROM python:3
MAINTAINER cy
WORKDIR /app
COPY ./requirements.txt /requirements.txt
RUN pip install -r /requirements.txt -i https://pypi.douban.com/simple  #修改源并安装依赖
ENTRYPOINT ["python"]
CMD ["hello.py"]
(3)搭建镜像


3.简单程序的部署运行
(1)helloworld


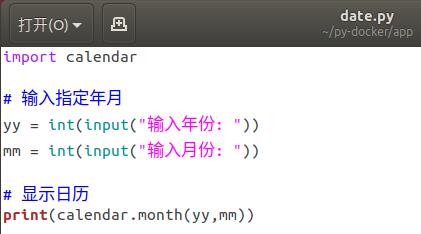
(2)日历输出


(3)mysql数据库操作
import pymysql # 打开数据库连接 db = pymysql.connect("mysqlTest", "root", "123456", "docker_mysql") #创建游标对象 cursor = db.cursor() #先查询一次数据库数据 sql = """select * FROM test""" cursor.execute(sql) results = cursor.fetchall() print(results) #SQL插入语句 sql="""insert test(id,name,sex) values(2022,'cy','male')""" cursor.execute(sql) db.commit() #插入完成后再读取一次数据库数据 sql = """select * FROM test""" cursor.execute(sql) results = cursor.fetchall() print(results) # 关闭数据库连接 db.close()
运行mysql容器

运行
sudo docker run -it --rm -v /home/cy/py-docker/app:/app --link=mysqlTest:mysqlTest python:test1 db.py
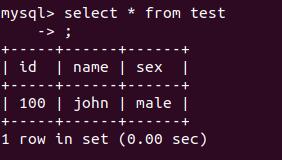
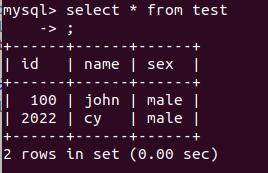
运行前后的test表


(4)opencv程序
import cv2
img=cv2.imread('test.jpg',flags=1)
rows,cols=img.shape[:2]
M=cv2.getRotationMatrix2D((cols/2,rows/2),90,1)
dst=cv2.warpAffine(img,M,(cols,rows))
cv2.imwrite("test-rotated.jpg", dst, [int(cv2.IMWRITE_JPEG_QUALITY), 100])
print('rotated and saved.')
运行

结果
4.总结
这次实验较为简单,花了一个下午。