1.前言
-
springboot的最强大的就是那些xxxAutoconfiguration,但是这些xxxAutoConfiguration又依赖那些starter,只有导入了这些场景启动器(starter),我们很多自动配置类才能有用,并且还会新增一些功能。
-
我们要用一个场景(比如web),直接导入下面所示的依赖,但是在jar包里面去看这个,你会发现里面只有一些基本的配置文件,什么类都没有,就能够想到这个一类就类似一个公司前台的作用,通过这个公司前台,能够联系到公司内部。
<dependency>
    <groupId>org.springframework.boot</groupId>
    <artifactId>spring-boot-starter-web</artifactId>
</dependency>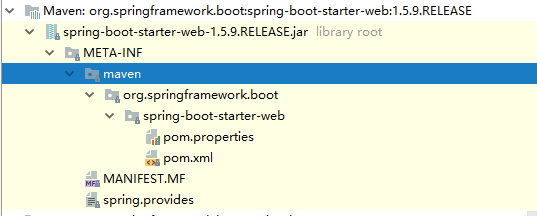
2.创建项目
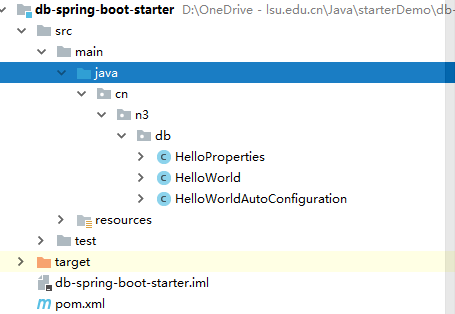
2.1 创建一个空项目,在此基础上创建两个maven项目,具体见下图。

- db-spring-boot-starter用于编写自定义的starter
- test-db-spring-boot-starter用于测试
3.写xxxconfiguration里面的逻辑
3.1 配置目录结构
3.2 HelloProperties
@Data
@ConfigurationProperties(prefix = "db.hello")  //配置文件的前缀
public class HelloProperties {
    private String before;
    private String after;

}
- 这个配置类将 application.properties 中配置的属性值直接注入到这个实例中,
@ConfigurationProperties类型安全的属性注入,即将 application.properties 文件中前缀为 "db.hello"的属性注入到这个类对应的属性上
3.3 HelloWorld
-
**此时这个类和properties类还没什么关系,必须要让第三方传入properties **
@Data
public class HelloWorld {
    private HelloProperties properties;

    public String sayHelloWorld(String name) {
        return properties.getBefore() + ":" + name + "," + properties.getAfter();
    }
}
3.4 HelloWorldAutoconfiguration
@Configuration //配置类
@ConditionalOnWebApplication //判断当前是web环境
@EnableConfigurationProperties(HelloProperties.class) //向容器里导入HelloProperties
public class HelloWorldAutoConfiguration {

    @Autowired
    HelloProperties properties;  //从容器中获取HelloProperties组件

    /**
     * 从容器里获得的组件传给HelloWorld,然后再将
     * HelloWorld组件丢到容器里
     * @return
     */
    @Bean
    public HelloWorld helloWorld() {
        HelloWorld helloWorld = new HelloWorld();
        helloWorld.setProperties(properties);
        return helloWorld;
    }
}
- 首先 @Configuration 注解表明这是一个配置类。
- @EnableConfigurationProperties 注解是使我们之前配置的 @ConfigurationProperties 生效,让配置的属性成功的进入 Bean 中。
- @ConditionalOnWebApplication 表示当前项目是WEB项目的条件下,后面的配置才生效。
- 自动配置类中首先注入 HelloProperties ,这个实例中含有我们在 application.properties 中配置的相关数据。
- 提供一个 helloWorld的实例,将 helloWorld中的值注入进去。
做完这一步之后,我们的自动化配置类就算是完成了
3.5 spring.factories
org.springframework.boot.autoconfigure.EnableAutoConfiguration=
cn.n3.db.HelloWorldAutoConfiguration
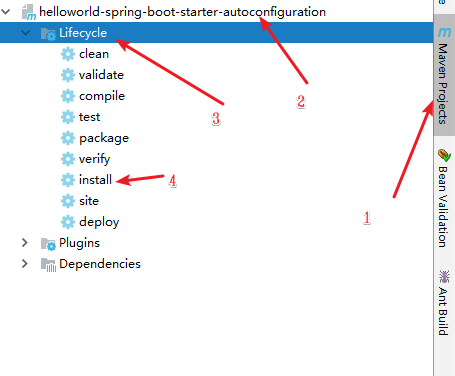
3.6 把这两个安装到maven本地仓库
- 先是xxautoconfiguration,然后再starter
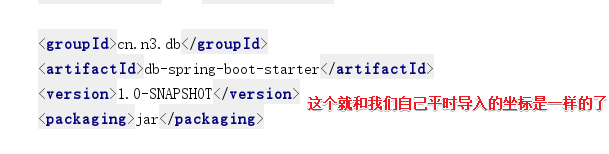
- 到此为止,一个简单的HelloWorid的starter就做出来了,我们只需要在我们的项目中导入那个starter(也就是前台唯一的作用)的依赖,就可以了,看看我的starter的坐标(还要记住,properties文件配置的@ConfigurationProperties(prefix = "db.hello"),这个prefix是可以在我们项目里面配置文件配置属性~~)
4.测试
4.1 新建一个测试模块,导入我们自己的starter的坐标
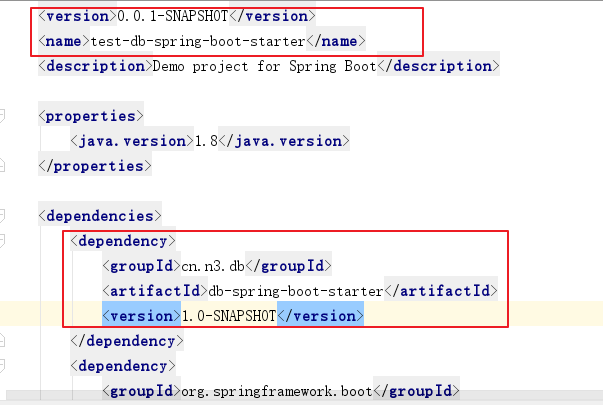
4.2 修改配置
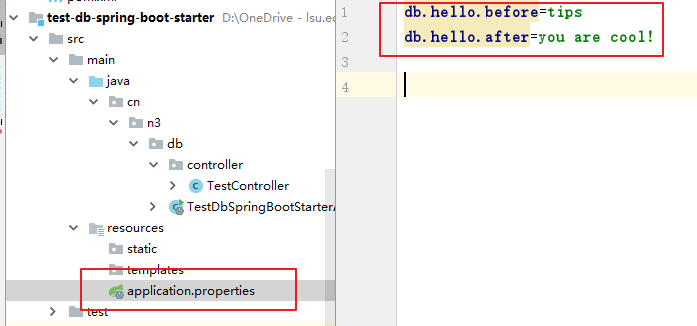
4.3编写controller
@Controller
public class TestController {

    @Autowired
    HelloWorld helloWorld;

    @RequestMapping("/hello")
    @ResponseBody
    public String sayHello() {
        return helloWorld.sayHelloWorld("test");
    }
}
4.4 启动 主启动类,浏览器访问
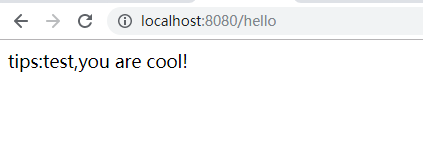
- 浏览器访问成功。
4.5 总结
- Spring Boot在启动时扫描项目所依赖的JAR包,寻找包含spring.factories文件的JAR包,
- 然后读取spring.factories文件获取配置的自动配置类AutoConfiguration
- 然后将自动配置类下满足条件(@ConditionalOnXxx)的@Bean放入到Spring容器中(Spring Context)
- 这样使用者就可以直接用来注入,因为该类已经在容器中了