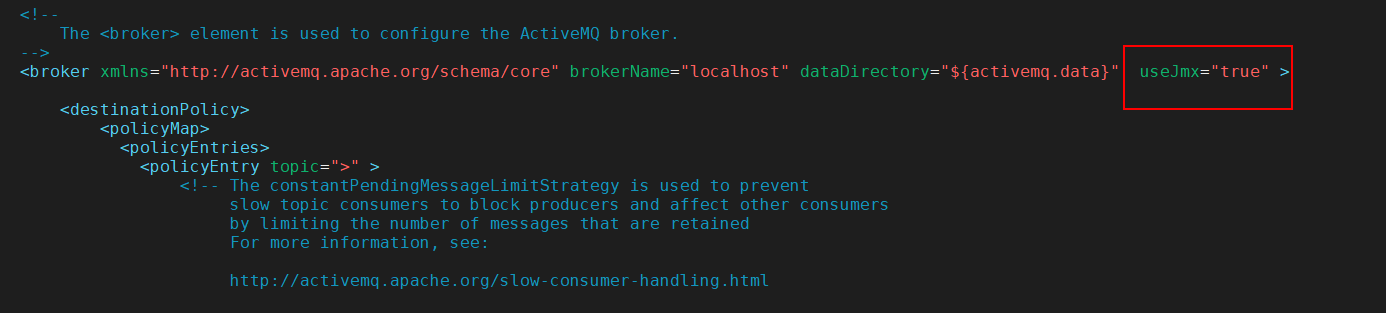
Apache ActiveMQ 自带监控管理界面,浏览器activemq启动ip:8161即可,初始用户名密码为admin,admin;本文是想解决将activemq的监控添加到自己的项目中。
然后,编辑activemq为程序开启的入口,需要添加一些配置:
    ACTIVEMQ_CONF="/root/apache-activemq-5.14.0/conf"
    ACTIVEMQ_SUNJMX_START="-Dcom.sun.management.jmxremote.port=2011 "
    ACTIVEMQ_SUNJMX_START="$ACTIVEMQ_SUNJMX_START -Dcom.sun.management.jmxremote.password.file=${ACTIVEMQ_CONF}/jmx.password"
    ACTIVEMQ_SUNJMX_START="$ACTIVEMQ_SUNJMX_START -Dcom.sun.management.jmxremote.access.file=${ACTIVEMQ_CONF}/jmx.access"
    ACTIVEMQ_SUNJMX_START="$ACTIVEMQ_SUNJMX_START -Dcom.sun.management.jmxremote.ssl=false"
    ACTIVEMQ_SUNJMX_START="$ACTIVEMQ_SUNJMX_START -Dcom.sun.management.jmxremote -Djava.rmi.server.hostname=192.168.1.144"
对jmx.access、jmx.password文件进行权限更新,执行如下命令
chmod 400 conf/jmx.*
测试代码:
/**
 * @author WGR
 * @create 2020/10/15 -- 13:43
 */
public class Test {


    private static final String jmxDomain = "org.apache.activemq";

    public static void main(String[] args) throws Exception {

        JMXServiceURL url = new JMXServiceURL("service:jmx:rmi:///jndi/rmi://192.168.1.144:2011/jmxrmi");
        Hashtable<String, String[]> env = new Hashtable<>();
        String[] credentials = new String[] {"admin","activemq"};
        env.put(JMXConnector.CREDENTIALS, credentials);
        JMXConnector connector = JMXConnectorFactory.connect(url,env);
        connector.connect();
        MBeanServerConnection connection = connector.getMBeanServerConnection();

        ObjectName name = new ObjectName(jmxDomain + ":brokerName=localhost,type=Broker");
        BrokerViewMBean mBean = MBeanServerInvocationHandler.newProxyInstance(connection, name, BrokerViewMBean.class, true);
        System.out.println("Producers:"+mBean.getQueueProducers().length);
        System.out.println("Subscribers:"+mBean.getQueueSubscribers().length);
        for (ObjectName queueName : mBean.getQueues()) {
            try {
                QueueViewMBean queueMBean = MBeanServerInvocationHandler.newProxyInstance(connection, queueName, QueueViewMBean.class, true);
                // 消息队列名称
                ObjectName[] names = queueMBean.getSubscriptions();
                for(int i=0;i<names.length;i++){
                    System.out.println(names[i].toString());
                }

                System.out.println("Queue Name --- " + queueMBean.getName());
                // 队列中剩余的消息数
                System.out.println("Number Of Pending Messages --- " + queueMBean.getQueueSize());
                // 消费者数
                System.out.println("Number of Consumers --- " + queueMBean.getConsumerCount());
                // 入队数
                System.out.println("Messages Enqueue ---" + queueMBean.getEnqueueCount());
                // 出队数
                System.out.println("Messages Dequeue ---" + queueMBean.getDequeueCount());

                for (CompositeData compositeData : queueMBean.browse()){
                    CompositeDataSupport compositeDataSupport = (CompositeDataSupport) compositeData;
                    try{
                        System.out.println("---JMSDestination---"+compositeDataSupport.get("JMSDestination"));
                        System.out.println("---PropertiesText---"+compositeDataSupport.get("PropertiesText"));
                        System.out.println("---PropertiesText---"+compositeDataSupport.get("JMSMessageID"));
                        System.out.println("---ContentMap---"+compositeDataSupport.get("ContentMap"));
                    }catch (Exception e){

                    }
                }
            }catch (Exception e){
            }
        }
    }

}