0x00环境搭建
1)使用PuTTY远程登录你的centos
2)yum -y update 更新系统
3)安装宝塔面板: yum install -y wget && wget -O install.sh http://download.bt.cn/install/install.sh && sh install.sh
宝塔面板最新版本7.3安装:yum install -y wget && wget -O install.sh http://download.bt.cn/install/install_6.0.sh && sh install.sh
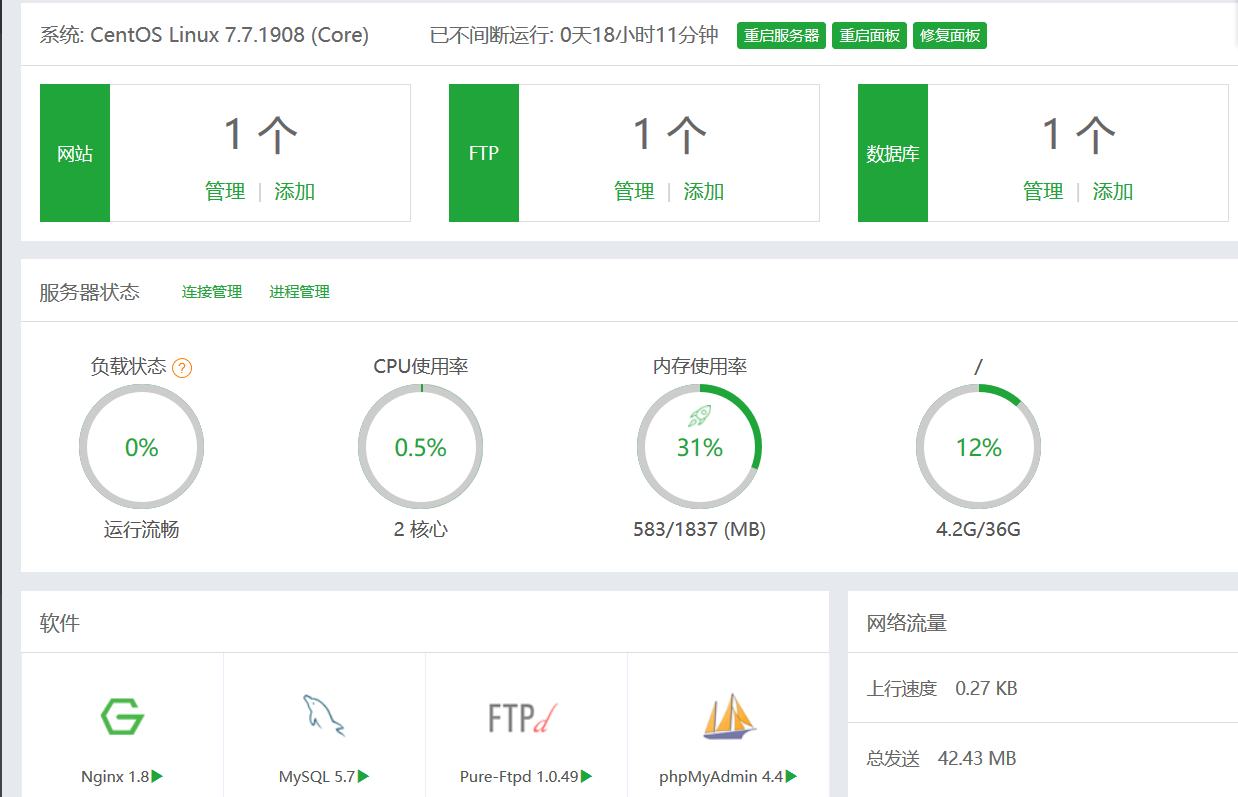
4)登录宝塔面板对系统进行初始化,安装MYSQL,PHP,NGNIX,FTP等
5)还是使用PuTTY远程登录开始安装.net core 3.1运行时:
第一步: 添加软件包的源 rpm -Uvh https://packages.microsoft.com/config/centos/7/packages-microsoft-prod.rpm
第二步:执行安装 yum install dotnet-sdk-3.1
怎么校验安装有没有成功请参考其他科普文章。
0x01配置
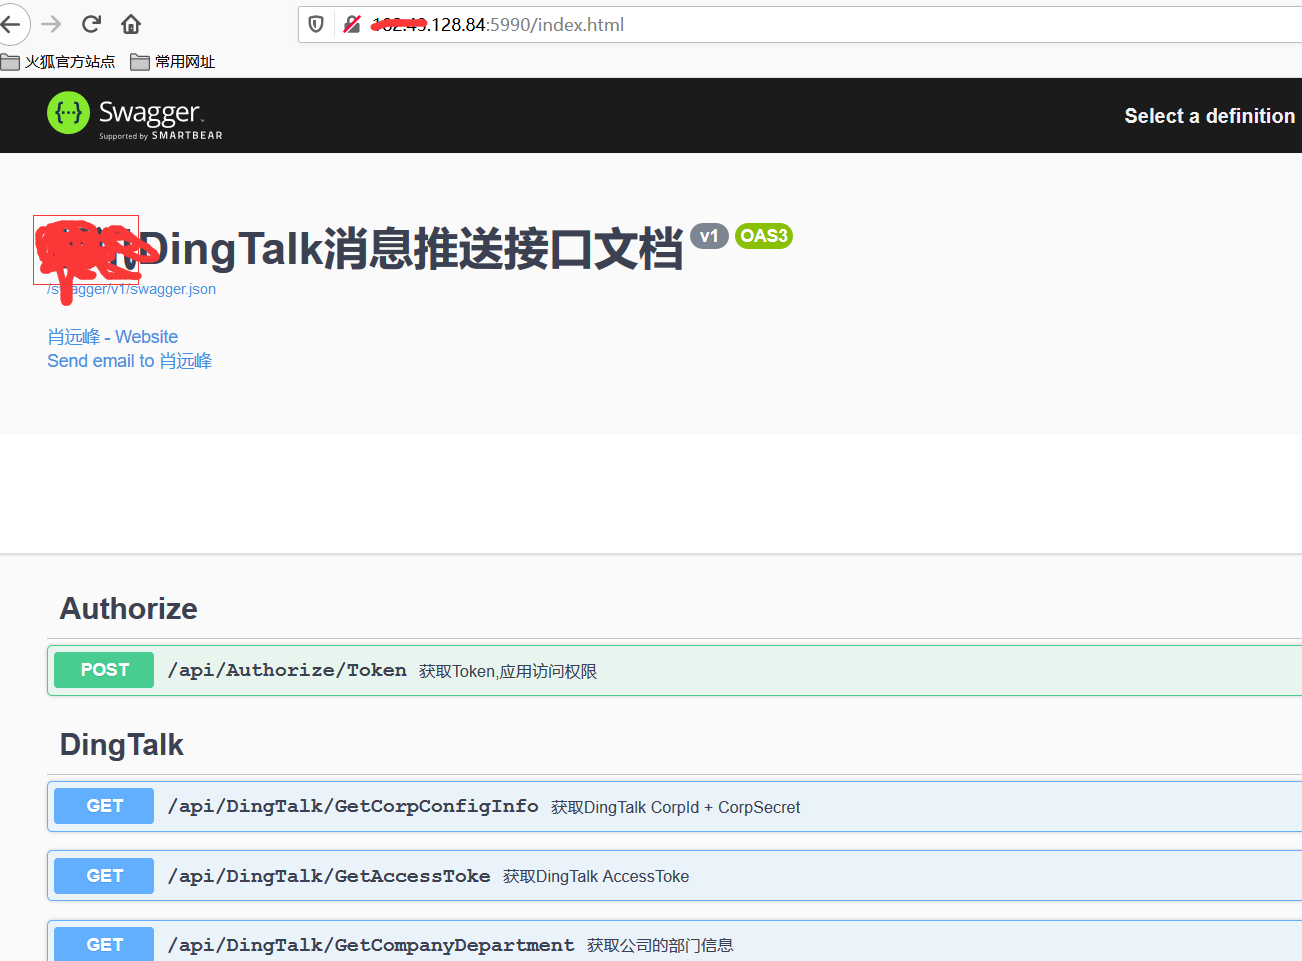
1)在宝塔面板里面建立网站,使用内置的FTP功能上传发布后的WebAPI项目,宝塔自带解压zip文件的功能,解压。
2) 使用PuTTY远程登录,cd /www/wwwroot/yourwebsiteroot,运行: dotnet yourwebapi.dll,如果不带端口参数,程序运行后会默认监听5000端口。
这里需要强调一下,刚开始我各种姿势都对的情况下,外部访问: http://IP:5000时都不能成功,原来是centos默认是开了防火墙的,这个添加例外或者关闭不在话下,另外还要去云主机的控制台安全组里开放5000端口的访问,这个也按下不表。
3)宝塔面板里面网站设置,修改配置文件,NGINX只是转发http请求,他自己是个webserver,而我们的项目是监听的 5000
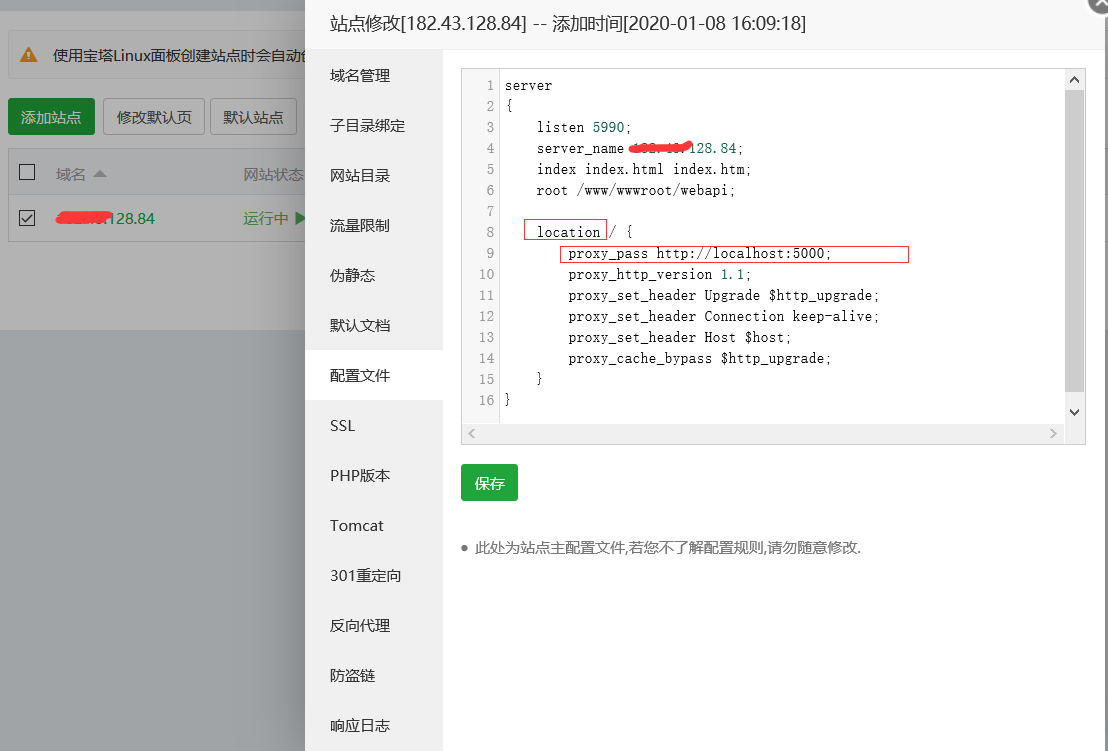
location / {
proxy_pass http://localhost:5000;
proxy_http_version 1.1;
proxy_set_header Upgrade $http_upgrade;
proxy_set_header Connection keep-alive;
proxy_set_header Host $host;
proxy_cache_bypass $http_upgrade;
}
4)重启NGINX
5)打完收工
简单的表述不代表过程很顺利,耗时两天终于完成。

号称国内第三的电信天翼云还是不错的,双11的时候1折抢的服务器,121元。
补充一个趟坑记录
PuTTY关闭了之后,那个5000的监听就结束了,网上有其他解决方案添加什么守护进程啥的。我使用了screen来解决,screen的使用也请参考其他文档。