JAVA基础IO流(一)https://www.cnblogs.com/deepSleeping/p/9693601.html
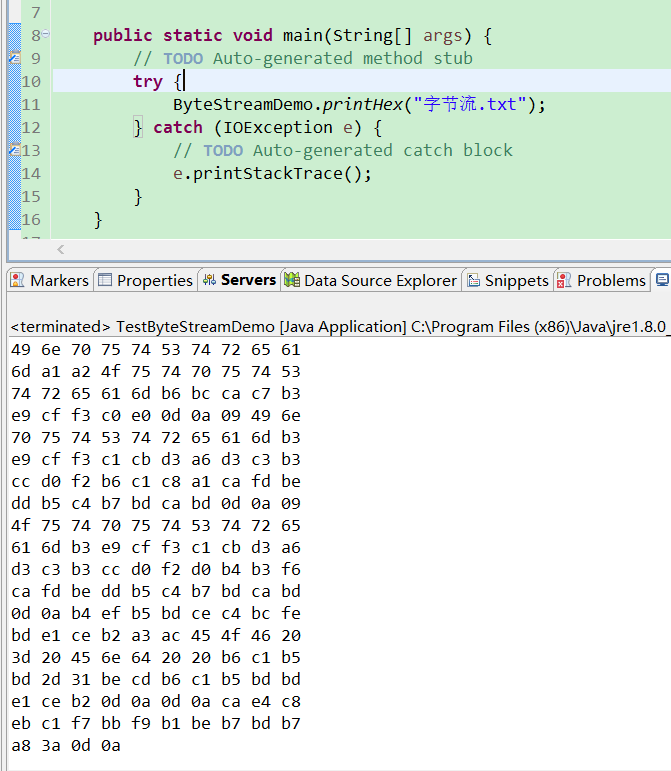
①读取指定文件内容,按照16进制输出到控制台
其中,Integer.toHexString(int i);是将整数i转换成16进制字符串
/**
     * 读取指定文件内容,按照16进制输出到控制台
     * 并且每输出10个byte换行
     * @param fileName
     */
    public static void printHex(String fileName) throws IOException{
        InputStream is = new FileInputStream(fileName);

        int len,count=1;
        while((len=is.read()) != -1){
                       //单位数前面补零
            if (len <= 0xf) {
                System.out.print("0");
            }

            System.out.print(Integer.toHexString(len) + " ");
            if (count++%10 == 0) {
                System.out.println();
            }
        }
      in.close();
    }
②读取指定文件内容到字节数组中,并且按照16进制输出到控制台
两种方式:第一种是读取到一个字节数组中,第二种是读取到多个字节数组中
注意:第二种方式中,位与 0xff的原因是:byte类型8位,int类型32位,为了避免数据转换错误,通过&0xff将高24位清零。
/**
     * 读取指定文件内容到字节数组中,并且按照16进制输出到控制台
     */
    public static void printHexByByteArray(String fileName) throws IOException{
        InputStream is = new FileInputStream(fileName);
        byte[] buf = new byte[20 * 1024];
        /*
         * 从in中批量读取字节,放入到buf这个字节数组中
         * 从第0个位置开始放,最多放buf.length个
         * 返回的是读到的字节的个数
         */
        int bytes = is.read(buf,0,buf.length);//一次性读完,说明字节数组足够大
        int count = 1;
        for (int i = 0; i < bytes; i++) {
            if (buf[i] <= 0xf) {
                System.out.print("0");
            }
            System.out.print(Integer.toHexString(buf[i]) + " ");
            if (count++ % 10 == 0) {
                System.out.println();
            }
        }
    }
/**
     * 读取指定文件内容到字节数组中,并且按照16进制输出到控制台
     */
    public static void printHexByByteArray1(String fileName) throws IOException{
        InputStream is = new FileInputStream(fileName);
        byte[] buf = new byte[20 * 1024];

        int bytes = 0;
        int count = 1;
        while((bytes = is.read(buf, 0, buf.length)) != -1){
            for (int i = 0; i < bytes; i++) {
                System.out.print(Integer.toHexString(buf[i] & 0xff) + " ");
                if (count++ % 10 == 0) {
                    System.out.println();
                }
            }
        }
    }
③拷贝文件
/**
     * 文件拷贝
     */
    public static void copyFile(File srcFile,File destFile) throws IOException{
        if (!srcFile.exists()) {
            throw new IllegalArgumentException("文件:" + srcFile + "不存在");
        }
        InputStream in = new FileInputStream(srcFile);
        OutputStream out = new FileOutputStream(destFile);
        byte[] buf = new byte[8 * 1024];
        int b;
        while((b = in.read(buf, 0, buf.length)) != -1){
            out.write(buf, 0, b);
            out.flush(); //最好加上
        }
        in.close();
        out.close();
    }
④DataOutputStream的运用
(转)DataInput out Stream
/**
     * DataOutputStreamTest
     */
    public static void demo(String fileName) throws IOException{
        DataOutputStream dos = new DataOutputStream(new FileOutputStream(fileName));
        dos.writeInt(10);
        dos.writeInt(-10);
        dos.writeLong(10l);
        dos.writeDouble(10.5);
        //采用UTF-8编码写出
        dos.writeUTF("中国");
        //采用utf-16be编码写出
        dos.writeChars("中国");
        dos.close();
    }