Java配置方式
SpringBoot流行之后,Java 配置开始被广泛使用。
Java配置本质上,就是使用一个Java类去代替xml配置,这种配置方式在SpringBoot中得到了广泛的使用。
实现步骤如下:
1. 创建java项目
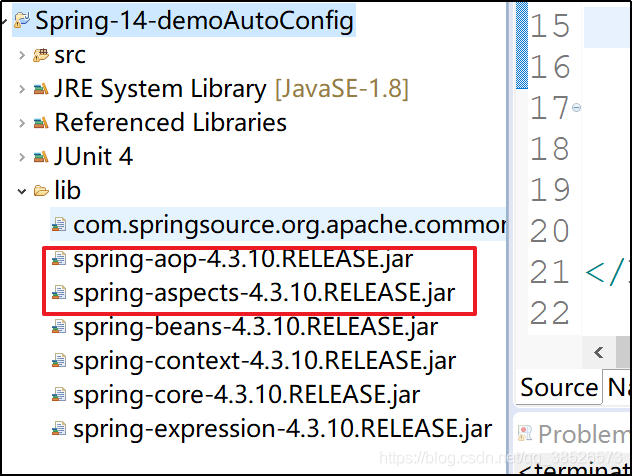
2. 引入相关jar包

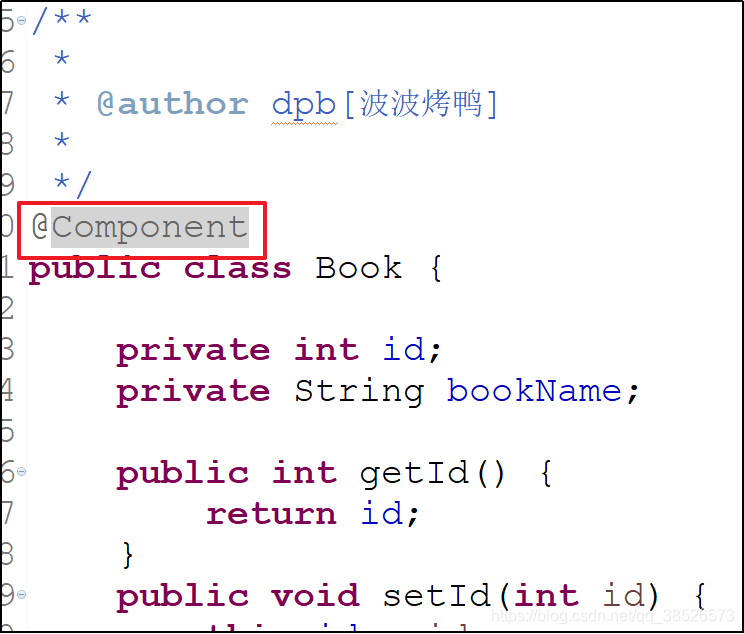
3. 创建实体类
4. 创建配置文件类
/**
 * 该类相当于 application.xml文件
 * @author dpb[波波烤鸭]
 *
 */
@Configuration
public class AppJavaConfig {

	/**
	 * 该方法生成一个Book对象,和application.xml文件中的bean标签一致
	 * 默认 id为方法名,可以通过name和value属性自定义
	 * @return
	 */
	@Bean
	public Book getBook(){
		return new Book();
	}
}
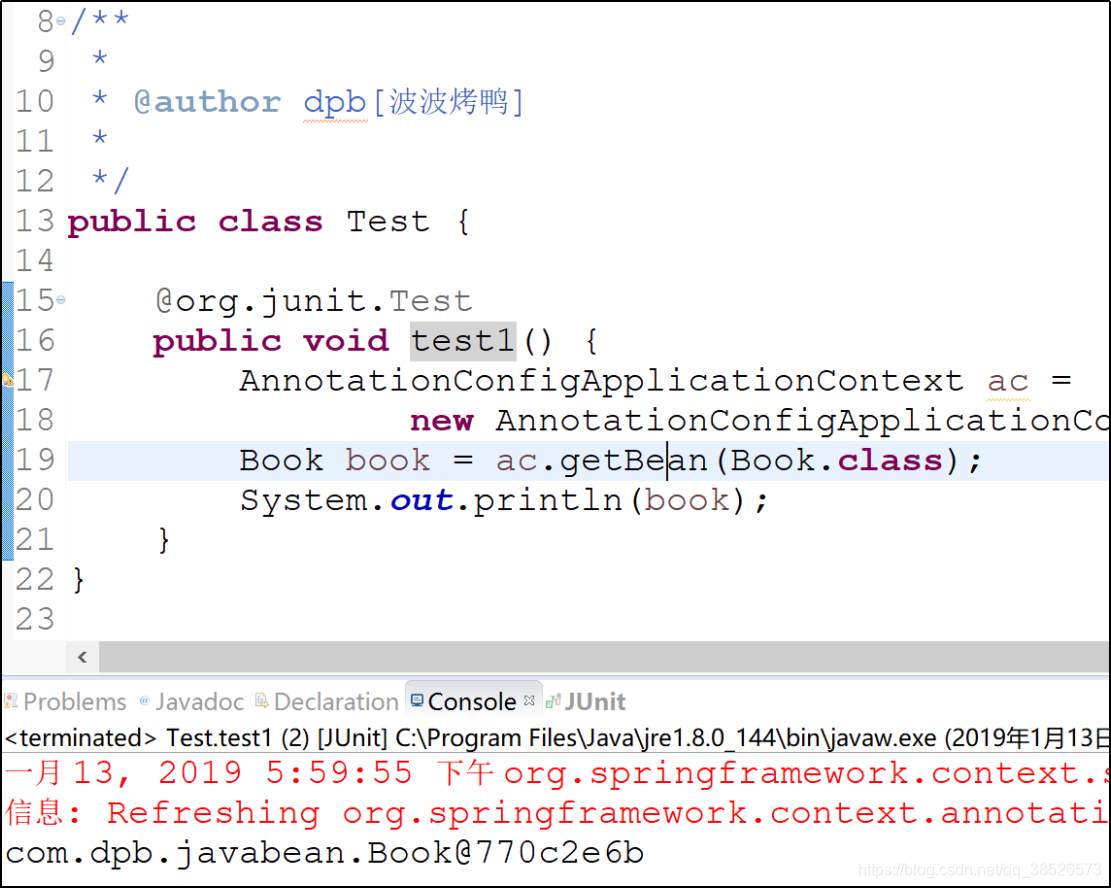
5. 测试调用
	@org.junit.Test
	public void test1() {
		AnnotationConfigApplicationContext ac =
				new AnnotationConfigApplicationContext(AppJavaConfig.class);
		Book book = ac.getBean(Book.class);
		System.out.println(book);
	}

自动配置
前面这种配置方式,对于所有要使用的类都需要一个一个的配置。可以通过自动配置来简化Bean的配置。
xml文件配置
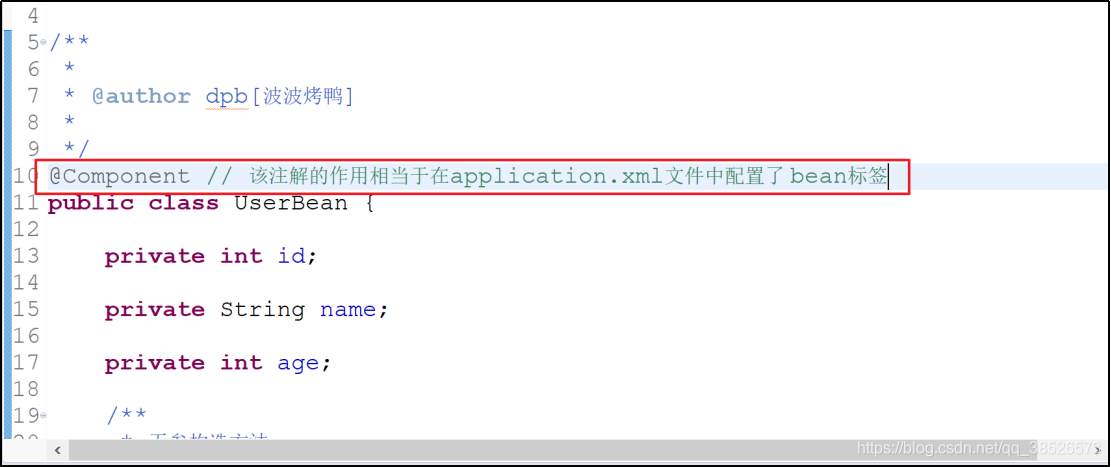
xml配置通过四个注解来实现,目前来说功能是一样的
| 注解 | 描述 |
|---|---|
| @Component | 一般用在身份不明确的组件上 |
| @Service | 一般用在Service层 |
| @Controller | 一般用在控制层 |
| @Repository | 一般用在数据库访问层 |
1. 需要在application.xml文件中开启注解扫描
<beans xmlns="http://www.springframework.org/schema/beans"
	xmlns:xsi="http://www.w3.org/2001/XMLSchema-instance"
	xmlns:p="http://www.springframework.org/schema/p"
	xmlns:context="http://www.springframework.org/schema/context"
	xsi:schemaLocation="http://www.springframework.org/schema/beans http://www.springframework.org/schema/beans/spring-beans.xsd
		http://www.springframework.org/schema/context http://www.springframework.org/schema/context/spring-context-4.3.xsd">
	<!-- 开启注解 配置扫描路径 -->
	<context:component-scan base-package="com.dpb.javabean"/>
	<!-- 如果有多个路径 ,号隔开
		<context:component-scan base-package="com.dpb.javabean,com.dpb.factory"/>
	-->
</beans>
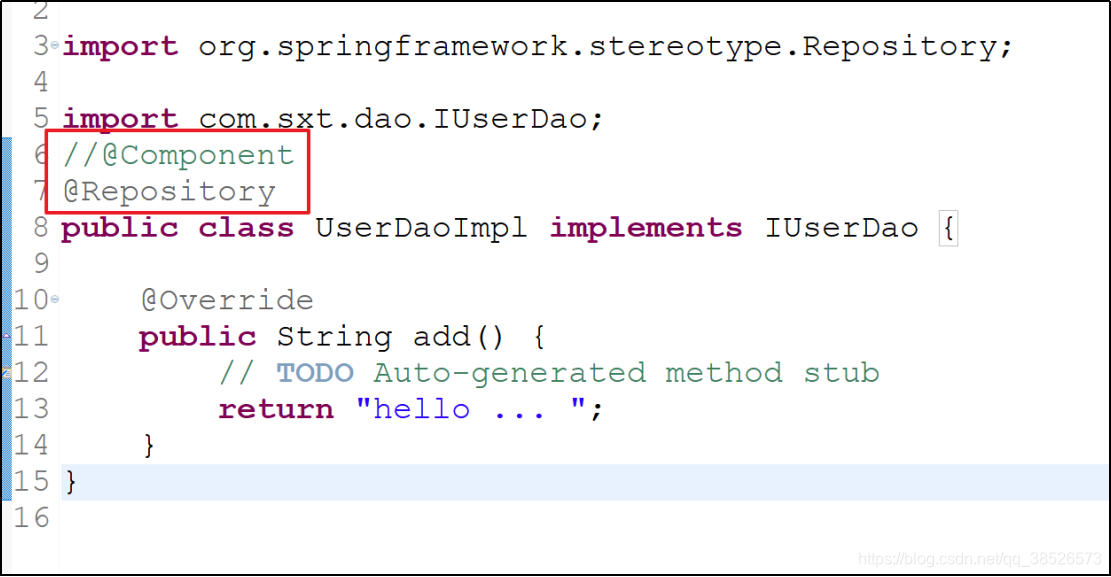
2. java对象中添加对应的注解
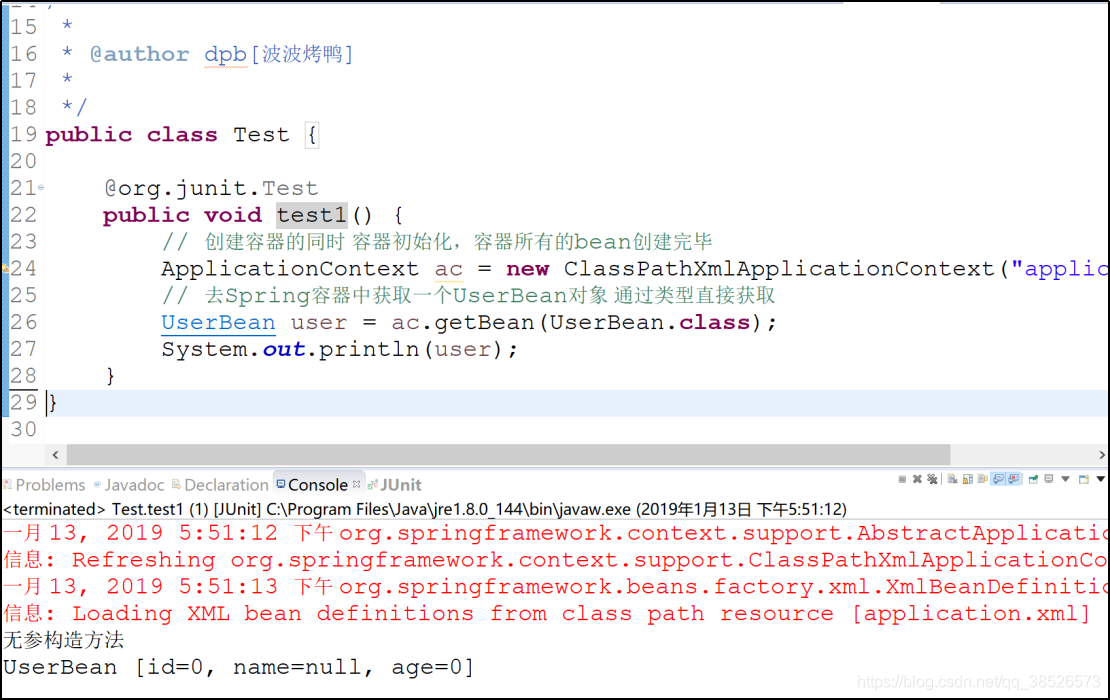
3. 测试
简单案例
1.创建项目
2.创建dao层
public interface IUserDao {
	public String add();
}
public class UserDaoImpl implements IUserDao {

	@Override
	public String add() {
		// TODO Auto-generated method stub
		return "hello ... ";
	}
}
3.创建service层
public interface IUserService {
	public String add();
}
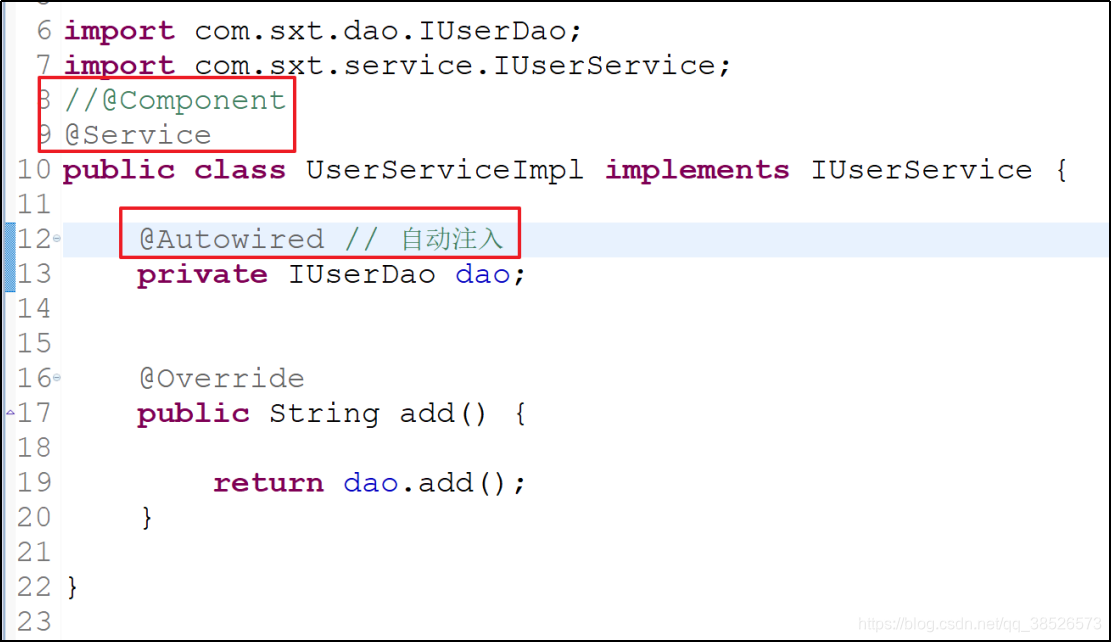
public class UserServiceImpl implements IUserService {
	private IUserDao dao;
	@Override
	public String add() {
		return dao.add();
	}
}
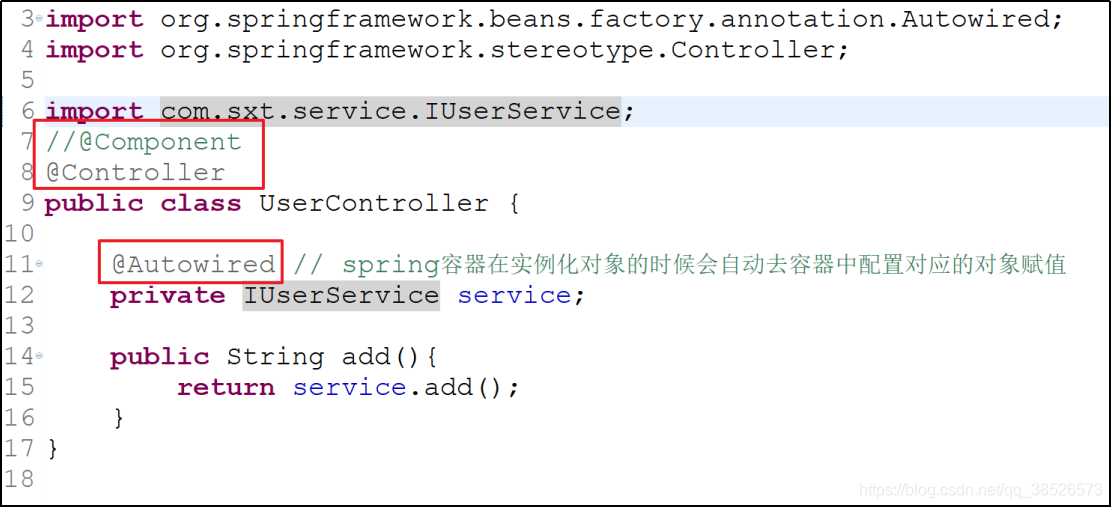
4.创建controller层
public class UserController {
	private IUserService service;
	public String add(){
		return service.add();
	}
}
5.配置文件中添加扫描
	<!-- 开启扫描  com.sxt.*-->
	<context:component-scan
	base-package="com.sxt.controller,com.sxt.service.impl,com.sxt.dao.impl"/>
6.注解使用
dao
service
controller
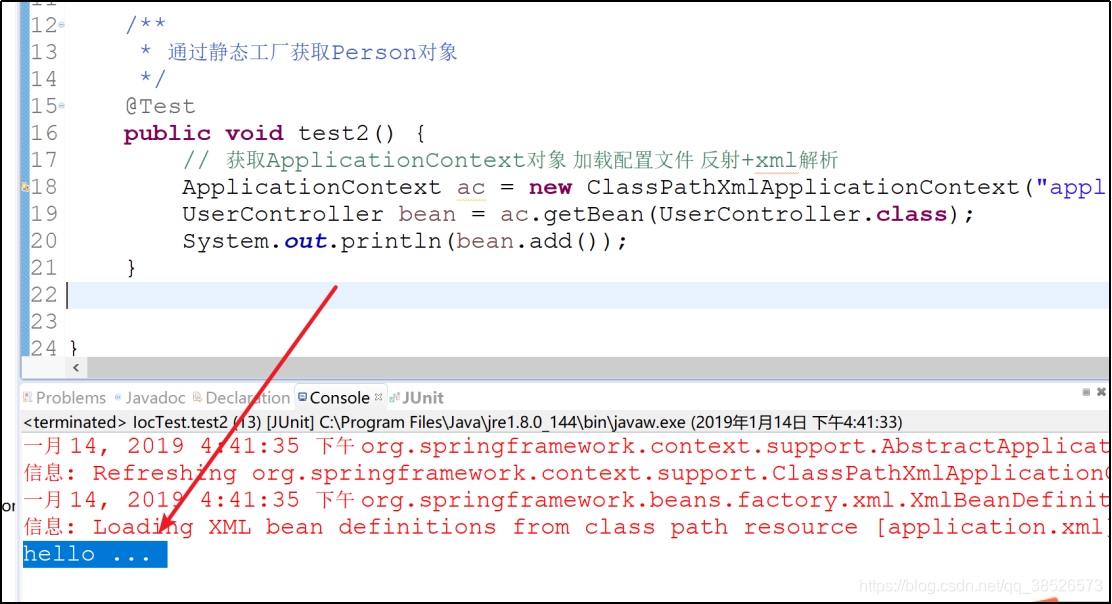
7.测试
/**
 * 通过静态工厂获取Person对象
 */
@Test
public void test2() {
	// 获取ApplicationContext对象 加载配置文件 反射+xml解析
	ApplicationContext ac = new ClassPathXmlApplicationContext("application.xml");
	UserController bean = ac.getBean(UserController.class);
	System.out.println(bean.add());
}
扫描特殊配置
	<context:component-scan base-package="com.itbaizhan"
		use-default-filters="false">
		<context:include-filter type="annotation"
			expression="org.springframework.stereotype.Service" />
	</context:component-scan>
use-default-filters
表示使用使用spring默认提供的过滤器,
false表示不使用,true则表示使用。
一般来说,
true结合exclude-filter标签使用,表示除去某个注解
false结合include标签使用,表示包含某个注解
java代码配置
Java配置和XML配置基本一致,唯一不同的地方就是包扫描的方式。
四个注解是一样的。
包扫描通过@ComponentScan来实现
1. Java配置类添加扫描注解
/**
 * 该类相当于 application.xml文件
 * @author dpb[波波烤鸭]
 *
 */
@Configuration // 该配置是必须的
@ComponentScan("com.dpb.javabean")
public class AppJavaConfig {

}
Java配置一样可以实现精确的包扫描
/**
 * 该类相当于 application.xml文件
 *
 * @author dpb[波波烤鸭]
 *
 */
@Configuration // 该配置是必须的
@ComponentScan(value = "com.itbaizhan.bean", useDefaultFilters = false, includeFilters = {
		@ComponentScan.Filter(type = FilterType.ANNOTATION, value = Service.class) })
public class AppJavaConfig {

}
2. JavaBean添加对应的注解
3. 测试
profile
在实际开发中,项目即将上线时,可能需要不停的在开发环境、生产环境、测试环境...之间进行切换。
Java配置实现
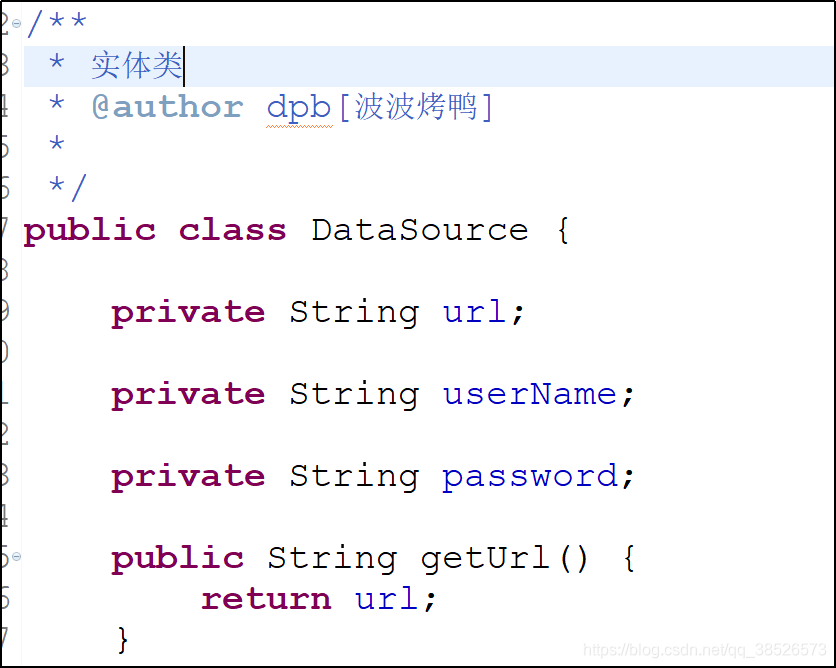
1. 创建实体类
2. 修改java配置类
/**
 * 该类相当于 application.xml文件
 * @author dpb[波波烤鸭]
 *
 */
@Configuration // 该配置是必须的
@ComponentScan("com.dpb.javabean")
public class AppJavaConfig {

	/**
	 * @Profile注解相当于一个标记,标记当前的dataSource是开发环境下的dataSource
	 * @return
	 */
	@Bean("ds")
	@Profile("dev") // profile dev 设置 开发环境
	public DataSource devDs(){
		return new DataSource("http://dev1:8080/", "admin", "123456");
	}

	@Bean("ds")
	@Profile("pro") // profile Pro 设置生产环境
	public DataSource proDs(){
		return new DataSource("http://pro1:8080/", "root", "666");
	}
}
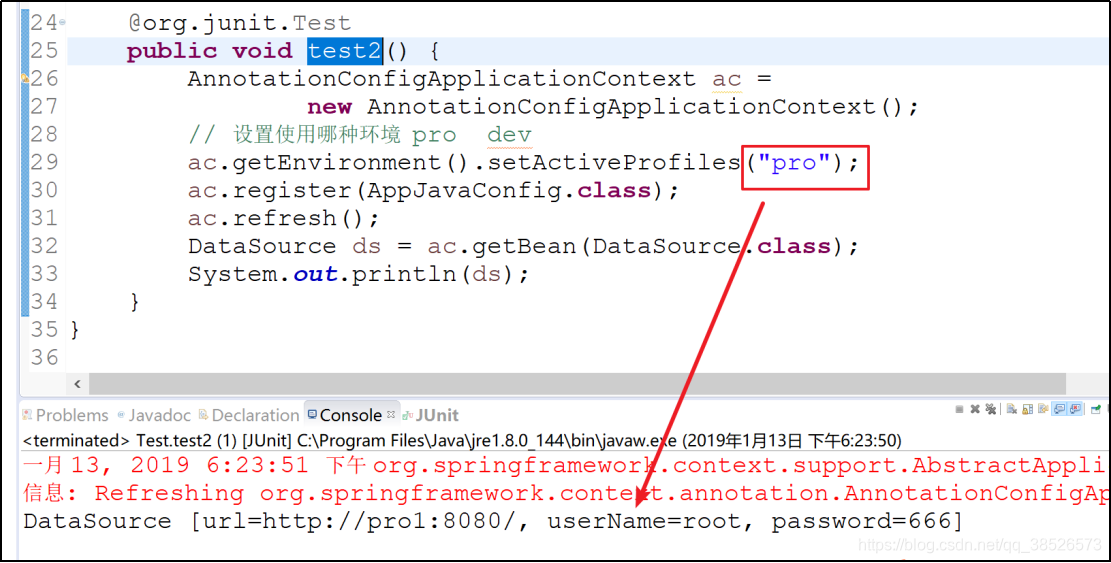
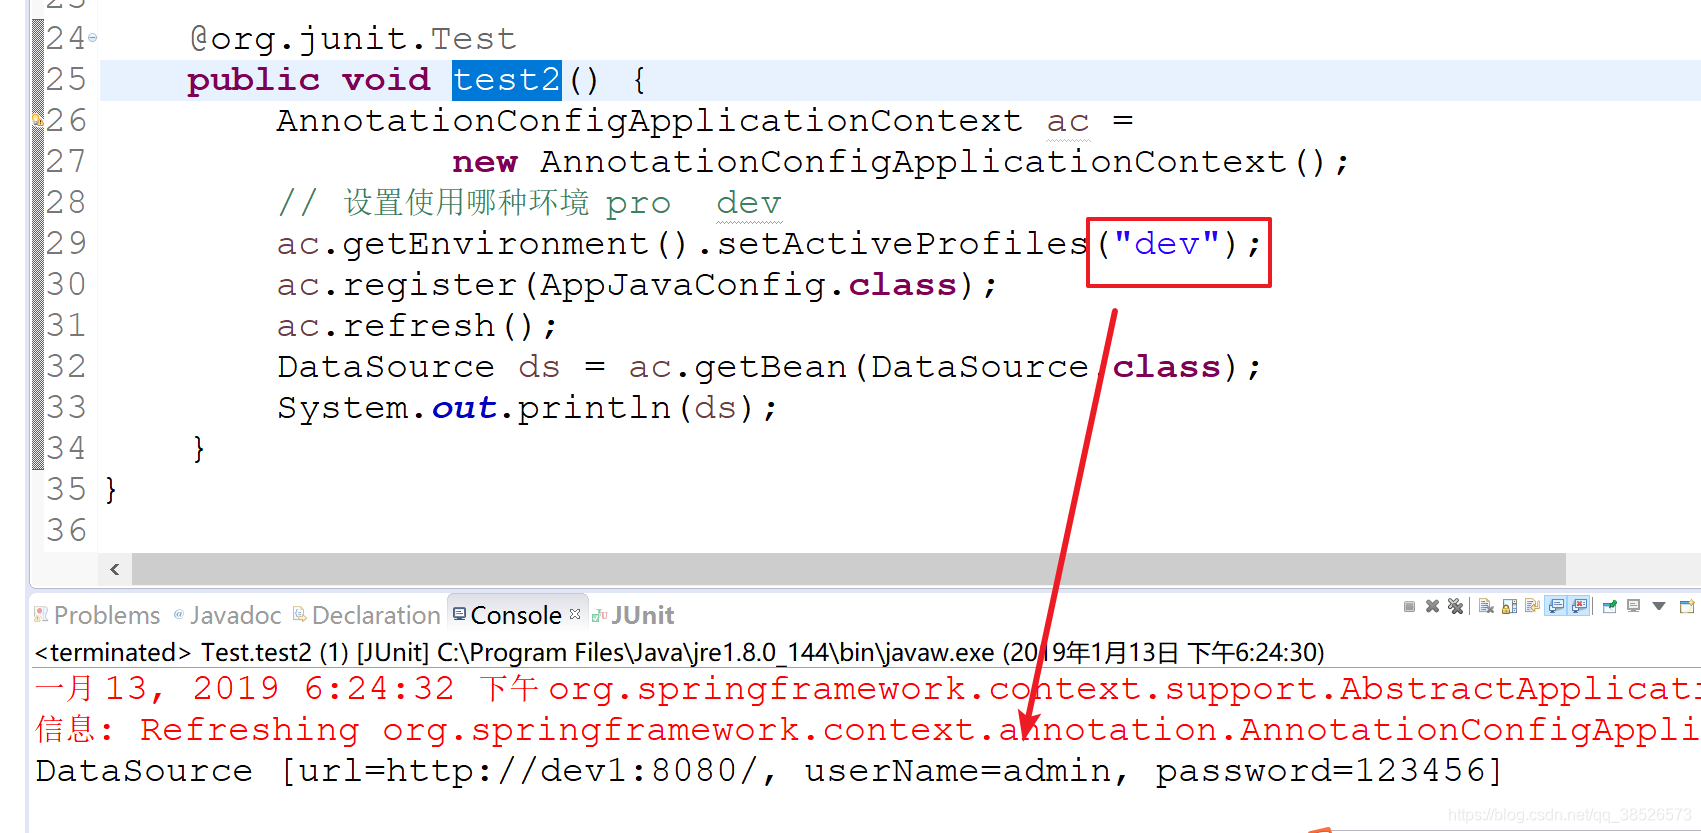
3. 测试切换
	@org.junit.Test
	public void test2() {
		AnnotationConfigApplicationContext ac =
				new AnnotationConfigApplicationContext();
		// 设置使用哪种环境  pro  dev
		ac.getEnvironment().setActiveProfiles("pro");
		ac.register(AppJavaConfig.class);
		ac.refresh();
		DataSource ds = ac.getBean(DataSource.class);
		System.out.println(ds);
	}
XML配置
通过xml配置实现profile,步骤如下:
1. 创建相关Bean
2. 在xml配置中配置bean
<beans xmlns="http://www.springframework.org/schema/beans"
	xmlns:xsi="http://www.w3.org/2001/XMLSchema-instance" xmlns:p="http://www.springframework.org/schema/p"
	xmlns:context="http://www.springframework.org/schema/context"
	xsi:schemaLocation="http://www.springframework.org/schema/beans http://www.springframework.org/schema/beans/spring-beans.xsd
		http://www.springframework.org/schema/context http://www.springframework.org/schema/context/spring-context-4.3.xsd">

	<!-- 注意,beans标签要写在其他标签的后面。 -->
	<beans profile="dev">
		<bean class="com.dpb.javabean.DataSource">
			<property name="url" value="dev-url"/>
			<property name="userName" value="aaa"/>
			<property name="password" value="111"/>
		</bean>
	</beans>
	<beans profile="pro">
		<bean class="com.dpb.javabean.DataSource">
			<property name="url" value="pro-url"/>
			<property name="userName" value="999"/>
			<property name="password" value="222"/>
		</bean>
	</beans>
</beans>
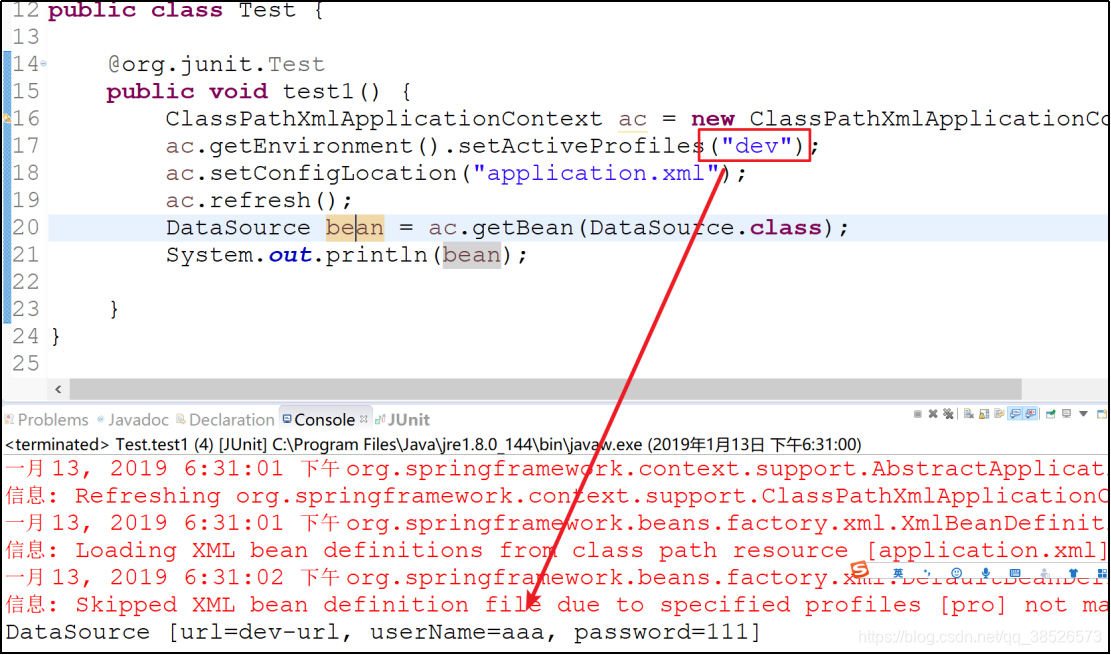
3.测试数据
/**
 *
 * @author dpb[波波烤鸭]
 *
 */
public class Test {

	@org.junit.Test
	public void test1() {
		ClassPathXmlApplicationContext ac = new ClassPathXmlApplicationContext();
		ac.getEnvironment().setActiveProfiles("dev");
		ac.setConfigLocation("application.xml");
		ac.refresh();
		DataSource bean = ac.getBean(DataSource.class);
		System.out.println(bean);

	}
}

条件注解
Profile实际上就是条件注解的一种特殊形式,即条件注解更加灵活,用户可以根据各种不同的条件使用不同的Bean。
条件注解在SpringBoot中使用非常广泛。SpringBoot中提供了许多自动化的配置,例如数据库配置,SpringBoot使用条件注解提前配置好许多常用的类,使用条件注解,在某一个条件满足时,这些配置就会生效。
1.创建接口
/**
 * 条件注解
 *    1.定义接口
 * @author dpb[波波烤鸭]
 *
 */
public interface ShowCmd {

	String show();
}
2.创建接口的实现类
/**
 * 注册接口的实现类
 * @author dpb[波波烤鸭]
 *
 */
public class LinuxShowCmd implements ShowCmd{

	@Override
	public String show() {
		// TODO Auto-generated method stub
		return "Liunx ls";
	}
}
/**
 * 注册接口的实现类
 * @author dpb[波波烤鸭]
 *
 */
public class WinShowCmd implements ShowCmd{

	@Override
	public String show() {
		// TODO Auto-generated method stub
		return "Windows dir";
	}
}
3.定义条件Condition
/**
 * 自定义的条件
 * @author dpb[波波烤鸭]
 *
 */
public class LinuxConditionShow implements Condition{

	/**
	 * 条件匹配的方法
	 * true 条件匹配
	 * false 条件不匹配
	 */
	@Override
	public boolean matches(ConditionContext context, AnnotatedTypeMetadata metadata) {
		// 获取profile参数
		String osName[] = context.getEnvironment().getActiveProfiles();
		for (String name : osName) {
			System.out.println(name);
			if(name.contains("linux")){
				return true;
			}
		}
		return false;
	}
}
/**
 * 自定义的条件
 * @author dpb[波波烤鸭]
 *
 */
public class WindowsConditionShow implements Condition{

	/**
	 * 条件匹配的方法
	 * true 条件匹配
	 * false 条件不匹配
	 */
	@Override
	public boolean matches(ConditionContext context, AnnotatedTypeMetadata metadata) {
		String osName[] = context.getEnvironment().getActiveProfiles();
		for (String name : osName) {
			System.out.println(name);
			if(name.contains("window")){
				return true;
			}
		}
		return false;
	}
}
4.java配置文件
@Configuration
public class JavaConfig {
	@Bean("cmd")
	// 关联条件设置
	@Conditional(LinuxShowCondition.class)
	public LinuxShowCmd showLinux(){
		return new LinuxShowCmd();
	}
	@Bean("cmd")
	// 关联条件设置
	@Conditional(WindowsShowCondition.class)
	public WindowsShowCmd showWindows(){
		return new WindowsShowCmd();
	}
}
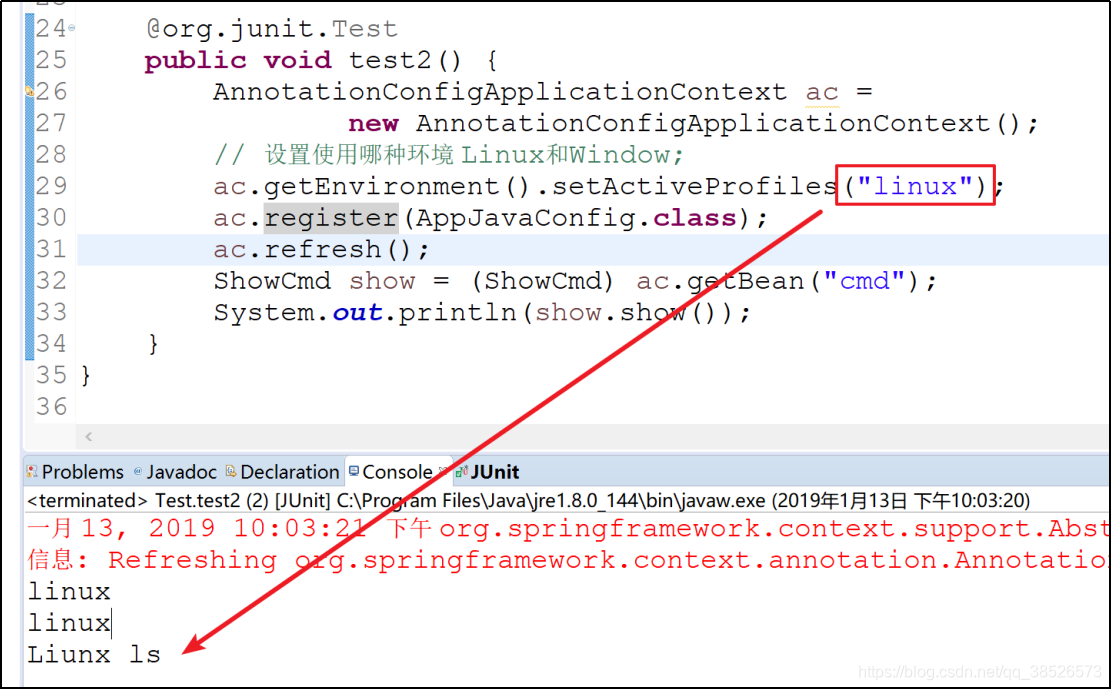
5.测试调用
	@org.junit.Test
	public void test2() {
		AnnotationConfigApplicationContext ac =
				new AnnotationConfigApplicationContext();
		// 设置使用哪种环境 Linux和Window;
		ac.getEnvironment().setActiveProfiles("linux");
		ac.register(AppJavaConfig.class);
		ac.refresh();
		ShowCmd show = (ShowCmd) ac.getBean("cmd");
		System.out.println(show.show());
	}

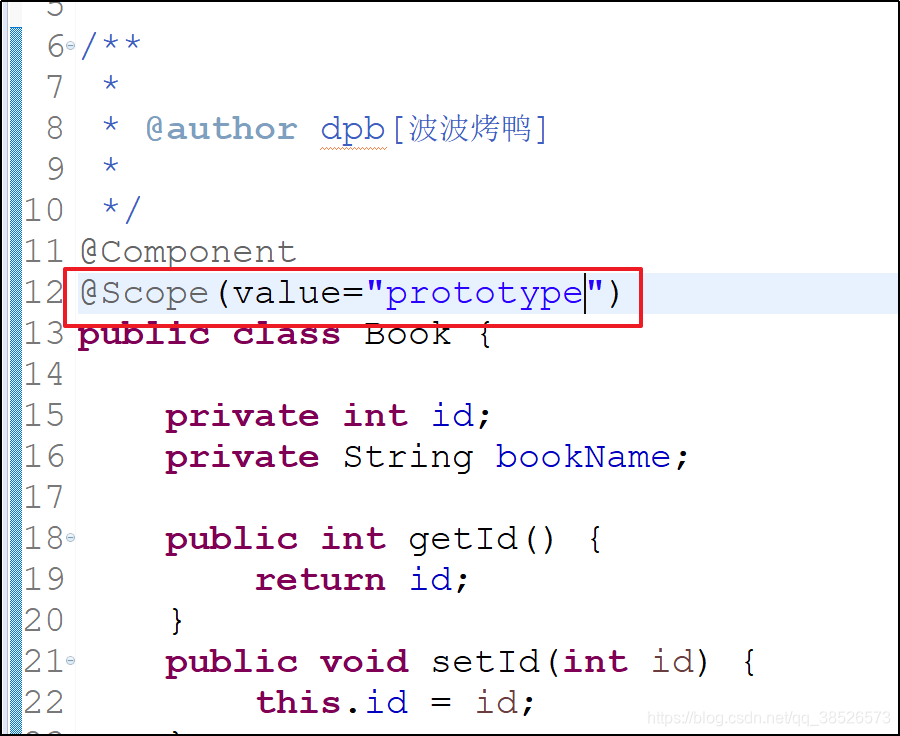
Bean的作用域
| 作用域 | 说明 |
|---|---|
| prototype | 每次请求,都是一个新的Bean【享元模式】 |
| singleton | bean是单例的 |
| request | 在一次请求中,bean的声明周期和request同步 |
| session | bean的生命周期和session同步 |
在spring的配置中,默认情况下,bean都是单例的(singleton)。无论获取多少次,获取到的都是同一个bean
java配置文件中
application.xml配置文件中

混合配置
开发中可能既有配置文件存在,也在使用java配置的方式,这时候可以使用@ImportResource来实现
1.添加application.xml文件
<beans xmlns="http://www.springframework.org/schema/beans"
	xmlns:xsi="http://www.w3.org/2001/XMLSchema-instance" xmlns:p="http://www.springframework.org/schema/p"
	xmlns:context="http://www.springframework.org/schema/context"
	xsi:schemaLocation="http://www.springframework.org/schema/beans http://www.springframework.org/schema/beans/spring-beans.xsd
		http://www.springframework.org/schema/context http://www.springframework.org/schema/context/spring-context-4.3.xsd">

	<bean class="com.dpb.javabean.UserBean" ></bean>
</beans>
2.java配置文件
/**
 * 该类相当于 application.xml文件
 * @author dpb[波波烤鸭]
 *
 */
@Configuration
@ImportResource("classpath:application.xml")
public class AppJavaConfig {

	@Bean
	Book book(){
		return new Book();
	}
}
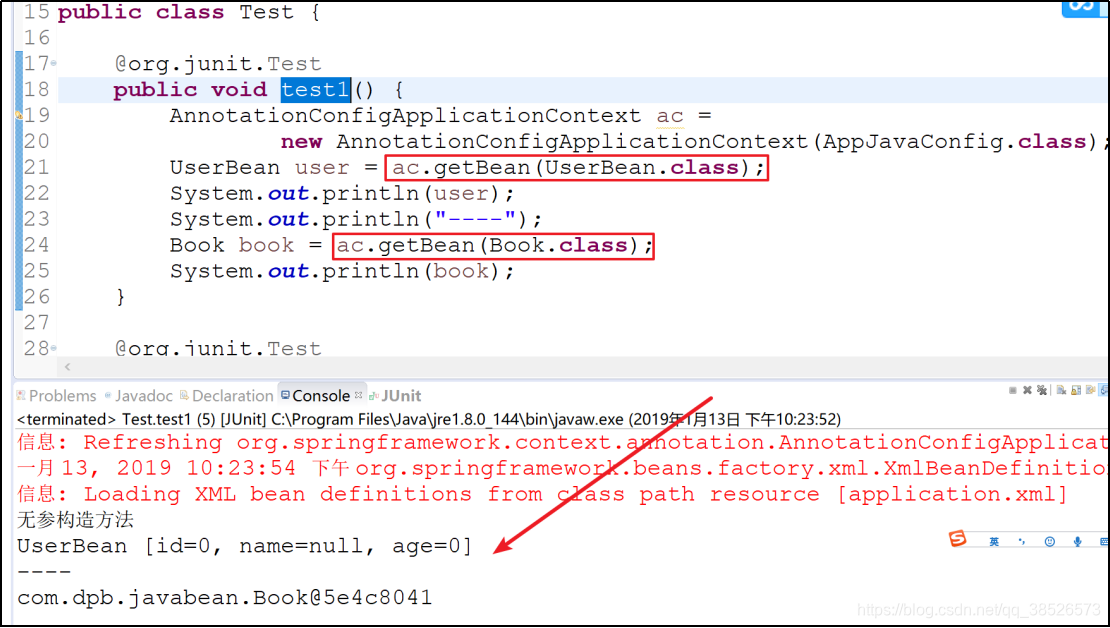
3.测试
 上一篇:Spring-IOC实现【01-XML配置方式】
下一篇:Spring之AOP详解