目前css 流行的三大预编译有stylus、less 、 sass 说白了这些东西就是为了提高编码效率,更好的规整和简化 css代码的,相信大家less 就不用多说了用得都比较多了,在这里简单记录下stylus, sass
stylus使用
1、首先在package.json增加依赖
  "devDependencies": {
	    "style-loader": "^0.23.1",
	    "stylus": "^0.54.5",
	    "stylus-loader": "^3.0.2",
    }
2、定义外部 styl
定义额外的文件是以 .styl 为后缀 ,他可以文件中定义方法同时使用变量, 属性与值间可以 使用空格分隔,结尾不需要分隔符
如:
	// 背景图片
	bg-image($url)
	  background-image url($url + "@2x.png")
	  @media (-webkit-min-device-pixel-ratio: 3),(min-device-pixel-ratio: 3)
	    background-image: url($url + "@3x.png")
3、 文件中使用
在文件里写css 需要指定lang
<style lang="stylus" rel="stylesheet/stylus">
4、好处
styl 好处就是,可以定义方法,变量,元素与元素直接按html标签顺序一级一级往下写,看起来整洁分明,操作简单
不像普通css div>span这样去写子元素样式
<style scope lang="stylus" rel="stylesheet/stylus">
  @import "~@/common/stylus/variable"
  @import "~@/common/stylus/mixin"

  .add-song
    position: fixed
    top: 0
    bottom: 0
    width: 100%
    z-index: 200
    background: $color-background
    &.slide-enter-active, &.slide-leave-active
      transition: all 0.3s
    &.slide-enter, &.slide-leave-to
      transform: translate3d(100%, 0, 0)
    .header
      position: relative
      height: 44px
      text-align: center
      .title
        line-height: 44px
        font-size: $font-size-large
        color: $color-text

</style>
&就代表元素本身
sass使用
1、安装依赖
和styl 差不多 同样先安装依赖
  "devDependencies": {
    "node-sass": "^4.5.0",
    "sass": "^0.5.0",
    "sass-loader": "^5.0.1"
  }
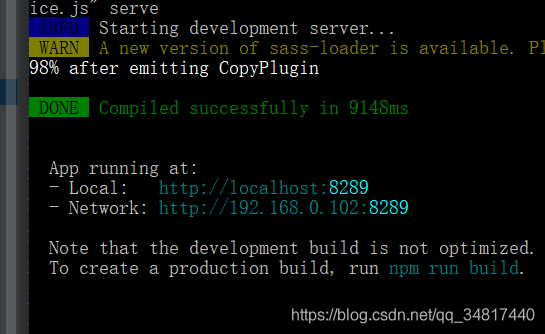
但:这个里安装node-sass 要注意,不容易成功,如下不成功,run时会报错

解决办法可参考:
1、安装一个全局的 cnpm install node-sass -s -g 安装完成
2、D:YLKJPro emp>rmdir node_modules /s node_modules, 是否确认(Y/N)? y
删除原来的错误的node modules
3、再重新 cnpm install
成功了!

使用方法
基本和stlus 没太大区别
指定lang
<style lang="stylus" rel="stylesheet/stylus">
按标签层级写 样式即可
	<style scoped lang="scss">
	    .return-trend{
	        .infect-con{
	            width: 100%;
	            height: 200px;
	            margin-top:10px;
	            .return-panel{width: 100%;height: 100%}
	        }
	        .infect-caption{
	            font-size: 18px;
	            color: #82d4ff;
	        }

	    }
	</style>
其他具体用法可以参考官网
sass
英文文档 https://sass-lang.com/guide
中文文档 https://www.sass.hk/guide/
stylus
stylus官网 http://stylus-lang.com/
stylus中文网 https://stylus-lang.net/